2026-06-28 · Updated 2026-09-13
Screenshot to Image: Save, Format, and Optimize Screenshots
Capture screenshots on any device, save them in the right format, and compress them for web without blurring text. Real steps for PNG, WebP, and full-page capture.
Last updated: September 13, 2026
A screenshot is just an image file, but the format you save it in decides whether the text stays sharp or turns into a blurry mess. Screenshots are mostly flat color and text, which means they compress badly as JPEG and beautifully as PNG or lossless WebP. This guide covers how to capture screenshots on each platform, which format to choose, and how to shrink them for the web without losing legibility.
Quick answer: what format should you save a screenshot in?
Save screenshots as PNG for editing and archiving, then convert to lossless WebP for the web. PNG preserves the sharp edges of text and UI elements, while WebP gives you the same lossless quality at roughly half the file size. Avoid JPEG for screenshots — its compression turns crisp text into smudged artifacts. For a screenshot headed to a website, resize it to the display dimensions first, then compress it to lossless WebP.
How do you take a screenshot on each platform?
The capture step differs by device, but every platform has a built-in shortcut.
| Platform | Shortcut | Saves to |
|---|---|---|
| Windows | Win + Shift + S | Clipboard, then paste |
| macOS | Cmd + Shift + 4 | Desktop as PNG |
| macOS (window) | Cmd + Shift + 4, Space | Desktop as PNG |
| iOS | Side button + Volume Up | Photos app |
| Android | Power + Volume Down | Photos app |
- On Windows, Win + Print Screen saves directly to a file in the Screenshots folder.
- On macOS, add Ctrl to any shortcut to copy to the clipboard instead of saving a file.
- On a high-DPI display, capture at 2x and downscale for sharper results on standard screens.
Why is PNG the right format for screenshots?
Screenshots are different from photographs. A photo has smooth gradients and millions of colors; a screenshot has flat blocks of color, hard edges, and text. JPEG was designed for photos, so it tries to blur the sharp transitions in a screenshot, and the result is visible artifacting around every letter.
PNG is lossless, so it records each pixel exactly. The trade-off is file size — a full-screen PNG can be several megabytes. Lossless WebP solves that, delivering the same pixel-perfect quality at a much smaller size. The WebP vs JPEG comparison breaks down exactly where each format wins, and the WebAIM guide to image formats explains the accessibility angle — legible screenshots matter for users who rely on them as documentation.
Optimizing screenshots for the web
A raw screenshot is usually far larger than it needs to be for display. The optimization sequence is the same every time.
- Crop out browser chrome, taskbars, and anything irrelevant with the image cropper.
- Resize to the exact display dimensions — serving a 2560px image into a 640px slot wastes bandwidth.
- Convert PNG to lossless WebP for the web. If the screenshot is a photo-heavy UI, a quality-85 WebP may be smaller with acceptable loss.
- Check the result at 100% zoom to confirm text is still sharp.
| Screenshot type | Recommended format | Why |
|---|---|---|
| Text-heavy UI | Lossless WebP or PNG | Text must stay crisp |
| Photo in a UI | Quality-85 WebP | Smaller, loss acceptable |
| Documentation | PNG (archive), WebP (web) | Keep an uncompressed master |
| App store mockup | PNG | Highest fidelity for review |
How do you capture a full-page screenshot?
A full-page screenshot grabs an entire scrolling page, not just the visible viewport. Every major browser can do this now without extra tools.
- Chrome / Edge: open DevTools (F12), open the command menu (Ctrl+Shift+P), type "screenshot", and choose "Capture full size screenshot".
- Firefox: right-click the page, choose Take Screenshot, then Save full page.
- Safari: enable the Develop menu, then Develop > Show Web Inspector > take a screenshot of the page.
- Extensions: GoFullPage and similar capture long pages and export a single PNG or PDF.
- Online: paste a public page's URL into HTML to Image to capture it at desktop, tablet, or phone width without installing anything. It cannot reach pages behind a login, localhost, or an intranet.
A full-page capture is the only way to document a scrolling layout in one image. Blank lazy-loaded images, "mobile" captures that show the desktop site, and pages cut off halfway each have a fix, covered in the full-page website screenshot guide. For sizing these for the web, the responsive images guide covers how to serve different dimensions to different screens.
Batch processing screenshots
If you maintain a documentation site or a help center, you accumulate hundreds of screenshots that all need the same treatment — crop, resize, compress. Doing this one at a time does not scale.
The practical approach is to apply the same settings to every file in a folder. Resize to the documented display width, convert PNG to lossless WebP, and write the output to a new folder so the originals stay intact. This keeps every screenshot in a help article at a consistent size and format, which makes the whole site feel coherent instead of patched together.
| Batch task | Tool | When to run it |
|---|---|---|
| Crop margins | Image cropper | Before resize |
| Resize to display width | Image resizer | After crop |
| Convert to lossless WebP | Image compressor | Last, before upload |
- Keep the PNG masters in an archive folder; they are your lossless source.
- Name screenshots by feature, not by date, so they stay findable.
- Re-run the batch when you adopt a new display width so old screenshots match new ones.
For the underlying mechanics of how lossless WebP achieves smaller files than PNG, the Google WebP compression documentation explains the predictive coding that makes the format efficient on flat UI regions.
Common screenshot problems and fixes
- Text looks blurry in the exported file — you saved as JPEG. Switch to PNG or lossless WebP.
- File is too large to upload — resize to display dimensions and convert to WebP before uploading.
- Screenshot is the wrong resolution on a high-DPI screen — capture at 2x and downscale, or check the tool's DPI setting.
- White background where you expected transparency — most capture tools do not support transparency; use a tool that exports PNG with an alpha channel.
- Screenshot shows the wrong monitor — on multi-monitor setups, the shortcut captures the primary display; use the snipping tool to select the right region.
When should you use screenshots at all?
Screenshots are documentation tools. They are the right choice when you need to show exactly what a screen looked like — a bug report, a tutorial step, an app review. They are the wrong choice when a clean illustration or a cropped photo would communicate better, because a screenshot carries UI clutter that distracts from the point. Crop tightly to the relevant area, save as PNG or lossless WebP, and resize for the destination. Done right, a screenshot reads as evidence; done wrong, it reads as noise.
Frequently asked questions
What format should I save a screenshot in?
PNG, for sharp text and edges and lossless quality — JPEG compression makes text look muddy. For web use, convert the PNG to WebP to shrink it. Screenshots are graphics, so treat them like graphics, not photos.
How do I take a screenshot on each platform?
macOS: Cmd+Shift+3 (full screen) or Cmd+Shift+4 (selection). Windows: Win+Shift+S (Snipping Tool) or Print Screen. Linux: the screenshot tool or gnome-screenshot. Each platform also has a full-page capture option in the browser.
Why is PNG the right format for screenshots?
Because screenshots are mostly sharp text, edges, and flat color — exactly what JPEG compression damages. PNG preserves those edges losslessly. For web delivery, convert the PNG to WebP to cut the file size.
How do I capture a full-page screenshot?
Use your browser's built-in full-page capture: Firefox's Take Screenshot menu or "Capture full size screenshot" in Chrome DevTools. For a public page at a set device width, HTML to Image does it online. Before a browser capture, scroll to the bottom of the page once, or lazy-loaded images further down can come out blank.
Can I edit a screenshot?
Yes — open it in an editor to crop, annotate, or redact. Keep edits lossless (PNG) until final export, then convert to WebP for web. Screenshots are graphics; treat them like graphics, not photos.
How do I optimize a screenshot for the web?
Keep it PNG for editing, then convert to WebP for delivery to cut the size. Resize to the display width. Screenshots are sharp text and flat color, so PNG preserves them losslessly and WebP shrinks them — JPEG would damage the text edges. See the compress guide.
How do I take a full-page screenshot?
In Chrome DevTools, open the command menu and run "Capture full size screenshot"; in Firefox, right-click and choose Take Screenshot, then Save full page. Extensions that scroll and stitch the page work too. It is the reliable way to capture a long article or a full layout that does not fit on one screen.
Use the free tools while you follow the guide.
Keep reading
2026-09-13
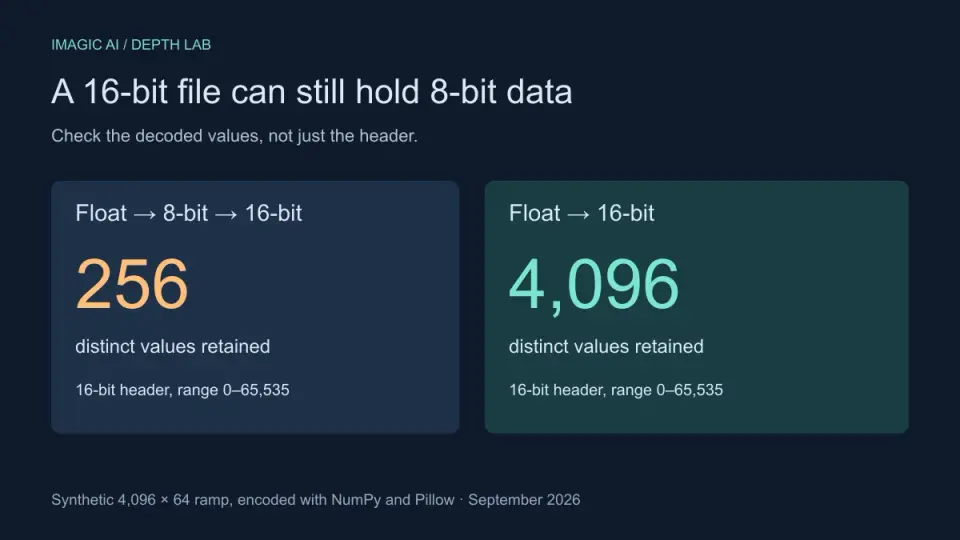
16-Bit Depth Maps: Fix Banding and Verify Your PNG
Fix stair-stepped or inverted depth maps with a reproducible 8-bit vs 16-bit PNG test, a file inspection script, and a practical Blender import checklist.
2026-09-13
GIF Maker From Images: Build Animated GIFs That Load Fast
Turn a set of images into an animated GIF for web and social media. Real frame timing, size limits for each platform, and when to choose GIF over video.
2026-09-13
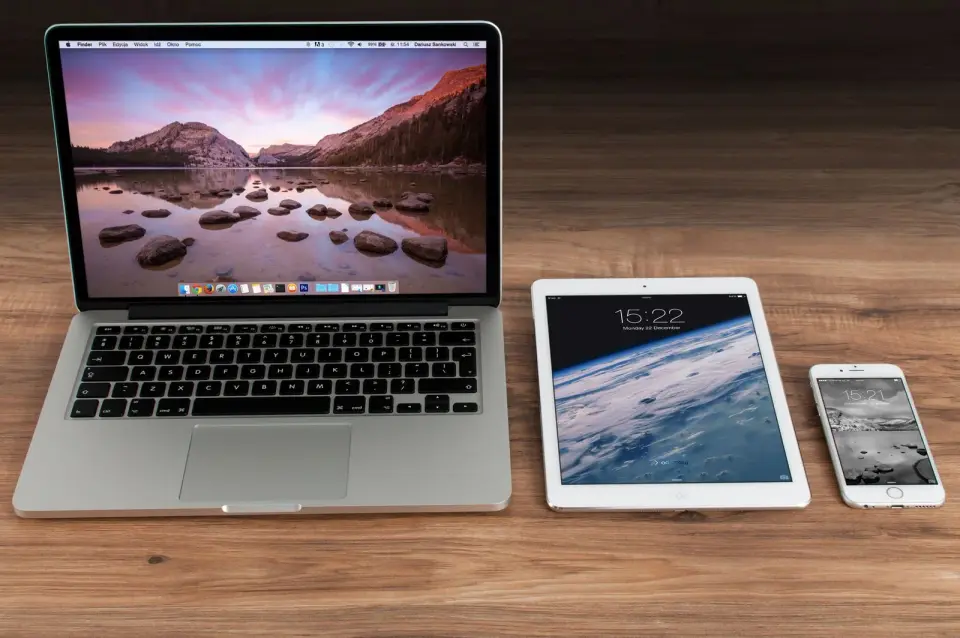
Full-Page Website Screenshots: Capture Any Page as an Image
Capture a whole webpage as PNG, JPG or WebP. Compare browser and online methods, then fix blank lazy images, desktop layouts on mobile and cut-off pages.