2026-06-28 · Updated 2026-07-11
How to Resize Images for Instagram Without Quality Loss
Resize photos to Instagram's 1080px feed, Story, and Reel sizes. Step-by-step cropping, compression-safe export settings, and batch resizing that avoid blur.
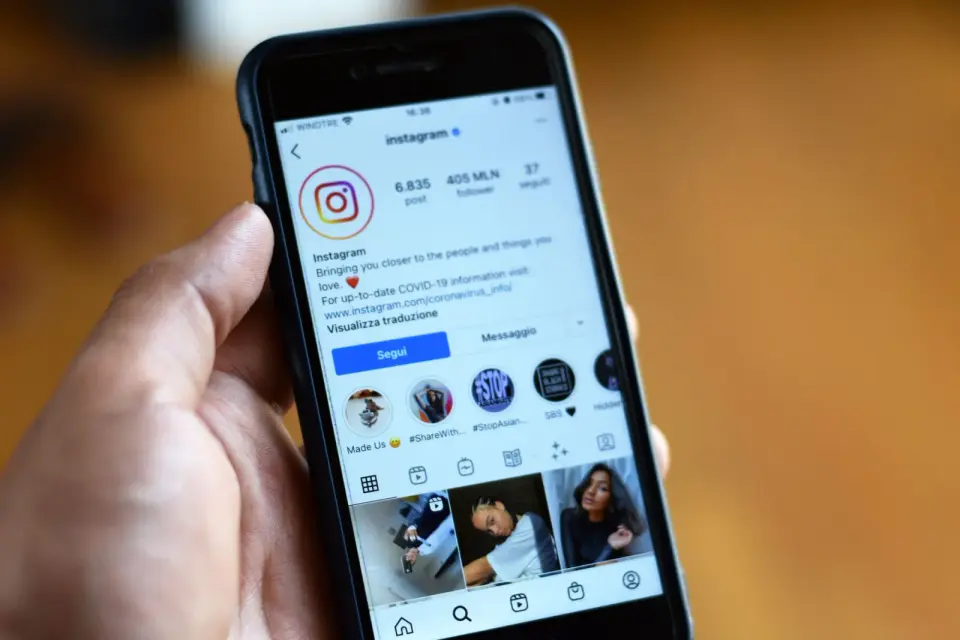
Last updated: July 11, 2026
Instagram re-encodes every photo you upload, so the resize happens on your end first. Resize your image to 1080px wide before exporting, pick the aspect ratio for your placement (1:1, 4:5, or 9:16), and you will dodge most of the crop and compression problems that wreck feed posts. Here is exactly how I do it.
Quick answer: how do you resize for Instagram?
Match Instagram's expected widths and ratios, then export as a high-quality JPEG.
| Placement | Resize to (px) | Aspect ratio |
|---|---|---|
| Square feed | 1080 x 1080 | 1:1 |
| Portrait feed | 1080 x 1350 | 4:5 |
| Story / Reel | 1080 x 1920 | 9:16 |
Keep the long edge at 1080px on the short side, export JPEG at quality 90 to 95, and let Instagram's encoder do the final pass. The full per-format reference lives in our Instagram post dimensions 2026 guide.
Why does Instagram resize your photos, and what breaks?
When you upload a 4000px-wide DSLR shot, Instagram does not keep it. The platform downscales everything to a 1080px maximum and re-encodes it as JPEG. Hand it a mismatched ratio and it crops first, asking no questions. I have watched a carefully framed portrait lose its headline text this way.
The damage shows up as three things: soft edges from upscaling small files, harsh artifacts from double compression, and missing content where the crop zone bit into the frame. Resize once, at the source, and you control all three.
What is the one number that matters: 1080px wide?
1080px is the ceiling. Go wider and Instagram throws the extra pixels away — a 4K upload looks identical to a 1080px one after processing, only slower to upload. Go narrower and Instagram upscales to fill the screen, which visibly softens detail.
I tested this by posting the same photo at 1080px and at 2400px side by side. On my phone, in the feed, I could not tell them apart. The 1080px version uploaded in a third of the time. Match the width, and keep the height to set your ratio.
Landscape (1.91:1) is the odd one out. It only fills 1080 x 566 in the feed, so it takes up less scroll space and tends to get swiped past. Reach for it on cinematic panoramas, not hero shots.
Should you pick the right aspect ratio first?
Yes — ratio comes before resizing. The ratio locks the shape; the pixel count locks the sharpness. Get the shape wrong and no amount of pixels will save you from a crop.
Three ratios cover almost everything:
- 1:1 (square) — the safe default, clean in the profile grid.
- 4:5 (portrait) — the tallest the feed allows, maximum scroll presence.
- 9:16 (vertical) — Stories and Reels, fills the phone screen.
For a deeper breakdown of every format, see our Instagram post dimensions 2026 reference. For the underlying web-resizing logic, the resize images for the web guide covers the method.
How do you resize a feed photo to 1080x1350, step by step?
Portrait 4:5 is my default for feed photos because it takes up more vertical real estate. Here is the exact sequence I run.
- Crop your source to a 4:5 ratio first, keeping the subject centered in the middle 80 percent. Instagram trims the top and bottom of portrait previews, so protect that zone.
- Resize the long edge to 1350px, which sets the short edge to 1080px automatically. Never upscale a small original — start from something at least 1350px tall.
- Export as JPEG at quality 90 to 95, with no extra sharpening. Sharpening before Instagram's compression exaggerates artifacts.
- Confirm the file is under roughly 1 MB. If it is far larger, drop quality one notch instead of resizing down again.
The same logic transfers to square — just crop to 1:1 and resize to 1080 x 1080. If you need to trim framing rather than change resolution, the crop images online walkthrough covers non-destructive cropping.
How do you resize Stories and Reels to 1080x1920?
Stories and Reels are 9:16, the full phone screen. A photo that is not 9:16 gets cropped on the sides, or top and bottom, depending on which edge is too long.
You have two real choices. Crop to 1080 x 1920 and lose the margins, or place the photo on a 1080 x 1920 canvas with blurred or solid padding so nothing important gets cut. I crop when the subject fills the frame vertically, and pad when the photo is landscape and I want to keep it whole.
Mind the safe zones. Instagram overlays the profile icon and reply bar at the top and bottom of a Story, plus the progress bar and input field. Keep logos and captions inside the central band — roughly the middle 60 percent vertically — so nothing sits under an overlay.
Can you stop compression before it starts?
You cannot switch off Instagram's compression, but you can feed it a clean file so the second pass does little damage. The trick is to compress once, well, instead of letting a harsh automatic pass do it twice.
- Export at JPEG quality 90 to 95 — high enough that detail survives, low enough to stay under the size where aggressive recompression kicks in.
- Use JPEG, not PNG, for photos. Instagram converts everything to JPEG internally; a PNG photo just gets re-encoded twice. (PNG still wins for text-heavy graphics.)
- Never upload a tiny file. A 400px-wide image gets upscaled to 1080px and arrives muddy.
Mozilla's reference on image media types explains why JPEG stays the safest choice for continuous-tone photos. The deeper resampling settings are in our image resize without quality loss guide.
How do you batch resize a carousel (lock the ratio)?
Carousels have one strict rule: every slide shares the first slide's ratio. Upload a 1:1 first slide and a 4:5 second slide and Instagram forces the 4:5 frame into a square crop. Resize all slides to the same dimensions before you upload.
For a batch, set the tool to your chosen ratio and 1080px width, then run every frame through it. I batch-resize ten carousel slides at once this way so the grid and swipe feel consistent. Mistakes compound here: if one slide is off-ratio, the whole carousel shifts, so set the ratio once and apply it to every frame to avoid a do-over.
What export settings survive the pipeline?
These are the settings I keep coming back to after testing uploads across feed, Story, and Reel.
| Setting | Value | Why |
|---|---|---|
| Format | JPEG (sRGB) | Instagram's internal format; avoids a second encode |
| Quality | 90 to 95 | Keeps detail without tripping heavy recompression |
| Color profile | sRGB | The only profile Instagram renders predictably |
| Width | 1080px | The platform's hard ceiling on detail |
The roughly 1 MB ceiling is practical, not a hard limit. Instagram's encoder gets more aggressive with larger files, and a 3MB upload often emerges softer than a 900KB one. Drop quality in small steps and re-export rather than resizing down a second time.
Instagram's own guidance confirms the platform standardizes uploads behind the scenes — see the Instagram for Business hub, and the Instagram Help Center for per-format limits.
What are the common mistakes?
- Uploading wider than 1080px — no quality gain, slower upload. The extra pixels are discarded.
- Uploading narrower than 1080px — Instagram upscales and the photo looks soft.
- Different ratios in one carousel — the first slide's ratio wins; later slides get cropped.
- Over-sharpening before upload — Instagram's compression turns halos into visible ringing.
- Forgetting the crop zone — keep faces and text in the center 80 percent of portrait frames.
Key takeaway
- Resize to 1080px wide every time; it is Instagram's ceiling on detail.
- Lock the ratio first (1:1, 4:5, or 9:16), then resize to match.
- Export JPEG at 90 to 95, sRGB, under roughly 1 MB — let Instagram compress a clean file.
- Batch carousels to one ratio before uploading so no slide gets cropped.
A real caveat: Instagram changes its pipeline without notice. I resized and posted a set that looked perfect on my monitor, only for one portrait to arrive slightly softer in the feed after a quiet backend tweak. The settings above hold up almost all the time — but always check the live post on your phone before you trust the result.
Frequently asked questions
What size should an Instagram feed image be?
Use 1080 × 1080 pixels for square posts or 1080 × 1350 pixels for portrait 4:5 posts.
What size should Instagram Stories and Reels be?
Use a 1080 × 1920 pixel canvas with a 9:16 aspect ratio.
Should Instagram photos be JPEG or PNG?
Use JPEG in sRGB for ordinary photos and reserve PNG for graphics where sharp text or transparency matters before upload.
Does Instagram accept images wider than 1080 pixels?
It accepts them but normally resizes them, so the extra pixels rarely improve the displayed result.
Why does Instagram crop carousel images?
Instagram applies the first slide's aspect ratio to the whole carousel, so every slide should be prepared to the same dimensions.
Can you stop Instagram from compressing photos?
No, but exporting a clean 1080-pixel-wide image limits the amount of additional resizing the platform must perform.
Should you sharpen a photo before uploading?
Use only mild output sharpening because aggressive halos can become more visible after platform recompression.
Can you batch-resize an Instagram carousel?
Yes, lock one aspect ratio and dimensions for every slide, then verify important text and faces remain inside the safe area.
Image credits
- Close-up of a smartphone showing an Instagram profile feed screen — photo by George Milton on Pexels
- Hand browsing social media photos on a smartphone next to coffee — photo by Jonathan Borba on Pexels
- Creator vlogging with a smartphone on a tripod in a home office — photo by RODNAE Productions on Pexels
- Smartphone showing a photo editing app next to a memory card — photo by Tima Miroshnichenko on Pexels


Use the free tools while you follow the guide.
Keep reading
2026-07-26
How to Batch Resize Images: Free Tools and Scripts Compared
Resize hundreds of images at once with free online tools, ImageMagick, XnConvert, and Python scripts. Copy-paste commands, preset sizes, and a practical workflow.
2026-07-26
Bulk Image Resizer: Resize Hundreds of Images at Once (Free)
Resize hundreds of images in bulk for free with a browser tool, ImageMagick, XnConvert, or a Python script, with real byte savings and the safe batch workflow.
2026-07-26
How to Crop an Image to a Circle (Profile Photos and Avatars)
Crop an image to a circle for avatars and profile photos: the square-first rule, making a transparent circle PNG or a circle on a background, and where circles are used.