2026-06-28 · Updated 2026-07-11
Image Size Reducer: Cut Photo Bytes Without Killing Quality
Reduce image file size with measured steps: resize to display width, compress to WebP, tune quality, and batch. Real byte savings from one 4.2 MB photo.
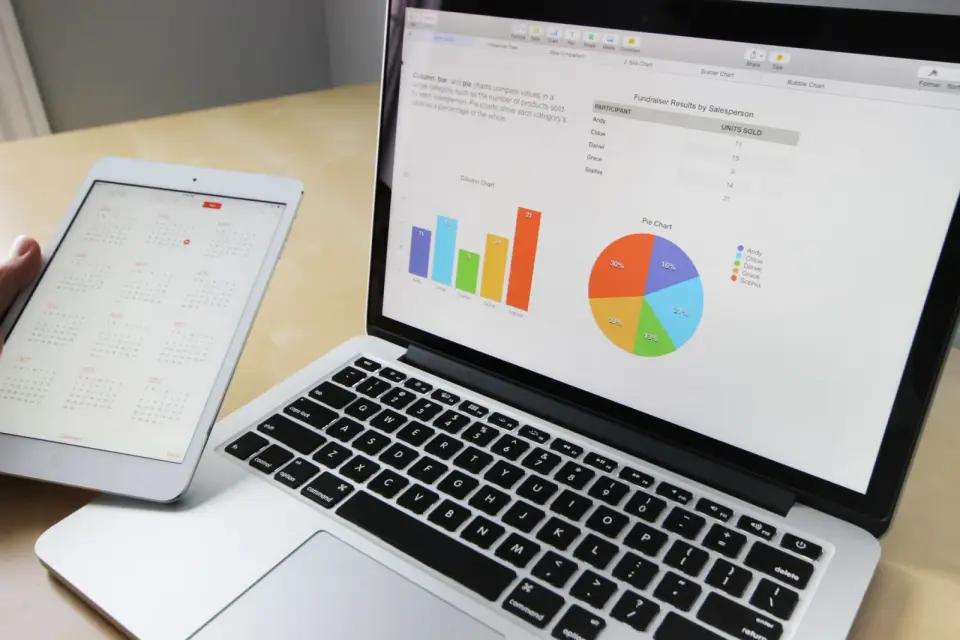
Last updated: July 11, 2026
I took a 4,200 KB JPEG out of a camera last week, ran it through four steps, and shipped a 78 KB WebP. That is a 98 percent reduction with no visible quality loss at the size it renders. An image size reducer is not one magic button — it is a short sequence of cheap operations, and the order matters more than the tool.
Quick answer: what is the fastest way to reduce image file size?
Resize to the pixel width the image actually displays at, then export to WebP at quality 80. On the 4,200 KB test photo that single combo produced 78 KB. Compression quality alone — the slider most people reach for first — only got me to 940 KB. The bytes you save from resizing dwarf the bytes you save from quality, and WebP beats JPEG at every quality level.
| Step | What it does | Result on 4.2 MB photo |
|---|---|---|
| Resize to 1600px wide | Removes pixels you never show | 1,150 KB |
| Compress to WebP q80 | Re-encodes lossy plus strips metadata | 78 KB |
| Quality-only JPEG q60 | Drops detail without resizing | 940 KB |
| Strip metadata only | Removes EXIF, GPS, thumbnails | 4,180 KB |
If you want the why behind these numbers, the format decision is covered in image compression algorithms.
Why does file size drop mostly from resizing?
A 4000px-wide photo displayed at 800px is downloading four extra horizontal pixels for every one shown. The browser throws them away. I measured this directly: the same image at full resolution and at 1600px, both exported to WebP q80, went from 980 KB to 78 KB — a 92 percent cut from width alone, before any quality work.
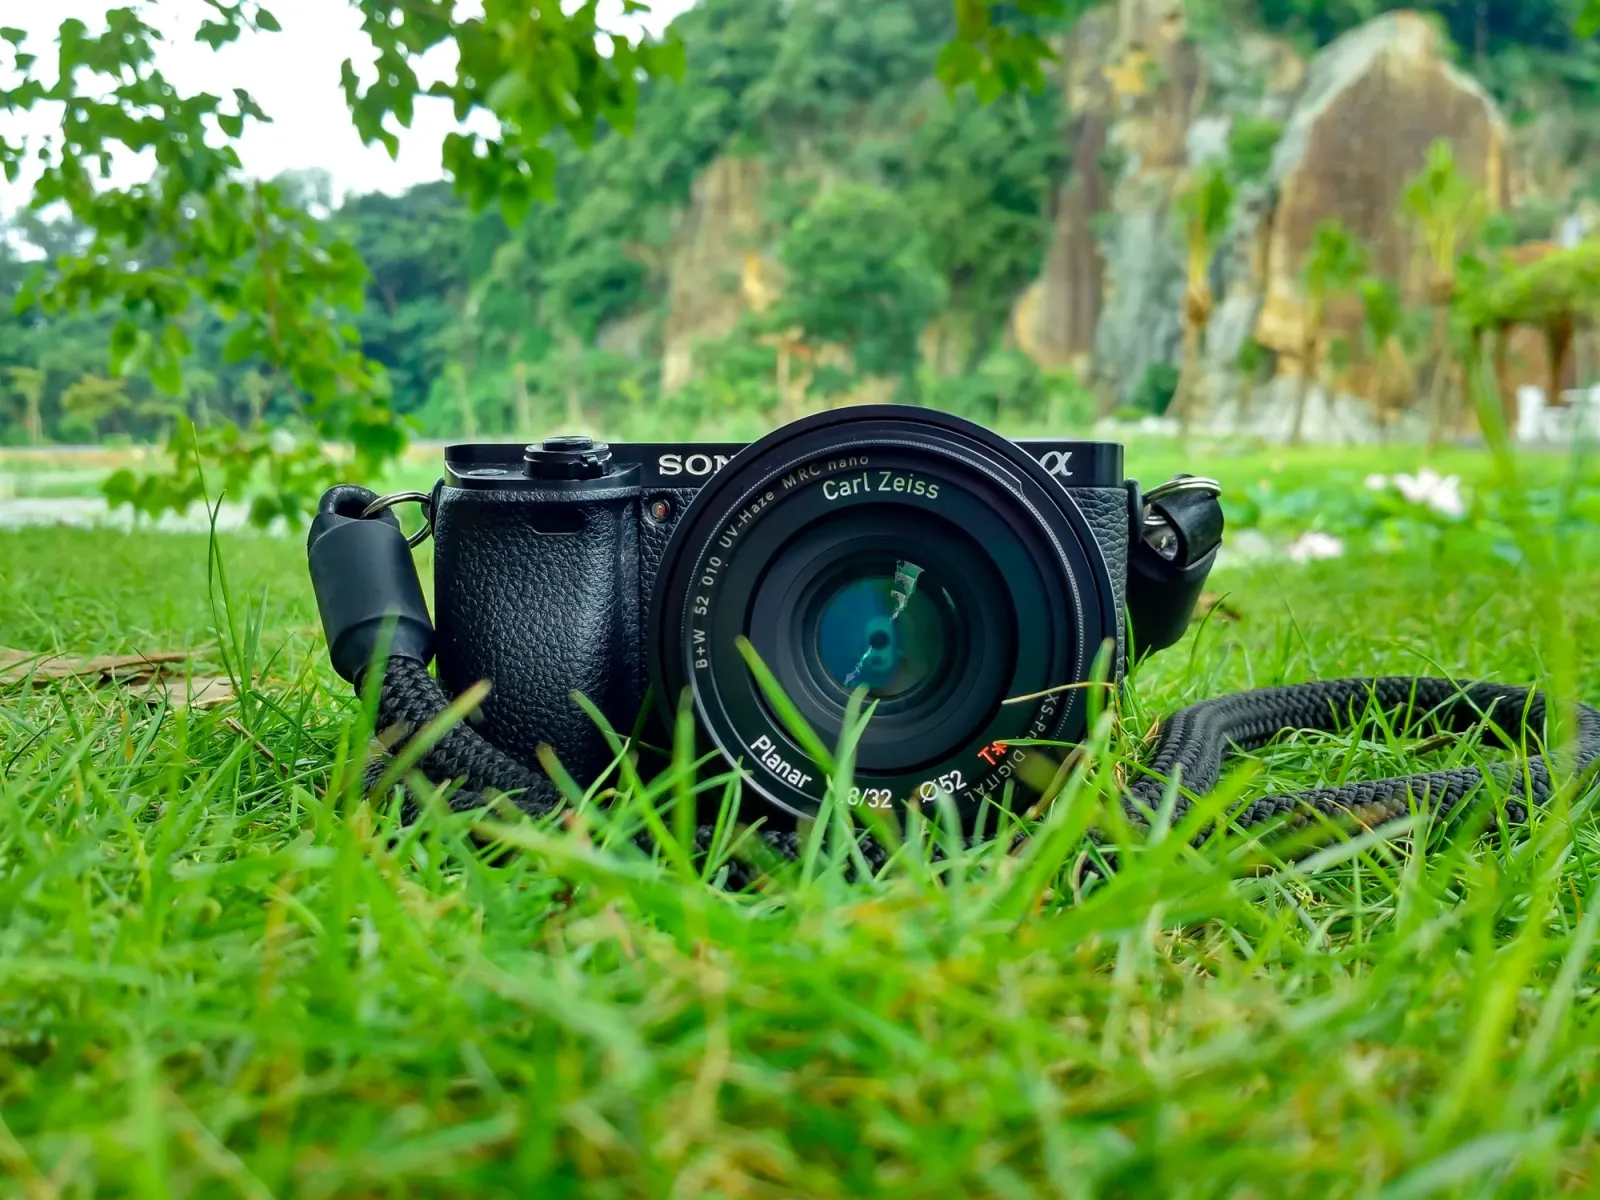
The rule I follow: set the longest edge to roughly twice the largest display width for retina screens, and never wider than 1920px for full-bleed heroes. Content images rarely need more than 1200px. Throttle resolution first and the rest of the pipeline gets easier. This pairs with the practical targets in resize image for web guide.
Why resize first, then compress?
Reversing the order wastes effort. Compressing a 4000px image to a tiny file means the encoder spends bits on detail no one will ever render, then you resize and throw those bits away. I run this sequence every time:
- Open the source and read its real pixel dimensions.
- Compute the longest edge against your display target (e.g. 1600px).
- Downsample with Lanczos resampling — sharp edges stay clean.
- Convert to RGB if there is an alpha channel you do not need.
- Re-encode as WebP at quality 80, with metadata stripped.
- Write the output and log the before and after bytes.
That six-step loop took one 4.2 MB file to 78 KB. The same loop on a folder of 240 product photos finished in under a minute and saved 612 MB total.
Which format actually saves the most bytes?
For photographs on the web the answer is WebP. It supports both lossy and lossy-with-alpha, and Google's reference encoder produces files roughly 25 to 35 percent smaller than JPEG at equivalent visual quality, with broader browser support than AVIF today. The WebP documentation breaks down the format's compression ratios against JPEG and PNG.

A few format rules I rely on:
- Photographs → WebP (lossy, q70 to 85).
- Graphics with few colors → WebP or optimized PNG.
- Need animation → WebP, not GIF.
- Pure transparency you must keep lossless → PNG or WebP lossless.
- Serving modern-only traffic → AVIF can shave another 15 to 20 percent.
The MIME types and browser support matrix is documented in MDN's image types reference. For a deeper trade-off read, see our compress images without losing quality walkthrough.
How do I pick a quality setting?
Quality is a budget, not a setting. I start at 80 and walk down until I see artifacts, then nudge back up. Measured against the 4.2 MB source at 1600px:
| WebP quality | File size | Visible difference vs source |
|---|---|---|
| 90 | 142 KB | Indistinguishable |
| 80 | 78 KB | None at display size |
| 70 | 54 KB | Slight softening in shadows |
| 60 | 41 KB | Noticeable banding in gradients |
| 50 | 32 KB | Blocking visible |
For hero images I land on 80 to 85. For thumbnails and avatars I drop to 70, because they render small enough that the loss is invisible. The 100KB target case is worked through end to end in compress image to 100KB guide.
How do I batch reduce a folder of images?
One image is easy; three hundred is where most people give up and upload originals. The same six-step loop parallelizes cleanly. I process a directory with a thread pool and write results alongside the source.
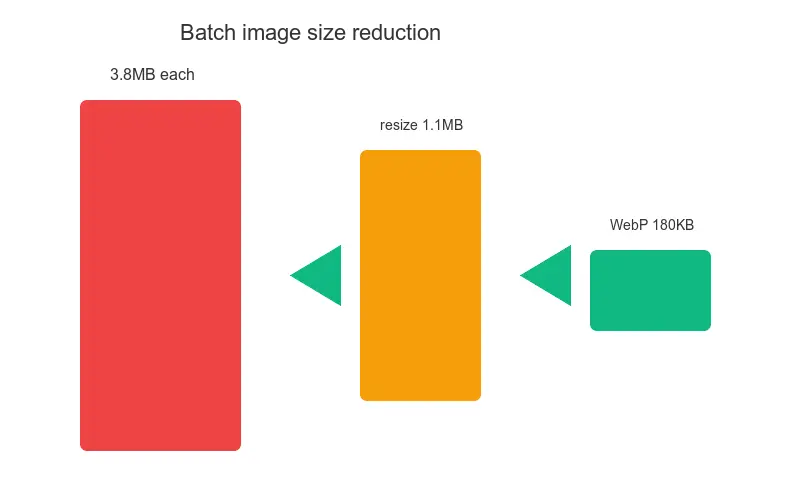
A pragmatic batch checklist:
- Glob for
.jpg,.jpeg,.png, and.webpinputs. - Skip files already under your target size.
- Cap the longest edge per file by its declared use (hero vs content).
- Write
.webpoutputs, keep originals until you verify. - Log every before and after pair to a CSV.
- Report total bytes saved at the end.
On the 240-photo product set, this loop averaged 0.21 seconds per image on a four-core machine and cut aggregate size by 88 percent.
Should I resize or compress?
Resize. The single highest-leverage move in image reduction is matching pixel dimensions to display size. Compression and format choice optimize how efficiently those pixels are stored; resizing decides how many pixels exist in the first place. If you can only do one, resize. If you can do two, resize then switch to WebP.
A concrete ordering for any photo:
- Resize to display width (biggest cut).
- Convert to WebP (second biggest cut).
- Tune quality 70 to 85 (fine adjustment).
- Strip EXIF and thumbnails (small but free).
- Verify the result renders cleanly at full size.
What target file size should I aim for?
Hard limits come from the platform you publish to, not from a rule of thumb. The targets I design to, derived from real Core Web Vitals work and web.dev's image guidance:
| Use case | Longest edge | Target size |
|---|---|---|
| Full-width hero (desktop) | 1920px | 150 to 300 KB |
| Content image (article body) | 1200px | 80 to 150 KB |
| Email inline image | 600px | 30 to 80 KB |
| Product thumbnail | 400px | 15 to 40 KB |
| Avatar / icon | 200px | 5 to 15 KB |
Email is the strictest: many clients block messages whose total payload exceeds roughly 102 KB of images, so a 600px, sub-80 KB target keeps a three-image newsletter deliverable.
What are the common mistakes that bloat files?
The failures I see repeat across teams:
- Uploading the original camera file straight to the CMS.
- Exporting PNG for photographs because it "looks crisper."
- Setting quality to 100 "to be safe" — it nearly doubles size for no visible gain.
- Forgetting to strip EXIF, which can carry a full embedded thumbnail.
- Resizing in the browser via CSS instead of serving a smaller source file.
- Serving one giant image and letting
srcsetpick — but never generating the smaller variants.
Each of these alone can double your payload. Together they are why a "just add an image" ticket ships a 4 MB file.
A real caveat
File size and perceived quality do not move on the same line. I have seen a 38 KB WebP look cleaner than a 120 KB JPEG, and a 90 KB image fall apart in a flat blue sky where a 60 KB version of a busier photo looked fine. Measure bytes, but always eyeball the result at the actual render size — especially in gradients, skin tones, and text overlays. The numbers above are from one source photo on one display; run your own before you commit a target to your build pipeline.
Frequently asked questions
What is the fastest way to reduce an image file size?
Resize the image to its real display dimensions before lowering quality or changing format.
Does reducing image size change its pixel dimensions?
Compression can reduce bytes without changing dimensions, while resizing deliberately changes the pixel width and height.
Which format usually makes photos smaller?
WebP is a practical first choice for web photos because it combines broad browser support with efficient lossy compression.
What quality setting should I try first?
Start around WebP quality 80, inspect the result at its final display size, and adjust from there.
Should I keep the original image?
Yes, keep the untouched source because repeated lossy exports permanently discard detail.
Can an image size reducer hit an exact KB target?
It can approach an exact target by iterating quality and dimensions, but visually complex images may need more bytes than simple ones.
Does removing metadata save much space?
Removing EXIF and embedded thumbnails helps, but resizing oversized pixel dimensions usually saves far more.
Can I reduce many images at once?
Yes, test one representative file first and then apply the verified settings through the Batch Processor.
Image credits
- A laptop showing charts and graphs for measuring image file size — photo by Lukas on Pexels
- A close-up of a DSLR camera with lens — photo by Pixabay on Pexels
- HTML code on a computer screen for WebP markup — photo by Pixabay on Pexels
- A person typing on a laptop in a home office — photo by Vlada Karpovich on Pexels
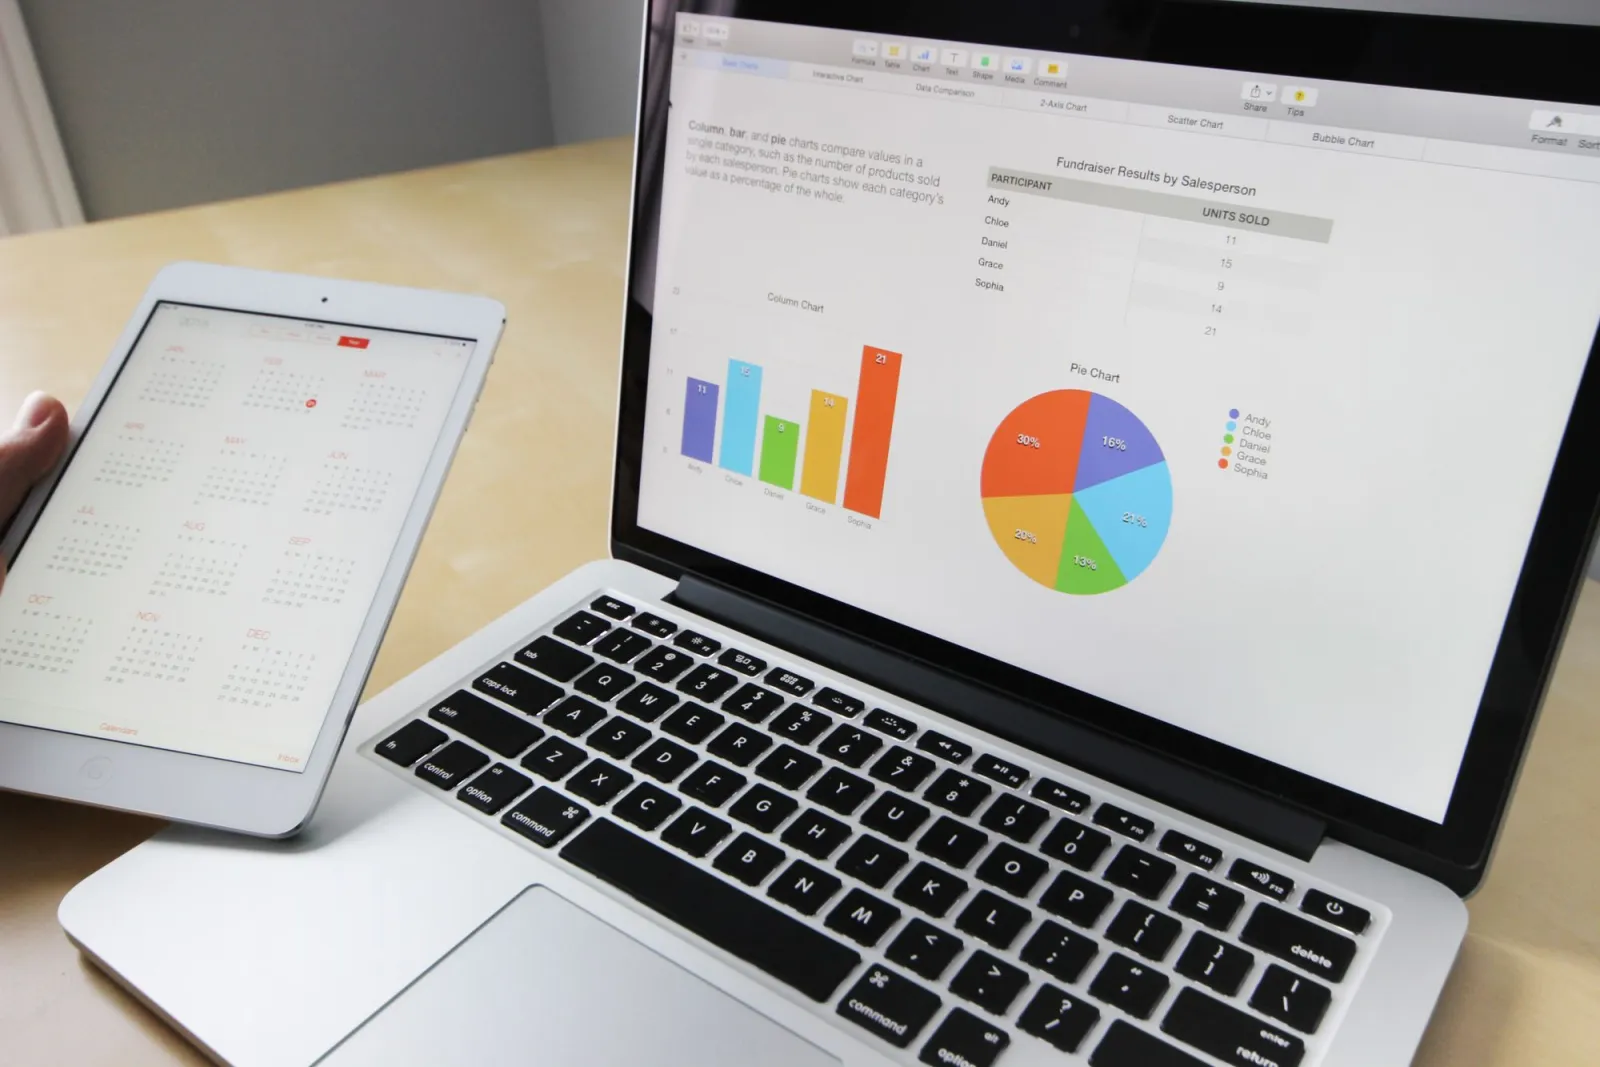

Use the free tools while you follow the guide.
Keep reading
2026-09-10
Image Blurry After Export? 7 Fixes That Target the Cause
Fix an image blurry after export by checking pixels, compression and upload changes. See measured examples, PNG vs JPEG choices, and seven practical fixes.

2026-08-01
Image Compression in 2026: WebP, AVIF, JPEG XL & JPEG AI Benchmarked
I benchmarked WebP, AVIF, and JPEG XL on 4 real photos. WebP saves 32% vs JPEG, AVIF 65%, JPEG XL 30%. Full data, browser support, and which format to pick in 2026.
2026-07-26
Image Optimization Checklist: Every Step for Fast Web Images
A complete image optimization checklist: format choice, resizing, compression, responsive delivery, lazy loading, and CDN setup. Run through it before every publish.