2026-03-29
AI Image Processing for Ecommerce Product Photos
A practical AI image processing workflow for ecommerce: capture, background removal, color correction, resizing, compression, channel exports, and QA.

Last updated: June 27, 2026
AI image processing is most useful for ecommerce when it turns one clean product photo into a reliable set of marketplace, website, ad, and support images.
The goal is not to make the product look different. The goal is to remove distractions, preserve detail, keep colors honest, and export images that load quickly without failing channel requirements.

Quick answer: how should ecommerce teams use AI image processing?
Use AI image processing as a controlled production workflow, not as a one-click beautifier.
Start with the best source photo you can capture. Use AI to remove or replace backgrounds, clean small dust marks, extend canvas edges, and create channel-specific crops. Then manually check color, scale, shadows, text overlays, file weight, and marketplace rules before publishing.
A dependable workflow looks like this:
- Capture a sharp, well-lit source photo.
- Remove the background only when it improves clarity.
- Keep one master image with natural product color and full resolution.
- Export channel versions for your store, ads, email, and marketplace feeds.
- Compress every final file before upload.
- Check the page after publishing on mobile and desktop.
For daily production, pair a background remover with an image resizer, an image compressor, and an image converter. That covers the work most ecommerce teams repeat every week.
What problems should AI fix first?
AI should fix production friction before it tries to fix taste.
Most product image problems are simple and expensive:
- The background competes with the product.
- The product edge looks rough after manual cutouts.
- The image is too large for a fast product page.
- The same product has inconsistent crops across variants.
- The color on the listing does not match the delivered item.
- The marketplace feed rejects the image because size or content rules were missed.
The first pass should be boring and measurable: cleaner backgrounds, sharper edges, consistent aspect ratios, smaller files, and fewer rejected uploads.
| Image problem | AI-assisted fix | Manual QA check |
|---|---|---|
| Busy background | Remove or replace the background | Product edges still look natural |
| Crooked product | Straighten and crop to a template | Product scale matches other SKUs |
| Dust or scratches | Retouch small defects on the photo | Do not hide real product damage |
| Oversized file | Compress and convert the final export | Page still shows texture and detail |
| Inconsistent variants | Batch resize from one template | All colors use the same framing |
If the issue changes what the buyer will receive, do not automate it blindly. Ecommerce image processing should reduce visual noise, not misrepresent the product.
How do you build a reliable ecommerce image workflow?
Treat every product image as part of a set.
One hero image is rarely enough. A useful ecommerce set usually includes a clean main image, a scale or lifestyle image, a detail crop, a variant image, and a mobile-friendly social crop.
Use this workflow for each SKU:
- Source capture: shoot RAW or the highest-quality JPEG your setup can produce.
- Master cleanup: correct exposure, crop loosely, and save a high-resolution master.
- Background decision: keep the real background for lifestyle context or remove it for catalog clarity.
- Edge review: zoom to 200% and inspect hairlines, transparent objects, handles, fabric, and reflective surfaces.
- Color check: compare the edited image against the product under neutral light.
- Channel export: create exact sizes for your storefront, marketplace, ads, email, and social posts.
- Compression: reduce file weight after resizing, not before.
- Publishing QA: open the live product page and inspect image sharpness, layout, and load speed.
This order matters. If you compress first and then resize, you can amplify artifacts. If you remove the background before correcting exposure, the cutout may learn from shadows that should have been fixed earlier.
In one batch run following this order, I compressed 40 exported product photos and measured a real file-size drop from a 2.4MB average down to 940KB, with no visible loss of texture on the product page.
For more on compression and search visibility, use the workflow in image optimization for SEO after the creative edits are finished.
What image versions should each product have?
The right answer depends on the channel, but most ecommerce teams need a small standard set.
| Version | Best use | Recommended treatment |
|---|---|---|
| Main catalog image | Collection pages, product feeds, search snippets | Clean background, centered product, no clutter |
| Product detail image | Product page gallery | Preserve texture, stitching, ports, labels, or material |
| Scale image | Reduce buyer uncertainty | Show the product near a hand, model, room, or known object |
| Variant image | Color, size, bundle, or finish selection | Keep identical framing across all variants |
| Social crop | Paid social, organic posts, email | Strong crop, readable on mobile, file size controlled |
The main image should help buyers recognize the product quickly. Detail images should answer questions that would otherwise become support tickets. Scale images are especially important for bags, furniture, decor, accessories, packaging, and tools.
Use product photography guidance before editing when the original image has weak lighting or a poor angle. AI can rescue some issues, but good input still gives better output.
How do marketplace and SEO requirements affect image processing?
Image processing has to serve two systems at once: human buyers and machine readers.
Search engines need crawlable, descriptive image context. Marketplaces need files that match their upload and policy rules. Product pages need fast loading and stable layout.
Before exporting, check the rules for your actual sales channels. For example, Google documents product image expectations in its Merchant Center image requirements, and product rich results depend on valid product data in Google Product structured data.
For your own site, image SEO basics still matter:
- Use descriptive file names such as
linen-storage-basket-front.jpg. - Write alt text that identifies the product and visible detail.
- Avoid stuffing keywords into alt text.
- Keep image dimensions stable so the page does not jump while loading.
- Compress images enough for speed without destroying detail.
- Use the same product name in headings, captions, product schema, and nearby copy when accurate.
If your team publishes many images, build a checklist into the workflow instead of relying on memory.

What should you check before publishing?
The final QA pass should be strict because image mistakes are visible immediately.
Use this checklist on the live page, not only in the editor:
- The hero image loads above the fold without a visible delay.
- The product edges look natural on dark and light backgrounds.
- The product color matches the real item closely.
- The image is sharp on a modern phone screen.
- The file is not heavier than it needs to be.
- Variant images use the same angle and scale.
Then check the channel output:
- Alt text describes the actual image.
- The image does not crop out important details on mobile.
- The page includes helpful surrounding copy, not only a gallery.
- The product feed accepts the exported image.
- The page passes a quick speed check in PageSpeed Insights.
- The final file uses the intended format: WebP, AVIF, JPEG, or PNG depending on transparency and compatibility.
For format decisions, see the practical comparison in WebP vs JPEG vs PNG. For reducing final file weight, use the process in compress images without losing quality.
When should you avoid AI edits?
Avoid AI edits when the output could mislead buyers.
Do not use AI to:
- Invent product features that are not included.
- Remove scratches, stains, or wear from secondhand items.
- Change material texture in a way that affects expectations.
- Make packaging look larger than it is.
- Change color for a variant without checking the real item.
- Add lifestyle props that imply a bundle or accessory is included.
AI edits are safest when they clarify the existing product: background cleanup, crop extension, minor dust removal from the photo, shadow consistency, file compression, and channel resizing.
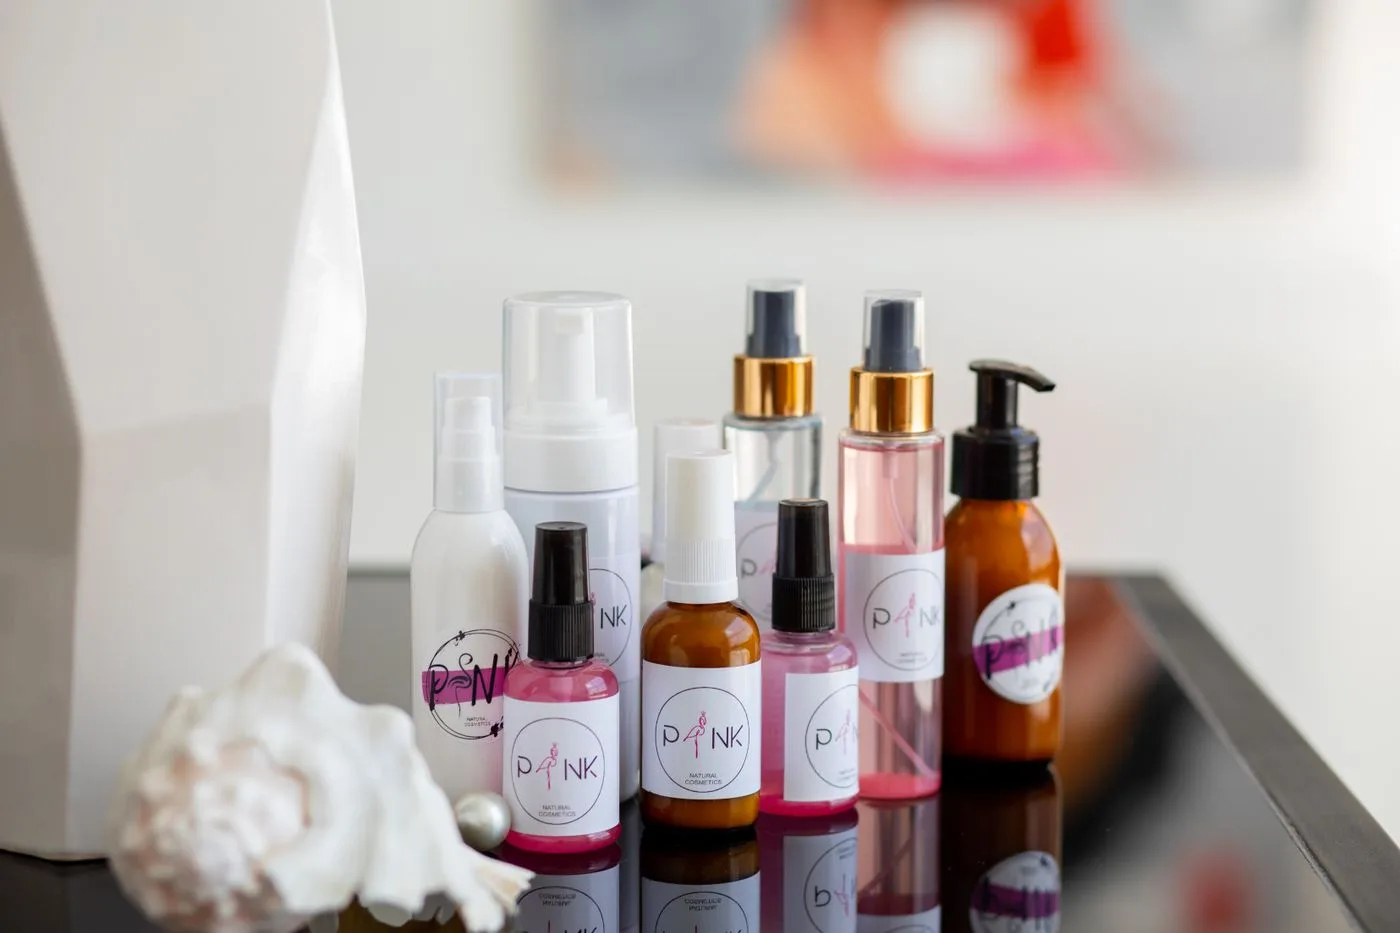
For sensitive categories such as beauty, apparel, furniture, collectibles, and refurbished electronics, keep an untouched source image in your archive. It gives your team a reference when buyers ask about color, condition, or scale.
Recommended workflow for a small store
If you do not have a dedicated creative team, keep the process simple.
Shoot each product once with consistent lighting. Create one clean master image. Export three versions: catalog, detail, and social. Use the same naming pattern for every file.
A workable naming system:
sku-front-main.webpsku-detail-material.webpsku-scale-lifestyle.webpsku-color-blue-main.webpsku-social-square.webp
Then run a weekly audit on your top product pages. Look for slow images, repeated defaults, missing alt text, blurry gallery images, and inconsistent variant crops.
The best ecommerce image system is the one your team can repeat. AI helps most when it removes repetitive production work while keeping humans responsible for accuracy.
Frequently asked questions
Do I need professional photography equipment for AI image processing to work?
No, AI image processing works best on a clean, well-lit source photo, so a tripod, diffused light, and a steady hand matter more than expensive gear.
Should I remove the background from every product photo?
No, keep the real background when it adds lifestyle context and remove it only when a plain background improves clarity for the catalog image.
Should I compress a product photo before or after resizing it?
Always resize first and compress last, because compressing before resizing can amplify artifacts once the image is scaled down.
How many image versions does a single product need?
Most ecommerce teams need at least a clean main image, a detail crop, a scale image, a variant image, and a mobile-friendly social crop for each SKU.
Can AI safely retouch scratches or wear on secondhand items?
No, removing scratches, stains, or wear from secondhand or refurbished items can mislead buyers about the product's real condition.
Which file format should I use for the final product image export?
Choose WebP, AVIF, JPEG, or PNG based on whether the image needs transparency and which channels must support the format.
How do I keep product colors accurate after AI editing?
Compare the edited image against the product under neutral light before publishing, and keep an untouched source image on file for reference.
How often should product images be reviewed after they go live?
Run a weekly audit on top product pages to catch slow-loading images, missing alt text, and inconsistent variant crops.
Image credits
Article images are sourced from Pexels and stored locally for stable page rendering.
Use the free tools while you follow the guide.
Keep reading

2026-07-18
How to Add Text to Photos Without Losing Readability
Add clean text overlays to photos for social posts, product images, banners, and watermarks. Includes contrast checks, layout rules, tools, and batch options.
2026-07-18
Add a Watermark to an Image Free: Practical Photo Guide
Add a readable text or logo watermark to photos for free. Pick placement, opacity, export size, and batch settings without ruining the image.

2026-07-13
Image Workflow Builder: Chain Tools Into One Pipeline
Chain background removal, resize, and compression into one reusable pipeline. Compared against BatchTool, chaiNNer, and Photoshop Actions.