2026-06-28
Optimize Images for Web Speed: Cut Page Load Without Quality Loss
Speed up your site by optimizing images for web: resize, compress, and serve modern formats. Real steps that cut load time and boost Core Web Vitals without blur.
Last updated: June 28, 2026
Images are usually the heaviest part of a web page, so optimizing them is the single highest-impact change you can make for page speed. The work is straightforward: serve the right size, the right format, and the right compression, then defer loading for images the user does not see immediately. This guide covers the concrete steps that cut image weight and load time without visible quality loss, and how those gains show up in Core Web Vitals.
Quick answer: how do you optimize images for web speed?
Resize each image to the dimensions it actually displays at, convert it to WebP (or AVIF with a fallback), compress to quality 80, and serve responsive variants with srcset so each device loads the right size. Lazy-load below-the-fold images and deliver from a CDN. This sequence can cut image weight by 70 percent or more with no visible quality loss, which directly improves the Largest Contentful Paint metric and overall page load.
Why do images dominate page weight?
A typical web page is mostly images by byte count. Text is tiny, CSS and JavaScript are bounded, but an unoptimized hero photo can be several megabytes on its own. Serving images at full resolution and in heavy formats makes the page heavy by default.
| Factor | Effect on size |
|---|---|
| Source resolution | Higher pixels = more bytes |
| Format | JPEG/WebP/AVIF differ widely |
| Compression quality | Higher quality = more bytes |
| Variants served | One big file vs right-sized |
The opportunity is large because the default — uploading a camera-resolution JPEG — is so wasteful. A 5000-pixel photo displaying at 800 pixels serves six times more pixels than needed, and a JPEG when WebP would do adds more on top. Fixing both shrinks the file dramatically.
Step 1: Resize to the display dimensions
Never serve more pixels than the image displays. Resize to the largest display width, multiplied by 2 for retina sharpness.

- Measure the display slot, not the source resolution.
- Multiply by 2 for retina screens (3x for dense phones).
- Resize before compressing — fewer pixels compress smaller.
- The resize guide covers doing this cleanly.
Step 2: Convert to a modern format
Format choice sets the floor for file size. WebP and AVIF compress photos far better than JPEG with no visible quality loss on modern browsers.

- AVIF — smallest, growing support. Serve with a WebP or JPEG fallback.
- WebP — the practical default, broadly supported, much smaller than JPEG.
- JPEG — the universal fallback for unsupported browsers.
- SVG — for logos and icons; infinitely scalable and tiny.
The format comparison and the AVIF vs WebP guide cover the trade-offs. Use the <picture> element to serve AVIF first with WebP and JPEG fallbacks.
Step 3: Compress to the target quality
After resizing and converting, compress to reduce bytes further. Quality 80 is the sweet spot for photos — the loss is invisible at display sizes.
| Content type | Quality target |
|---|---|
| Photos | WebP/AVIF at 80 |
| Graphics with flat color | PNG or lossless WebP |
| Screenshots with text | PNG or lossless WebP |
| Thumbnails | Lower quality acceptable |
Test at 100% zoom to confirm no visible artifacts. The compression guide covers the techniques.
Step 4: Serve responsive variants and lazy-load
Different screens need different sizes, and below-the-fold images do not need to load immediately. Handle both with markup.

- Use
srcsetwith width descriptors so each device gets the right file. - Add
loading="lazy"to below-the-fold images to defer them. - Keep the hero image eager-loaded so the LCP element loads fast.
- Always set width and height attributes to prevent layout shift.
The responsive images guide and the lazy loading guide cover the implementation in detail.
How does image speed affect Core Web Vitals?
Image optimization directly affects the Largest Contentful Paint (LCP) metric, which often measures how fast the hero image loads. A heavy, slow-loading hero pushes LCP past the 2.5-second threshold that Google treats as "good," which hurts both user experience and search ranking. The Core Web Vitals guide and the image SEO guide connect these gains to ranking, and the web.dev LCP documentation explains the metric. The Mozilla performance guide covers the broader measurement picture — run PageSpeed Insights after optimizing to confirm the LCP improved.
A worked example: optimizing one hero image
Walking through a single image makes the abstract steps concrete. Take a 5000-pixel-wide JPEG straight from a camera, destined for a 1200-pixel-wide hero slot on a website.
- Resize from 5000px to 2400px (1200 display × 2 for retina). The file shrinks immediately because the pixel count drops by more than 75 percent.
- Convert JPEG to WebP. The format change alone typically removes another 25-35 percent at equal quality.
- Compress to quality 80. The visible loss is negligible, but the bytes drop further.
- Serve with srcset offering 1200w and 2400w variants, so phones get the smaller file.
- Lazy-load if it is not the LCP element, or keep eager if it is the hero.
A 6 MB original becomes roughly 150 KB through these steps — a 97 percent reduction with no visible quality loss on the display. Multiply that across a page with a dozen images and the page weight collapses, which is exactly why image optimization is the highest-leverage speed work on most sites. The same logic applies to every image, which is why automating the pipeline pays off.
Automating optimization across a site
Optimizing one image by hand is simple; optimizing every image on a growing site by hand is not. The sustainable approach is to build optimization into the workflow so it happens automatically rather than as a manual step you can forget.
| Automation point | What it does |
|---|---|
| Build step | Compresses and converts images on deploy |
| CDN transformation | Resizes and reformats on the fly |
| CMS plugin | Optimizes images on upload |
| Batch pre-processing | Optimizes a folder before deploy |
A build-step tool that runs WebP conversion and compression on every image during deploy ensures no unoptimized image reaches production. For a CMS-driven site, a plugin that optimizes on upload catches images at the source. And for sites where the layout is unpredictable, a CDN that transforms on the fly handles sizing without manual variants. The right automation depends on the stack, but the principle is the same — make optimization the default so it does not depend on a person remembering to do it.
Measuring the result
Optimization without measurement is guesswork. After running the steps, verify the gains with real tools.
- Run Google PageSpeed Insights and check the image recommendations.
- Confirm the LCP is under 2.5 seconds.
- Check the network tab for the file sizes actually served.
- Test on a mobile connection, not just broadband.
A page that passes these checks after optimization has genuinely fast images. The work is repeatable — run the same steps on every image before publish and the speed gains hold across the whole site.
Frequently asked questions
What is the biggest image speed win?
Resizing to the display dimensions. A 6000px camera photo served at 800px display is the single largest waste. Resize first, then compress — the order matters more than the tool.
Should I lazy-load every image?
Everything below the fold, yes. The LCP hero must load eagerly (and be preloaded); lazy-loading it delays the largest element and hurts Core Web Vitals. Lazy-load the rest so they do not compete with the hero.
How do I measure image speed?
PageSpeed Insights field data over a 28-day window, not a single lab run. Lab tools (Lighthouse) show potential; field data shows what real users experience. CWV is scored on field data.
What format is fastest for the web?
WebP as the safe default (25–35 percent smaller than JPEG, universal support), or AVIF for the smallest files on modern browsers. Serve the modern format with a JPEG fallback through a <picture> element.
How do I serve responsive images?
Generate each image at the sizes your breakpoints need, then use srcset with a sizes attribute describing the display width, letting the browser pick the right file per viewport. The browser downloads only the variant it needs, saving bytes on small screens. See the responsive images guide for the full setup.
What is lazy loading?
A browser feature that delays loading images until they are near the viewport, so below-the-fold images do not compete with the hero for bandwidth. Add loading="lazy" to images below the fold. The LCP hero must load eagerly (not lazy), because lazy-loading it delays the largest element and hurts Core Web Vitals.
Use the free tools while you follow the guide.
Keep reading

2026-07-18
How to Add Text to Photos Without Losing Readability
Add clean text overlays to photos for social posts, product images, banners, and watermarks. Includes contrast checks, layout rules, tools, and batch options.
2026-07-18
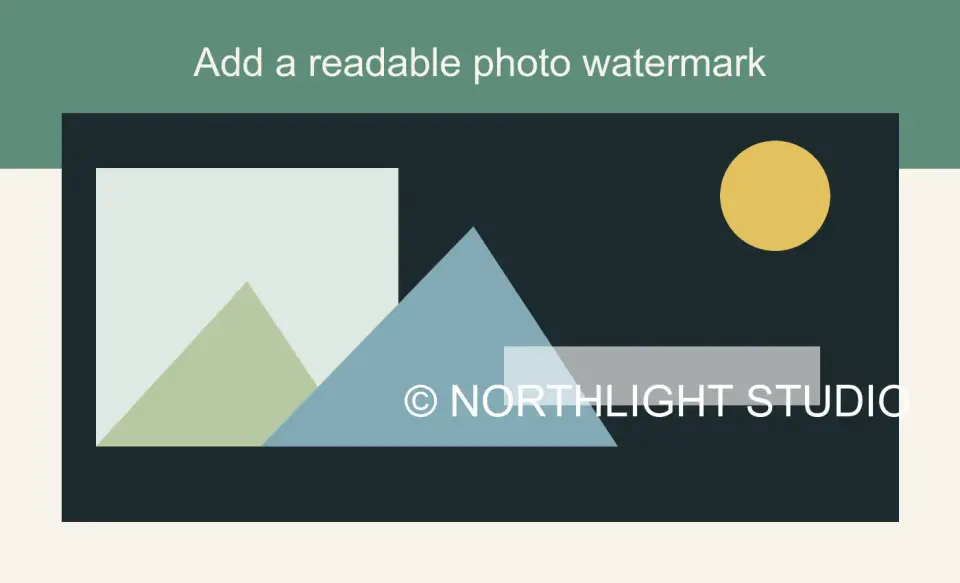
Add a Watermark to an Image Free: Practical Photo Guide
Add a readable text or logo watermark to photos for free. Pick placement, opacity, export size, and batch settings without ruining the image.

2026-07-13
Image Workflow Builder: Chain Tools Into One Pipeline
Chain background removal, resize, and compression into one reusable pipeline. Compared against BatchTool, chaiNNer, and Photoshop Actions.