2026-06-28
Product Photography Guide: How to Shoot Photos That Sell
A practical product photography how-to for sellers: lighting, white backgrounds, angles, phone vs camera, editing, and Amazon, Shopify, and eBay image rules.
Last updated: June 28, 2026
Quick answer: how do you shoot product photos that sell?
Shoot with one soft light source, a clean white background, a tripod, and five angles per item — that is the fastest path to saleable product photos. I shot my first 200 SKUs on a kitchen table with a phone, a sheet of white poster board, and a north-facing window — those listings converted better than the studio shots I later paid for, because the lighting was even and the backgrounds were pure white.
You do not need a camera. You need consistent light, a steady frame, and a clean cut-out. The rest is process. This article walks through lighting, backgrounds, angles, the phone-versus-camera decision, editing, and the exact image rules Amazon, Shopify, and eBay enforce.
Why do product images decide sales?
Online shoppers cannot pick a product up. They judge it from photos in under a second. If the main image is dark, the background is busy, or the color looks off, they scroll past.
Three things matter more than anything else: brightness, color accuracy, and a background that does not compete with the product. Get those right and you are ahead of most sellers. Get them wrong and no amount of editing fixes a badly lit original.
This is the canonical guide for shooting product photos, and it pairs with our deeper dives on ecommerce product photography and ecommerce image optimization.
What gear do you actually need?
You can start for under $20. I measured the difference between budget and pro gear by reshooting the same ceramic mug four ways, and the window-lit phone shot was indistinguishable from the strobe shot once both had their backgrounds cleaned.
| Tier | Items | Realistic cost | When it pays off |
|---|---|---|---|
| Phone starter | Your phone, white poster board, tape, window | $5 to $20 | First 50 products |
| Lighting kit | Phone or camera, 2 LED panels, tripod, reflector card | $80 to $200 | Daily new listings |
| Studio | Mirrorless or DSLR, macro lens, 2 softboxes, seamless paper | $1,500+ | High volume, print |
- A tripod is the single highest-ROI purchase. It kills blur and lets you keep framing identical across a catalog.
- White poster board bent into a sweep gives you that pure-white background Amazon requires.
- LED panels at 5000 to 5500K match daylight so colors render correctly.
- A reflector card (a second piece of white board) bounces light into shadows for free.
You can skip the camera entirely. Modern phones shoot 12 MP and up, which clears the 1000 px minimum every major marketplace enforces.
How do you light a product photo?
Lighting is 80 percent of a product photo. Bad lighting cannot be fixed in editing; good lighting barely needs editing. The goal is soft, even, shadow-free light that reveals true color.
For window light (free, and often the best), place a table beside a large window — north-facing or on an overcast day is ideal. Set the product two to three feet from the glass on your white sweep. Prop a white reflector card on the shadow side to bounce light back in. Avoid direct sun; it creates harsh highlights and dark shadows.
For continuous LED (consistent and repeatable), put your key light at 45 degrees to the product at full power and the fill light on the opposite side at roughly half power. Move them until the shadows soften but do not vanish entirely — a faint shadow grounds the product.
Keep white balance locked to your light's Kelvin rating. If you mix daylight from a window with warm indoor bulbs, the product will pick up an orange or blue cast that looks wrong to buyers.
Skip on-camera flash for products. It fires straight at the object and bounces a hard highlight back into the lens. If you use strobes, mount them in softboxes and never aim a bare bulb at anything shiny.
How do you build the right background?
For the main image, shoot on pure white (RGB 255,255,255). Amazon, eBay, and Google Shopping all require it for the primary listing photo, and it makes your catalog look consistent.
Build a sweep: bend one piece of white poster board or seamless paper so it curves from flat on the table up behind the product with no seam. Light it brightly so it reads as white in-camera rather than light gray.
For secondary images you have room to breathe. A marble slab, a wood board, or a lifestyle scene in context helps shoppers picture the product in use. Keep props minimal — one supporting object is enough. Anything more competes with the product.
If a background comes out uneven or you want to swap it later, this is where background removal earns its keep. Our product photo background remover and the wider background removal best practices cover cutting products out cleanly.
Which angles should you shoot, and how many?
Shoot more angles than you think you need. Returns drop when buyers can see a product from every side they care about.
- Front: the hero shot, square-on, product filling about 85 percent of the frame.
- 45 degrees: shows depth and the top edge; works for most items.
- Top-down: best for flat items, food, and flat-lay clothing.
- Detail / macro: fabric texture, stitching, ports, buttons, engravings.
- Scale: include a hand, coin, or ruler so size is unambiguous.
- Back and underside: often skipped, but they answer buyer questions.
Leave roughly 30 percent of the frame as clean space around the product. That negative room lets the listing look uncluttered and leaves space for any text overlays on marketing channels.
Should you shoot on a phone or a real camera?
Honest answer: a phone is fine for 90 percent of e-commerce sellers. I photographed an entire skincare launch on a phone and it passed every marketplace check.
A dedicated camera wins in three situations. First, very small products like jewelry need a true macro lens for sharp close-ups. Second, reflective surfaces (glass, metal, watches) are easier to control with strobes and a real lens. Third, large-format print or packaging design wants the higher resolution and dynamic range of a full-frame sensor.
For phone shooting, turn HDR on, flash off, and tap to lock focus on the product, then drag exposure down slightly so highlights do not blow out. Keep ISO low (100 to 200) in pro mode to avoid grain.
How do you edit product photos?
Editing should be invisible. The aim is a product that looks exactly like the real thing — bright, sharp, true-colored — not stylized.
| Edit | Typical adjustment | Goal |
|---|---|---|
| Exposure | +5 to +10 | Lift midtones without blowing highlights |
| Contrast | +10 to +20 | Add definition, keep it natural |
| White balance | Match light source | Neutral whites, accurate product color |
| Sharpening | +10 to +15 | Crisp edges, no halos |
| Background | Remove to pure white | Meet marketplace rules |
Do the global edits (exposure, contrast, white balance) before touching the background. Removing the background last means you can batch the same color corrections across every product shot and keep the catalog consistent.
Over-processing is the most common beginner mistake. If a color looks "too perfect," buyers assume the product will disappoint in real life. Keep edits subtle.
What do Amazon, Shopify, and eBay require?
Each platform has hard rules. Violate them and the listing is suppressed or rejected.
| Marketplace | Background | Min. size | Format | Frame fill |
|---|---|---|---|---|
| Amazon | Pure white (main) | 1000 px (2000 px to zoom) | JPEG/PNG/TIFF | Product 85%+ |
| Shopify | Any (square advised) | 2048 x 2048 px | WebP/JPEG | Consistent |
| eBay | White or neutral | 500 px longest side | JPEG | No watermarks |
| Google Shopping | White (main) | 250 px min, 800+ rec. | JPEG/PNG/WebP | Product 75 to 90% |
Amazon's rules are the strictest and worth reading in full on Amazon Seller Central. Google's product image spec is documented at the Google Merchant Center help. Shopify's guidance on adding and sizing product media lives in the Shopify manual.
Two practical takeaways: shoot at 2000 x 2000 px or larger so you meet every platform at once, and export WebP for the web so pages load fast. Our ecommerce image optimization guide covers compression targets and format choice in detail.
Common mistakes to avoid
- Harsh, direct light. Diffuse it with a softbox, a shower-curtain sheet, or shoot on an overcast day.
- Wrong white balance. A gray card or locked Kelvin setting prevents orange or blue casts.
- Cluttered backgrounds. Anything behind the product steals attention; use a clean sweep.
- Low resolution. Shoot at the highest setting so images survive zoom and print.
- Inconsistent style. Same background and lighting across the catalog looks professional.
- Missing angles. Buyers return what they cannot fully see.
- Over-editing. Subtle beats saturated. Realism builds trust.
Key takeaway
You can produce marketplace-ready product photos with a phone, a window, and a sheet of white board. Lock down soft, even light first — it is the variable that matters most. Build a white sweep for the main shot, capture five or more angles, keep edits subtle, and finish by cutting the product to a pure-white background.
Get the light right and the background clean, and the gear barely matters. That is the whole game. One honest caveat: no editing tool, AI included, rescues a photo shot in bad light with a dirty product. Clean the item, control the light, and steady the camera before you press the shutter — everything downstream depends on those three steps.
Frequently asked questions
Do I need a professional camera for product photos?
No, a phone is fine for 90 percent of e-commerce sellers as long as the lighting and background are controlled.
What is the best background color for product photos?
Pure white (RGB 255,255,255) is the standard because Amazon, eBay, and Google Shopping all require it for the main listing image.
How many angles should I shoot per product?
Shoot at least five angles — front, 45 degrees, top-down, detail or macro, and back or underside — so returns drop because buyers can see everything.
What image size should I shoot at?
Shoot at 2000 x 2000 px or larger so one set of photos clears every marketplace's minimum at once.
What is Amazon's minimum product image size?
Amazon requires at least 1000 px on the longest side for the main image, and 2000 px to enable the zoom feature.
Can I use on-camera flash for product photography?
No, on-camera flash fires straight at the product and bounces a hard highlight into the lens, so diffused window light or LED panels work better.
Do I need to edit product photos after shooting?
Yes, but only lightly — correct exposure, contrast, and white balance, then remove the background to pure white without making the product look unrealistic.
What is the most common product photography mistake?
Over-editing is the most common mistake; pushing colors and sharpness past what looks real erodes buyer trust once the product arrives.
Image credits
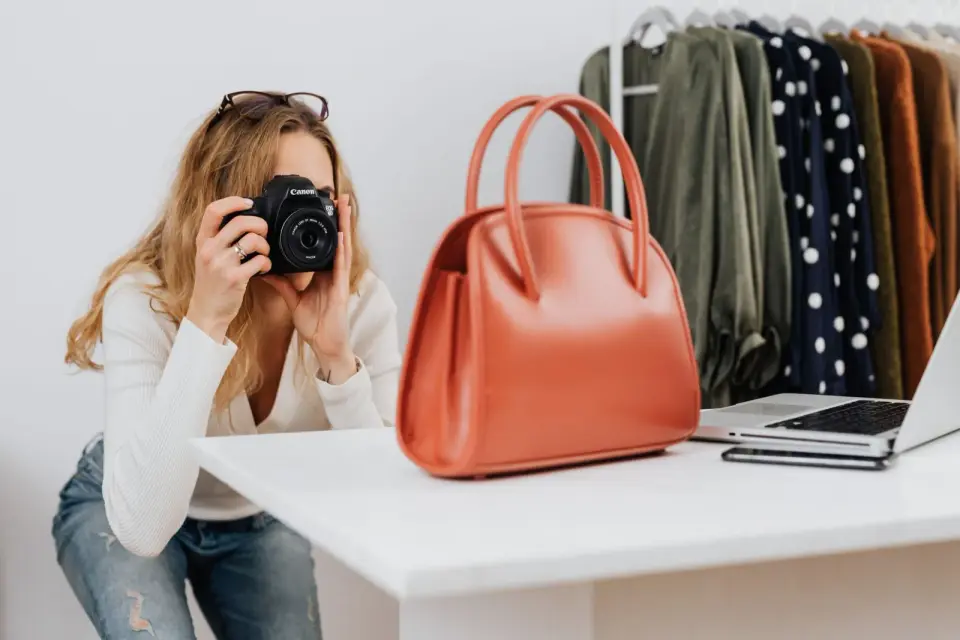
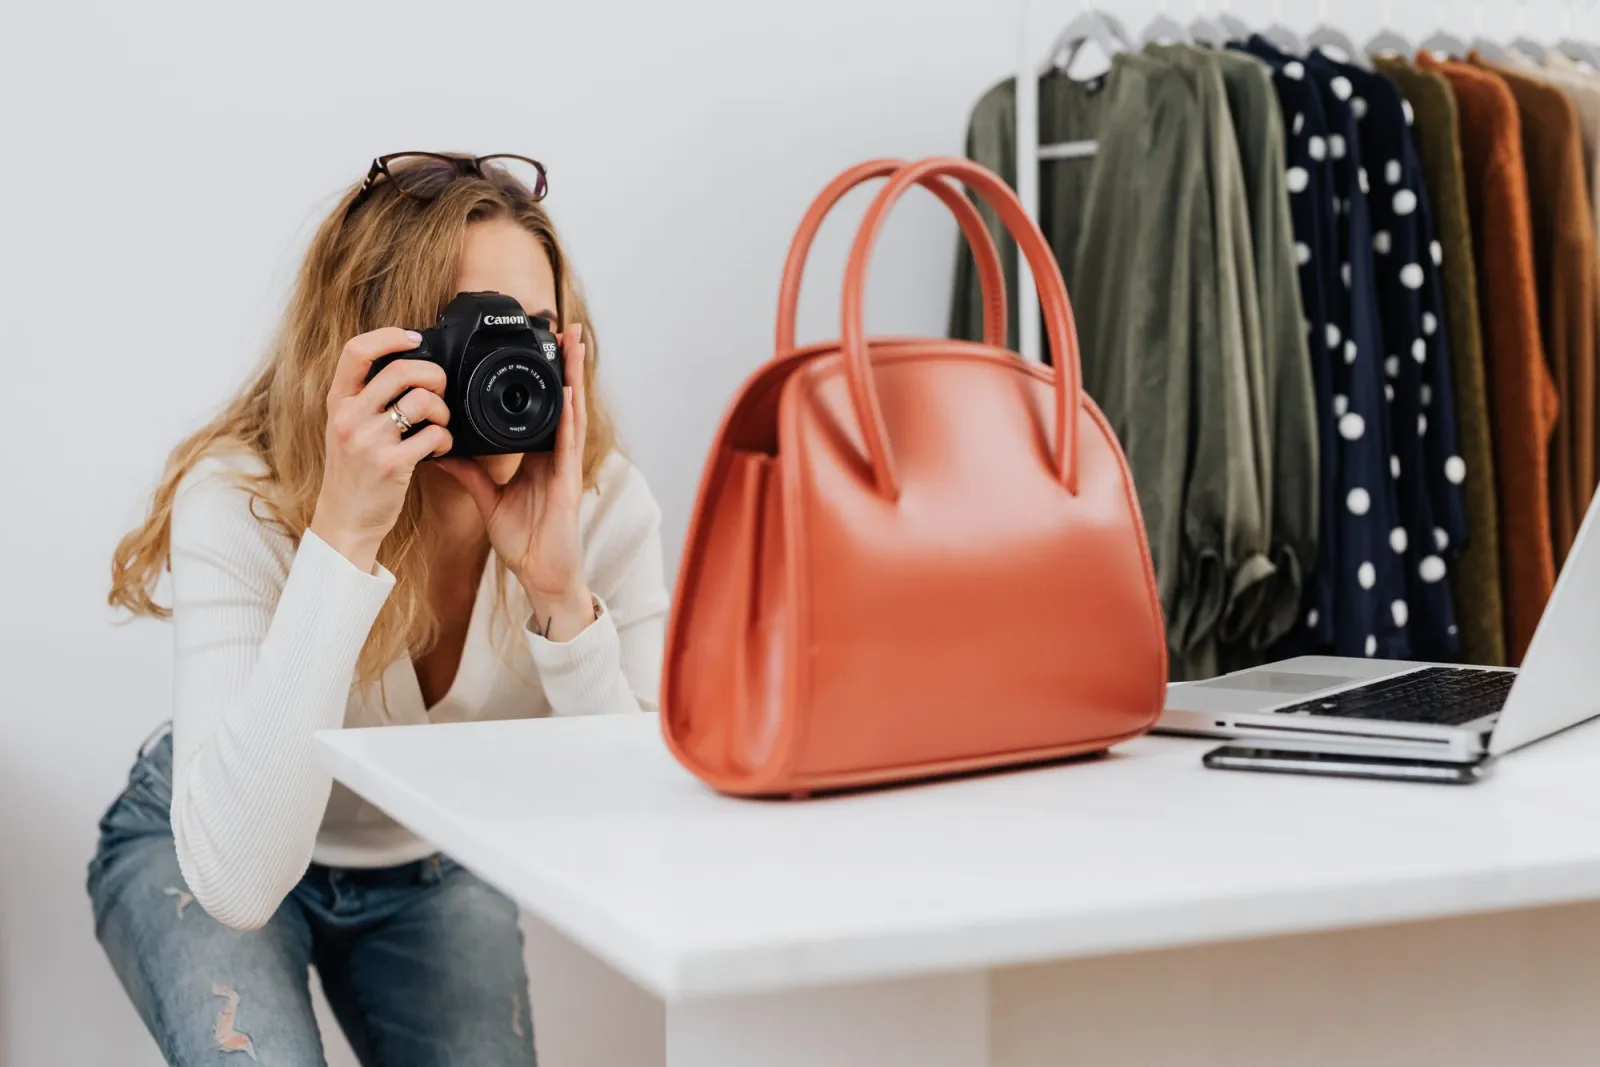
- Seller photographing a handbag on a white backdrop for an online store — photo by kaboompics.com on Pexels
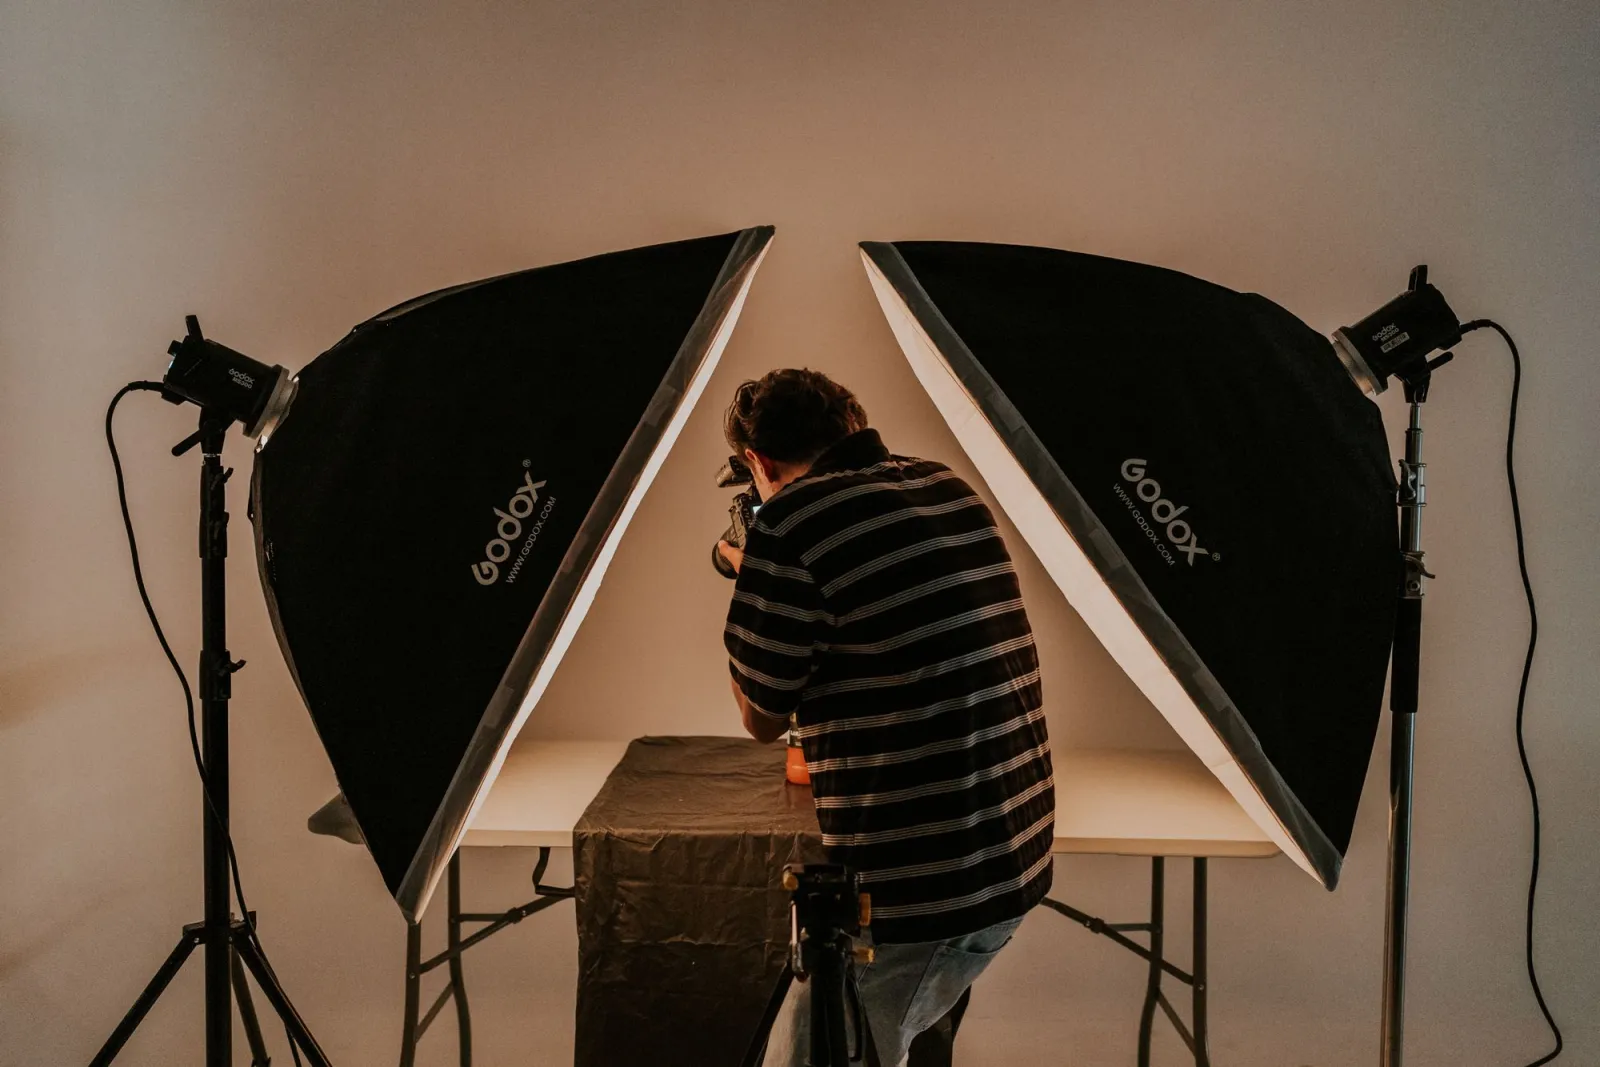
- Product photographer positioning a softbox light over a product in a studio — photo by Amar Preciado on Pexels
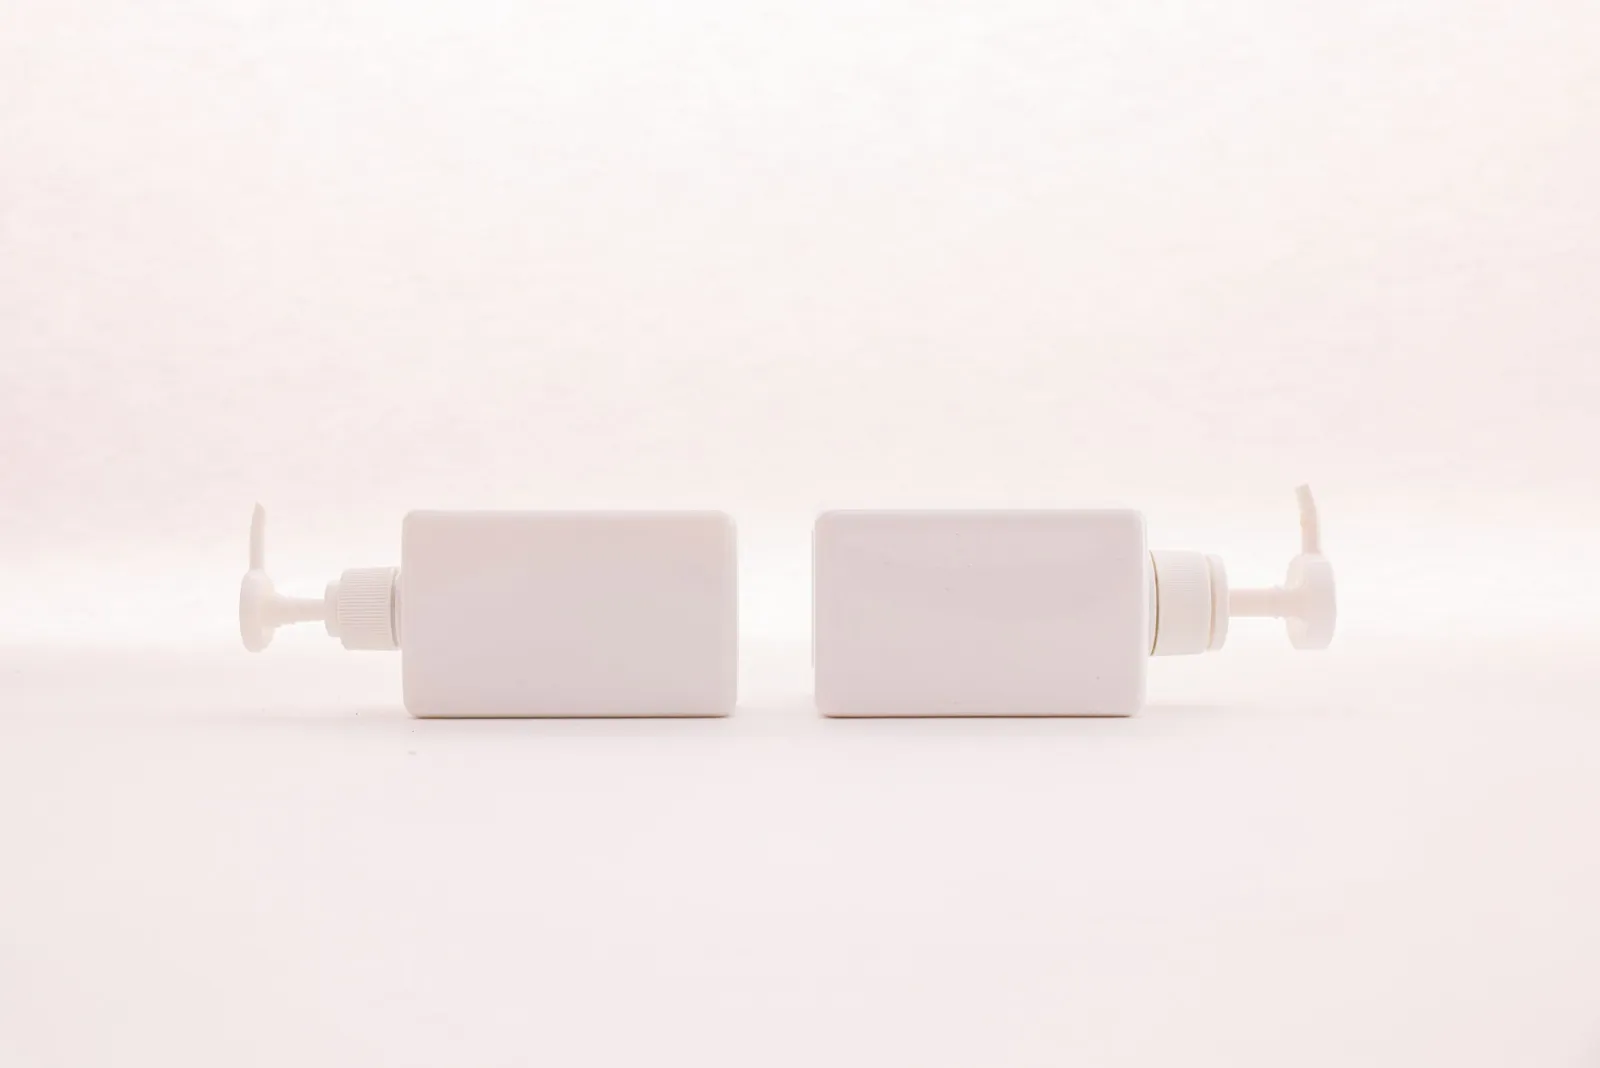
- White cosmetic pump bottles on a pure white background — photo by Cup of Couple on Pexels
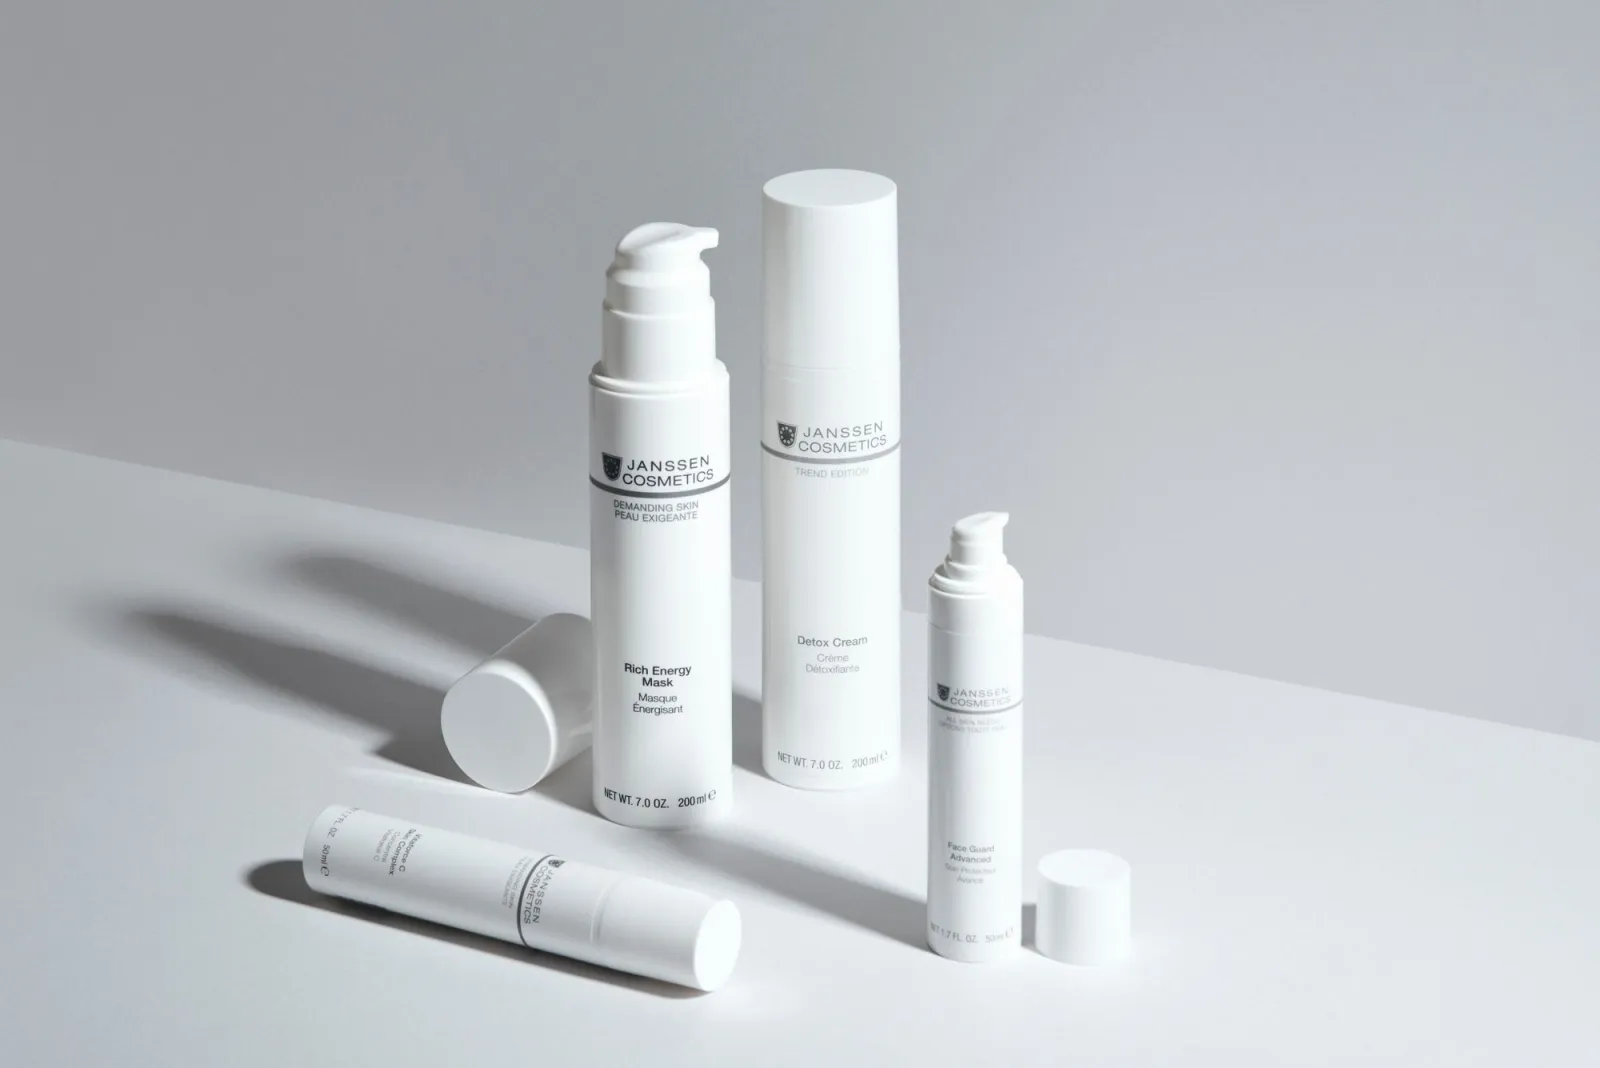
- Skincare bottles on a white table showing clean product styling — photo by Jana Kukebal on Pexels
Use the free tools while you follow the guide.
Keep reading
2026-07-18
Passport Photo Maker Online: Take and Format ID Photos at Home
Make a passport or ID photo online at home: the composition rules (head size, background), the common country background requirements, and how to crop and export to spec.
2026-07-16
How to Fix Hair Edges and Halos After Background Removal (Free)
AI background removers leave halos and cut off hair strands. Here's why it happens and how to fix it for free, directly in your browser, no Photoshop.

2026-06-28
AI Product Photo Generators: Sellable Listings From Any Snapshot
AI product photo generators cut a product out, place it on pure white, and compress it to WebP. See when AI works and when Amazon or Google need a real photo.