2026-07-18
Add a Watermark to an Image Free: Practical Photo Guide
Add a readable text or logo watermark to photos for free. Pick placement, opacity, export size, and batch settings without ruining the image.
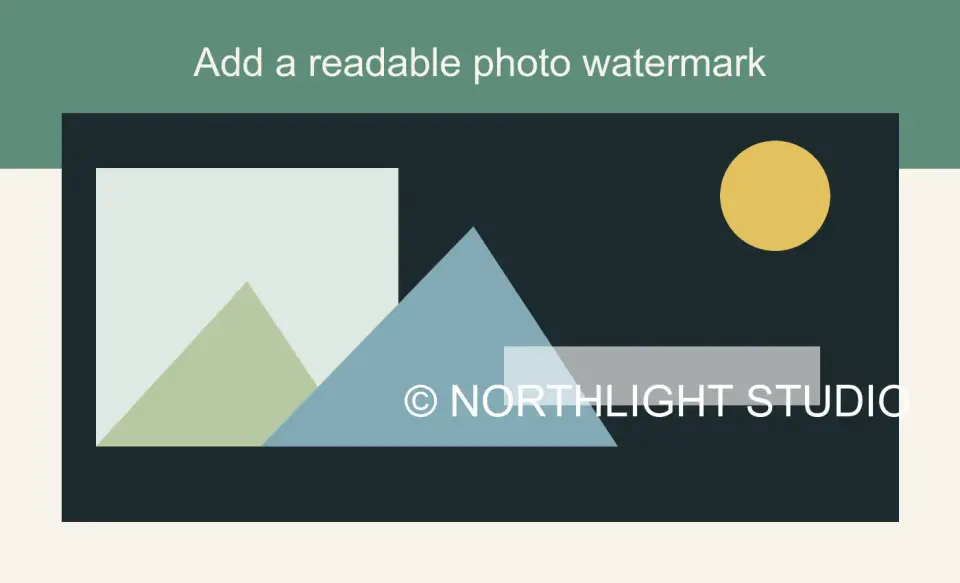
Last updated: July 17, 2026
Watermarking is useful when you need a proof, preview, listing image, or portfolio sample to travel with your name attached. It will not make a photo impossible to steal. It does make casual reuse less attractive, and it gives viewers a clear credit when an image is reposted.
Use the workflow below when you want a watermark that is visible enough to matter but clean enough that the photo still looks professional.
Quick answer: how do you add a watermark to an image for free?
Resize the image to its final sharing size, add a short text or transparent logo watermark, set opacity around 35-50%, place it where cropping would damage the photo, then export a separate proof copy. Keep your original file untouched.
For one photo, a browser editor is enough. For a free browser tool with no signup, use the Watermark Maker — add text or a logo, set opacity and position, and export. For a folder of client proofs, use a batch tool such as ImageMagick, XnConvert, or a dedicated watermark app. If the watermark is a logo, prepare it as a transparent PNG or WebP first. A logo inside a white rectangle looks like a pasted sticker, not a watermark.
Copyright still belongs to the creator even without a watermark. The U.S. Copyright Office explains that copyright protects original creative work once it is fixed in a tangible form. A watermark is a practical signal on the image, not the source of the copyright itself.
What kind of watermark should you use?
Pick the mark based on what the image is doing. A product seller needs clean attribution. A wedding photographer sending proofs needs a mark that discourages screenshots. A designer posting a mockup needs a small credit that does not fight the layout.
| Watermark type | Best for | Watch out for |
|---|---|---|
| Small corner text | Social posts, blog images, portfolio samples | Easy to crop off |
| Center translucent text | Client proofs, stock previews, paid downloads | Can distract from faces and products |
| Logo mark | Brand photos, agency work, product photography | Needs transparent background and enough contrast |
| Diagonal proof mark | Drafts, review images, licensing previews | Looks heavy if opacity is too high |
| Repeating tile | High-risk previews and large galleries | Usually too harsh for public marketing images |
Keep the wording short:
- Use
© 2026 Namefor a simple creator mark. - Use the studio or store name when brand recognition matters.
- Use
PROOFonly for client review images. - Avoid long URLs unless the image is meant to be reposted without captions.
- Do not put phone numbers, email addresses, or client details inside the image.
If the photo will also be optimized for search, write descriptive filenames and alt text separately. Google's image SEO guidance recommends useful context around images, descriptive filenames, and relevant alt text in HTML. A watermark does not replace those signals; see Google Search Central's image SEO documentation.
Where should a watermark go?
Place the watermark where removing it would harm the image, but not where it hides the thing a buyer or client needs to inspect. That usually means a lower third, a center-lower overlay, or a diagonal mark across open space.
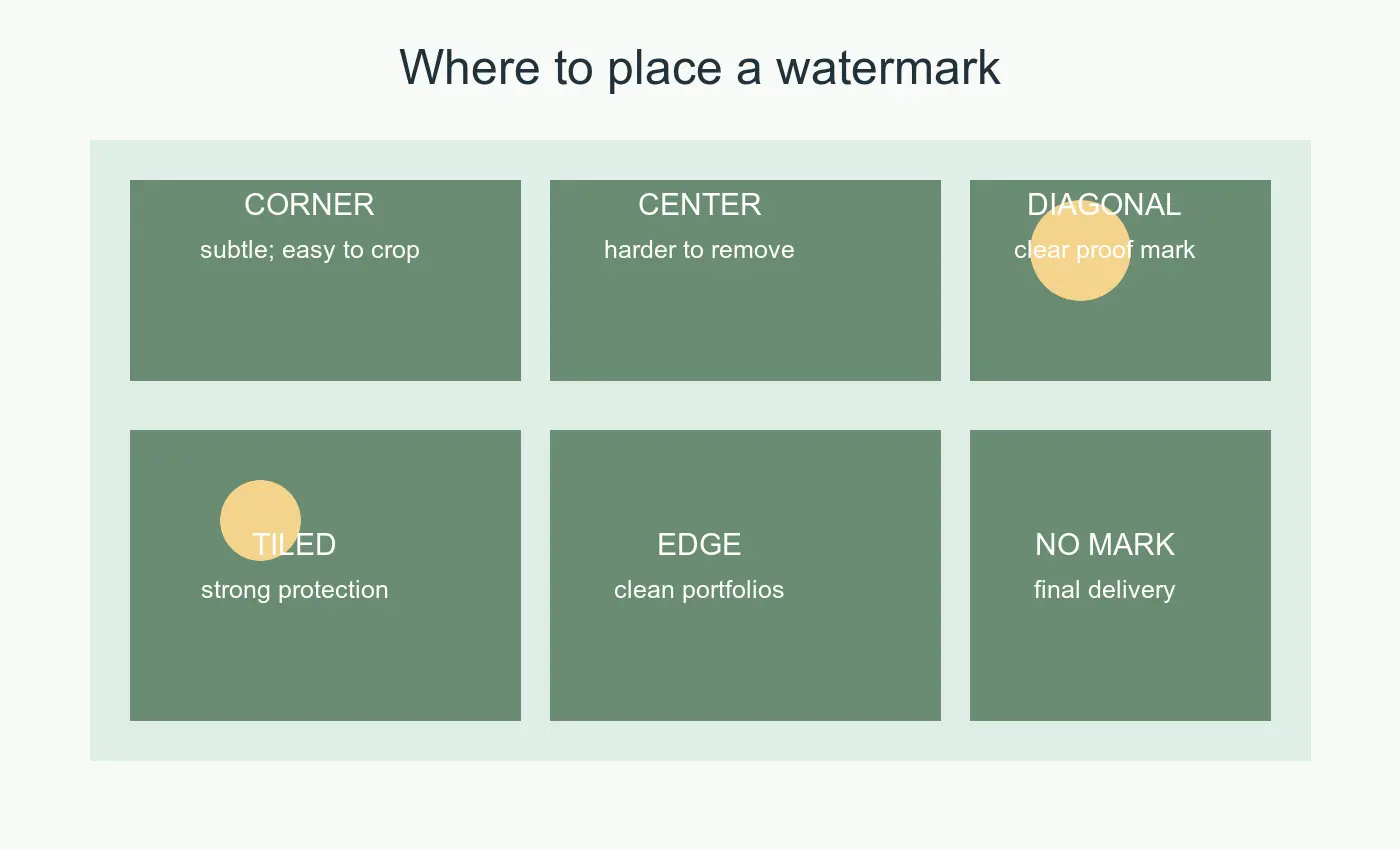
| Placement | Protection | Visual cost | Use it when |
|---|---|---|---|
| Lower corner | Low | Low | You mainly want attribution |
| Lower center | Medium | Medium | The image has empty foreground or background |
| Across subject | High | High | You are sending proofs, not finals |
| Diagonal band | High | Medium-high | You need obvious preview status |
| Tiled repeat | Very high | Very high | The image has commercial value and will not be judged for beauty |
Use these placement checks before exporting:
- Zoom out to phone size. If the watermark disappears, raise the size or opacity.
- Check the brightest area. White marks vanish on sky, paper, snow, and white products.
- Check the darkest area. Black marks vanish on hair, shadows, dark clothing, and night scenes.
- Avoid faces, product labels, food texture, jewelry detail, and real estate room features.
- Put the mark inside the important crop, not on the very edge.
For social images, crop first. If you add a watermark to a wide master image and later crop it into a square, you may cut off the mark. Use the social media image sizes guide before you export platform-specific versions.
How visible should the watermark be?
Start at 40% opacity for white text or a white logo. Move down to 30-35% if the image is quiet and the mark feels loud. Move up to 50-60% for busy photos, screenshots, or low-contrast backgrounds.
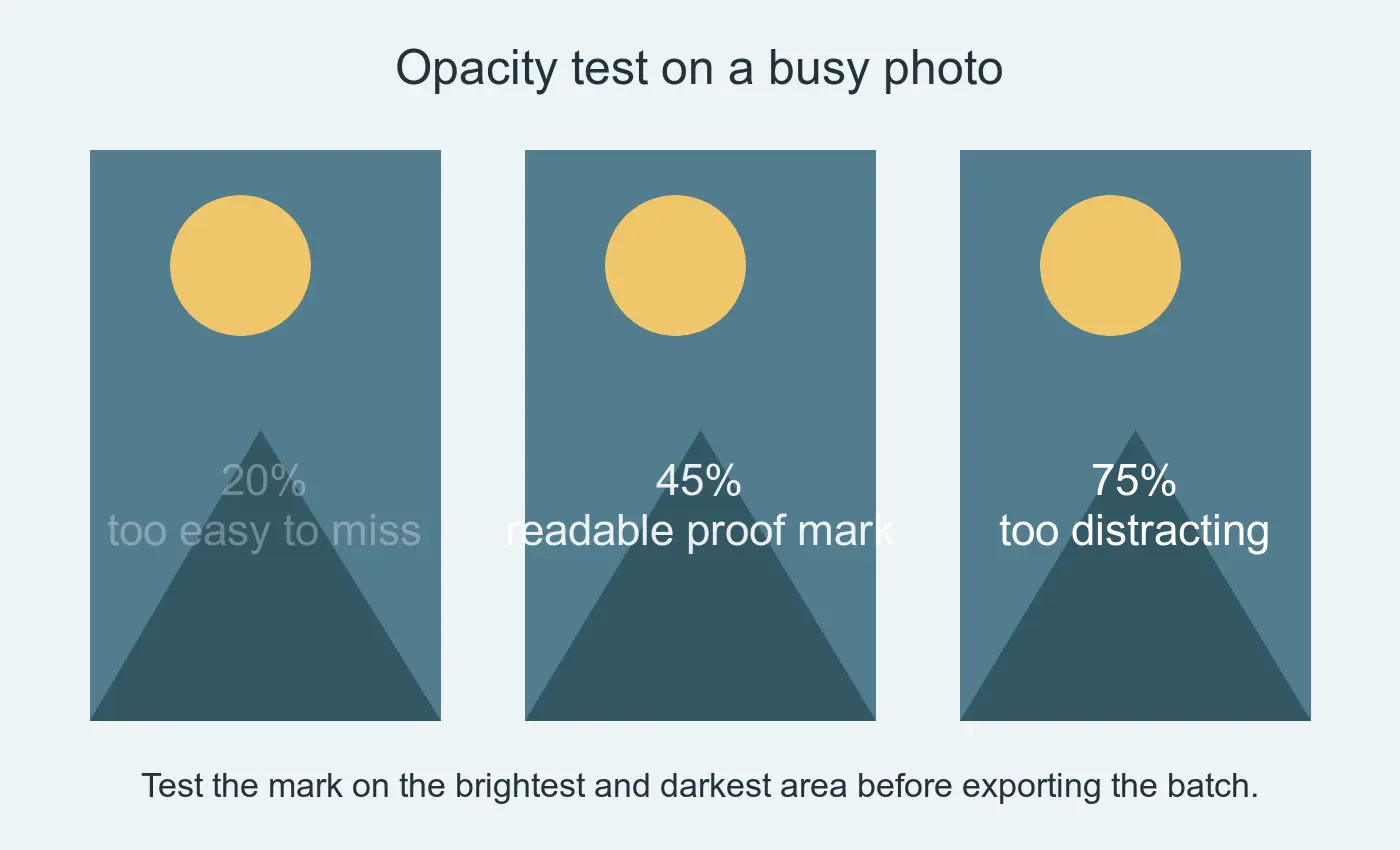
The easiest mistake is designing the watermark on one photo and applying it to a mixed batch. A mark that looks perfect on a dark portrait can disappear on a white product cutout. Test one light image, one dark image, and one busy image before running the batch.
I tested the opacity frames for this guide at 20%, 45%, and 75% because those three stops show the usual failure points: invisible, readable, and overpowering.
Use a subtle outline or shadow only when needed. A one- or two-pixel dark shadow can keep white text readable on bright areas. Thick shadows look dated and make the photo feel like a flyer.
For text watermarks:
- Use a clean sans-serif font.
- Keep letter spacing normal.
- Use sentence case or small caps, not a long all-caps sentence.
- Keep the mark under six words when possible.
- Export one test image and view it at the size people will actually see.
What is the best free workflow for one image?
Use this order when you only need to watermark a few images:
- Save a copy of the original.
- Crop to the final aspect ratio.
- Resize to the final display size.
- Add the text or logo watermark.
- Export as JPEG or WebP.
- Compress the exported copy.
- Keep a clean final version for paid delivery or archive.
Resizing first matters. If you add a 90-pixel watermark to a 6000-pixel image and then shrink the photo to 1200 pixels wide, the watermark may become unreadable. If you add the watermark after resizing, its size is predictable.
If your image is too large for upload, resize it with Image Resize: Keep Quality before watermarking. If you need a strict file target for email or a marketplace upload, use the workflow in compress an image to under 100KB after the watermark is applied.
For a logo watermark, remove the logo background first. The transparent images guide explains why PNG and WebP alpha channels matter. You can also use the background removal best practices if the logo came from a photo or scanned document rather than a clean design file.
How do you batch watermark many photos?
Batch watermarking is worth setting up when you have proofs, marketplace images, event albums, or listing photos. The rule is simple: never write over originals. Put clean masters in one folder and watermarked proofs in another.
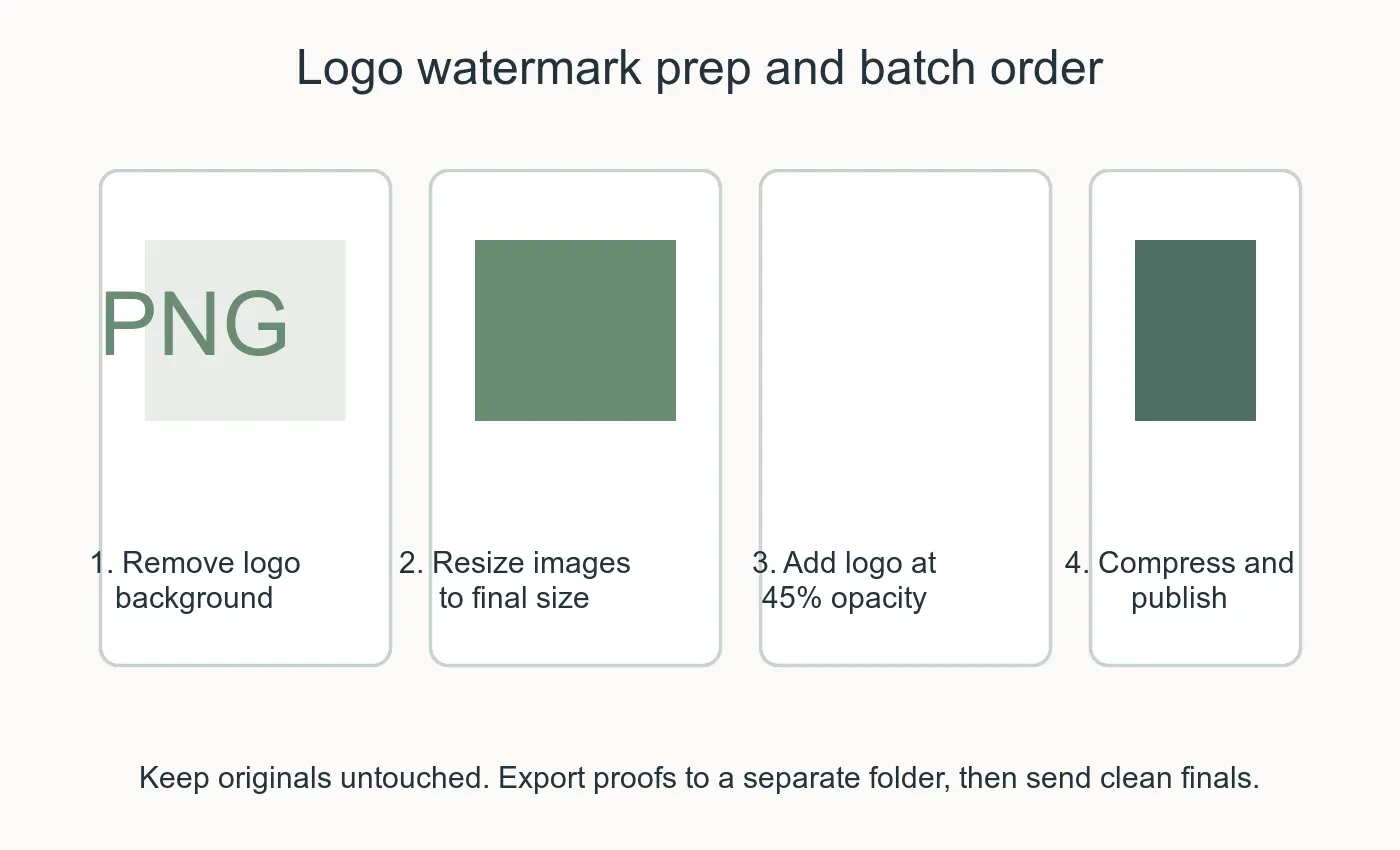
| Batch step | Why it comes here | Tool examples |
|---|---|---|
| Duplicate originals | Prevents permanent damage | Finder, Explorer, shell copy |
| Resize copies | Keeps watermark size consistent | Imagic AI Image Resizer, ImageMagick, XnConvert |
| Apply watermark | Adds attribution or proof status | Watermarkly, XnConvert, ImageMagick composite |
| Compress outputs | Reduces upload weight | Imagic AI Image Compressor, Squoosh, cwebp |
| Spot-check samples | Catches invisible or ugly marks | Any image viewer |
If you are comfortable in a terminal, ImageMagick can place a transparent logo over every JPEG in a folder. Test the command on one file before running it on a full gallery.
mkdir -p watermarked
magick input.jpg logo.png -gravity southeast -geometry +48+48 -compose over -composite watermarked/input.jpg
For a whole folder, use a loop that writes to a new output directory:
mkdir -p watermarked
for file in *.jpg; do
  magick "$file" logo.png -gravity southeast -geometry +48+48 -compose over -composite "watermarked/$file"
done
If you need more control, read the ImageMagick compose documentation and test opacity in the logo file itself. A semi-transparent logo is easier to reuse than trying to tune opacity differently in every command.
When should you skip the watermark?
Do not watermark every image by default. Some images need clean sharing more than visible ownership.
Skip the watermark when:
- You are delivering final paid files to a client.
- The image is a press asset that partners are meant to reuse.
- The photo is part of a marketplace listing where overlays are restricted.
- The image is a small thumbnail and the mark would become clutter.
- The goal is a clean portfolio hero or ad creative.
Marketplace and ad platforms can reject images with too much overlay text, so check the current rule for the platform before uploading. Meta's ad guidance, for example, focuses on image quality and policy compliance rather than encouraging heavy text overlays; review Meta's advertising standards when the image will become an ad.
For ecommerce images, a watermark may reduce theft but also makes the product harder to judge. The safer pattern is to watermark proofs and previews, then keep main product images clean. If you sell online, the product photography guide is the better next step for lighting, backgrounds, and consistent crops.
Final checklist before you publish
Run this quick check before posting watermarked images:
| Check | Pass condition |
|---|---|
| Original preserved | Clean master is stored separately |
| Final crop chosen | Watermark is not cut off by platform crop |
| Opacity tested | Mark is readable on light, dark, and busy samples |
| Logo transparent | No white box appears behind the logo |
| Export size correct | Image is resized before compression |
| Clean final available | Paid or delivered file has no proof watermark |
A good watermark should answer one question fast: who owns or supplied this preview? If it takes over the image, lower the opacity, move it away from the subject, or use a smaller mark.
Related guides
- Image Resize: Keep Quality
- Social Media Image Sizes Guide
- Compress an Image to Under 100KB
- Transparent Images Guide
- Product Photography Guide
Frequently asked questions
What opacity should I use for a watermark?
Start around 40% for a white text or logo mark, then drop to 30-35% on quiet images or raise it to 50-60% on busy, low-contrast photos.
Where is the best place to put a watermark on a photo?
Put it in a lower third, lower-center overlay, or diagonal band across open space so removing it would damage the image without covering the subject.
Should I watermark an image before or after resizing it?
Resize first, then add the watermark, so a mark sized for a 6000-pixel master does not shrink to unreadable when the photo is exported at 1200 pixels wide.
What file format should a logo watermark be?
Save the logo as a transparent PNG or WebP before applying it, since a logo on a solid white rectangle reads as a pasted sticker instead of a watermark.
How do I watermark a large batch of photos for free?
Duplicate the originals, resize the copies, apply the mark with a tool such as ImageMagick's composite command or XnConvert, then compress the outputs.
Does adding a watermark protect my copyright?
No; copyright exists automatically once a photo is created, and a watermark is only a visible, practical signal of ownership on top of that legal protection.
When should I skip watermarking an image?
Skip it for final paid deliveries, press assets meant for reuse, marketplace listings that restrict overlays, small thumbnails, and clean portfolio or ad heroes.
What text should I put in a watermark?
Keep it under six words, such as © 2026 Name or a studio name, and never include phone numbers, emails, or other client details.
Use the free tools while you follow the guide.
Keep reading

2026-09-13
How to Blur Faces and License Plates Before You Post
Blur or pixelate faces and license plates so they stay unreadable. Which method actually anonymizes, what fails, and how to avoid leaking EXIF location data.
2026-08-27
Invisible Watermarks: What Image Files Now Carry in 2026
Paint embeds a server-issued GUID in AI images, platforms strip C2PA manifests, and a plain WebP export drops all of it. What your files really carry, and how to check.

2026-07-28
Batch Image Processing: Pipeline Order, Settings, and Tools
Batch image processing runs resize, compress, and convert jobs across whole folders. The pipeline order, measured quality settings, tool choice, and automation.