2026-03-02
AI Image Upscaler Guide: Enlarge Photos Cleanly
Learn when AI image upscaling helps, how to choose 2x or 4x enlargement, and how to inspect artifacts before publishing or printing.
Last updated: June 28, 2026
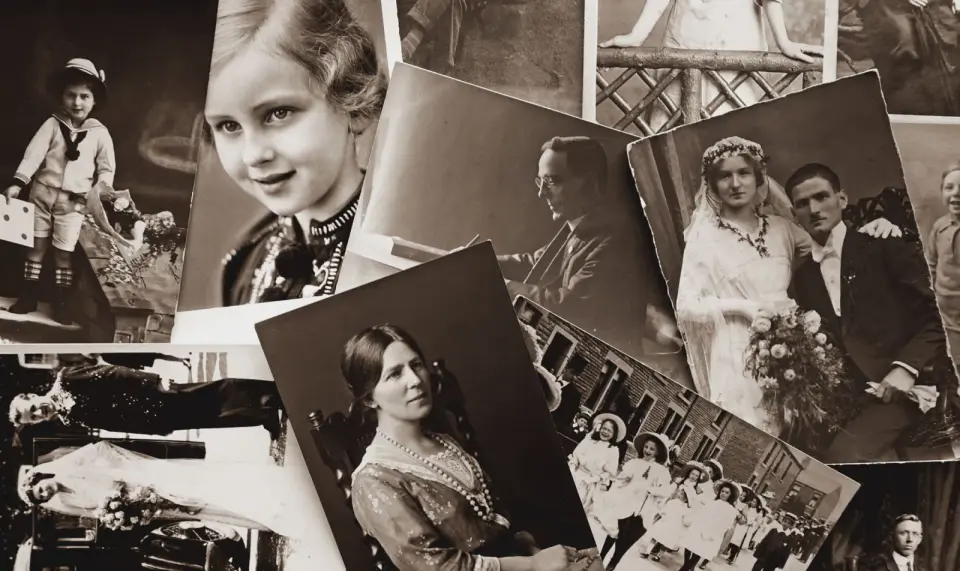
AI upscaling can rescue a small product photo, old scan, profile image, or cropped social asset. It cannot recover information that was never visible, so the practical work is choosing the right source, scale factor, and inspection pass.
This guide explains when to use an AI image upscaler, when to skip it, and how to publish the result without introducing new blur or oversized files.
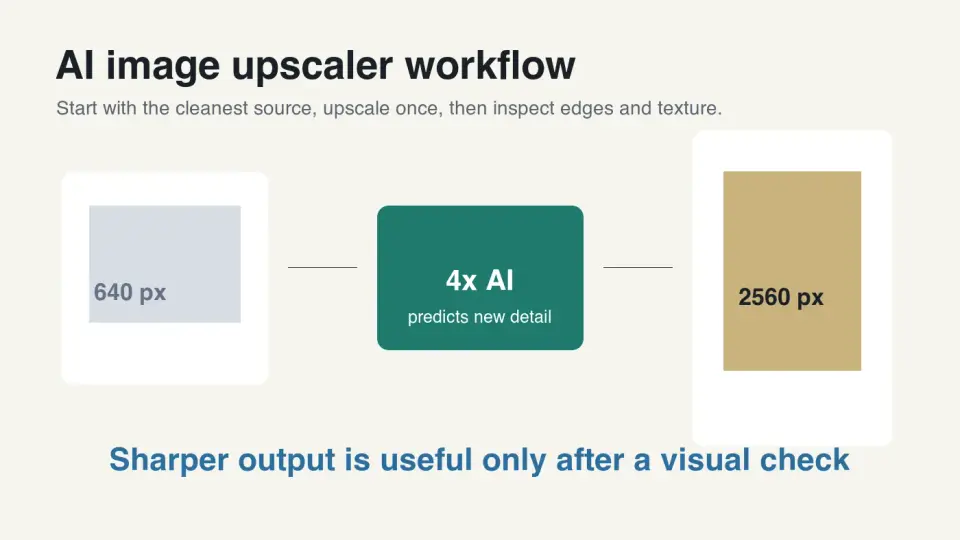
Quick answer: how do you upscale an image without making it blurry?
Use the cleanest original file, upscale once, and inspect the result at the final display size. A 2x upscale is the safest choice for web reuse. A 4x upscale is useful when the image will be printed, cropped tightly, or shown on high-density screens.
AI upscalers work better than ordinary resize filters because they predict plausible texture and edges instead of only stretching pixels. That helps with portraits, product photos, old scans, food images, and textured backgrounds. It is less reliable for tiny text, logos, UI screenshots, and documents.
After upscaling, export the final web copy as WebP or AVIF and keep a master copy in a lossless format. If you are also reducing file size, do that after the enlargement pass. The image compression ratio guide explains how to measure the final byte savings without hiding visible damage.
What does an AI image upscaler actually do?
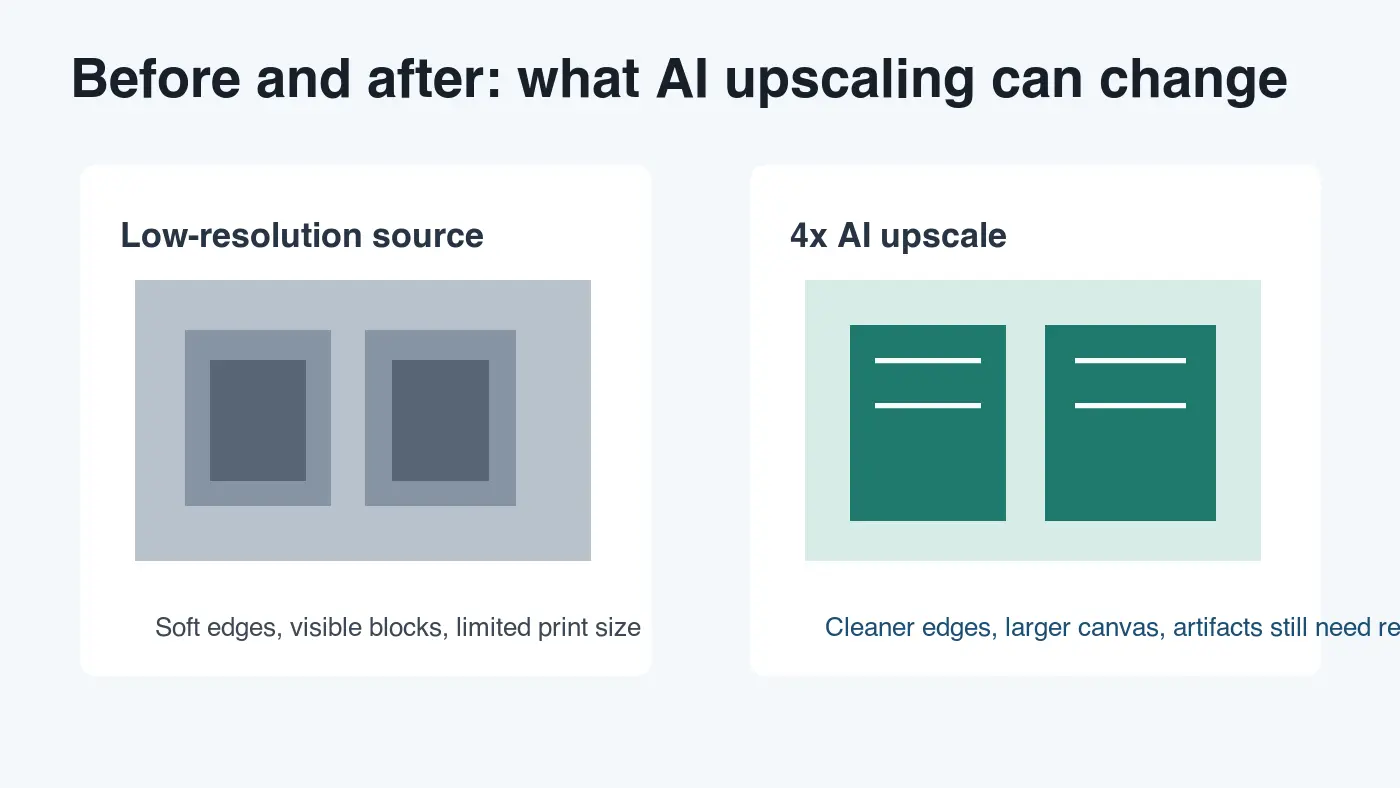
An AI image upscaler increases pixel dimensions and tries to make the new pixels look natural. Traditional resizing methods such as bilinear, bicubic, and Lanczos resampling estimate pixels from nearby pixels. They are fast, predictable, and built into most editors, but they cannot invent missing detail.
AI super-resolution models are trained to map low-resolution image patterns to high-resolution versions. The result can sharpen edges, rebuild texture, reduce compression noise, and make a small file more useful. The trade-off is that some detail is guessed. A face may look cleaner, but freckles can change. A product edge may look sharper, but a printed label can become slightly wrong.
The Real-ESRGAN authors describe their model as a practical restoration approach for real-world images with unknown degradation, not just neat lab examples. Their Real-ESRGAN paper is a useful reference for why modern upscalers focus on noise, blur, and compression artifacts together.
When should you use AI upscaling?
Use AI upscaling when the current image is too small for its job and no better source exists. The common mistake is running every image through an upscaler because the output looks sharper in a preview. That adds processing time, larger files, and sometimes fake texture.
Good candidates include:
- A 900 px product photo that needs a 1600 px product-page slot.
- A scanned family photo that will be printed at a modest size.
- A cropped portrait that needs to work as a profile image.
- A small editorial image that must survive a retina display.
- A compressed marketplace image where the original supplier file is gone.
- A social graphic background where exact texture is less important than clean edges.
Poor candidates include:
- Vector logos that should be exported from SVG or PDF.
- Screenshots with small text, where rescanning or recapturing is cleaner.
- Already high-resolution camera originals.
- Legal, medical, or technical documents where text accuracy matters.
- Product labels where a guessed word or number could mislead a buyer.
If the image is mainly too heavy rather than too small, start with Complete Image Optimization Checklist instead. Upscaling adds pixels; optimization usually removes unnecessary bytes.
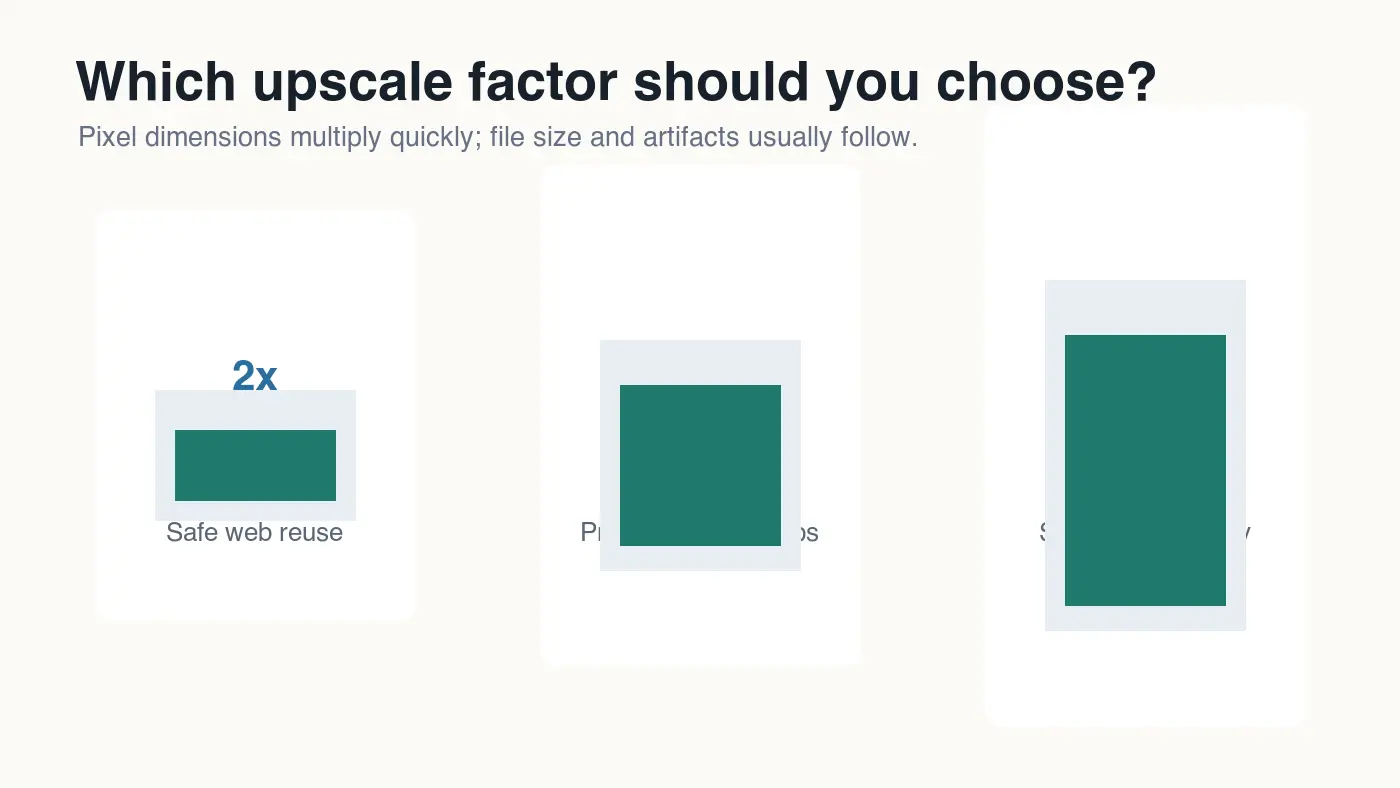
Which scale factor should you choose?
Pick the smallest scale factor that solves the real output problem. Pixel count grows faster than most people expect: 2x width and 2x height produces four times as many pixels. A 4x upscale produces sixteen times as many pixels. That can be useful, but it also gives artifacts more room to show.
| Scale factor | Pixel growth | Best use | Risk to check |
|---|---|---|---|
| 1.5x | 2.25x pixels | Minor web layout mismatch | Usually subtle, but not always available in simple tools |
| 2x | 4x pixels | Product cards, blog images, social posts | Over-sharpened edges and plastic skin |
| 4x | 16x pixels | Print, close crops, high-density displays | Fake texture, changed details, large output files |
| 6x or higher | 36x+ pixels | Specialist restoration workflows | Hallucinated detail and slow review cycles |
For most web work, 2x or 4x is enough. If a marketplace needs a 2000 px product image and your supplier sent 1200 px, a 2x upscale gives you room to crop and resize down. If the source is only 500 px wide, a 4x pass may be worth testing, but inspect the output carefully before using it as a hero image.
How do you prepare an image before upscaling?
Preparation matters more than the brand name of the upscaler. AI models amplify the source image. If the source contains heavy JPEG blocks, dust, blur, or wrong color, those problems often become more visible after enlargement.
Use this order:
- Find the highest-resolution original, not a copy saved from a messaging app.
- Remove obvious dust or scratches from scanned photos before enlargement.
- Crop only if the crop is final; otherwise keep extra pixels for review.
- Avoid repeated JPEG saves before upscaling.
- Keep the source in PNG, TIFF, or the best JPEG available.
- Upscale once from that source.
- Compare the result against the original at the intended display size.
- Export web copies only after approval.
Measured while preparing this article, the four 1400 by 788 WebP graphics in the assigned image folder exported between 17 KB and 41 KB. Those files are small because they are clean infographics with flat color. A real photo at the same dimensions can be much larger, especially after AI adds texture. Treat file size as a final check, not as proof of quality.
For batches, resize and name files consistently before the upscaling pass. The Batch Resize Guide covers a resize-first workflow that is useful when one supplier folder needs multiple storefront sizes.
How should you inspect AI-upscaled images?
Inspect the areas a real viewer will trust. A general "looks sharper" check is too weak. A store owner cares about product texture and printed labels. A designer cares about hairline edges and typography. A family photo scan may be acceptable even if background wallpaper changes slightly.
| Image type | Inspect first | Reject the upscale if you see |
|---|---|---|
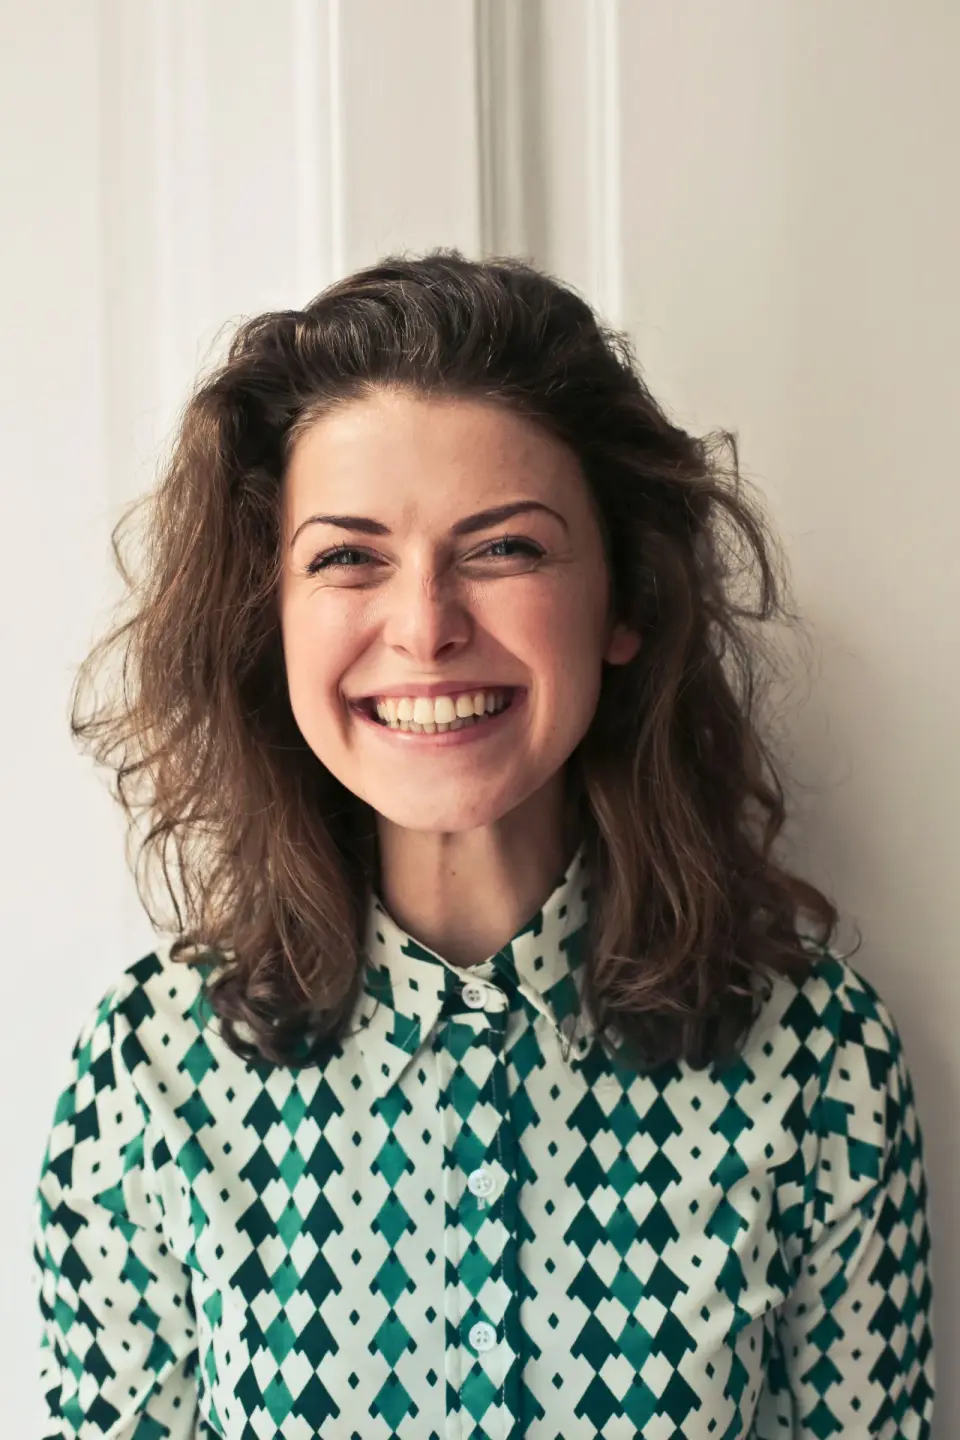
| Portrait | Eyes, teeth, hairline, skin texture | Waxy skin, changed eye shape, crunchy hair |
| Product photo | Logo, label text, seams, transparent edges | Invented lettering, warped corners, false texture |
| Old photo scan | Faces, hands, clothing, dust marks | Strange facial detail or amplified scratches |
| Food photo | Edges, steam, texture, highlights | Plastic surfaces or noisy shadows |
| Screenshot | Small text, icons, borders | Smearing, color fringing, unreadable labels |
Check the image at three sizes: the final rendered size, 100%, and a small social-preview size. The final rendered size tells you what users will see. The 100% view reveals artifacts before print. The small preview catches over-sharpening that can make thumbnails look harsh.
Google's image guidance recommends clear, crawlable, representative images with useful surrounding context and descriptive alt text in Google Images best practices. That advice applies after upscaling too: a sharper file is still weak if the page uses a generic image, vague alt text, or a blocked URL.
What file format should you export after upscaling?
Keep an editable or archival master, then create a web delivery copy. The master can be PNG or TIFF if you need lossless handoff. The public web copy should usually be WebP or AVIF for photographs and rich graphics, with PNG reserved for assets where lossless transparency or exact text edges matter.
MDN's image format guide notes that WebP supports lossy and lossless compression, while AVIF is efficient for many photographic cases. See MDN's image file type and format guide for browser format behavior and trade-offs.
Use this export table as a starting point:
| Final use | Suggested export | Why |
|---|---|---|
| Blog or landing-page photo | WebP q78-q86 or AVIF q45-q60 | Good quality at practical web sizes |
| Product hero | WebP q82-q90 plus a retained master | Protects texture and edges |
| Transparent product cutout | WebP lossless or PNG | Keeps alpha edges cleaner |
| Print handoff | PNG or TIFF master, separate web copy | Avoids compounding lossy artifacts |
| Social thumbnail | WebP, resized to platform need | Prevents oversized uploads |
Do not upscale and then leave the output at a massive pixel size on the page. If the layout only displays 1200 px, make a 1200 px or responsive variant from the approved upscaled master. For modern format choices, compare AVIF vs WebP Comparison.
What mistakes make AI-upscaled images look fake?
Most bad upscales come from impatience. The tool may finish in seconds, but the review decides whether the image is usable.
Avoid these mistakes:
- Upscaling a file that has already been upscaled once.
- Using 4x by default when 2x would solve the layout problem.
- Compressing the source heavily before the upscale.
- Judging only on a dark editor canvas instead of the real page background.
- Trusting face enhancement on product, food, or document images.
- Publishing the full 4x output when a smaller derivative is enough.
- Ignoring alt text and surrounding copy after replacing the image.
- Treating generated detail as factual detail in documents or product labels.
The last point is important. AI super-resolution can make a label look sharper while slightly changing characters. If the image carries factual information, recapture the source or use OCR and layout reconstruction instead of relying on a guessed visual result.
How do AI upscaling and SEO fit together?
AI upscaling helps SEO only when it improves the user-facing image without slowing the page. Search engines can index useful images, but users still judge the page by clarity, speed, and relevance. A bloated 4x hero image can hurt the same page it was meant to improve.
For SEO and accessibility, publish the final image with:
- A stable CDN URL that returns HTTP 200.
- Descriptive alt text that names the visible subject.
- Width and height attributes or layout rules that avoid content shift.
- A format and dimensions that match the rendered use.
- Surrounding text that explains why the image is on the page.
- A representative cover image for Open Graph and article metadata.
If you need to confirm pixel dimensions before deciding whether upscaling is necessary, use the workflow in Check Image Size and Dimensions. Upscaling should be a deliberate fix, not a default upload step.
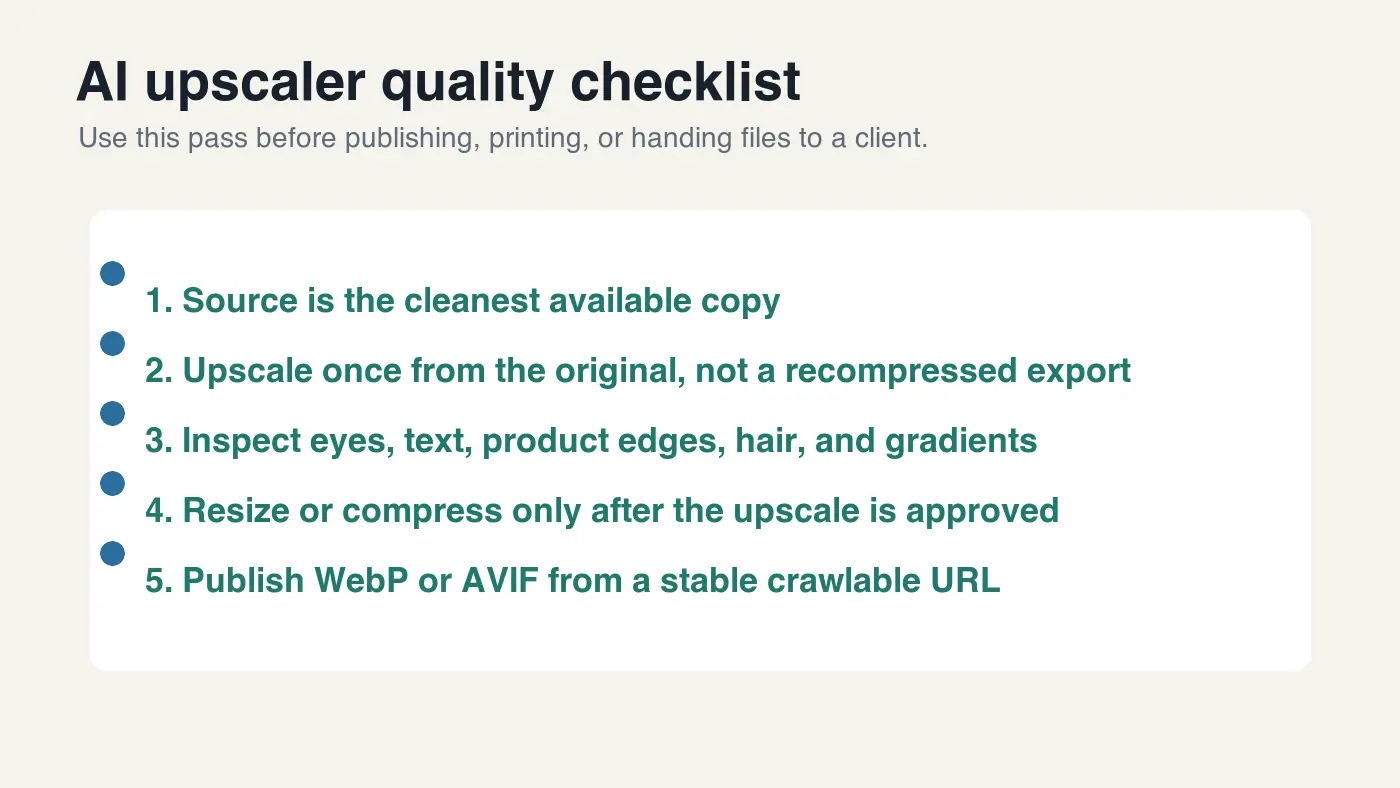
AI image upscaler checklist
Use this final pass before you publish, print, or deliver the file:
| Check | Pass condition | Fix if it fails |
|---|---|---|
| Source quality | Cleanest available original was used | Find a better source or repair first |
| Scale factor | 2x or 4x chosen for a real output need | Re-export at a smaller factor |
| Artifact review | Faces, labels, edges, and texture look believable | Try a different model or lower scale |
| Web export | Final public copy is WebP or AVIF when suitable | Create a delivery copy from the master |
| Page fit | Rendered dimensions match the layout | Resize or create responsive variants |
| CDN check | Final URL returns HTTP 200 | Re-publish the WebP file |
AI upscaling is worth using when it solves a specific size problem and survives inspection. Start with the best source, upscale once, review the details that matter, then export a right-sized web copy.
Frequently asked questions
Does AI upscaling actually add real detail to a photo?
No, it predicts plausible texture and edges rather than recovering information that was never captured, so treat the added detail as a guess, not a fact.
Is 2x or 4x upscaling better for a product photo?
Use 2x for most web and product-card use, and reserve 4x for print, tight crops, or high-density displays where the extra pixel growth is actually needed.
Can AI upscaling fix a blurry or low-resolution screenshot?
It can sharpen edges, but small text, icons, and UI labels often smear or become unreadable, so recapturing the screenshot is usually the safer fix.
Will upscaling make my image file too large for the web?
It can, so export the approved upscaled master as WebP or AVIF at the rendered display size instead of publishing the full-resolution output.
Should I upscale an image that has already been upscaled once?
No, re-upscaling an already-upscaled file compounds artifacts and fake texture, so always start from the cleanest original source.
How do I check if an AI-upscaled image is safe to publish?
Inspect faces, labels, edges, and texture at the final rendered size, at 100%, and at a small preview size before approving the result.
Does AI upscaling help or hurt SEO?
It helps only when the final image stays fast-loading and well-optimized; a bloated 4x hero image can hurt the same page it was meant to improve.
Is AI upscaling reliable for product labels or documents with text?
No, guessed characters on labels or documents can mislead a buyer or reader, so use OCR and layout reconstruction instead of upscaling for factual text.
Use the free tools while you follow the guide.
Keep reading
2026-07-18
AI Face Restoration: GFPGAN vs CodeFormer Compared
GFPGAN and CodeFormer both repair damaged faces, but they trade accuracy for polish differently. Which one to use, how they actually work, and where both can quietly invent a face that isn't the real person.
2026-06-28
AI Face Enhancer: Natural Portrait Retouching Guide
Use an AI face enhancer without plastic skin: choose the right portrait, protect identity, check artifacts, and export sharp web-ready headshots.
2026-06-28
How to Enhance Photos With AI in 2026: Real Results
I enhanced 60 photos with AI to fix noise, blur, and low resolution. Here is the 2026 workflow, the tools that actually worked, and where AI falls short.