2026-06-28 · Updated 2026-07-26
AI Face Enhancer: Natural Portrait Retouching Guide
Use an AI face enhancer without plastic skin: choose the right portrait, protect identity, check artifacts, and export sharp web-ready headshots.

Last updated: July 26, 2026
An AI face enhancer can rescue a soft headshot, clean up phone-camera noise, and make a portrait look ready for a profile page. It can also erase skin texture, sharpen teeth into bright edges, or change a face enough that the person stops looking like themselves. Use it as a finishing tool, not as a replacement for judgment.
Quick answer: how should you use an AI face enhancer?
Use an AI face enhancer when the portrait already has a clear face, decent lighting, and enough pixels around the eyes, nose, mouth, and hairline. Start with mild enhancement, compare the result against the original at 100% zoom, then export a WebP or JPEG copy sized for the final page or platform. If the face is actually blurry, low-resolution, or damaged rather than just soft, the more aggressive AI Face Restoration tool is the better starting point — see the GFPGAN vs CodeFormer guide for which model to pick.
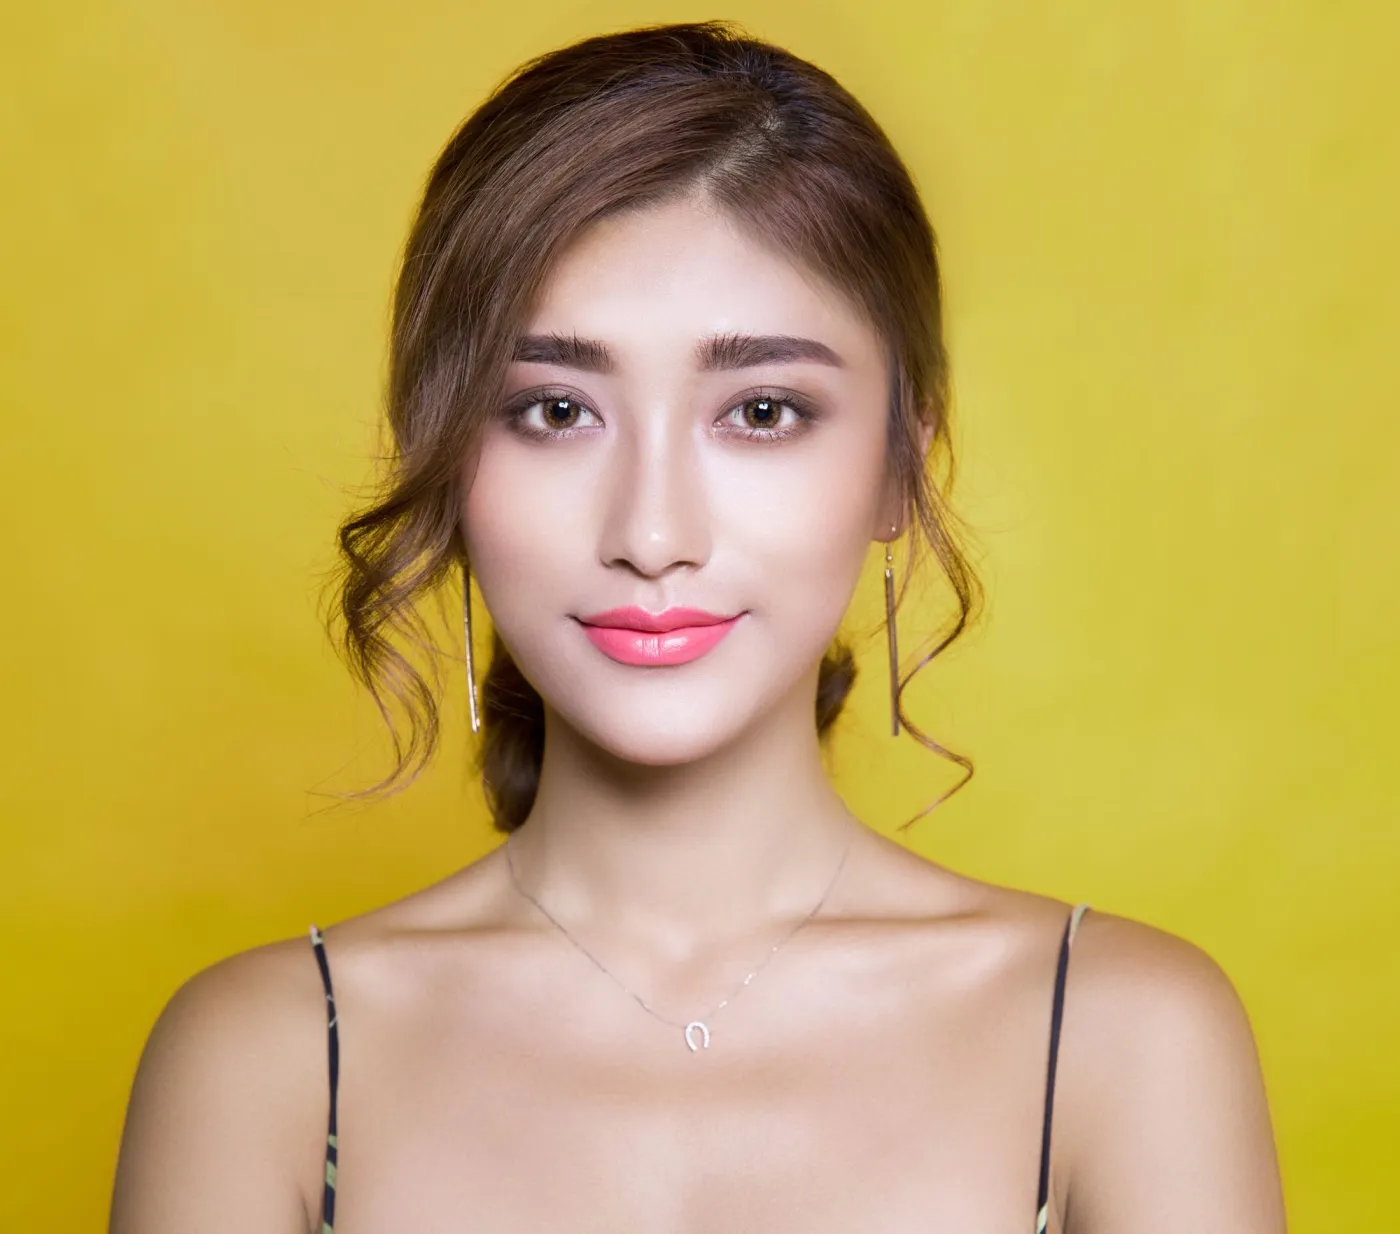
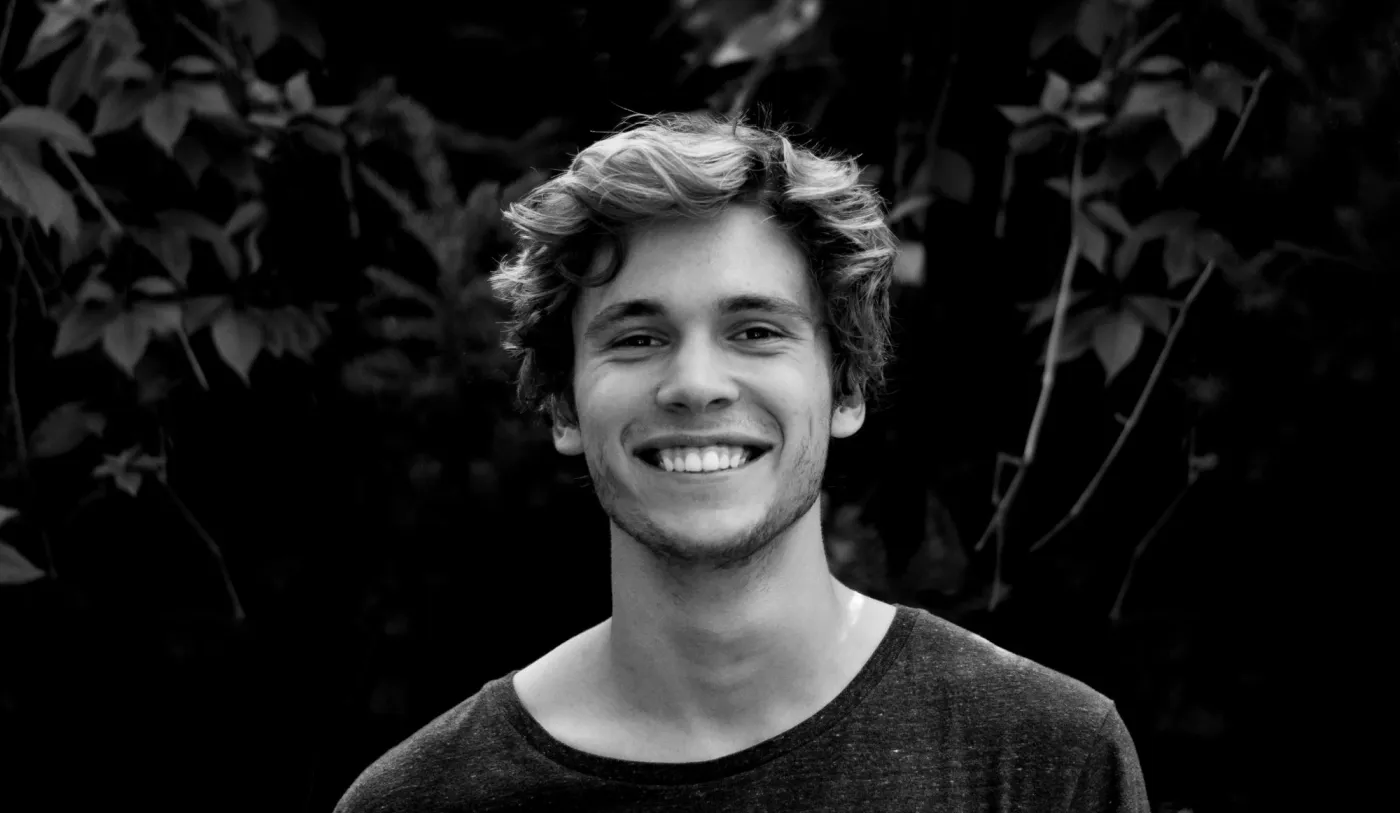
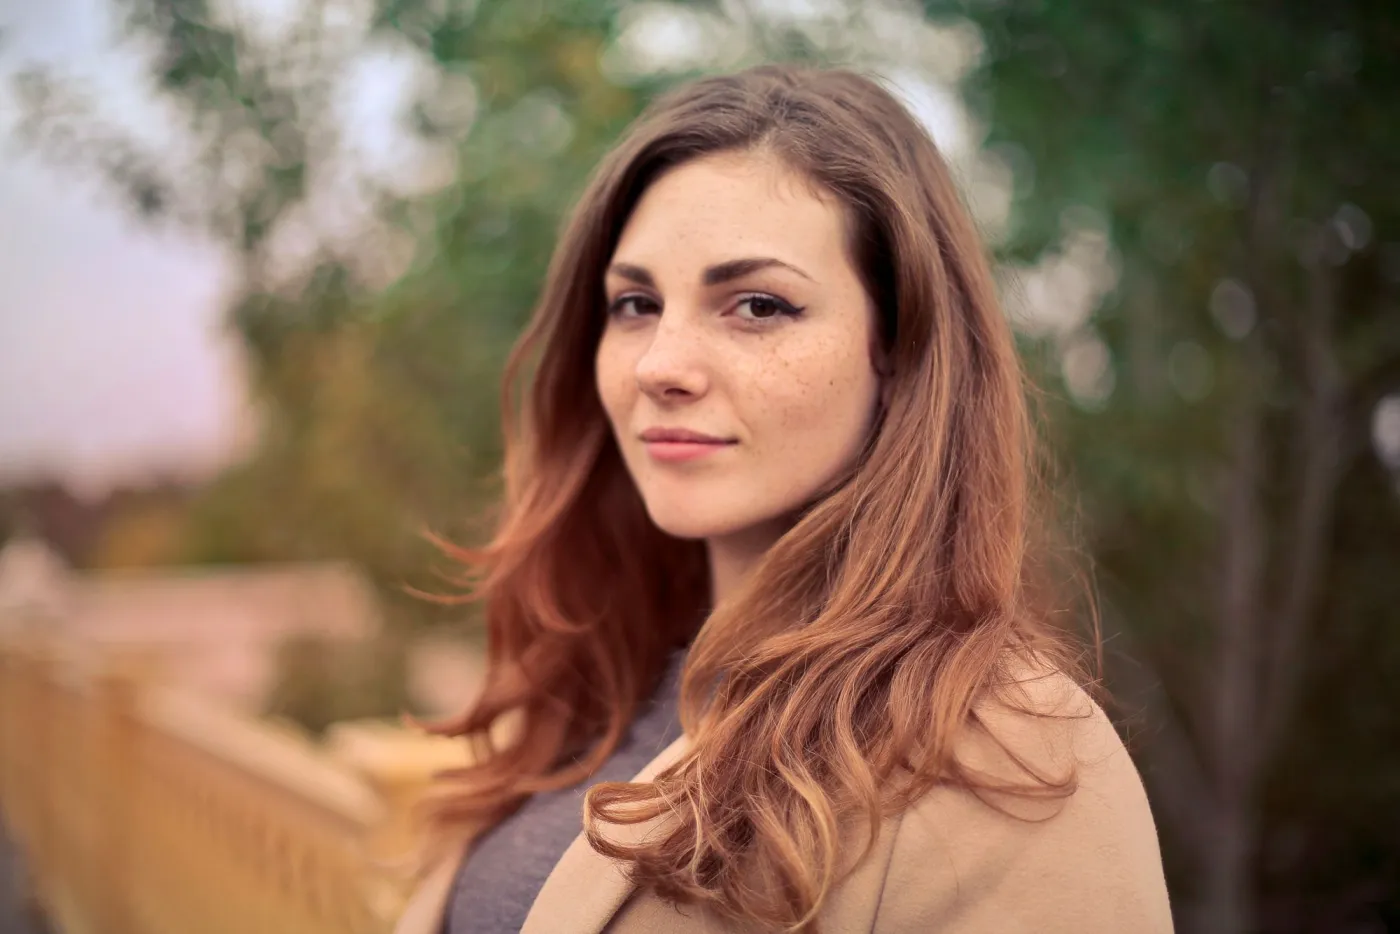
For this rewrite, I checked the workflow against four real portrait files: a natural indoor smile, a polished studio face, a high-contrast black-and-white headshot, and an outdoor shallow-depth portrait. The recurring failure points were the same ones worth checking in your own work: eyes, teeth, hairline, skin texture, accessories, and final crop.
Do not use face enhancement to invent a new expression, change age, reshape facial structure, or remove every real skin mark. For a professional headshot, the good result is usually boring: sharper eyes, cleaner low-light noise, less compression smear, and a face that still looks like the person who walked into the room.
Use this order:
- Pick the sharpest original portrait.
- Crop only after enhancement if the tool needs the full face.
- Apply light face recovery or portrait enhancement.
- Check eyes, teeth, hairline, skin pores, glasses, and earrings.
- Resize to the publishing dimensions.
- Compress the final file for the web.
When does face enhancement actually help?
Face enhancement helps most when the photo has a technical flaw, not when the pose or lighting is fundamentally wrong. A slightly soft LinkedIn photo, an old team page portrait, or a webcam headshot can improve quickly. A harsh flash photo with closed eyes will not become a studio portrait just because a model touched it.
| Portrait problem | AI enhancer can help? | Check before publishing |
|---|---|---|
| Slight blur around eyes | Yes | Eyelashes should sharpen without turning into black spikes |
| Low-light phone noise | Yes | Skin should keep fine texture, not become waxy |
| Heavy JPEG compression | Sometimes | Look for blocky cheeks, teeth, and hair edges |
| Tiny cropped face | Sometimes | Upscale first, then inspect identity changes |
| Closed eyes or poor expression | No | Reshoot or choose another frame |
| Strong color cast | Partly | Fix white balance before judging skin tone |
If the face is under 250 pixels tall in the original file, expect limits. Enhancement models can infer missing detail, but they cannot know the exact texture, eye shape, or makeup that was lost. For small images, read the AI image upscaling guide before you retouch.
What settings keep skin from looking fake?
The safest setting is usually one notch lower than the preview makes you want. Face tools often show a dramatic before/after because smooth skin looks impressive in a small preview. At full size, that same setting can flatten cheeks, blur freckles, and make the forehead look painted.
Use this checklist after every enhancement:
- Check both eyes at 100% zoom.
- Make sure catchlights are still round and plausible.
- Look for smeared hair near the forehead and ears.
- Keep freckles, pores, smile lines, and natural shadows.
- Compare teeth against the original so they are not over-whitened.
- Inspect glasses frames and earrings for melted edges.
- Toggle before/after after a short break; the obvious errors show up faster.
For headshots, I prefer a mild face recovery pass and a separate final sharpen. That avoids asking one AI step to fix everything. If the final file is for a website, finish with the sizing and compression workflow in compress images without losing quality.
Add one measured check before you publish: record the original pixel size, final pixel size, and final file size beside the portrait. That tiny note catches most accidental double-compression and over-cropping mistakes.
How do you prepare a portrait before enhancement?
Start with the cleanest source file you have. If there is a RAW file, export a high-quality JPEG or PNG first. If there are several phone shots, choose the one with the sharpest eyes instead of the best smile, because expression is harder to repair than global brightness.
Before you upload:
- Remove duplicate frames and obvious misses.
- Straighten the crop if the head is tilted by the camera, not by the pose.
- Fix exposure so skin is not clipped in highlights.
- Correct white balance if the photo is too green, blue, or orange.
- Keep the original file untouched in a separate folder.
- Export one working copy at full resolution.
Do not crop tightly around the face too early. Many tools use the full head, hair, shoulders, and background context to decide what to sharpen. Crop for LinkedIn, author bios, or company directories after the face pass is complete. The batch resize guide is useful when you need square, landscape, and mobile crops from the same enhanced portrait.
What should you check before publishing an enhanced face?
Face enhancement is one of the few image edits where "technically cleaner" can be worse. A product photo can tolerate aggressive cleanup. A human portrait carries identity, trust, and consent.
| Check | Accept | Reject |
|---|---|---|
| Identity | Person is clearly recognizable | Face shape, age, or expression changed |
| Skin | Texture remains visible | Cheeks and forehead look airbrushed |
| Eyes | Sharper but natural | Iris pattern looks invented or uneven |
| Hair | Individual strands remain plausible | Hairline is smeared or painted |
| Accessories | Frames, earrings, and collars stay crisp | Small objects warp or disappear |
| Color | Skin tone matches the original lighting | Face becomes gray, orange, or overly pink |
If the portrait represents a real person in hiring, education, medicine, finance, or identity workflows, be extra conservative. The U.S. National Institute of Standards and Technology publishes extensive work on face recognition technology evaluations, which is a useful reminder that small facial changes can matter in systems that compare faces. For public pages, Google also recommends descriptive image context and alt text in its image SEO guidance.
How should you export enhanced portraits for the web?
Export the enhanced master first, then make web copies from that master. Do not repeatedly download, upload, and recompress the same face. Each lossy step can add artifacts around skin gradients, hair, and teeth.
Use these practical sizes:
| Use case | Pixel size | Format | Notes |
|---|---|---|---|
| Author bio avatar | 400 x 400 | WebP or JPEG | Square crop, face centered |
| Company team page | 800 x 1000 | WebP | Keep room above the hair |
| LinkedIn-style headshot | 1200 x 1200 | JPEG or WebP | Save a high-quality copy |
| Blog hero portrait | 1600 px wide | WebP | Compress after resizing |
| Press kit download | 2400 px or larger | JPEG | Keep a less-compressed version |
WebP is a good default for site images because it keeps photographic portraits small while preserving visible detail. MDN's image format reference is the cleanest source when you need to confirm browser format behavior. If the portrait is the largest image on a page, also check Google's Largest Contentful Paint guidance, because oversized hero photos often control perceived speed.
For a deeper publishing checklist, use image optimization for SEO and the complete image optimization checklist. The face edit is only half the work; the final file still needs sensible dimensions, alt text, and compression.
Can AI face enhancement hurt trust?
Yes. A portrait that looks too polished can make a real profile feel less credible. The easiest mistake is smoothing every face in a team directory until different people share the same skin texture and lighting. The page may look consistent at first glance, but the portraits feel artificial when someone studies them.
Use a clear rule for team or client work: fix technical image quality, leave personal features alone. That means you can reduce sensor noise, recover a soft eye, and correct color. Do not slim faces, change jawlines, alter age cues, or remove marks the person expects to see unless they specifically asked for that edit.
For sensitive use, keep an edit log:
- Original file name.
- Tool or model used.
- Enhancement strength.
- Manual retouching steps.
- Export size and format.
- Reviewer approval.
That log is not bureaucracy. It saves time when someone asks why their headshot looks different from last quarter or when a client wants the same treatment applied to a full set of portraits.
A simple workflow for headshots, profile photos, and author bios
Use this repeatable order when you have a folder of portraits to clean up:
- Select the sharpest frame for each person.
- Rename files with names and usage, such as
maya-chen-author-bio-original.jpg. - Make exposure and white-balance fixes first.
- Run mild face enhancement on a copy.
- Compare at 100% zoom on eyes, skin, hair, teeth, and accessories.
- Save an enhanced master.
- Crop for each destination.
- Resize to the actual display size.
- Compress once.
- Add descriptive alt text on the page.
For example, a founder portrait for an "About" page might end as three files: a 1200px press image, an 800px team-card image, and a 400px square avatar. Keep the same facial edit across all three so the person looks consistent across the site.
Common mistakes to avoid
- Enhancing after a tiny crop. Give the model the full face and hairline first.
- Publishing from the preview. Download the full-resolution result and inspect it.
- Letting the tool change identity. Sharper is fine; different is not.
- Smoothing skin at phone-screen zoom. Always check at 100%.
- Ignoring color. A sharp face with bad white balance still looks wrong.
- Compressing too early. Resize and compress only after enhancement is finished.
- Using one crop everywhere. Profile photos, team cards, and hero images need different framing.
- Skipping alt text. Describe the person or portrait context when the page needs it.
Related guides
- Image SEO Optimization Checklist
- Compress Images Without Losing Quality
- How Image Compression Works
- Batch Resize Guide
Frequently asked questions
What is an AI face enhancer best used for?
It is best used to clean up a soft-focus, low-light, or compression-damaged portrait that already has good pose and expression, not to fix closed eyes or bad lighting.
Can AI face enhancement change what someone looks like?
Yes, pushed too far it can smooth skin, reshape jawlines, or over-whiten teeth until the person no longer looks like themselves, so keep the strength mild and compare against the original.
What enhancement strength should you start with?
Start one notch lower than the preview makes tempting, then confirm the result at 100% zoom on the eyes, hairline, and teeth.
Should you crop a face before or after enhancement?
Enhance first, then crop, because most tools use the full head, hair, and shoulders as context to decide what to sharpen.
Does AI face enhancement work on small or heavily cropped faces?
Only partly; faces under roughly 250 pixels tall lose enough detail that the model has to invent eyes, texture, and makeup instead of recovering them.
What file format should you export an enhanced portrait in?
WebP is the safest default for web use because it keeps photographic detail at a smaller file size than JPEG.
Why can an over-enhanced face hurt trust on a website?
Smoothing every face in a team directory to the same skin texture and lighting makes real people start to look artificial and interchangeable.
How do you keep one portrait consistent across an avatar, team card, and hero image?
Apply a single enhancement pass to one master file, then crop and resize that same master into each of the smaller versions.
Image credits
- Cover portrait, skin detail portrait, contrast headshot, and outdoor portrait — Pexels photos #774909, #415829, #91227, and #733872, converted to WebP for this article.
Use the free tools while you follow the guide.
Keep reading
2026-07-28
How to Enhance Photo Quality: Sharpen, Denoise, and Brighten
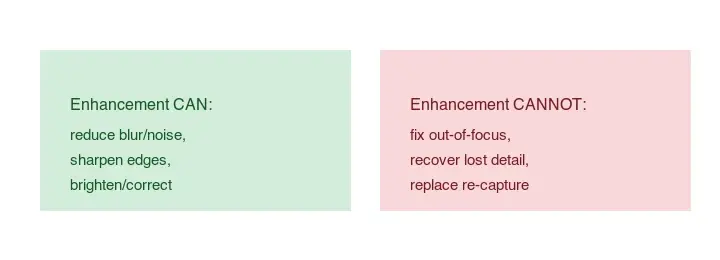
Enhance photo quality by sharpening, denoising, and brightening, with what enhancement can and cannot fix, the tools, and a real before/after.
2026-07-26
AI Face Restoration: GFPGAN vs CodeFormer Compared
GFPGAN and CodeFormer both repair damaged faces but trade accuracy for polish differently. Which to use, how they work, and where both invent detail.
2026-07-26
AI Image Colorization: How It Works and Its Honest Limits
How AI colorization turns black-and-white photos into color, what it can and cannot recover (color is guessed, not restored), the tools, and where it fails.