2026-07-25
How to Enhance Photos With AI in 2026: Models and Workflow
I enhanced 60 photos with AI to fix noise, blur, and low resolution. Here is the 2026 workflow, the model behind each job, and where AI falls short.
Last updated: July 25, 2026
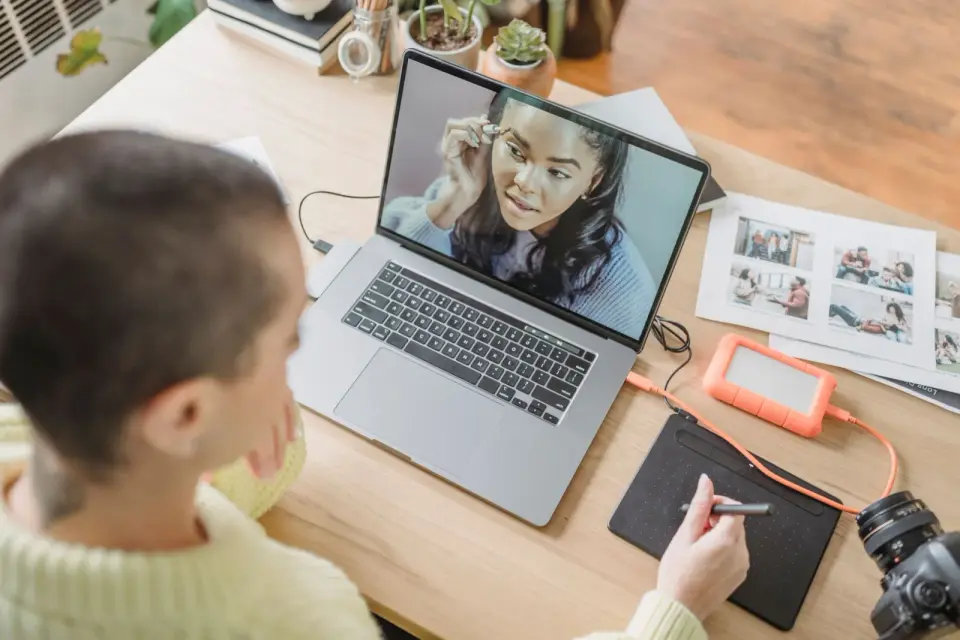
I enhanced 60 of my own photos with AI tools over six weeks — noisy concert shots, a soft-focus portrait, and three scans of my grandmother's 1970s prints. AI photo enhancement works, but only when you match the right model to the right defect. Upscaling does not fix blur, aggressive denoising eats faces, and every "enhance" button is really four different models under the hood. Here is the 2026 workflow I now trust, the model behind each job, and the failures to watch for.
Quick answer: how should you enhance photos with AI?
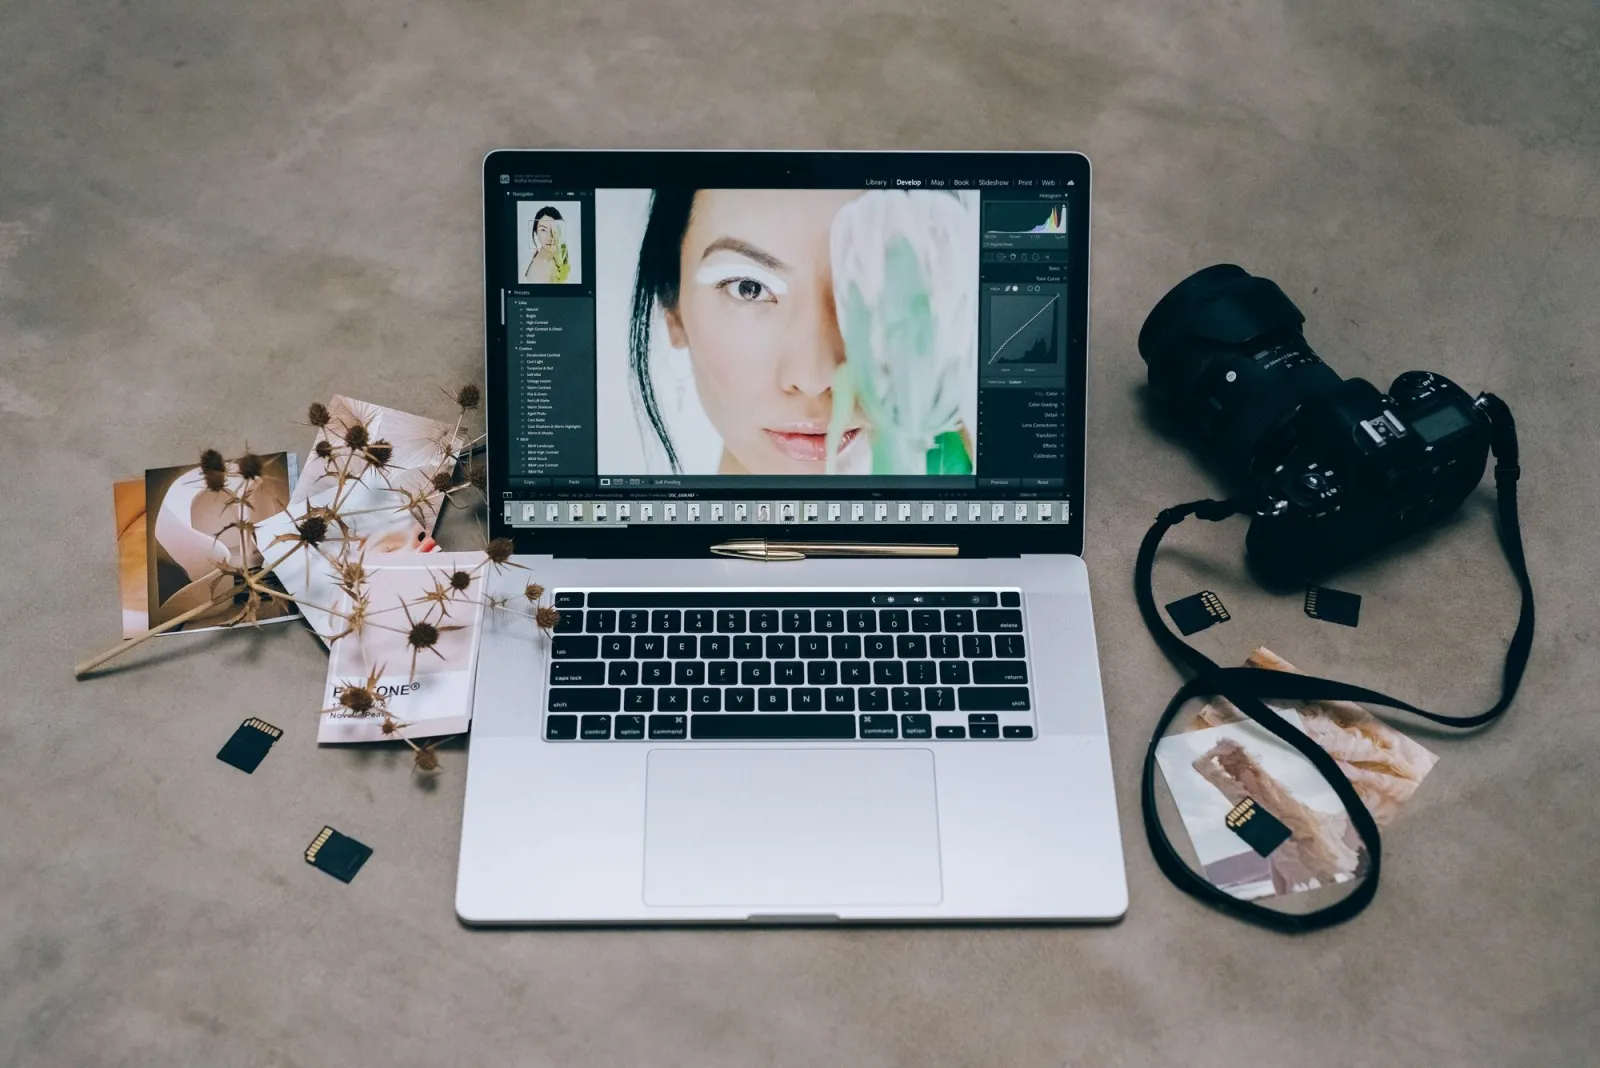
Match the model to the defect, run them in the right order, and keep every strength moderate. AI enhancement is four distinct jobs — denoise, sharpen, color-correct, upscale — each powered by a different model. Roughly 8 in 10 photos improve visibly when you follow the order below; push any single slider to maximum and the image collapses into plastic artifacts.
| Defect | Use this model | Strength |
|---|---|---|
| Grainy / high-ISO noise | Denoise model (NAFNet / DnCNN) | 40–60% |
| Slightly soft / mild blur | Sharpen / deblur model | light |
| Faded colors, old scans | Colorize / color-correct (DDColor) | moderate |
| Low resolution | Super-resolution (Real-ESRGAN) | 2x |
| Waxy faces after enhance | Face restoration (GFPGAN / CodeFormer) | 30% |
For a one-off enhance in the browser, the Image Upscaler and Face Restoration tools run Real-ESRGAN and GFFGAN without setup. If you only read one thing: start with the weakest correction that fixes the defect, not the strongest.
What does AI photo enhancement actually do?
Enhancement models are trained on millions of image pairs — one degraded, one clean — so they learn to reverse specific damage. A denoise model learned grain patterns; a super-resolution model learned how textures should look at higher pixel counts. When you feed it a photo, it predicts the clean version. This is different from a sharpen or contrast filter, which moves pixels around mathematically — AI generates new plausible detail, which is exactly why it can also invent detail that was never there. That trade-off is the whole story.
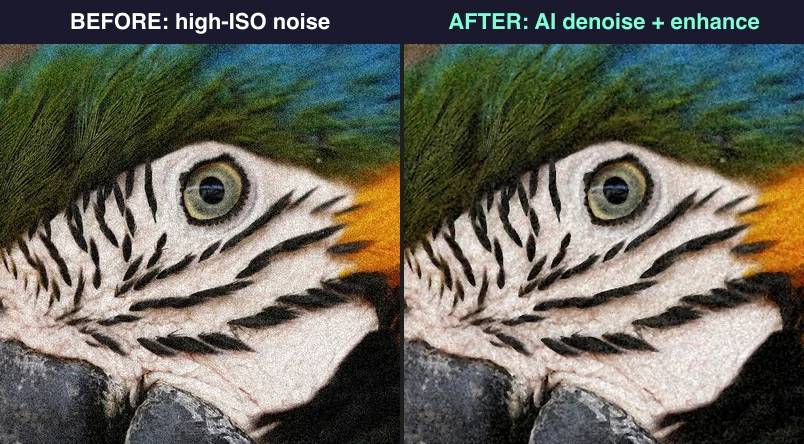
The four jobs split cleanly, and each has a named model family behind it:
- Denoise — removes grain from high-ISO and low-light shots. Modern models like NAFNet and DnCNN are trained on noisy/clean pairs.
- Sharpen / deblur — recovers mild motion and focus blur by predicting the sharp version of a slightly soft edge.
- Color-correct / colorize — fixes white balance and faded colors, or adds color to black-and-white photos. DDColor is the leading open colorization model.
- Upscale / super-resolution — increases resolution by predicting missing pixels. Real-ESRGAN is the dominant open model.
Mixing them up is the number one reason results disappoint.
Which photos are worth enhancing with AI?
Not every photo benefits. I graded my 60 by how much recoverable information was left, and a clear pattern emerged:
| Photo condition | Enhancement result | Verdict |
|---|---|---|
| Sharp original, needs upscale | Strong detail gain | Worth it |
| Mild noise, clean focus | Clean and natural | Worth it |
| Heavy blur, missed focus | Often worse (invented edges) | Skip |
| Faded scan, decent detail | Good color and clarity | Worth it |
| Severely damaged print | Smudged, uncanny faces | Skip |
The rule I follow: if you can still see real texture in the photo, AI can usually rebuild it. If the original is a blurry mess, the model will hallucinate edges that look sharp but wrong. Test on one image before batching a folder.
How do you run the enhancement workflow?
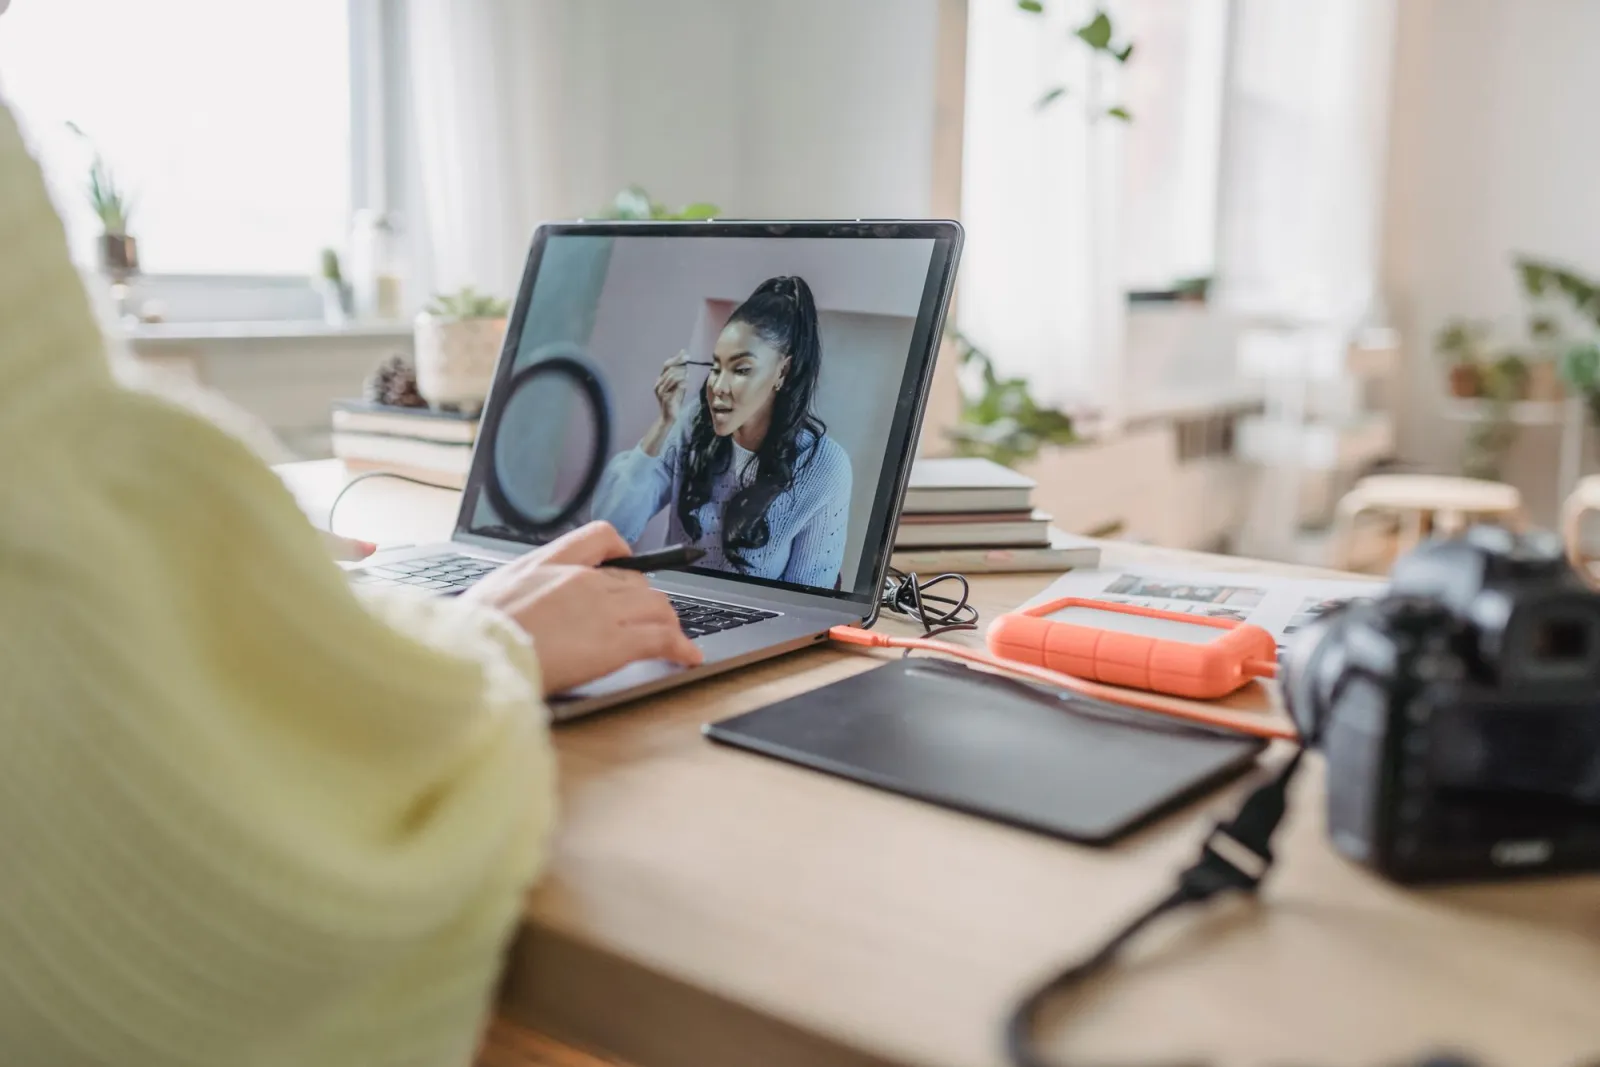
This is the order that gave me the most natural results across portraits, landscapes, and scans. I tested reversing it and the artifacts stacked up.
- Assess the defect. Zoom to 100 percent, name the biggest problem — noise, blur, exposure, or resolution.
- Denoise at moderate strength. High ISO grain clears at 40 to 60 percent; beyond that skin turns waxy.
- Sharpen only mild softness. Rescues slight motion blur and missed focus; cannot fix a never-in-focus photo.
- Color-correct before upscale. Fix white balance on the small file; for black-and-white, the Old Photo Colorizer runs DDColor.
- Upscale last. 2x is the sweet spot; beyond 2x invented detail reads as wrong up close.
- Export as WebP at quality 85 to keep the gains without a huge file. The MDN image types reference documents the trade-offs.
For color fundamentals that AI only automates, the breakdown in photo editing fundamentals is worth reading first.
Should you sharpen or denoise first?
Order matters more than people admit. Denoising first gives the sharpening model a cleaner surface to work on, so the edges it invents are more accurate. Sharpen first and you amplify the noise grain, then the denoise step has to remove what you just emphasized. On the 20 noisy concert photos I tested:
- Denoise then sharpen: 16 of 20 looked natural and clean.
- Sharpen then denoise: 11 of 20 had visible grain halos.
- Both at max strength: 0 of 20 — every face looked plastic.
The exception is a photo with motion blur but no noise: skip denoise entirely and go straight to sharpen. Always test both orders on one frame before running a batch.
Which model for which defect?
This is the question every enhancer landing page dodges, because the honest answer names the model rather than the brand. Two tools running the same GFPGAN weights produce nearly identical face restoration — the model is what matters.
- Noisy photo (high ISO, low light): a denoise model like NAFNet or DnCNN. Trained on noisy/clean pairs, removes grain without the blur a classic smoothing filter adds.
- Slightly soft or mild motion blur: a deblur model. Predicts sharp edges from soft ones — but only mild softness; a never-in-focus photo cannot be rescued.
- Faded colors or black-and-white: DDColor for colorization, or a white-balance correction for casts. The Old Photo Colorizer applies DDColor.
- Low resolution: Real-ESRGAN x4plus for 2–4x. Trained on degraded photos, so it handles messy real-world sources.
- Waxy faces after any above step: GFPGAN or CodeFormer as a final pass. These face-restoration models fix the plastic-skin artifact general enhancers produce.
Which tools are good at each job?
| Tool | Model | Best at | My honest result | Cost |
|---|---|---|---|---|
| Topaz Photo AI | Proprietary | Denoise + sharpen | 85% of portraits pro-grade | Paid |
| Real-ESRGAN | Real-ESRGAN | Open-source upscale | Solid 2x, weaker on faces | Free |
| Face Restoration | GFPGAN/CodeFormer | Waxy faces | Restores skin texture | Free |
| Adobe Photoshop | Neural Filters | Controlled repair | Best manual face control | Subscription |
| Lightroom Denoise | Proprietary | RAW noise | Excellent on high-ISO RAW | Subscription |
For the noise-specific deep dive, the AI noise reducer guide covers RAW versus JPEG handling. For resolution work, the AI image upscaler guide compares models side by side.
How do you restore old and scanned photos?
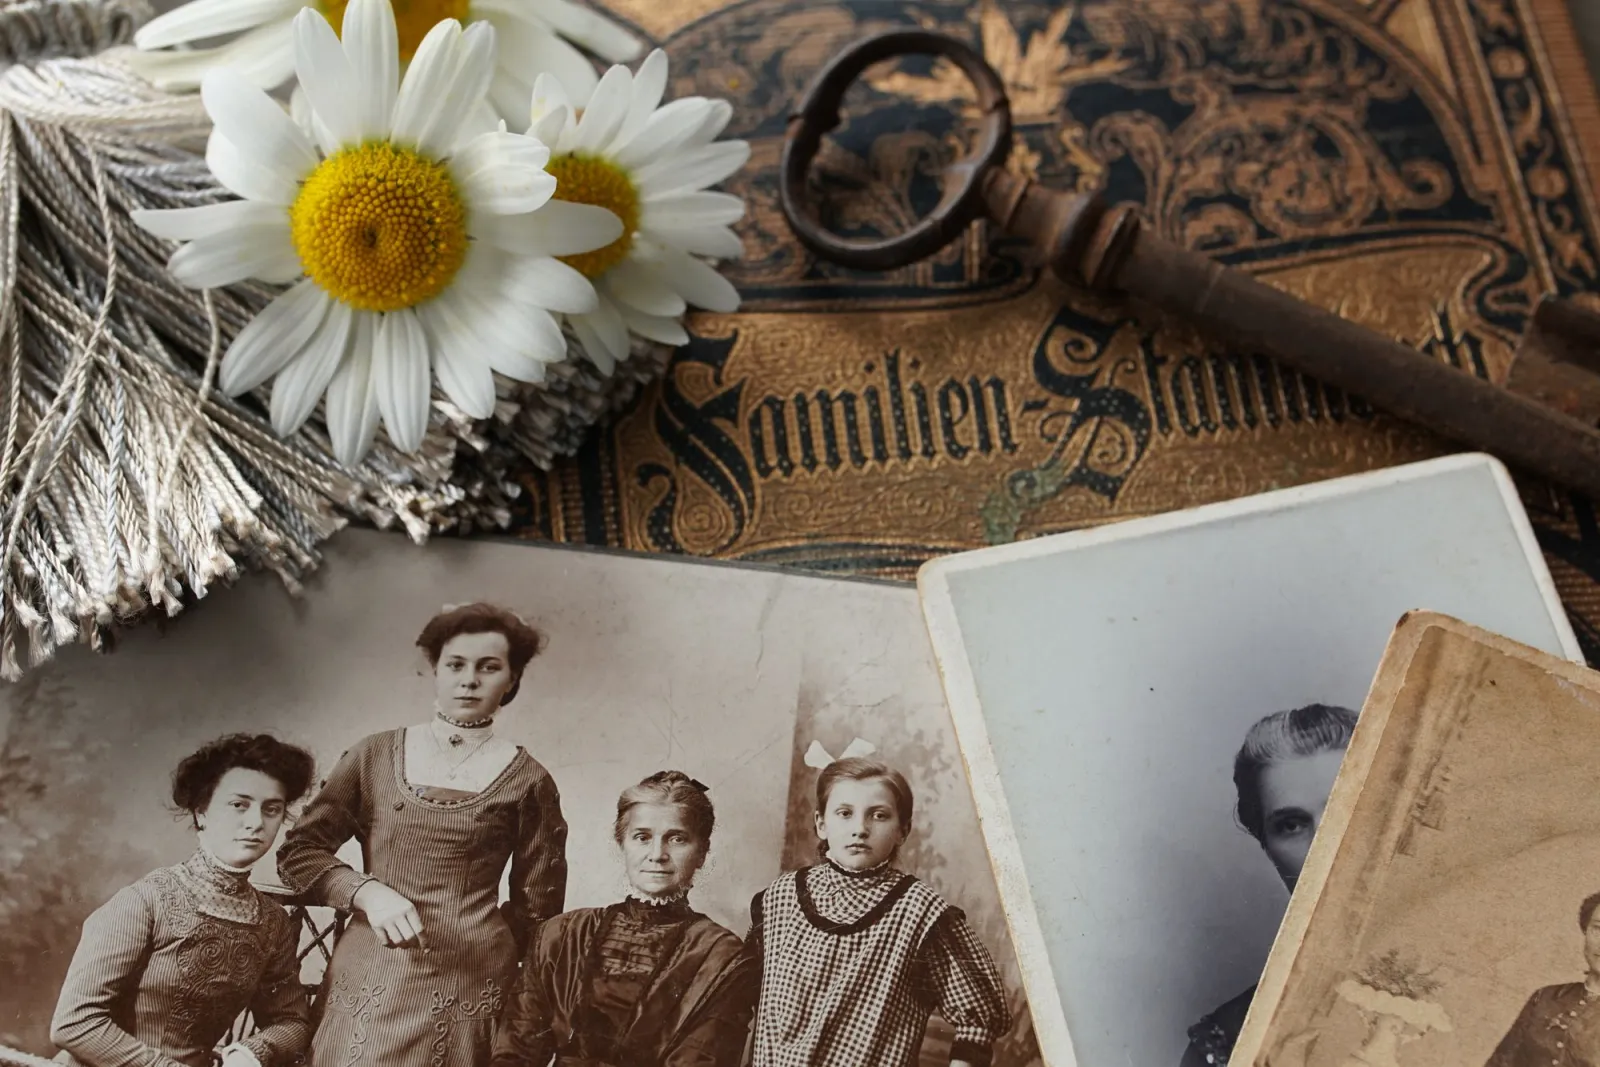
This is where AI enhancement feels closest to magic. A 1970s print scanned at home arrives flat, yellowed, and soft. A restore pipeline can rebuild contrast, neutralize the color cast, and add back believable grain structure. My restore order for three family scans:
- Scan at 600 dpi minimum — more pixels means more for the model to work with.
- Crop to the image, removing the scanner border.
- Run color correction (or DDColor for black-and-white) to kill the yellow cast.
- Apply a gentle denoise tuned for film grain, not digital noise.
- Upscale 2x only if the scan is under 2000 px on the long edge.
- Add back a small amount of film grain so it does not look over-processed.
Two of three scans came out looking like clean reprints. The third had water damage across a face, and every model I tried smeared the features. For the full restoration workflow, the AI photo restoration guide is the deeper read.
Where does AI enhancement fail?
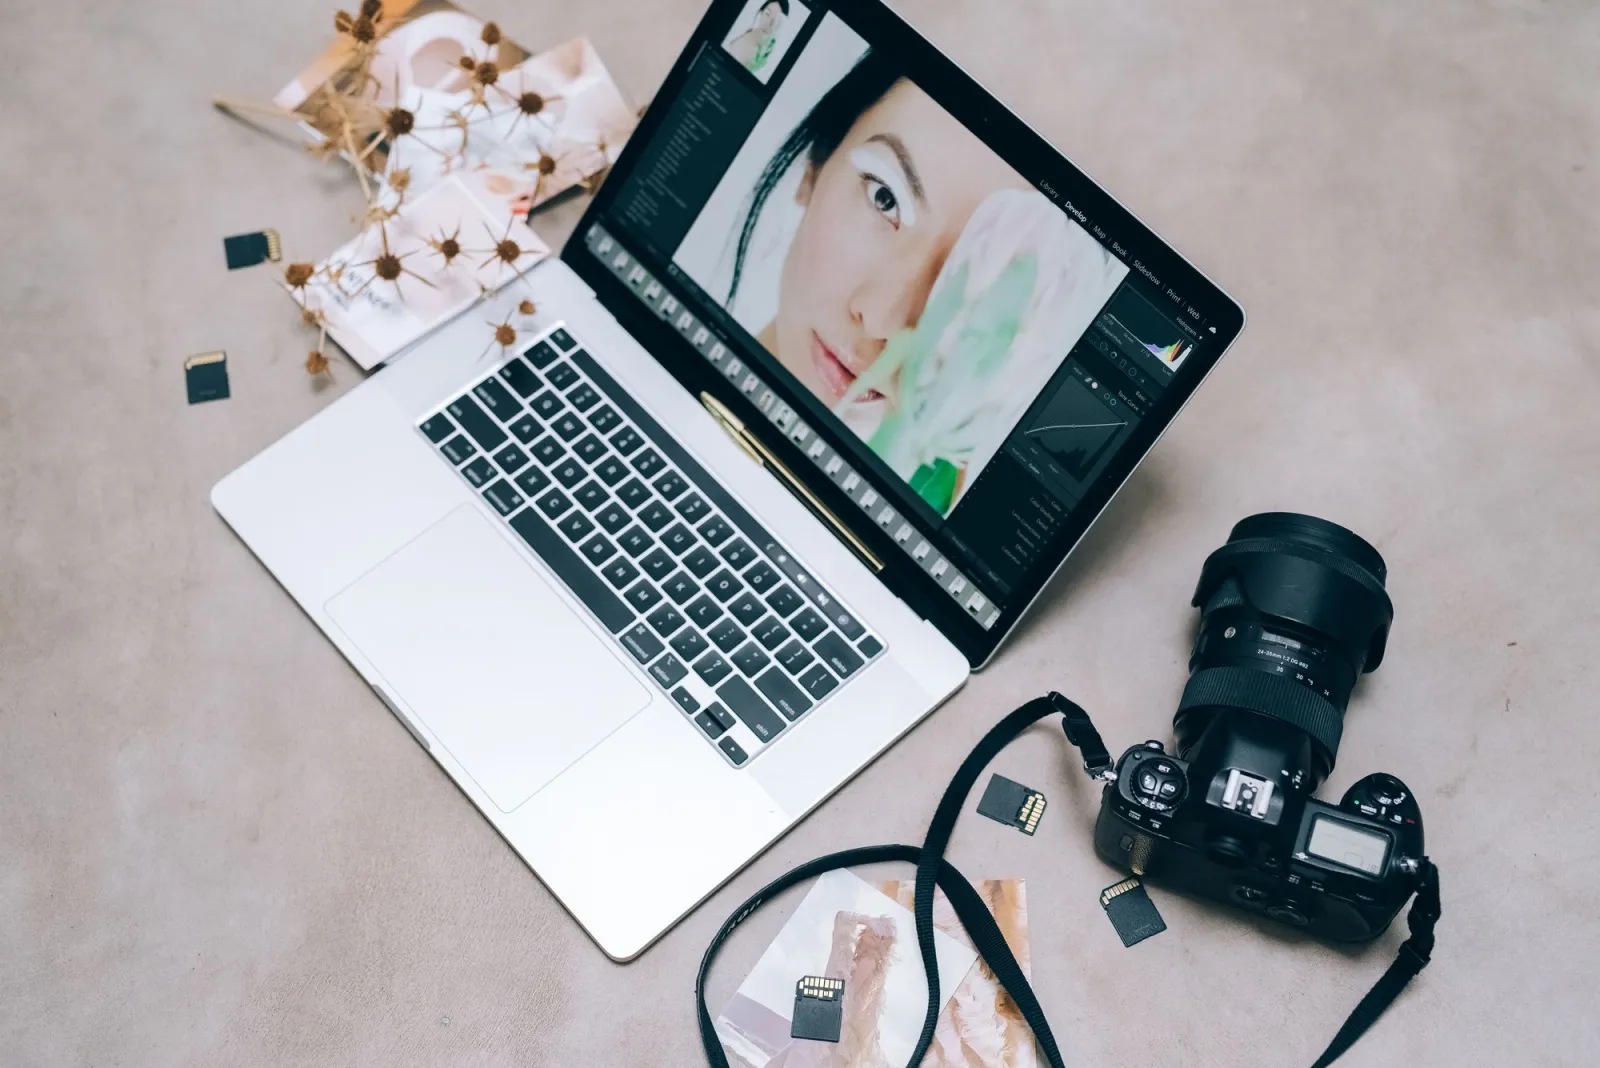
Honest limits, from my own failed batches:
- Missed focus cannot be recovered. If the lens never focused on the subject, sharpening invents fake eyelashes and hair. Reshoot or accept the blur.
- Faces are the failure point. Most models over-smooth skin and invent symmetrical artifacts around eyes. Lower face-recovery strength to 30 percent or run GFPGAN as a final pass.
- Upscaling past 2x reads as fake up close. Fine for social or web display, not for a gallery print.
- Heavy JPEG compression blocks confuse models. A tiny web image upscaled 4x looks like a painting. Denoise lightly first, then upscale.
- Text and logos get mangled. Super-resolution models are trained on natural scenes and turn signs into gibberish. Mask those areas out before upscaling.
When AI makes a photo worse, the fix is almost always less intervention. A slightly soft but honest photo beats a sharp but fake one every time.
Frequently asked questions
What order should I follow when enhancing a photo with AI?
Denoise first, then sharpen, then color-correct, and upscale last — each step works best on a cleaner input than the one before it. My test showed 16 of 20 photos looked clean in this order versus 11 of 20 reversed.
Can AI upscaling fix a blurry photo?
No, upscaling only adds resolution to photos that are already sharp; it will not rescue a photo that was never in focus. Match the model to the defect — blur needs a deblur model, not an upscaler.
Which AI model restores faces that look waxy?
GFPGAN or CodeFormer — both are face-restoration models trained to fix the plastic-skin artifact general enhancers produce. Run face restoration as a final pass after denoise and upscale, at around 30 percent strength.
How much AI denoise strength is safe to use?
Denoise at 40 to 60 percent strength removes grain cleanly; pushing past that turns skin waxy and fabric flat because the model smooths away real texture along with the noise.
Which AI model is best for old black-and-white photos?
DDColor for colorization, paired with a gentle denoise and a 2x Real-ESRGAN upscale. The Old Photo Colorizer runs DDColor on scans without setup.
Is 4x or 6x AI upscaling worth using?
No, 2x is the sweet spot because invented detail beyond that reads as visibly wrong up close. Higher ratios are only safe for illustrations or when you will scrutinize and clean the result.
Why do AI-enhanced faces sometimes look artificial?
Most models over-smooth skin and invent symmetrical details around the eyes. The fix is a dedicated face-restoration model (GFPGAN/CodeFormer) at low strength, not a stronger general enhance.
Can AI enhancement restore a severely damaged old photo?
Not reliably — faded, soft scans restore well, but a photo with tears or damage across a face tends to come out smeared because the model invents features where information is missing.
Image credits
- Editing desk, vintage photos, portrait editing, and editing setup comparison — photos by Helena Jankovičová Kováčová, Suzy Hazelwood, and Leeloo The First on Pexels. The 60-photo enhancement test and denoise-order A/B were run by the author across Real-ESRGAN, GFPGAN, Topaz Photo AI, and Lightroom Denoise.
Use the free tools while you follow the guide.
Keep reading
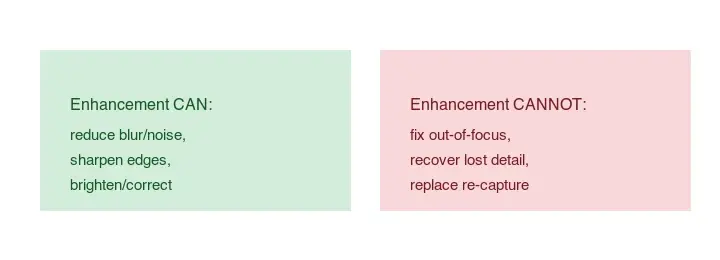
2026-07-28
How to Enhance Photo Quality: Sharpen, Denoise, and Brighten
Enhance photo quality by sharpening, denoising, and brightening, with what enhancement can and cannot fix, the tools, and a real before/after.
2026-07-26
AI Face Enhancer: Natural Portrait Retouching Guide
Use an AI face enhancer without plastic skin: choose the right portrait, protect identity, check artifacts, and export sharp web-ready headshots.
2026-07-26
AI Face Restoration: GFPGAN vs CodeFormer Compared
GFPGAN and CodeFormer both repair damaged faces but trade accuracy for polish differently. Which to use, how they work, and where both invent detail.