2026-07-10 · Updated 2026-07-28
AI Action Figure Trend: How to Prep Your Photo Right
Turn a photo into a collectible toy portrait: what makes the prompt work, and the crop, background, and resolution steps that avoid an obvious fake.
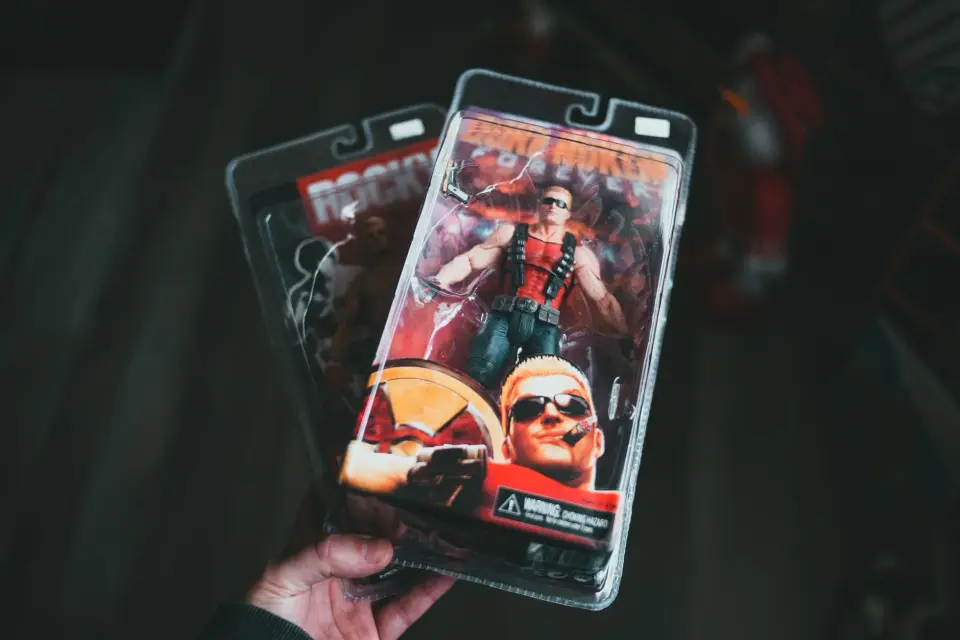
Last updated: July 28, 2026. AI image generators update their figure/toy prompt behavior often; if a result looks off, re-check your source photo before blaming the prompt.
The AI action figure trend — turning a photo of yourself, a pet, or a character into a collectible toy figurine, complete with blister-pack packaging and tiny accessories — has become one of the most-shared AI image formats on TikTok, Instagram, and Pinterest in 2026. Generators like Google's Gemini ("Nano Banana"), ChatGPT image generation, and other prompt-to-image tools do the styling; what most guides skip is the part before and after generation, where an unprepared source photo or an unpolished output quietly gives away the edit.
Quick answer: how do you make a good AI action figure photo?
Start with a clean, well-lit source photo where the subject is clearly separated from the background — crop tight to the subject first, since generators mimic whatever framing you feed them. Generate the figure using a toy/action-figure prompt on a model like Gemini or ChatGPT. Then, if the packaging or background looks muddy, run the result through a background remover to isolate the figure and box cleanly, and upscale the final image before posting or printing so blister-pack text and small accessories stay sharp instead of blurring out. The prep and polish steps matter as much as the prompt itself.
What is the AI action figure trend?
The AI action figure trend (also called toy-ification or the "collectible figurine" trend) is a prompt style that instructs an image generator to render a person, pet, or character as a boxed toy — typically shown in a plastic blister pack with a printed cardboard backer, a display base, and a few small accessory props next to the figure.
The format went viral in April 2025 after OpenAI shipped GPT-4o image generation, with Forbes documenting the spread from LinkedIn professionals to public figures and AI News noting it as ChatGPT's second major viral image moment that year. It has stayed a staple format on TikTok, Instagram, and Pinterest since.
One caution worth stating plainly: because people fill the packaging with real personal details — job, hobbies, pets, brands they use — security researchers have flagged these posts as a soft target for social-engineering scams. Keep the accessories generic if the image is going somewhere public.
The detail that separates a convincing result from a generic 3D render is the packaging: a figure shown loose, with no box, reads as a plain 3D character render rather than a "collectible." Getting the box, backer card, and accessory layout right is what current guides emphasize as the trend's defining feature.
Each packaging element does a specific job, which is why dropping one is so noticeable:
| Packaging element | What it signals | Skip it and you get |
|---|---|---|
| Blister pack (clear plastic shell) | This is a retail toy, not a render | A floating 3D character |
| Printed backer card | Brand, name, tagline — the "collectible" frame | A figure with no context |
| Display base or stand | Physical object with weight | A figure that looks pasted in |
| 2-4 accessory props | Personality and scale reference | A generic mannequin |
| Visible wear or plastic reflections | Photographed, not rendered | An obviously synthetic finish |
How do you prepare a source photo before generating the figure?
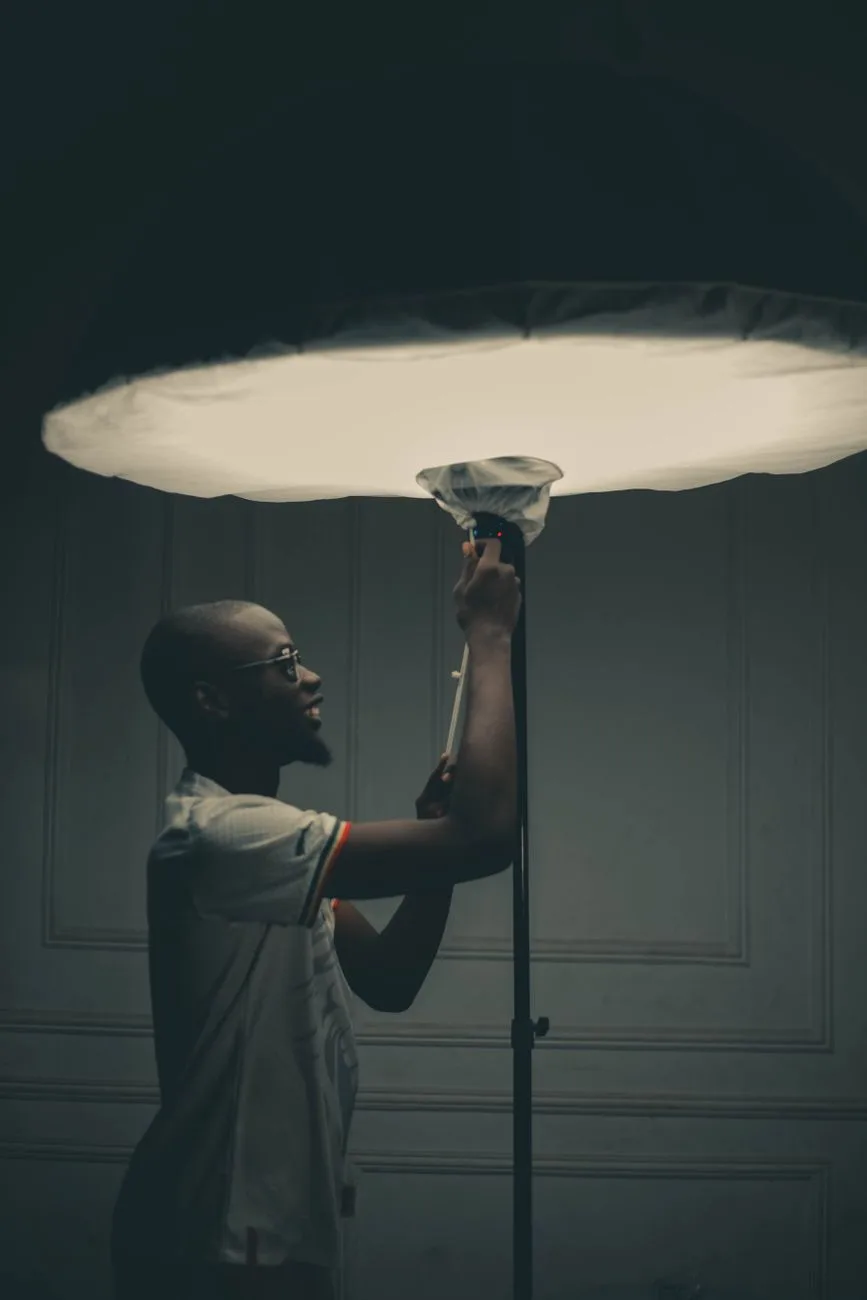
Generators tend to preserve the framing and lighting quality of whatever photo you upload, so a few minutes of prep before generating saves several regeneration attempts after.
- Choose a well-lit, front-facing photo. Even, diffuse light (a window or softbox) avoids harsh shadows that the model can misread as facial features.
- Crop tight to the subject. Use an image cropper to remove background clutter — a bust-length or half-body crop gives the generator a clear subject boundary to work from.
- Check the resolution. A source photo under roughly 1000px on the short side often produces a soft, low-detail figure. If your original is small, upscale it first.
- Keep the file size reasonable. For a multi-megabyte HEIC or large JPEG, compress it or convert it to JPG/PNG first — most upload forms have a size limit.
How do you polish the generated figure afterward?
The output straight from a generator is often good enough to share, but two passes make the difference between a casual post and a genuinely convincing "product shot":
- Isolate the figure for a clean product-style image. For a plain background, run it through a background remover exactly as you would a product photo — a boxed figure is one.
- Upscale before printing or posting large. Blister-pack text and backer-card detail blur first when source resolution is low; an upscaler keeps them legible. The upscaling guide covers 2x versus 4x.
- Batch-process a series. For a group post, a batch processor resizes and compresses the whole set to consistent dimensions in one pass — see the batch processing guide.
Which tool handles which step?
| Step | Tool | Why |
|---|---|---|
| Remove background clutter from source photo | Image Cropper | Tighter framing = cleaner subject for the generator |
| Source photo too small or blurry | Image Upscaler | Adds detail before the generator has to guess |
| Generator output looks muddy on the box/background | Background Remover | Isolates the figure for a clean product-style shot |
| Final image needs to stay sharp when posted large | Image Upscaler | Keeps packaging text and accessories legible |
| File too large to upload to the generator | Image Compressor | Shrinks file size without visible quality loss |
| Wrong file format for the generator's upload form | Format Converter | Converts HEIC/other formats to JPG or PNG |
| Making figures for a whole group or family | Batch Processor | Resizes and compresses many images consistently |
When does an AI action figure photo look fake?
A handful of recurring mistakes give away an AI-generated figure immediately:
- No packaging at all. A bare figure with no blister pack, backer card, or base reads as a generic render — the biggest tell reviewers point to.
- Warped hands or accessories. Small props are where generators most often introduce distortion — check these closely before posting.
- Mismatched lighting between figure and box. Lit from different directions, the composite looks pasted rather than rendered as one scene.
- Soft, blurry printed text on the packaging. Almost always a source-resolution problem, not the prompt — an upscale pass usually fixes it.
Frequently asked questions
What is the AI action figure trend?
It's a viral AI image style, popularized through generators like Gemini ("Nano Banana") and ChatGPT, that turns a photo of a person, pet, or character into a toy figurine shown inside blister-pack packaging with a display base and small accessories. It's one of the most-shared AI photo formats of 2026, cited by industry trackers as generating roughly 3.4x the engagement of standard photo filters.
What photo should I use to start?
A well-lit, front-facing photo with the subject cropped tight and the background kept simple. Avoid dark, blurry, or heavily cropped-in-generator source photos — the model tends to carry over whatever framing and lighting issues the source already has.
Why does my generated figure look blurry?
Almost always a resolution issue — either the source photo was small, or the exported result was compressed too much afterward. Upscaling the source before generating, and upscaling the final output before sharing at a large size, fixes most blur complaints.
Do I need the box and packaging for it to look right?
Yes — reviewers and trend guides consistently point to the blister pack, cardboard backer, and display base as the details that make a figure read as "collectible" rather than a plain 3D character render.
Can I make figures for a whole group of people at once?
Yes. Generate each figure individually (most generators work one subject at a time), then use a batch processor to resize, compress, and standardize the whole set of results so they look consistent when posted together.
Which free tool should I use first?
Start with the image cropper to clean up your source photo, generate the figure with your AI tool of choice, then finish with the background remover and image upscaler depending on what the result needs.
Use the free tools while you follow the guide.
Keep reading
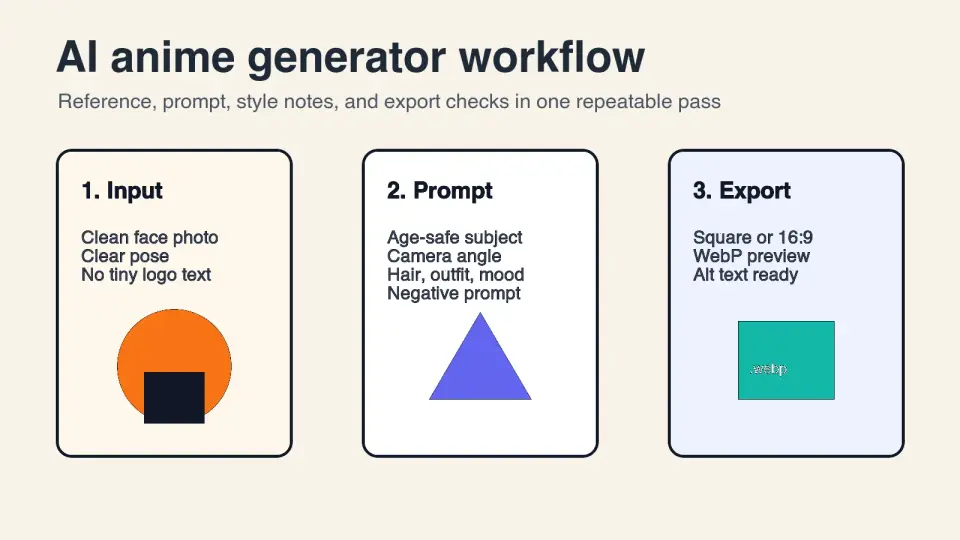
2026-07-26
AI Anime Generator Guide: Prompts, Styles, and Safe Exports
A practical AI anime generator workflow for portraits, avatars, banners, and social posts, with prompt templates, style checks, and export rules.

2026-07-26
Text-to-Image AI in 2026: How Prompt Generation Actually Works
Text-to-image AI turns a written prompt into a finished picture. Here is how the models, prompts, and settings behind image generation fit together in 2026.
2026-07-12
Adobe Firefly: How Generative Fill and Credits Work
A practical look at Adobe Firefly: generative fill in Photoshop, text to image, the commercially safe model, how credits work, and how it compares.