2026-04-04 · Updated 2026-07-26
AI Anime Generator Guide: Prompts, Styles, and Safe Exports
A practical AI anime generator workflow for portraits, avatars, banners, and social posts, with prompt templates, style checks, and export rules.
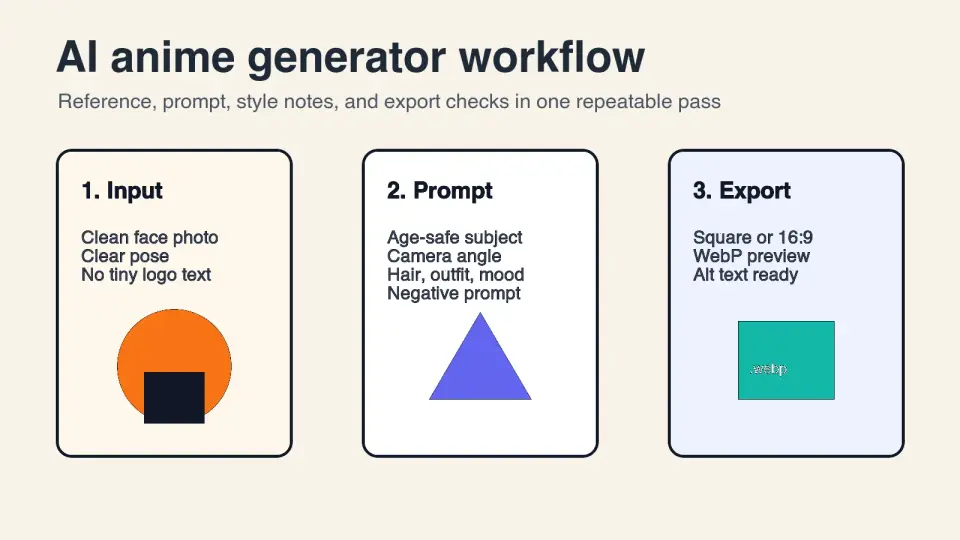
Last updated: July 26, 2026
An AI anime generator is useful when you need a character portrait, avatar, concept image, or stylized social graphic faster than a full illustration brief. The hard part is not pressing Generate. The hard part is getting repeatable results without copying a living artist, overfitting to a messy reference photo, or exporting an image that falls apart on a profile page.
Use this guide when you want a practical workflow: choose the right input, write a prompt that a model can follow, make revisions without losing the character, and publish the final image in a web-friendly format.
Quick answer: how do you get a good AI anime image?
Start with a clear subject, pick one anime direction, then describe the image in layers: character, pose, scene, lighting, style, and exclusions. If you use a reference photo, crop it cleanly and remove distractions before generation.
For a first pass, keep the prompt plain. "Original anime-style portrait of an adult baker in a raincoat, three-quarter view, warm storefront light, clean cel shading, simple background" is easier to control than a long mood board full of contradictions.
For publishing, export the final image at the size you need, compress it to WebP, and write useful alt text. Google's image SEO documentation recommends descriptive filenames and alt text for images, and its WebP guidance explains why modern image formats help reduce image payloads: Google Images SEO and web.dev modern image formats.
What should you prepare before using an AI anime generator?
Prepare the inputs before you open the generator. A weak input wastes credits because the model keeps guessing what matters.
| Input | Good | Fix first |
|---|---|---|
| Subject | One original person, mascot, pet, or object | Celebrity face or copyrighted character |
| Reference image | Face visible, simple pose | Group photo, harsh shadow, tiny subject |
| Style direction | Cel-shaded, manga ink, soft portrait | Named living artist or studio clone |
| Output use | Avatar, banner, sticker, story post | Unknown platform size |
| Text in image | Avoid when possible | Logo or slogan that must be exact |
If the output will represent a real person, get permission and avoid prompts that make them appear to endorse something they did not agree to. If the image is commercial, keep notes about your source references, prompt, and edits. The U.S. Copyright Office has warned that copyright treatment for AI-assisted works depends on human authorship and the specific facts of the work, so do not treat every generated image as automatically protected: Copyright Office AI initiative.
How do you write anime prompts that stay consistent?
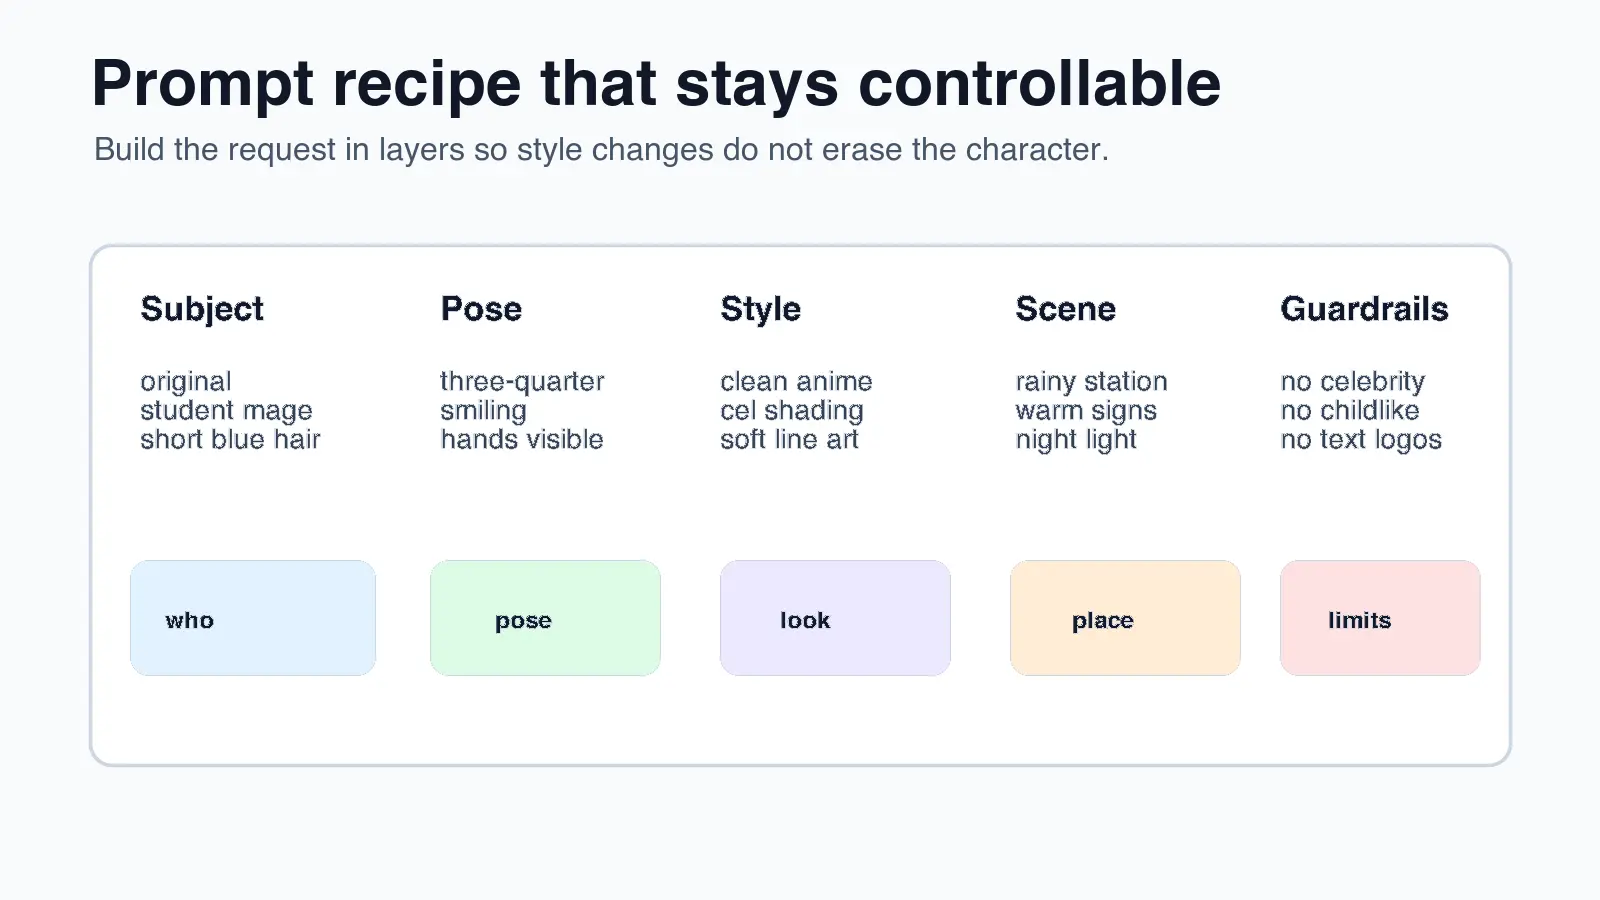
Write prompts in stable layers. Put the non-negotiable details first, then add mood and rendering notes. This makes revisions easier because you can change one layer at a time.
Use this order:
- Subject: original character, role, age category, and visual anchor.
- Pose: headshot, waist-up, full body, action pose, or seated pose.
- Camera: front view, three-quarter view, low angle, close portrait.
- Scene: room, street, school hallway, fantasy shop, train station.
- Style: cel-shaded anime, manga ink, soft watercolor anime, 1990s TV look.
- Lighting: golden hour, neon signs, soft window light, flat studio light.
- Quality controls: clean line art, simple background, no warped hands, no text.
Here is a reusable prompt:
Original anime-style portrait of an adult coffee shop owner, three-quarter view, short black hair, green apron, warm cafe window light, clean cel shading, simple background, expressive eyes, finished character design, no text, no logo, no extra fingers.
For an image-to-anime conversion, add the role of the reference:
Use the uploaded photo only for pose, face shape, and clothing color. Convert it into an original anime-style portrait with clean line art, soft shadows, and a plain background. Do not copy any logo, tattoo, or readable text from the photo.
Small changes beat full rewrites. If the first image is close but the face is too young, revise with "adult proportions, mature face shape, less childlike expression" instead of rewriting every sentence. If the background is noisy, ask for "plain color background" or use an AI background generator after the character is stable.
Which anime style should you choose?
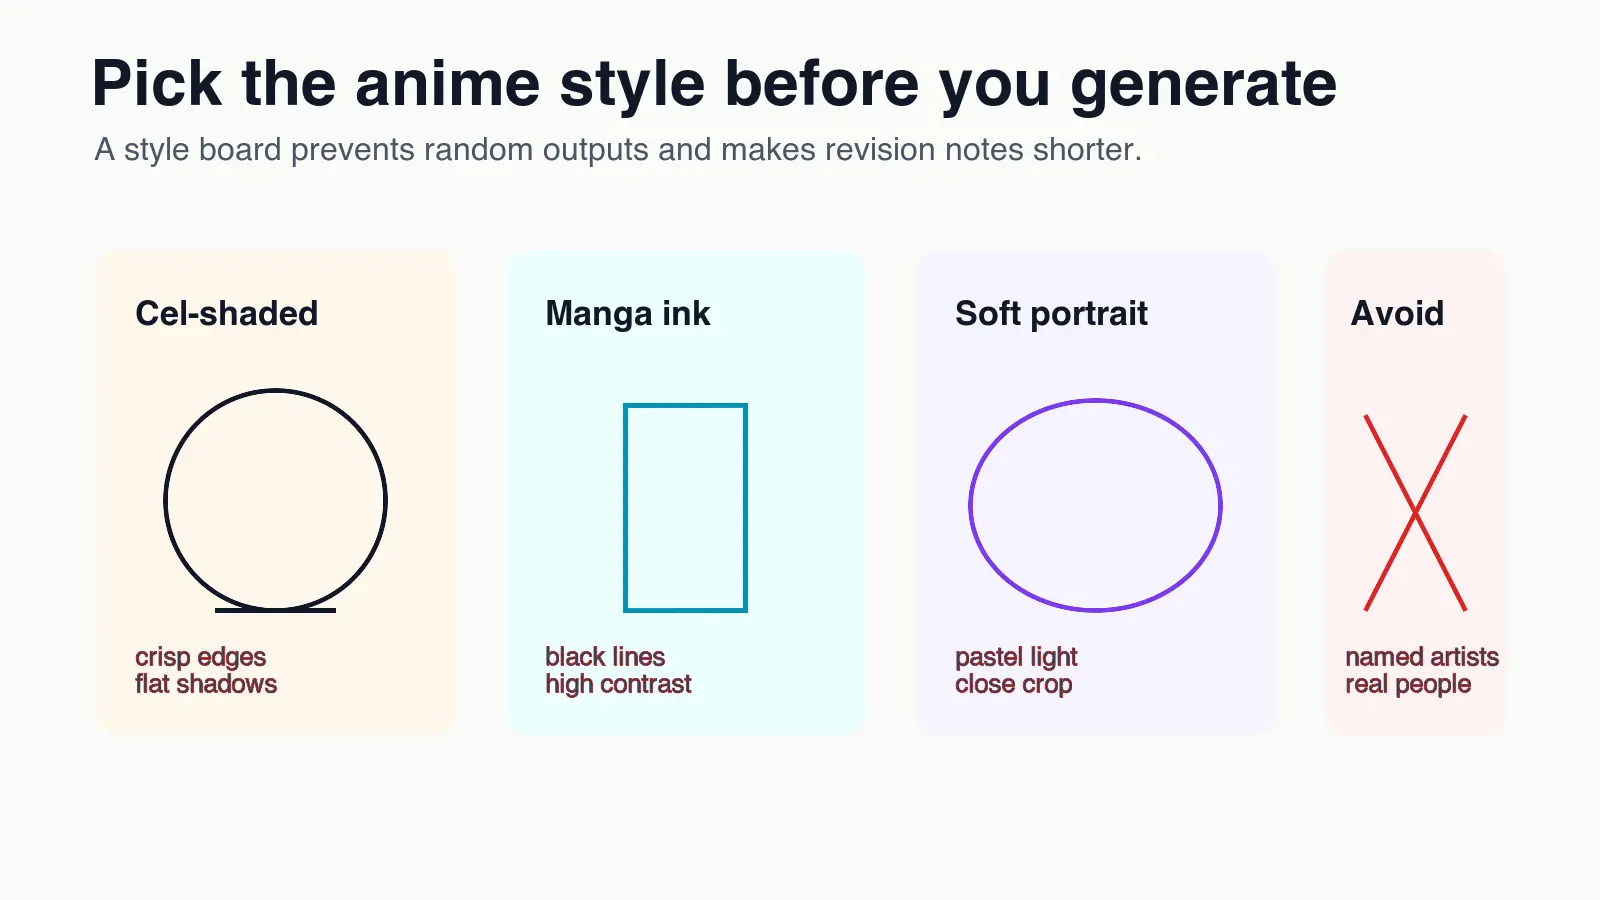
Choose the style by use case, not by novelty. A social avatar needs a readable face at 128px. A banner can carry more environment detail. A sticker needs bold edges and simple shapes.
| Style | Best for | Prompt notes | Watch for |
|---|---|---|---|
| Cel-shaded | Avatars, profiles | Clean line art, flat shadows | Childlike faces |
| Manga ink | Comics, thumbnails | Black ink, screentone | Muddy grayscale |
| Soft portrait | Profile art | Pastel palette, close crop | Plastic skin |
| Chibi mascot | Stickers, chat icons | Big head, simple pose | Known-character overlap |
| Poster anime | Banners, covers | Wide scene, clear focal point | Busy background |
Avoid asking for the exact style of a living artist or a specific studio's current production look. Describe the visual traits instead: "soft watercolor wash, rounded shapes, low-contrast background" is more useful and less risky than naming a working illustrator.
Can you turn a photo into anime safely?
Yes, if the photo is yours to use and the result does not misrepresent the person. The safest workflow is to treat the photo as a reference, not as raw material to impersonate someone.
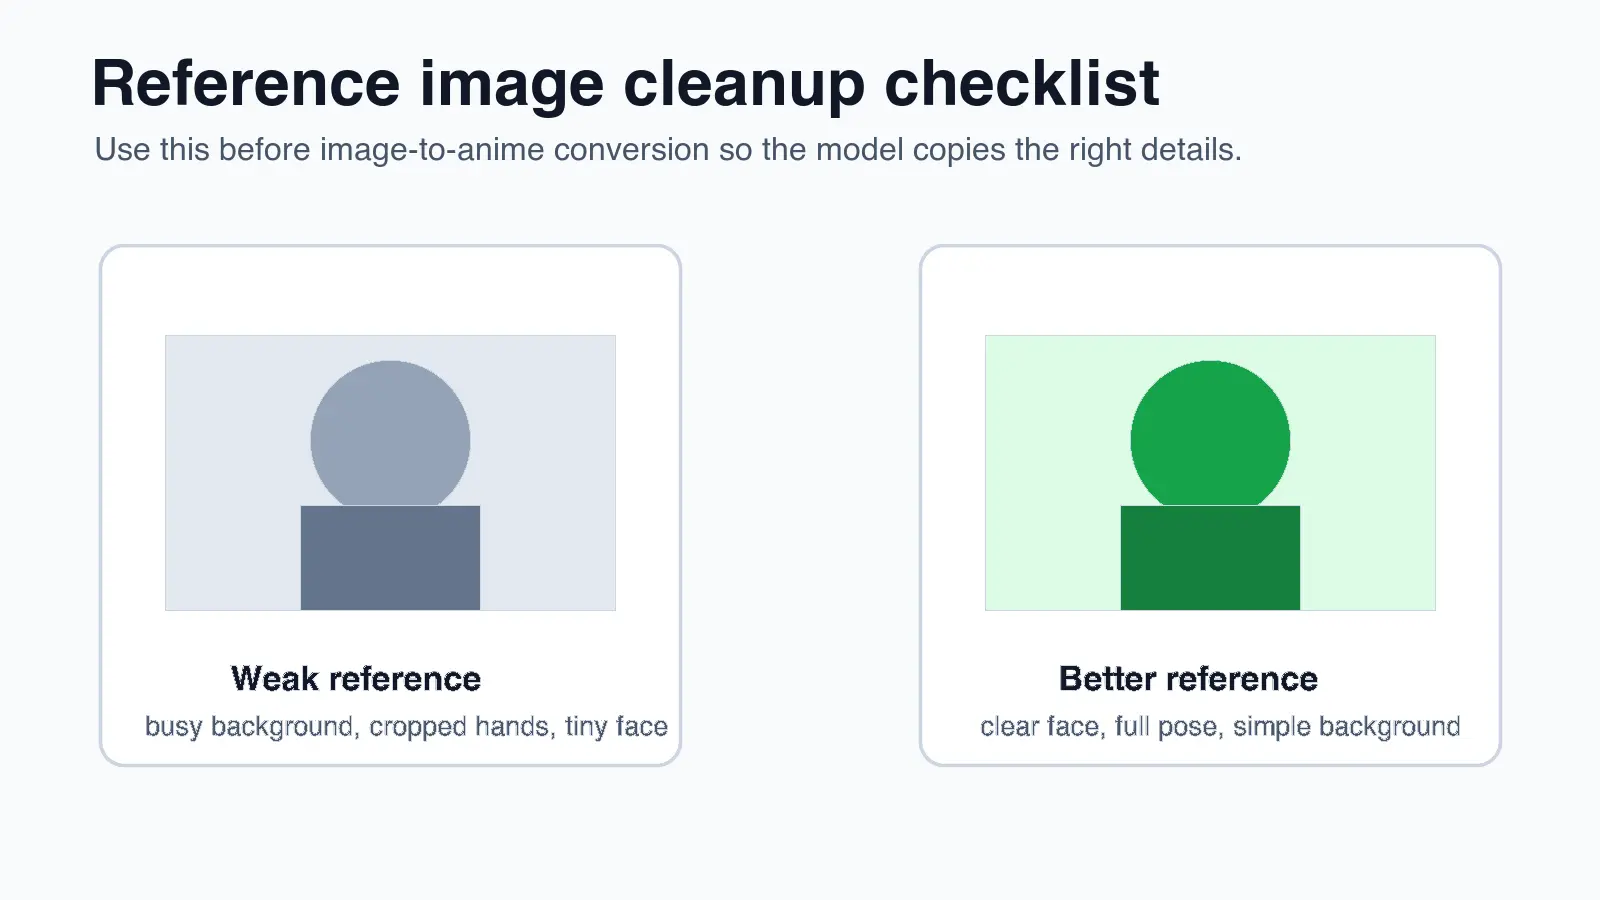
Clean the reference first:
- Crop to the person or object you want copied.
- Remove extra people from the frame.
- Keep both eyes visible when the face matters.
- Avoid screenshots with watermarks or platform UI.
- Use a plain background when possible.
- Do not upload private client photos unless your tool and contract allow it.
For client or brand work, keep a copy of the approved reference and the final prompt. That record helps explain what was generated, what was edited, and what rights were cleared.
If the anime output still looks too close to the original photo, revise toward an original character: change hair shape, outfit, color palette, background, and facial styling. If you only need a stylized profile image, the AI image editing tools guide can help you choose a lighter edit instead of a full character generation pass.
What settings and sizes work best for avatars, banners, and posts?
Pick the final use before you generate. Upscaling, cropping, and compression are easier when you know the target frame.
| Output | Recommended starting size | Crop | Export note |
|---|---|---|---|
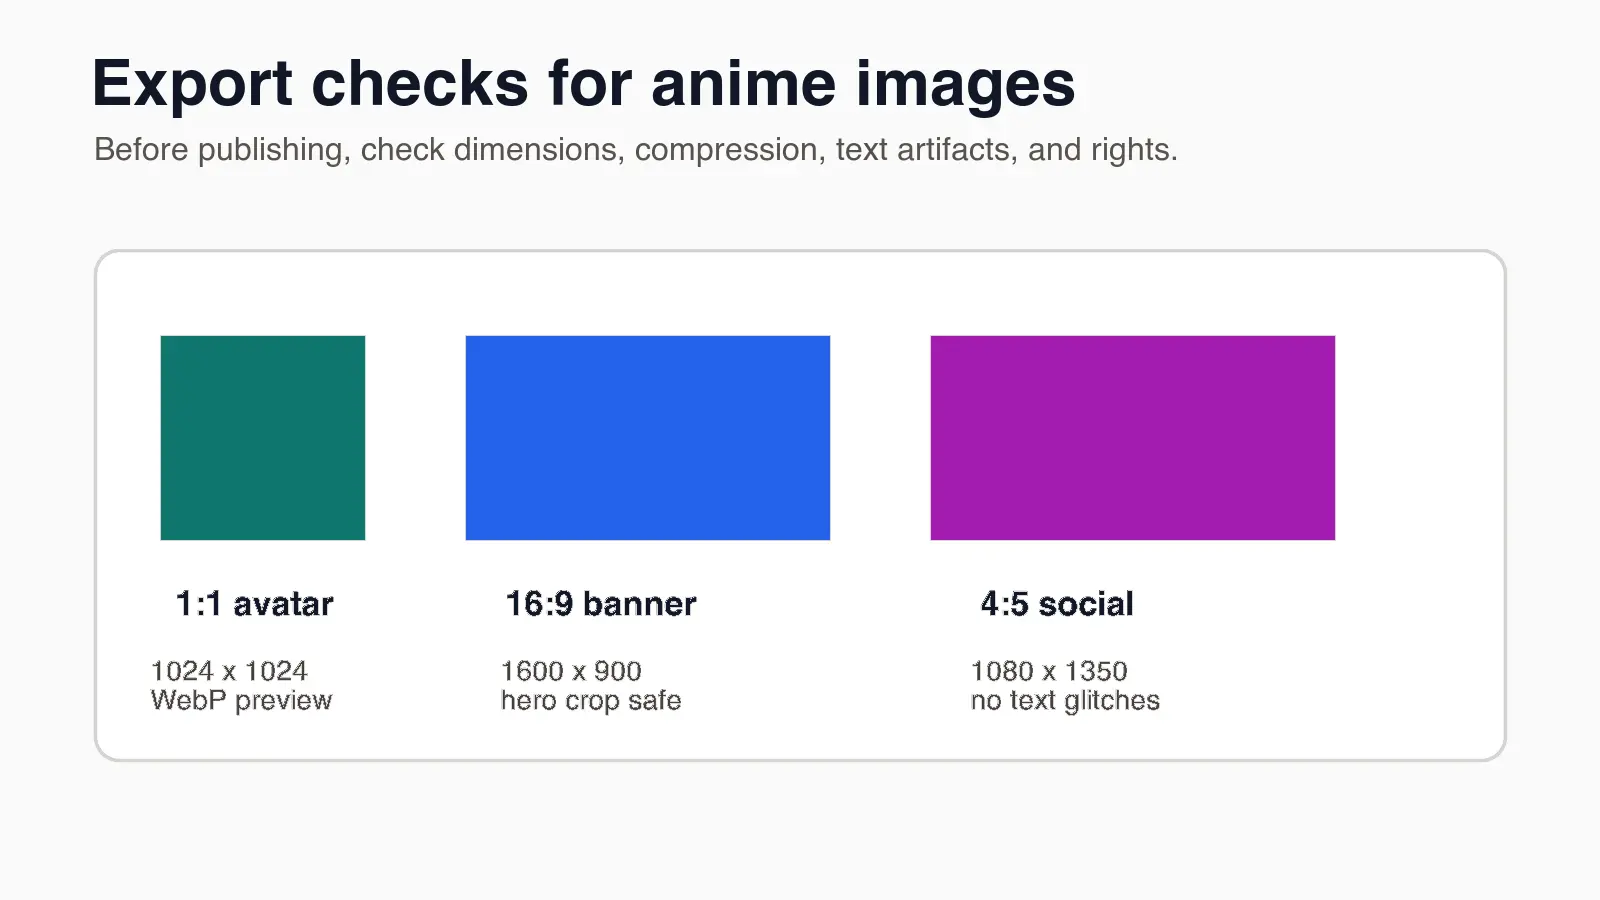
| Profile avatar | 1024 x 1024 | Square | Keep face centered with safe margin |
| YouTube or blog banner | 1600 x 900 | 16:9 | Put the subject away from edges |
| Instagram portrait post | 1080 x 1350 | 4:5 | Leave space for captions and UI |
| Sticker or chat icon | 1024 x 1024 | Square | Use bold silhouette and transparent PNG if needed |
| Product concept image | 1600 x 1200 | 4:3 | Keep object readable before adding background |
If the generator gives you a small image, upscale before sharpening. The AI image upscaling guide covers when upscaling helps and when it only magnifies artifacts. For a web article or shop page, pair the final image with the sizing advice in the responsive images guide.
Export a WebP preview for the web, but keep a high-quality PNG or project file if you expect more edits. MDN's image format reference is useful when you need to compare browser-friendly formats and transparency support: MDN image file type and format guide.
For each finished image, record a measured export line: generator size, final crop, final format, and compressed file size. If an avatar looks soft after upload, that note tells you whether the problem came from generation, upscaling, or the final export.
How do you revise bad AI anime results?
Most bad anime results come from one of four problems: the prompt is vague, the reference image is messy, the style request conflicts with itself, or the export crop is wrong.
Use this troubleshooting list:
- Face looks too young: add "adult character, mature face proportions, less childlike expression."
- Hands are warped: crop to portrait, hide hands, or generate multiple passes before choosing.
- Outfit keeps changing: describe only two or three clothing details and lock the color.
- Background is noisy: request "plain background" or generate the subject first.
- Image looks like a known character: change hairstyle, palette, outfit, and accessories.
Then check the export and finishing problems:
- Text is unreadable: remove text from the prompt and add typography later in an editor.
- Style is inconsistent: remove extra style adjectives and pick one style direction.
- Output is blurry: regenerate larger, then upscale and sharpen lightly.
- Avatar crop feels weak: center the eyes and leave margin above the hair.
- Colors look dull after compression: export from the original high-quality result again.
Do not chase one broken image for an hour. When the composition is wrong, start over with a shorter prompt. When only the crop or background is wrong, fix it with an editor. For comic-style looks, the comic book photo effect guide is a useful fallback when you want stylization without a full prompt workflow.
What should you check before publishing?
Run a final check like an editor, not a prompt engineer.
- Does the image match the subject and use case?
- Is the character original enough for the context?
- Did you avoid named living artists, public figures, and copyrighted characters?
- Is the face readable at the final display size?
- Are hands, eyes, jewelry, and logos free of obvious artifacts?
- Is any required text added manually and proofread?
- Is the file size reasonable for the page?
- Does the filename describe the image?
- Does the alt text explain what the image shows?
- Is the source prompt or approval note saved for client work?
For search pages, Google recommends using descriptive page context, filenames, and alt text around images. For accessibility, write alt text that would help someone understand the image's purpose without seeing it. If the image is decorative, it should usually stay out of the article body rather than pretending to carry information.
A practical workflow you can reuse
For a creator avatar, use this exact order:
- Pick square output.
- Choose cel-shaded or soft portrait style.
- Write a one-sentence character prompt.
- Generate four versions.
- Choose the face and silhouette first.
- Revise clothing and background second.
- Upscale only the best candidate.
- Export WebP for the profile page.
- Keep a PNG master for future edits.
- Add descriptive alt text if it appears on a public site.
For a banner, start wider and keep the subject away from the edges. For a sticker, simplify the pose before adding details. For a product or mascot, make the object readable in grayscale before you care about the background.
The reader-facing test is simple: someone should understand the character, mood, and use case in one glance. If they need the prompt to explain the image, the image is not ready.
Related guides
- AI Art Generator Guide
- AI Image Editing Tools
- AI Background Generator
- Responsive Images Guide
- Image SEO Guide
Frequently asked questions
What is an AI anime generator?
An AI anime generator turns a text prompt or a reference photo into a stylized anime-style portrait, avatar, or scene.
Can I turn a photo into anime style safely?
Yes, as long as the photo is yours to use and you treat it only as a reference for pose and face shape rather than raw material to copy someone's likeness.
Which anime style works best for a profile avatar?
Cel-shaded style works best for avatars because its clean line art and flat shadows stay readable at small sizes like 128px.
What image size should I use for an anime avatar?
Generate at 1024 x 1024 and keep the face centered with a safe margin so the crop still reads well after upload.
Why do AI anime generators warp hands and fingers?
Hands are one of the hardest details for these models, so cropping to a portrait or generating multiple passes before choosing usually fixes it.
Is AI-generated anime art copyrighted?
Copyright protection depends on human authorship and the specific facts of the work, so treat commercial images carefully and keep prompt and edit records.
How do I keep an anime character consistent across revisions?
Revise one prompt layer at a time, such as face shape or clothing color, instead of rewriting the entire prompt from scratch.
What file format should I export anime images in?
Export a compressed WebP for the web and keep a high-quality PNG master in case you need further edits later.
Use the free tools while you follow the guide.
Keep reading
2026-07-28
AI Action Figure Trend: How to Prep Your Photo Right
Turn a photo into a collectible toy portrait: what makes the prompt work, and the crop, background, and resolution steps that avoid an obvious fake.
2026-07-26
Text-to-Image AI in 2026: How Prompt Generation Actually Works
Text-to-image AI turns a written prompt into a finished picture. Here is how the models, prompts, and settings behind image generation fit together in 2026.
2026-07-12
Adobe Firefly: How Generative Fill and Credits Work
A practical look at Adobe Firefly: generative fill in Photoshop, text to image, the commercially safe model, how credits work, and how it compares.