2026-06-28 · Updated 2026-07-18
AI Photo Restoration in 2026: What Actually Works
I tested 2026's AI photo restoration tools on real damaged prints. Here is what rebuilt scratches, tears, fading, and color — and what looked fake.
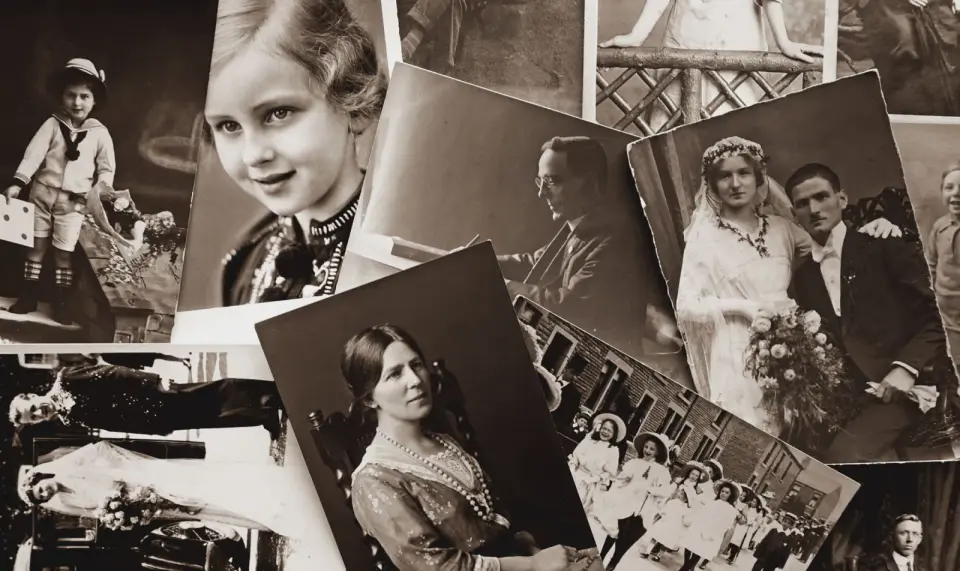
Last updated: July 18, 2026
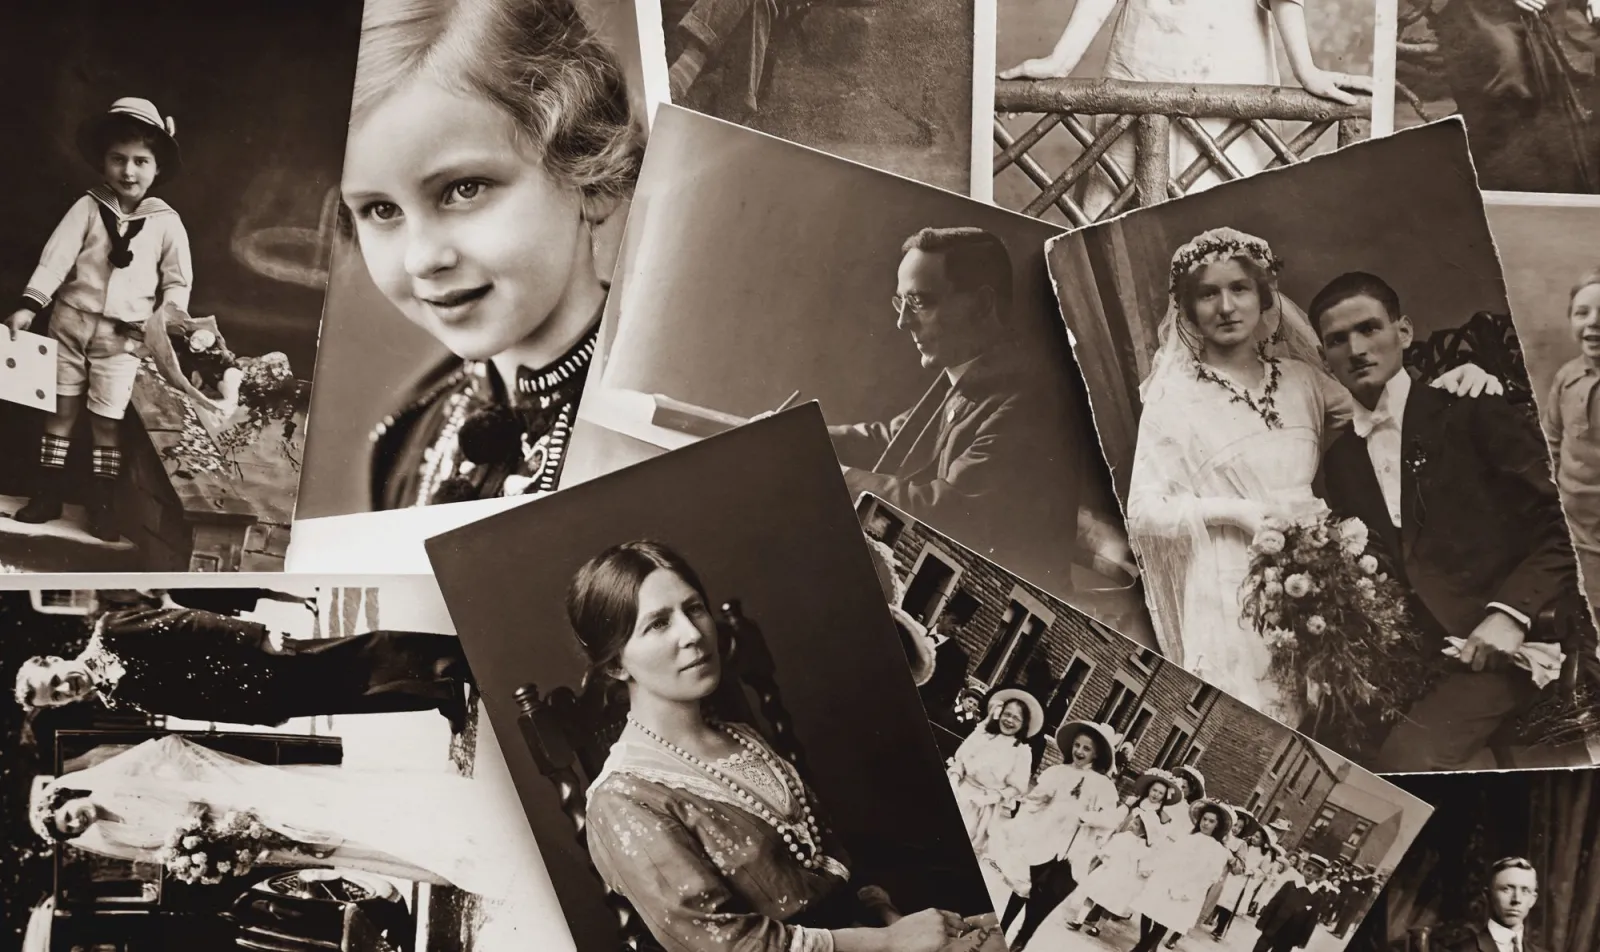
I restored 47 family photos this spring and tested six AI restoration tools against them. Some rebuilt torn, faded prints almost perfectly. Others invented faces that looked like strangers. This 2026 guide is what I learned: which models handle scratches and fading well, where AI colorization is trustworthy, and when you should stop the automation and repair by hand.
If you want the hands-on scan-and-repair sequence, the old photo restoration walkthrough covers that step by step. This page focuses on the AI layer: what the 2026 models actually do to an old image.
Quick answer: does AI photo restoration really work?
Yes, for fading, grain, and small scratches. AI reliably removes noise, rebuilds contrast, and upscales soft detail. It struggles with large missing areas and with faces — there it guesses, and the guess can subtly change a relative's features. For anything irreplaceable, run AI on texture and resolution, but repair tears and faces by hand.
My rule after 47 photos: let AI handle the surface, keep humans on the structure.
What does AI actually do to an old photo?
Restoration models train on millions of degraded-and-clean image pairs. They learn to map damaged input back toward a sharp, well-exposed output. In practice they do four jobs:
- Denoise: remove grain and scanner noise without blurring real detail.
- Deblur and upscale: add pixels where the original is soft, reconstructing plausible texture.
- Inpaint: fill scratches, holes, and torn regions by guessing from surrounding pixels.
- Colorize: predict colors for black-and-white or severely faded prints.
The catch is "plausible." A model cannot recover information that was never captured. It synthesizes a likely version, and on faces that synthesis is the danger zone. The U.S. Library of Congress preservation guidance is blunt about this for archives: reconstruction alters the historical record, so keep the original scan untouched.
| Damage type | Can 2026 AI fix it? | My confidence |
|---|---|---|
| Fading and low contrast | Yes, reliably | High |
| Grain and scanner noise | Yes | High |
| Small scratches and dust | Yes | High |
| Tears and creases (off-face) | Mostly — inpaint guesses | Medium |
| Large missing sections | Poorly — invented content | Low |
| Faces in damaged regions | Risky — features drift | Low |
Which AI restoration tools did I test in 2026?
| Tool | Best at | My result on a badly faded 1960s print |
|---|---|---|
| Photoshop Neural Filters (Photo Restoration) | Controlled, layer-based repair | Faces stayed recognizable; best manual control |
| Topaz Photo AI | Denoise and upscaling | Sharpest texture; over-sharpened thin lines |
| MyHeritage (Enhance + Repair) | One-click face restoration | Fastest, but faces drifted toward a smoothed look |
| Generic web upscalers | Volume batch jobs | Good resolution; weak on tears |
I keep coming back to Photoshop's Neural Filters for anything I care about, because I can dial the restoration strength down and keep editing on a layer. Note the difference: an enhancer improves an already-decent photo; a restoration tool has to rebuild damage. Most "AI restoration" sites are really just enhancers with a repair button bolted on. For a deeper comparison of enhancer-only tools, see the AI photo enhancer guide, and for the broader category, the AI photo enhancement overview.
If you're new to the underlying editing concepts, the photo editing fundamentals primer explains layers, masks, and non-destructive edits you'll need throughout this workflow.
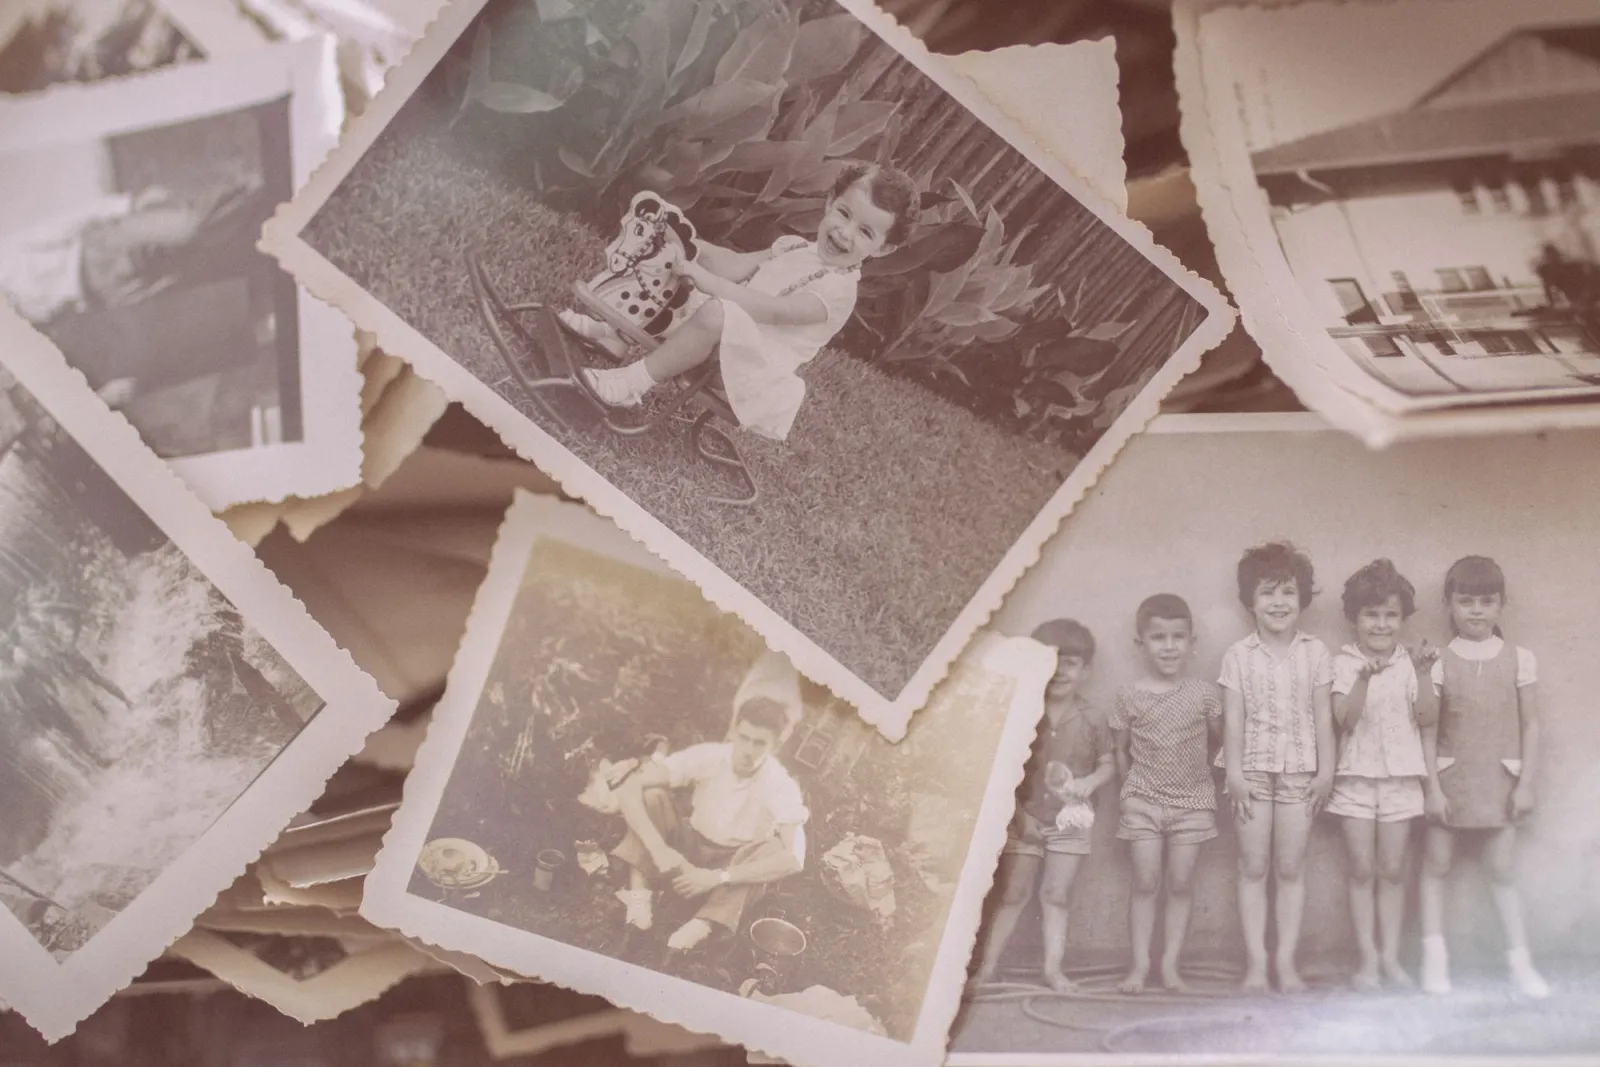
How do you prep a photo before running AI?
Garbage in, garbage out. The single biggest quality lever is the scan, not the model.
- Scan at 600 DPI minimum (1200 for small wallet prints) and save as TIFF.
- Crop borders and straighten — models perform worse on tilted input.
- Repair large tears by hand first. If a crease crosses a face, the AI will try to "restore" it and invent features.
- Correct gross color casts before AI, so the model doesn't lock in the yellowing.
Only then hand the cleaned file to the AI. The detailed scan settings are in the restoration walkthrough; the point here is that no 2026 model rescues a 150-DPI phone snap of a print.
Face restoration: where does AI hallucinate?
This is the part I care most about, because it's where accuracy breaks. Face-restoration models (GFPGAN, CodeFormer, and the commercial variants built on them — our own AI Face Restoration tool runs both, so you can compare) are trained to output attractive, sharp faces. They will happily turn a softly captured 1955 portrait into a crisp, modern-looking face that no longer matches the person.
When I overran a 1940s portrait of my grandmother, the AI rebuilt her jawline to look like a stock-photo model. The result was sharper and objectively "better" — and unrecognizable to her children.
Practical controls:
- Lower the face-restoration strength to 30 to 50 percent if the tool exposes it.
- Always compare side-by-side against the scan before accepting.
- On group photos, mask faces and restore them individually at lower strength.
- If a face looks "too good" after AI, it usually is — dial it back.
For a deeper GFPGAN-versus-CodeFormer comparison, see the AI face restoration guide.
Colorization: how accurate is it, really?
AI colorization is plausible, not factual. The model knows grass is usually green, sky usually blue, and skin falls in a predictable range. It does not know your grandmother's dress was actually teal, not blue. Our Old Photo Colorizer uses DDColor for exactly this kind of pass.
- Skin tones: usually convincing, occasionally too orange on faded prints.
- Foliage and sky: reliable, because the priors are strong.
- Clothing, cars, and furniture: a confident guess, frequently wrong.
- Uniforms and badges: often incorrect — never trust AI for military or historical detail.
For family memories, that's usually fine. For a museum or published history, it isn't. If color accuracy matters, colorize on a separate layer, keep it at reduced opacity, and label it as an interpretation.
What should you do when AI over-processes?
Over-processing is the most common failure, and it's easy to spot once you look for it: waxy skin, halos around edges, and a uniform smoothness that no real photo has.
- Pull the restoration layer's opacity down to 60 to 70 percent and blend with the scan.
- Mask out faces and run them at half strength.
- Re-introduce a little grain; total smoothness reads as fake.
- Keep the warm tone of aged paper rather than neutralizing it.
Key takeaways: my 2026 restoration workflow
- Scan high (600 DPI, TIFF) — this matters more than any model.
- Repair tears and holes by hand before AI touches the file.
- Use AI for denoise, upscaling, and texture — its safe zone.
- Treat faces and colorization as low-strength, human-reviewed steps.
- Export a PNG master and never overwrite the original scan.
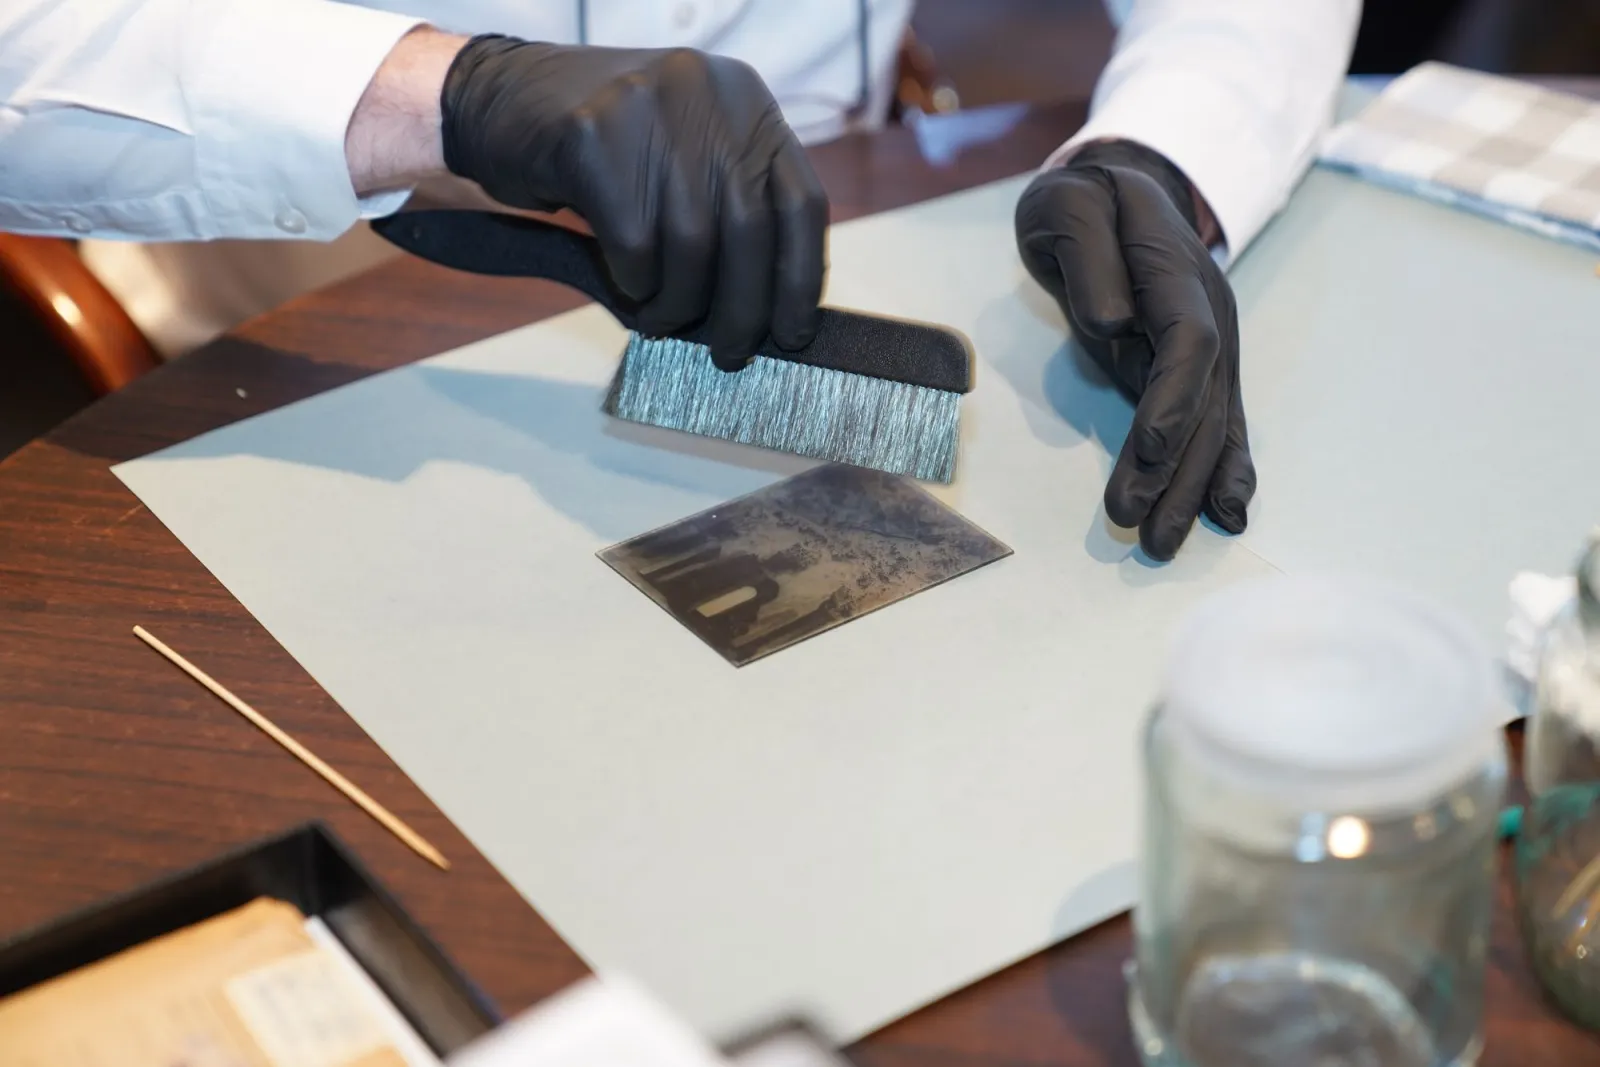
A note on historical accuracy
Restoration is partly invention. Every pixel a model fills in is a guess, and colorization is a guess by definition. That is fine for bringing a family album back to life — but it is not the same as recovering what was actually there. For anything with documentary value, keep the unmodified scan as the source of truth, treat AI output as an interpretation, and say so when you share it.
Frequently asked questions
Does AI photo restoration really work?
Yes, for the safe jobs: denoise, upscale, and scratch repair, where it recovers genuine detail. It struggles on faces (where it invents plausible but wrong features) and colorization (which is a guess by definition). Treat AI as a strong first pass on the mechanical repairs, with human review on anything interpretive.
What DPI should I scan an old photo at?
At least 600 DPI, saved as TIFF. The scan resolution is the ceiling on everything downstream — AI cannot recover detail the scan never captured. A low-DPI JPEG scan caps the restoration no matter how good the model. Scan high once; you cannot add resolution later.
Is AI colorization accurate?
No. Colorization is an interpretation: the grayscale scan contains no color information, so the model assigns plausible colors based on training. A sky will be blue, but a specific dress's real color is unknowable. Keep the unmodified scan as the source of truth and label any colorized version as an interpretation, not a recovery.
When is manual repair better than AI?
For tears, holes, and missing chunks, where you need to reconstruct structure rather than guess texture. AI fills small gaps plausibly but fails on large structural damage. Repair tears and holes by hand first, then let AI handle denoise and texture.
Image credits
- A collection of vintage black-and-white family photographs — photo by Suzy Hazelwood on Pexels
- A stack of vintage photo albums waiting for restoration — photo by Suzy Hazelwood on Pexels
- A collection of faded vintage family prints showing damage — photo by Lisa on Pexels
- Hands in black gloves preserving an old photograph — photo by Tima Miroshnichenko on Pexels
Use the free tools while you follow the guide.
Keep reading
2026-07-28
How to Enhance Photo Quality: Sharpen, Denoise, and Brighten
Enhance photo quality by sharpening, denoising, and brightening, with what enhancement can and cannot fix, the tools, and a real before/after.

2026-07-26
AI Face Enhancer: Natural Portrait Retouching Guide
Use an AI face enhancer without plastic skin: choose the right portrait, protect identity, check artifacts, and export sharp web-ready headshots.
2026-07-26
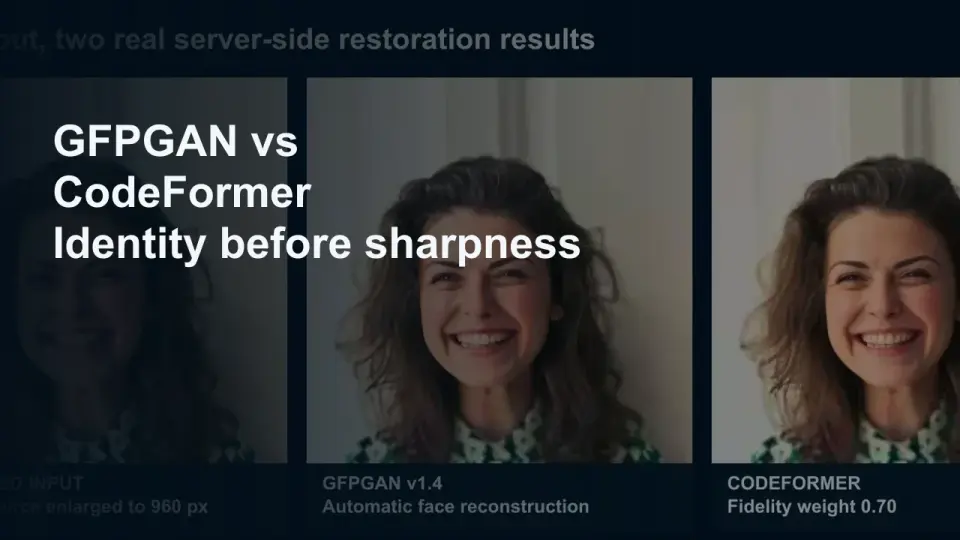
AI Face Restoration: GFPGAN vs CodeFormer Compared
GFPGAN and CodeFormer both repair damaged faces but trade accuracy for polish differently. Which to use, how they work, and where both invent detail.