2026-06-28 · Updated 2026-07-26
Convert PNG to JPG: When to Switch and How to Do It Right
Convert PNG to JPG to cut file size by 80 percent or more. When to keep PNG transparency, how to handle backgrounds, and batch conversion steps that preserve quality.
Last updated: July 26, 2026
PNG and JPG serve different jobs, and converting from one to the other is a decision about transparency, file size, and image content. PNG preserves sharp edges and transparency but produces large files; JPG compresses photographic content far more aggressively but loses transparency and degrades flat color. This guide covers when converting PNG to JPG actually helps, how to handle the transparency you lose, and the batch workflow that does it without quality loss.
Quick answer: when should you convert PNG to JPG?
Convert PNG to JPG when the image is a photograph (not a graphic with text or sharp edges) and you do not need transparency, because JPG will shrink the file by 80 percent or more with no visible quality loss. Keep the PNG when the image has text, logos, sharp lines, or a transparent background — JPG compression blurs those and cannot store transparency. To convert a folder of images at once, use a batch converter; to convert one, use the image converter.
Why does PNG produce larger files than JPG?
PNG uses lossless compression designed for flat color regions and sharp edges. It preserves every pixel exactly, which is ideal for graphics but wasteful for photographs, where millions of subtle color variations defeat the compression. JPG uses lossy compression designed for the smooth gradients in photographs, discarding detail the eye barely notices to achieve dramatic size reductions.
| Image type | PNG size | JPG size (q85) | Better format |
|---|---|---|---|
| Photograph | Large | 80-90% smaller | JPG |
| Screenshot with text | Small | Larger or blurry | PNG |
| Logo with transparency | Small | Broken (no alpha) | PNG |
| Flat-color graphic | Small | Similar | Either |
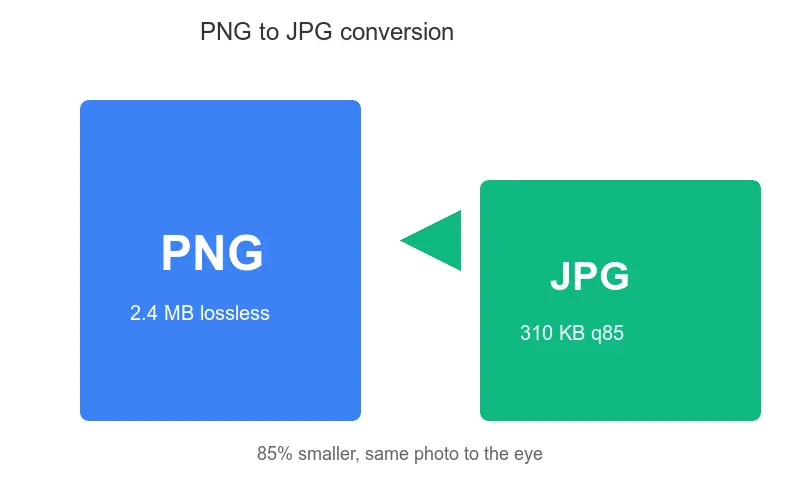
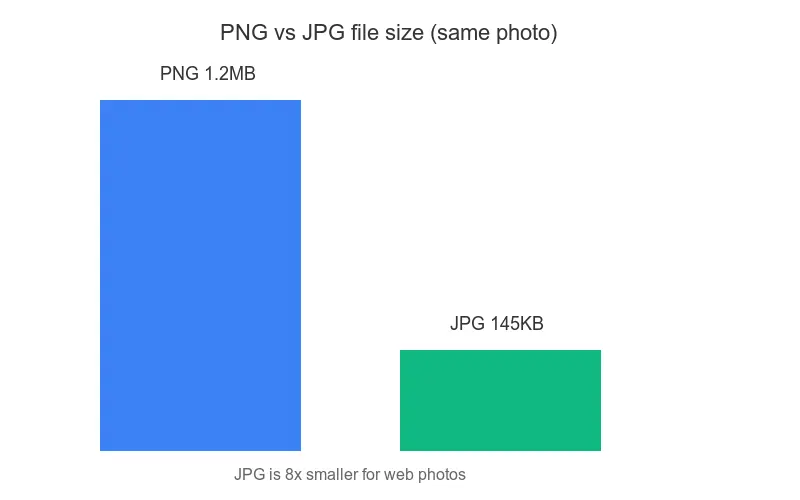
The size difference for photographs is enormous — a 5 MB PNG of a photo often becomes a 500 KB JPG at quality 85, with no perceptible difference. The format comparison breaks down the trade-offs across all three common formats.
When should you keep PNG instead?
PNG is the right choice when the image depends on features JPG cannot provide. Converting these to JPG damages them.
- Transparency — PNG supports alpha transparency; JPG does not. A logo on a transparent background becomes a logo on a solid white box in JPG.
- Sharp text — JPG compression introduces ringing artifacts around text edges. Screenshots with text should stay PNG.
- Flat color — PNG compresses flat regions efficiently; JPG can introduce banding.
- Repeated editing — PNG is lossless, so re-saving does not degrade it; JPG loses quality each save.
If any of these apply, keep the PNG. The file size is the price of those capabilities.
How do you handle transparency when converting?
The hardest part of PNG-to-JPG conversion is the transparent background, because JPG has no alpha channel. You have to fill the transparency with a solid color first.
- Decide the background color the image will sit on — usually white.
- Flatten the PNG onto that background color before converting.
- Convert to JPG at quality 85.
- Check the result for visible halos around the former transparent edges.
- Match the background color to where the image will live — white for most sites, black for dark themes.
- A mismatched background produces an ugly visible rectangle.
- For images that need to sit on varied backgrounds, keep the PNG; JPG cannot do this job.
Batch conversion workflow
Converting a folder of PNGs to JPGs one at a time is slow. The batch approach applies the same settings to every file.
- Separate the photographs (good JPG candidates) from the graphics (keep as PNG).
- Flatten any transparent PNGs onto a white background.
- Run the batch converter over the photograph folder at quality 85.
- Spot-check three or four results for artifacts.
- Compress the output further if needed.
| Batch setting | Recommendation |
|---|---|
| Quality | 85 for photos, 95 for important images |
| Background flatten | White (or match destination) |
| Resize | Do this separately, before or after |
| Output folder | New folder, keep PNG originals |
Choosing the right JPG quality level
Quality is the single setting that decides whether a PNG-to-JPG conversion saves space or ruins the image. The right level depends on the image content and how it will be viewed.
| Quality | File size | Visible loss | Good for |
|---|---|---|---|
| 95-100 | Large | None | Archival, important images |
| 85-90 | Medium | None to most eyes | Standard web photos |
| 75-80 | Small | Slight | Thumbnails, high-volume |
| Below 70 | Very small | Visible artifacts | Avoid for most uses |
A practical method: export at 85, view at 100% zoom, and if you see no artifacts, that is your quality. If you do, step up to 90. For images that will be displayed small, 75 or 80 is usually fine because the artifacts are invisible at thumbnail size. The temptation to push quality below 70 for tiny files almost always backfires — the blocking artifacts become obvious even on small displays, and the image reads as cheap. Photographs with smooth gradients, like skies and skin, show JPG artifacts first, so check those regions specifically when choosing a quality level.
Common conversion mistakes
- Converting text-heavy screenshots — JPG blurs the text. Keep PNG.
- Losing transparency into white boxes — flatten onto the right background first.
- Re-saving JPGs repeatedly — each save compounds artifacts; convert once from the PNG.
- Using low quality — below 80, JPG artifacts become visible on most photos.
- Converting graphics that look worse — flat-color art can grow as a JPG. Check the size.
When should you use WebP instead?
Modern WebP often beats both PNG and JPG — it supports transparency like PNG and compresses photos like JPG, at smaller sizes than either. For new web images, converting PNG directly to WebP gives transparency and small files in one format. The PNG to WebP guide covers that path.
WebP with lossless compression can even match PNG quality at a smaller size for graphics, and lossy WebP beats JPG for photos — so for web destinations where browser support is no longer a concern, WebP is increasingly the single best answer regardless of whether the source is a photo or a graphic. For the underlying format specifications, the Mozilla image format reference documents the capabilities of each, and the PNG specification defines the lossless compression that makes PNG the right choice for graphics. Choose the format by the image's content and destination, not by habit.
Frequently asked questions
When should I convert PNG to JPG?
When the image is a photograph and file size matters — JPG is far smaller for photos. Keep PNG for graphics with sharp edges, text, or transparency, where JPG's compression artifacts would show. Match the format to the content.
Why does PNG produce larger files than JPG?
PNG uses lossless compression, which preserves every pixel exactly; JPG discards detail the eye notices least. For a photo, that means PNG keeps information JPG safely discards, so the PNG is much larger for the same visible result.
How do I handle transparency when converting to JPG?
JPG does not support transparency, so a transparent PNG gets a forced background (usually white or black) on conversion. Flatten the PNG onto your chosen background color first, then convert. Do not expect transparency to survive a JPG export.
What JPG quality should I use?
Quality 80–85 for web (invisible loss, small file). Higher for prints or inspected crops. Convert once at the target quality; do not re-save repeatedly, because each JPEG save adds generation loss.
Can I convert PNG to JPG without losing transparency?
No — JPG does not support transparency, so a transparent PNG gets a forced background on conversion. Flatten onto your chosen background color first, then convert. If you need transparency, stay in PNG or convert to WebP instead.
What JPG quality should I convert to?
Quality 80–85 for web delivery (invisible loss at viewing size, roughly a quarter of the bytes of quality 100). Use 90–95 only for prints or crops that will be inspected closely. Convert once at the target quality from the PNG master; do not re-save the JPEG repeatedly, because each save adds generation loss.
Does converting PNG to JPG lose transparency?
Yes — JPG has no alpha channel, so any transparent areas get a forced background (usually white or black) on conversion. If you need transparency, stay in PNG or convert to WebP instead, both of which support an alpha channel. To convert a transparent PNG to JPG, first flatten it onto your chosen background color, then export the JPG.
Use the free tools while you follow the guide.
Keep reading
2026-09-13
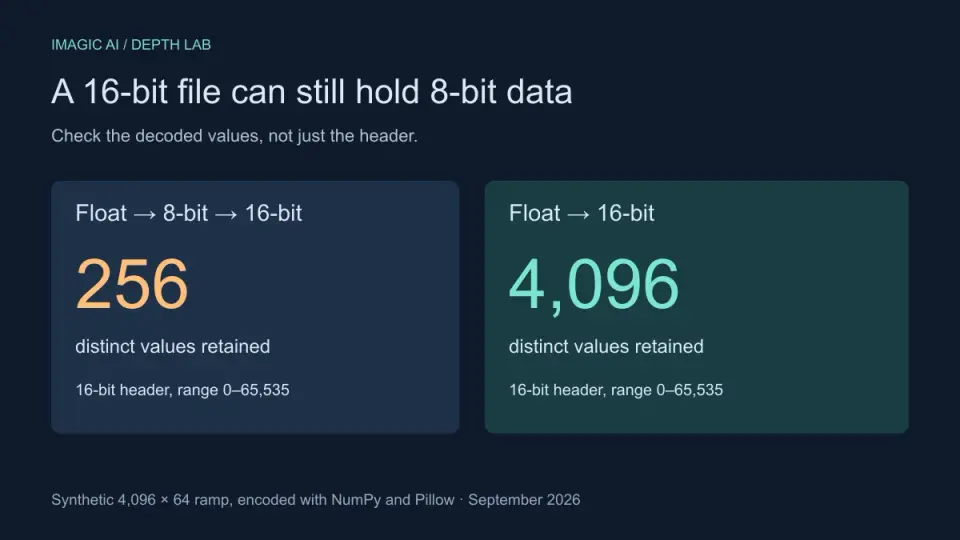
16-Bit Depth Maps: Fix Banding and Verify Your PNG
Fix stair-stepped or inverted depth maps with a reproducible 8-bit vs 16-bit PNG test, a file inspection script, and a practical Blender import checklist.
2026-09-13
GIF Maker From Images: Build Animated GIFs That Load Fast
Turn a set of images into an animated GIF for web and social media. Real frame timing, size limits for each platform, and when to choose GIF over video.

2026-09-13
Screenshot to Image: Save, Format, and Optimize Screenshots
Capture screenshots on any device, save them in the right format, and compress them for web without blurring text. Real steps for PNG, WebP, and full-page capture.