2026-07-25 · Updated 2026-09-13
How to Blur Faces and License Plates Before You Post
Blur or pixelate faces and license plates so they stay unreadable. Which method actually anonymizes, what fails, and how to avoid leaking EXIF location data.
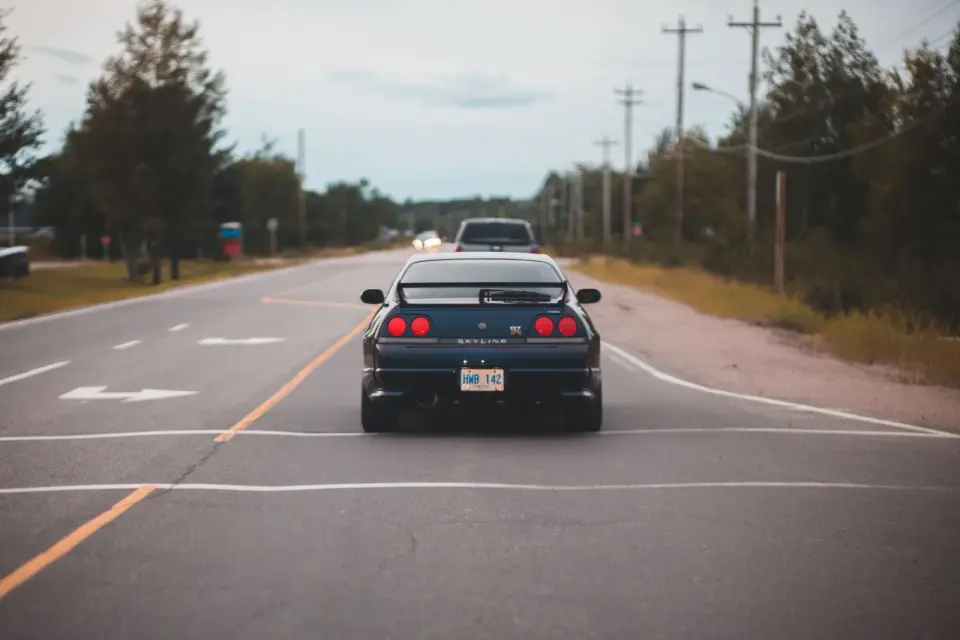
Last updated: September 13, 2026
You took a good photo, but there is a stranger in the frame, a car number plate at the kerb, a house number on the door, or a screen with a customer's details on it. Post it as it is and you publish information that was never yours to share.
Blurring is the usual fix, and most of the time it is the right one. But a weak blur is not anonymity, a black box is not always necessary, and the file you upload can leak the location of the shot even after the faces are gone. This guide covers what actually works, what only looks like it works, and the checks to run before the picture leaves your device.
Quick answer: what is the safest way to blur a face?
Use a solid block for anything that must never be recovered or recognised. Use a strong blur or coarse pixelation when you want the photo to still read naturally and the subject is incidental — a passer-by, a parked car, a face in a crowd. The Imagic AI Blur Face tool does all three, and it runs in your browser: the photo is never uploaded, which matters more here than for any other kind of editing, because the whole reason you are editing is that the file contains something private.
Whatever you use, do two things afterwards: inspect the result at 100% zoom, and confirm the export has no EXIF location data attached.
Why "blurred" is not always anonymous
A blur does not delete information. It averages neighbouring pixels together, and how much identity survives that averaging depends entirely on how strong it is relative to the size of the face.
Three failure modes come up repeatedly:
- The blur is too weak for the face size. A radius that thoroughly obscures a face 40 pixels wide barely softens one that is 600 pixels wide. Strength has to scale with the region, not be a single fixed setting.
- Only part of the identifying detail is covered. A box drawn tightly around the eyes leaves the jawline, hairline, ears, and any distinctive marks fully readable. People are recognised by more than their eyes.
- The same subject appears unblurred elsewhere. Blurring someone in one photo of a set while leaving them sharp in another defeats the whole exercise.
There is a fourth, subtler problem worth knowing about. Researchers have repeatedly shown that mild pixelation and blurring can be partially reversed or matched against a known set of candidates, because the operation is deterministic: the same face, pixelated the same way, produces the same output. This is not a concern for a stranger in the background of a holiday photo. It is a real concern if you are obscuring a specific named person in a document that could be compared against a small pool of possibilities.
The rule that follows from this: if the consequence of the person being identified is serious, do not blur — cover. A solid block removes the information rather than degrading it.
Choose the method by the consequence, not the aesthetic
| What you are hiding | Method | Why |
|---|---|---|
| A passer-by in a street or holiday photo | Strong blur | Keeps the photo looking natural; the subject is incidental |
| A licence plate on a car in your driveway | Coarse pixelation or solid | Plates are small, high-contrast, and highly readable — do not go light |
| A house number, street sign, or delivery label | Solid block | These are short strings; partial visibility is often enough to reconstruct |
| A face in a news, legal, or safeguarding context | Solid block | The cost of identification is high; do not use a reversible method |
| A screen showing customer or account data | Solid block | Text survives blurring far better than faces do |
| A child's face in a public post | Solid block | Treat as high-consequence by default |
Notice how often the answer is "solid". Blur is the popular choice because it looks better, not because it protects better. Reach for it when the photo needs to stay natural and the stakes are low.
Step by step: obscure a face or plate properly
-
Open the photo in a tool that does not upload it. If you are removing private information from an image, sending that image to a server first is a strange way to start. Browser-based tools do the work on your own machine.
-
Draw a box that covers more than you think you need. For a face, include the hairline, both ears, and the chin. For a plate, include the frame and the mounting area — reflections and partial characters at the edge are readable.
-
Add a box for every instance. Scan the whole frame, including reflections in windows, mirrors, and glossy surfaces, and any screens in shot.
-
Pick the method from the table above, and set the strength high enough that you cannot read anything at full zoom.
-
Export at full resolution. Do not downscale to "make it safer" — that is not what makes it safer, and you lose quality for nothing.
-
Check the result at 100% zoom. Look specifically at the boundary of each box: a one-pixel sliver of the original along an edge is a common failure, and on a plate that sliver can be a whole character.
The Blur Face tool follows this sequence and does the first pass for you. When you open a photo, it looks for faces turned toward the camera, on your device, and boxes each one with extra room for hair, ears and jaw. It does not look for plates, house numbers or screens, and it often misses faces turned to the side, very small or partly hidden, so steps 3 and 6 still apply. Delete any wrong box, draw the rest by hand, choose blur, pixelate, or solid black, and export at the original resolution.

The part almost everyone forgets: EXIF and GPS
You can blur every face in a photo perfectly and still tell the world exactly where it was taken.
Most cameras and phones write EXIF metadata into the file: the date and time, the camera and lens, the settings, and very often the GPS coordinates of the shot, accurate to a few metres. That data travels with the file. It is not visible in the picture, so it survives every edit that does not explicitly strip it.
Some social platforms remove EXIF on upload; others do not, and file-sharing services, email attachments, and messaging apps frequently pass the original through untouched. You cannot rely on the destination to clean up after you. Exiftool's documentation of GPS tags shows how much location detail a single image can carry.
Two things help:
- Re-encoding through a canvas drops metadata. When an image is decoded, drawn, and re-exported — which is what browser-based editing does — the new file is built from pixels alone. EXIF, including GPS, does not come along. That is why the export from the Blur Face tool carries no location data.
- Check before you post if the file has been through anything else. Any EXIF viewer will tell you in seconds whether coordinates are attached.
If you want to see exactly which fields exist and what they hold, the EXIF standard tag reference lists them in full.
How strong is strong enough?
There is no single number, because the right strength depends on how large the region is in the actual file — not on how large it looks on your screen. A useful way to think about it: the goal is that the region carries no more information than a handful of coloured squares.
For pixelation, that means the blocks should be big enough that the region is reduced to roughly 4 to 8 blocks across its shortest side. A face 600 pixels wide needs blocks around 75–150 pixels; a plate 60 pixels wide needs blocks around 8–15 pixels. A tool that scales the block size to the region handles this for you; one with a single fixed slider does not, and that is where under-blurring creeps in.
For blur, the radius needs to be a similar fraction of the region — roughly a tenth of the shortest side as a starting point, more if the subject has high-contrast features. A blur radius of 10 pixels is heavy on a small plate and nearly invisible on a large face.
| Region width in the file | Pixelate block size | Blur radius | Solid? |
|---|---|---|---|
| Under 50px (distant plate, small face) | 6–12px | 5–10px | Preferred |
| 50–150px (plate at normal distance) | 10–25px | 10–20px | Preferred for plates |
| 150–400px (face in a group shot) | 25–70px | 20–45px | If consequence is high |
| Over 400px (close-up face) | 75–150px | 45–90px | If consequence is high |
The practical test beats any formula: export the file, open it, zoom to 100%, and try to read it. If you can make out the shape of the eyes, the line of the mouth, or any character on the plate, it is not strong enough. If you find yourself squinting and guessing, it is still not strong enough — someone who knows the person will not be guessing.
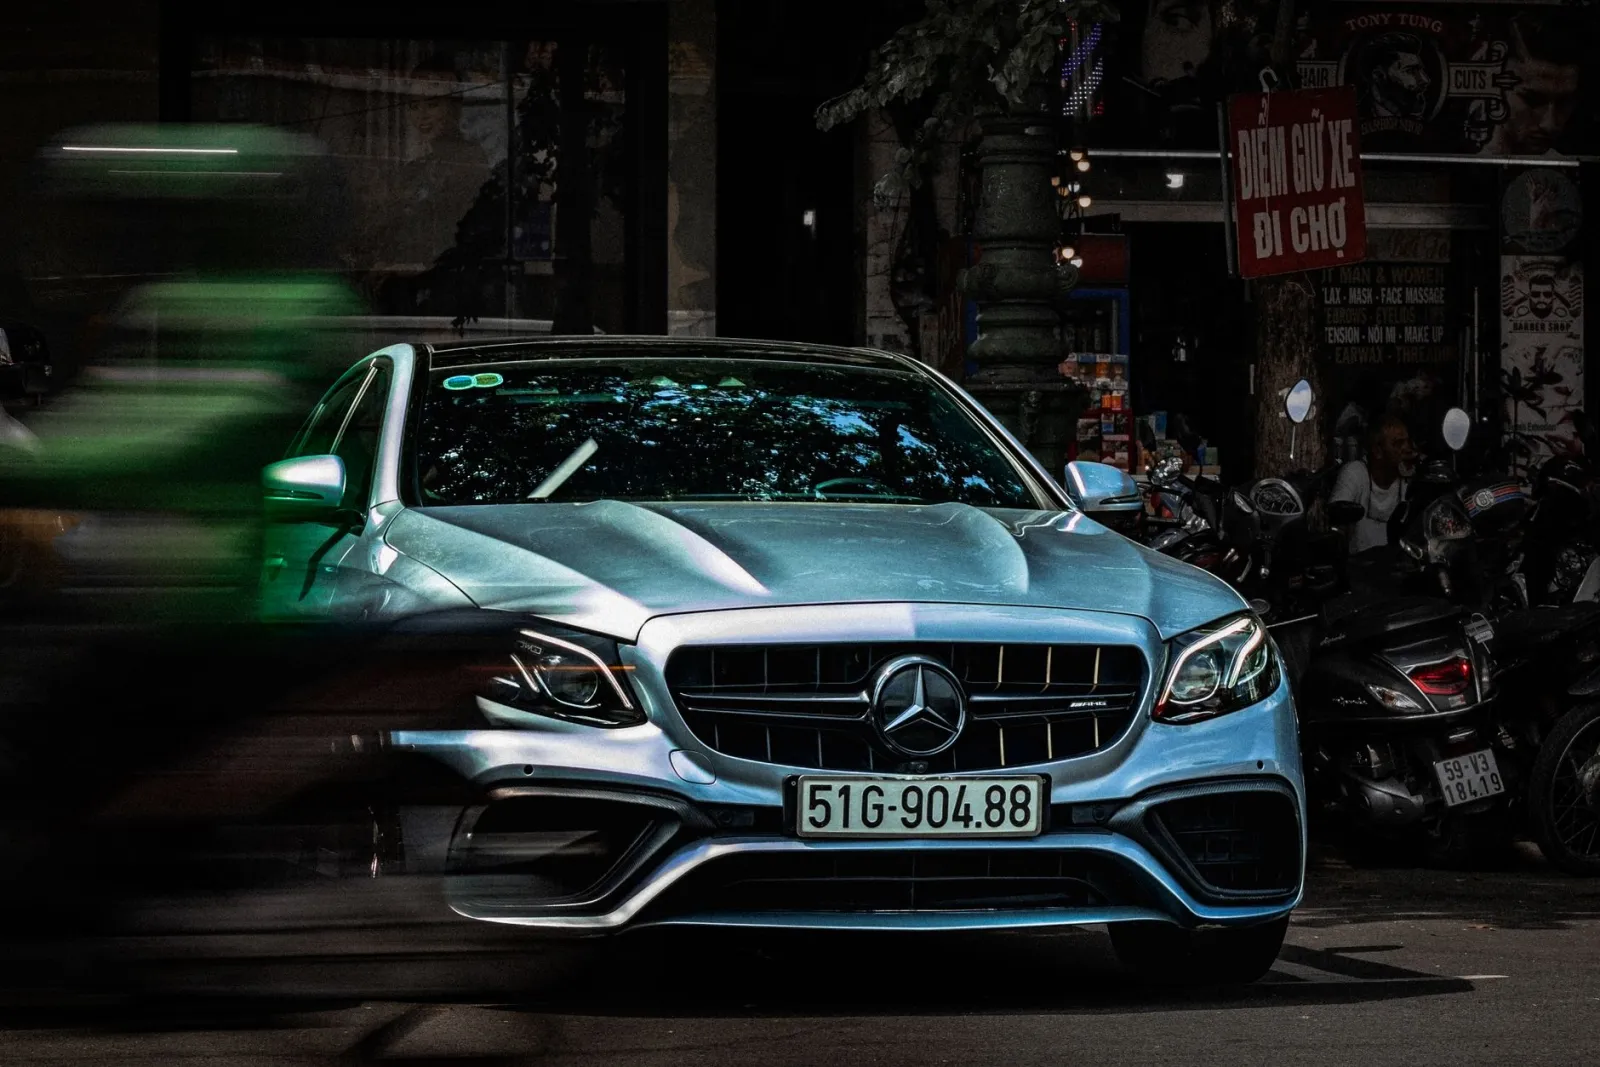
Common mistakes
Using a semi-transparent overlay. A coloured rectangle at 60% opacity looks like a redaction but is not one: the original pixels are still there underneath, and raising the contrast recovers them. A real redaction replaces the pixels.
Blurring in a preview and exporting the original. Some editors apply effects to a display layer. Always open the exported file and check it, rather than trusting what the editing view showed you.
Cropping instead of covering. Cropping is genuinely destructive and works well — but only if the thing you want gone is at the edge. Cropping to remove someone in the middle of the frame usually ruins the composition, and it is tempting to then crop less than you should. Use the Image Cropper when the subject really is at the edge, and box it out otherwise.
Forgetting the thumbnail. Some formats embed a small preview image, generated before your edits. Re-encoding removes it; simply overwriting pixels in some editors may not.
Assuming a small face is safe. Zoom in. A face that is 30 pixels wide on your screen may be 300 pixels wide in the file.
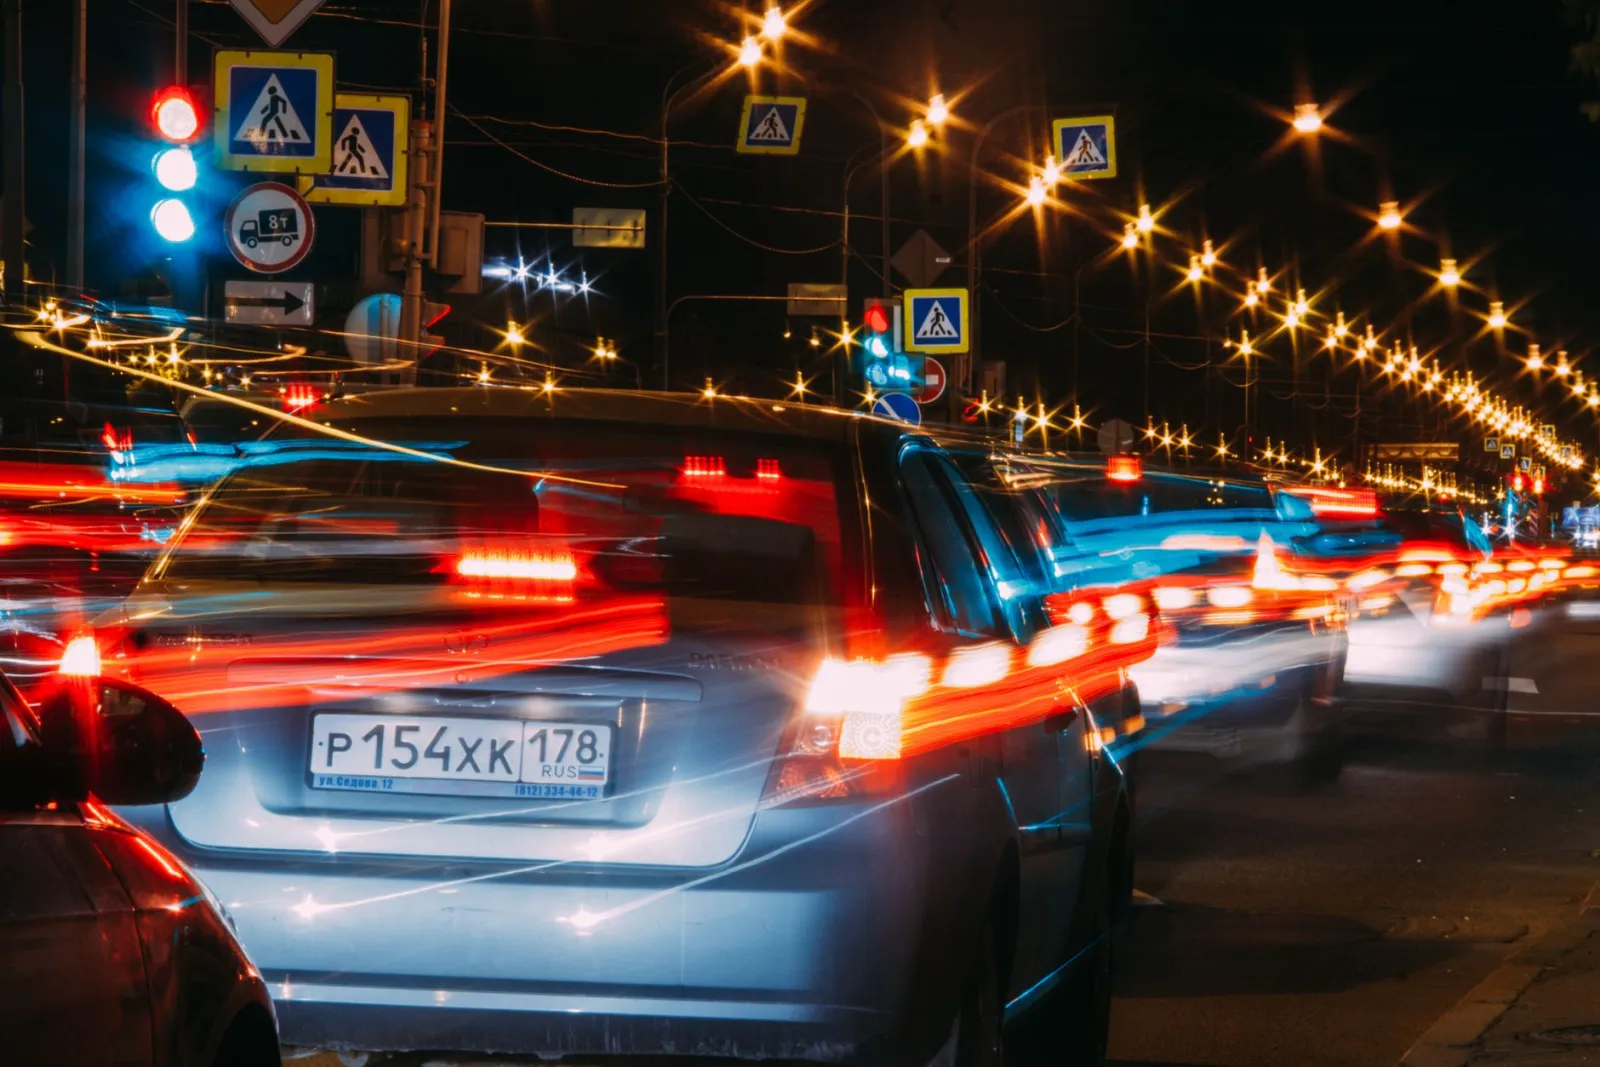
Before and after: a short checklist
Run this every time:
- Every face, plate, house number, sign, and screen is covered
- Reflections and mirrors checked
- Box edges inspected at 100% zoom, no readable slivers
- Method matches the consequence (solid for anything serious)
- Exported at full resolution
- Export contains no EXIF GPS coordinates
- Opened the exported file itself, not just the editor preview
Frequently asked questions
Is blurring enough to comply with privacy rules? That depends on your jurisdiction and context, and this is not legal advice. What is true technically is that regulators generally distinguish between data that has been pseudonymised (obscured but potentially recoverable) and data that has been anonymised (irreversibly removed). A weak blur is closer to the first. A solid block is closer to the second. If you are handling something with a legal dimension, take the irreversible option.
Can a blurred face be un-blurred by AI? Not restored to the true original — that information is gone. But a mild blur can be matched against a limited pool of candidates with reasonable confidence, and generative models can produce a plausible-looking face that may resemble the real one. For a stranger in a crowd this does not matter. For a specific identifiable person, use a solid block.
Does the tool upload my photo? The Blur Face tool does not. The image is decoded, scanned for faces, and edited by your browser on your own device, and the result is written back out locally. The only extra download is a 240 KB face-detection model, fetched the first time you add a photo; after that, it keeps working with the network off.
Why is the export a PNG rather than a JPEG? PNG is lossless, so the boundary of each redacted area stays exactly as drawn. JPEG compression can introduce faint artefacts around high-contrast edges — which is precisely what a solid black box against a bright background is. If you need a smaller file afterwards, run the PNG through the Image Compressor.
Can I blur several photos at once? Not in one pass. Automatic detection takes care of the front-facing faces in each photo, but every photo still needs a check for missed faces and its own boxes for plates and screens — that judgement is the work. If you have a large set, do them one at a time and use the checklist above for each.
Summary
Blurring is a judgement call, not a button. Match the method to the consequence: strong blur for incidental subjects, solid blocks for anything where being identified would actually harm someone. Cover more of the face than feels necessary, check every box edge at full zoom, and confirm the exported file carries no GPS coordinates.
Do the work in a tool that never uploads the file, and the private thing you are trying to protect never leaves your machine in the first place. Start with the Blur Face tool, and if you also need to crop or shrink the result, the Image Cropper and Image Compressor handle the rest.
Image credits
- Rear bumper of luxury automobile on asphalt roadway with arrows between greenery trees under cloudy sky — photo by Erik Mclean on Pexels
- Modified cars on display at a lively car show with people in motion, highlighting automotive culture. — photo by FBO Media on Pexels
- Front view of a silver luxury car parked on a bustling urban street with blurred motion. — photo by Anh Khoa on Pexels
- Dynamic long exposure of urban traffic at night showcasing vibrant light trails. — photo by NastyaSensei on Pexels
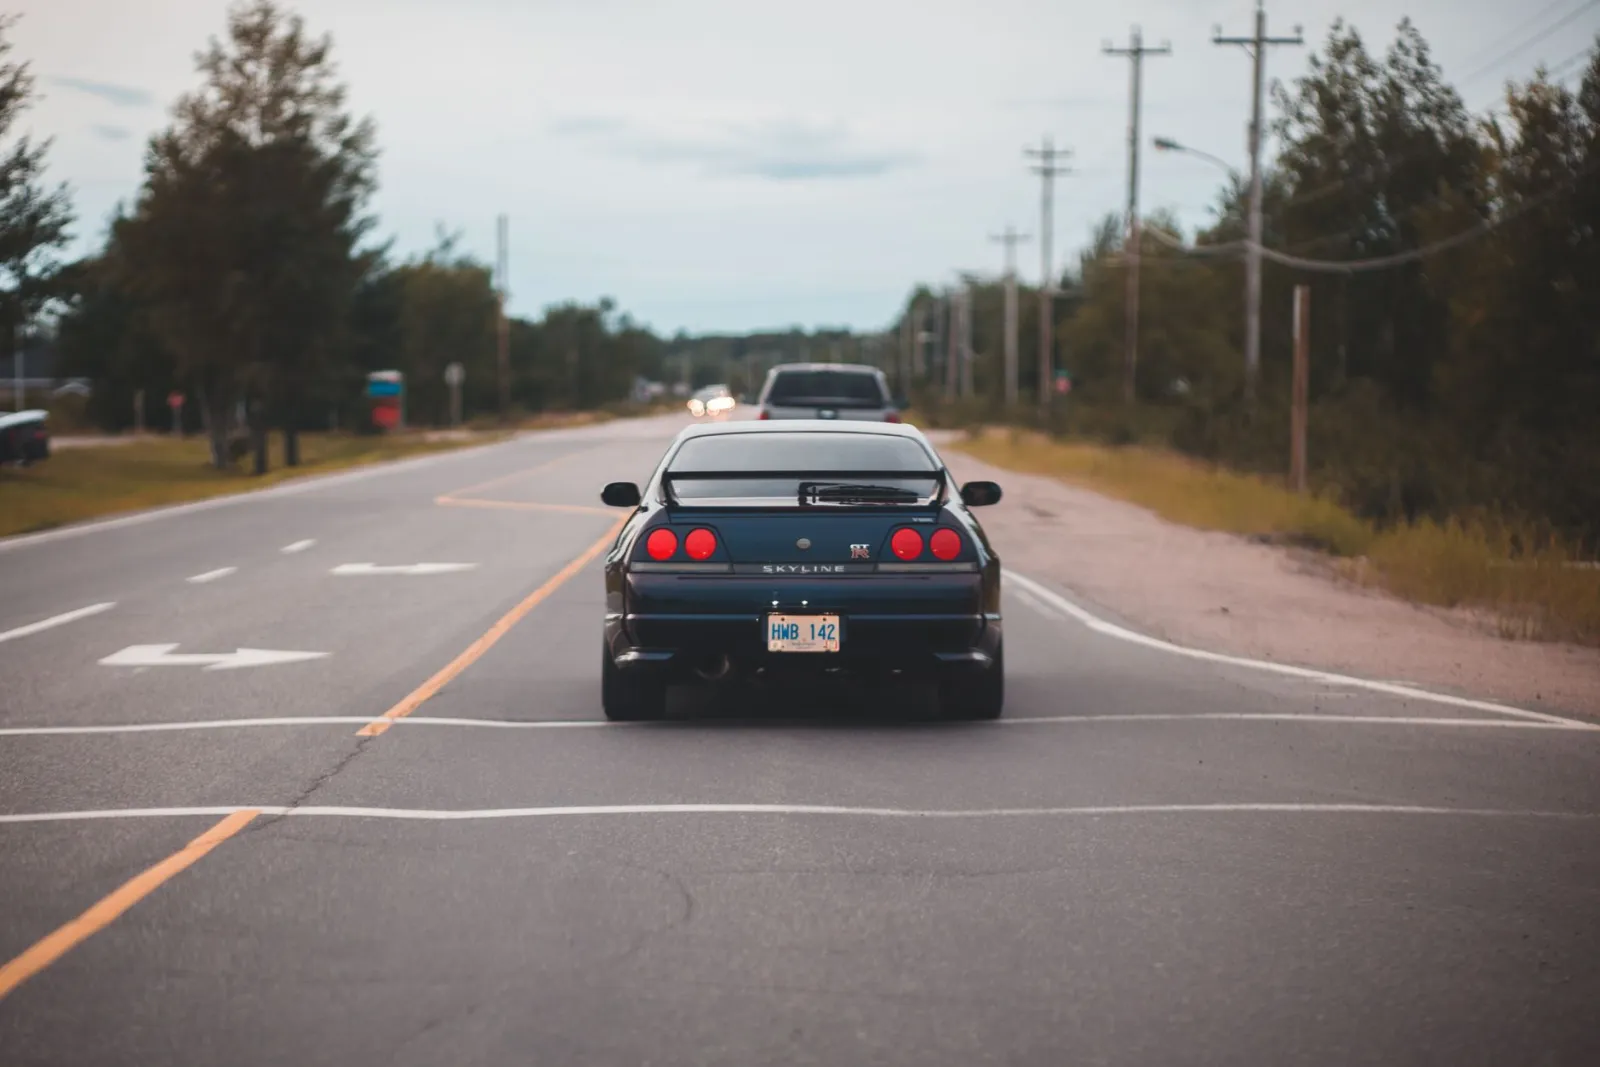
Use the free tools while you follow the guide.
Keep reading
2026-08-27
Invisible Watermarks: What Image Files Now Carry in 2026
Paint embeds a server-issued GUID in AI images, platforms strip C2PA manifests, and a plain WebP export drops all of it. What your files really carry, and how to check.

2026-07-28
Batch Image Processing: Pipeline Order, Settings, and Tools
Batch image processing runs resize, compress, and convert jobs across whole folders. The pipeline order, measured quality settings, tool choice, and automation.

2026-07-28
Batch Image Processing: 12 Tips and Mistakes to Avoid
Batch processing saves hours, until one bad setting ruins 200 files. I share 12 practical tips plus the mistakes I made batching thousands of images, so you skip them.