2026-06-28 · Updated 2026-07-28
Batch Image Processing: 12 Tips and Mistakes to Avoid
Batch processing saves hours, until one bad setting ruins 200 files. I share 12 practical tips plus the mistakes I made batching thousands of images, so you skip them.

Last updated: July 28, 2026
Batch image processing is fast and forgiving right up to the moment it is not. Run a batch of 200 images with the wrong resize or a destructive compression and you overwrite the originals in seconds. I learned this the hard way, and most of what follows is a mistake I made batching photos for product catalogs, blogs, and archives. These 12 tips cover the order of operations, naming, backups, sampling, and format choice — the parts that decide whether a batch saves you hours or costs you a day.
Quick answer: what is the single most important batch tip?
Back up your originals before you run any batch. Everything else in this post is an optimization; this one is insurance. A batch operation applies the same edit to every file in a folder, so one wrong flag hits all of them at once. If you only keep one copy and the batch is destructive, the damage is done before you notice.
Tip 1: set your order of operations before you touch a single file
The order in which you run operations changes the result. Compress before resize and you waste bits on pixels you are about to throw away. Resize before compress and the compression works on a smaller, cleaner image. I batch-processed a product set once with compression first and the files came out 40 percent larger than they needed to be.
Use this sequence for almost every batch:
| Step | Operation | Why this order |
|---|---|---|
| 1 | Backup plus deduplicate | You need a clean, safe source |
| 2 | Rename / organize | Sort before you edit |
| 3 | Crop / straighten | Fixes geometry first |
| 4 | Resize | Set the target dimensions |
| 5 | Convert format | Pick WebP, JPEG, or PNG |
| 6 | Compress | Squeeze the final pixels |
| 7 | Sample-check output | Verify before you ship |
The only fixed rule is that backup comes first and sample-checking comes last. Everything in between has a best-fit position, and the batch processing guide walks through each stage in depth.
Tip 2: never batch over your only copy of the files
This is the mistake that taught me the rest. I ran a resize across a folder of client originals with no backup, got the aspect ratio wrong, and overwrote every file. There was no undo. Now the first step of any batch is cp -r originals/ working/ (or a copied folder on desktop). Treat originals/ as read-only.
- Keep one pristine
originals/folder you never edit. - Work in a
working/copy so the batch writes there. - Write final output to
output/, not back over the source. - Confirm the count matches before you delete anything.
If a tool only supports in-place edits, copy first. A folder copy costs seconds; recreating lost originals can be impossible.
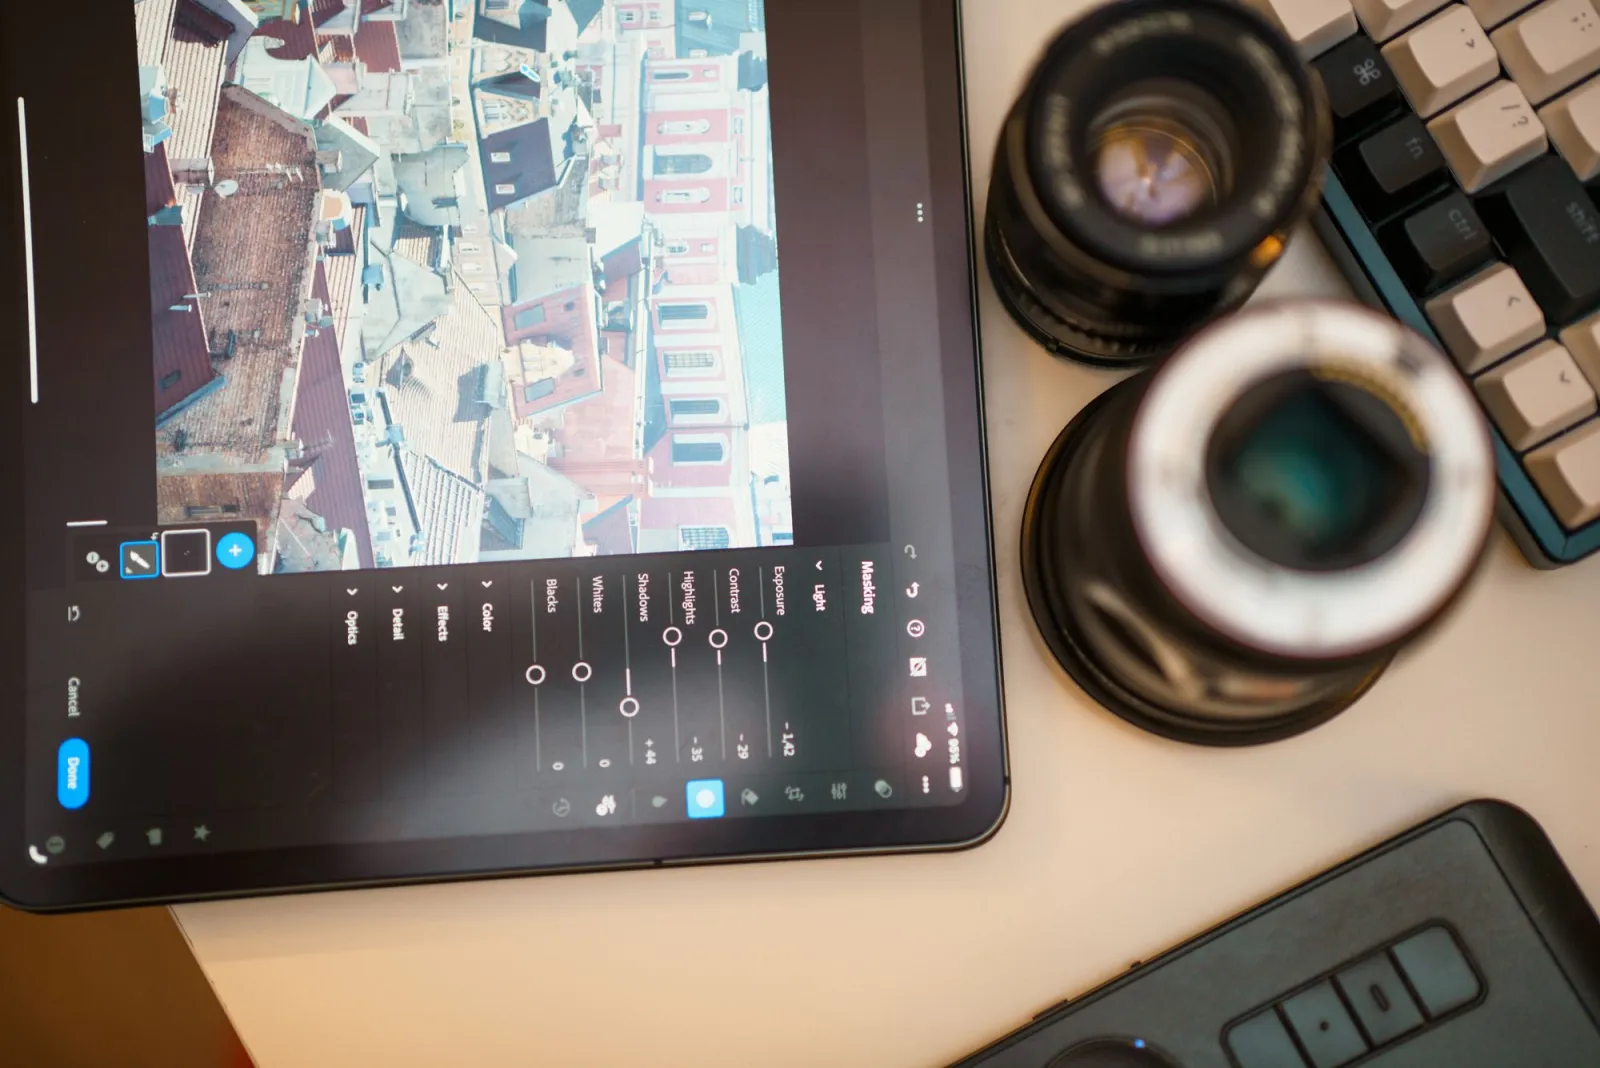
Tip 3: name files with a zero-padded, sortable pattern
Sort order breaks batch scripts more often than any other issue I have hit. image1.jpg, image2.jpg, image10.jpg sorts as 1, 10, 2 — alphabetical, not numerical. The fix is zero padding. Use product-001.jpg, product-002.jpg, product-010.jpg and the sort order matches your intent in every file manager and script.
I standardize on project-descriptor-001.ext for every batch. It keeps related sets grouped, sorts correctly up to 999 files, and survives a re-export. Bad naming is invisible until you try to reorder a catalog and spend an hour untangling it.
Tip 4: sample before you batch the full set
The fastest way to waste a batch is to run it on all 500 images and then notice the watermark is in the wrong corner. Process three to five representative images first — one bright, one dark, one with fine detail, one tiny, one huge — and inspect the output. If the sample looks right, the full run usually will. If it does not, you caught it before it touched everything.
A sample run costs you a minute and tells you whether your settings work across the range of images in the set. Skipping it is the false economy that bites people most often.
Tip 5: pick the format to match the destination, not your habit
Format choice is a destination decision, not a personal preference. The wrong format either bloats file size or destroys detail, and batching the wrong choice multiplies the problem across every image. I default to WebP for web output because it beats JPEG and PNG on size at the same quality, but the right call depends on where the image lands. A format converter handles the whole set in one pass once you have decided.
| Destination | Best format | Reason |
|---|---|---|
| Website / blog | WebP | Smallest at equal quality |
| Product catalog | WebP or JPEG | Broad support, good compression |
| Graphics with text | PNG | Lossless, sharp edges |
| Print / archive | PNG or TIFF | No lossy artifacts |
| Thumbnails | WebP | Tiny files, fast load |
For the full trade-off, read how to compress images without losing quality and the image format conversion guide.
Tip 6: do not re-compress already-compressed files
Every lossy compression pass throws information away. Compress a JPEG, then compress it again, and you stack artifacts. This is called generation loss, and a batch that re-compresses a folder of already-optimized images degrades all of them silently. Mozilla documents this clearly in their image optimization guidance on MDN — always start from the highest-quality source you have, compress once, and stop.
I keep one lossless master (PNG or the original) and regenerate every lossy version from it. The master never gets re-encoded. That single rule prevents the slow quality drift that ruins an archive over time.
Tip 7: lock down a single output dimension per batch
Mixed dimensions in one batch create a mess. If your images land at different widths because the source set varied, your grid breaks, your thumbnails crop oddly, and your layout reflows. Decide on one target — width, height, or the smaller of the two — and apply it to the whole set. Anything that genuinely needs a different size goes in its own batch.
This is where most "the batch looked fine but the site looks broken" reports come from. One rule, one dimension, one batch.

Tip 8: use a script for anything you run more than twice
If a batch is repeatable, it should be a script. Clicking through a GUI for 12 steps is fine the first time and a liability the tenth time, because you will forget a setting and not notice until the output is wrong. A script encodes the exact order of operations and runs identically every time.
ImageMagick is the workhorse here. It is free, runs on every platform, and the ImageMagick documentation covers resize, format conversion, and compression in one command. A typical batch:
## Resize, convert to WebP, and compress in one pass, writing to output/
mogrify -path output/ -resize 1200x -quality 82 -format webp *.jpg
For Node projects, sharp is the modern, fast alternative and exposes the same operations programmatically.
Tip 9: keep your color profile consistent
A batch that strips or converts color profiles without meaning to will shift colors across the whole set, usually toward flat or washed-out. The mistake is letting a resize or format change silently drop the embedded profile. Decide once whether you are keeping sRGB, embedding profiles, or converting, and apply it uniformly. Inconsistent color profiles are the second most common "why does my catalog look off" cause, right after wrong dimensions.
- Tag your working space (sRGB is the safe default for web).
- Embed profiles in masters if you care about accuracy.
- Do not strip profiles unless you intended to.
Tip 10: watch your batch size so you do not run out of memory
A huge batch can exhaust memory or stall a tool halfway through, leaving you with half a folder processed and no clear restart point. I chunk large sets into batches of 100 to 200 images and write each chunk to its own subfolder. If something fails at image 350, I only redo that chunk instead of the whole run. This matters more for resize and conversion jobs that hold images in memory.
Tip 11: verify the output count and a sample before you ship
A batch that finishes "successfully" can still be wrong. Count the output files against the input, spot-check three or four at full size, and check file sizes are in a sane range. A folder of 5KB files where you expected 200KB means something went wrong silently. This 30-second check has saved me from shipping broken image sets more times than I can count.
Tip 12: document the settings that worked
The batch that worked today is the batch you will want to repeat in three months. Write down the exact settings — dimensions, quality, format, order — in a README next to the output. When the next set comes in, you reproduce a known-good result instead of guessing. I keep one notes file per project type (web, print, catalog) and it has paid for itself many times over.
What goes wrong most often?
In my experience, three failures account for almost every batch disaster: overwriting originals with no backup, running operations in the wrong order, and re-compressing already-lossy files. All three are silent — the batch completes, the tool reports success, and the damage only shows up later. The defenses are the same every time: back up first, fix your order of operations, sample before the full run, and start from lossless masters.
A real caveat
These tips are what work for me across product, web, and archive batches, but the right order and settings depend on your images and your destination. A batch of product photos on white needs different treatment than a batch of editorial portraits. Run a small sample, look at the actual output pixels, and trust what you see over any rule of thumb. The most expensive batch mistake is always the one you did not verify.
Frequently asked questions
What is the most important batch image processing tip?
Back up your originals before running any batch, since one wrong setting can overwrite every file in a folder at once.
What order should batch operations run in?
Back up and rename first, then crop, resize, convert format, and compress, finishing with a sample check of the output.
How do I avoid overwriting my original files during a batch?
Keep a read-only originals/ folder, edit inside a separate working/ copy, and write results to output/ instead of back over the source.
Why do file names like image1.jpg and image10.jpg sort incorrectly?
Alphabetical sorting reads "image10" before "image2," so zero-padded names like product-001.jpg keep the order numeric and predictable.
How many images should I sample before running a full batch?
I sample three to five representative images covering bright, dark, detailed, tiny, and huge cases, and that catches most bad settings before they touch the full 200-plus file run.
Which image format should I use for batch web output?
WebP is the default for web and thumbnails because it beats JPEG and PNG on file size at equal quality, while PNG or TIFF suits print and archive work.
Why shouldn't I re-compress an already-compressed image?
Every lossy pass throws away more data in a process called generation loss, so the fix is to compress once from a lossless master and stop.
How large should each batch chunk be to avoid memory problems?
Chunking large sets into 100 to 200 images per subfolder prevents memory exhaustion and limits redo work if a run fails partway through.
Image credits
- An office desk with a notebook and pen where batch work gets planned — photo by Lukas Blazek on Pexels
- A photo editing workspace showing a laptop and editing tools — photo by Jakub Zerdzicki on Pexels
- A laptop on a desk used to run batch jobs productively — photo by EVG Kowalievska on Pexels
- Organized folders on a desk representing clean file management — photo by Andrea Piacquadio on Pexels

Use the free tools while you follow the guide.
Keep reading
2026-09-13
How to Blur Faces and License Plates Before You Post
Blur or pixelate faces and license plates so they stay unreadable. Which method actually anonymizes, what fails, and how to avoid leaking EXIF location data.
2026-08-27
Invisible Watermarks: What Image Files Now Carry in 2026
Paint embeds a server-issued GUID in AI images, platforms strip C2PA manifests, and a plain WebP export drops all of it. What your files really carry, and how to check.

2026-07-28
Batch Image Processing: Pipeline Order, Settings, and Tools
Batch image processing runs resize, compress, and convert jobs across whole folders. The pipeline order, measured quality settings, tool choice, and automation.