2026-06-28 · Updated 2026-07-26
AI Audio Enhancement: Clean Voice Without Artifacts
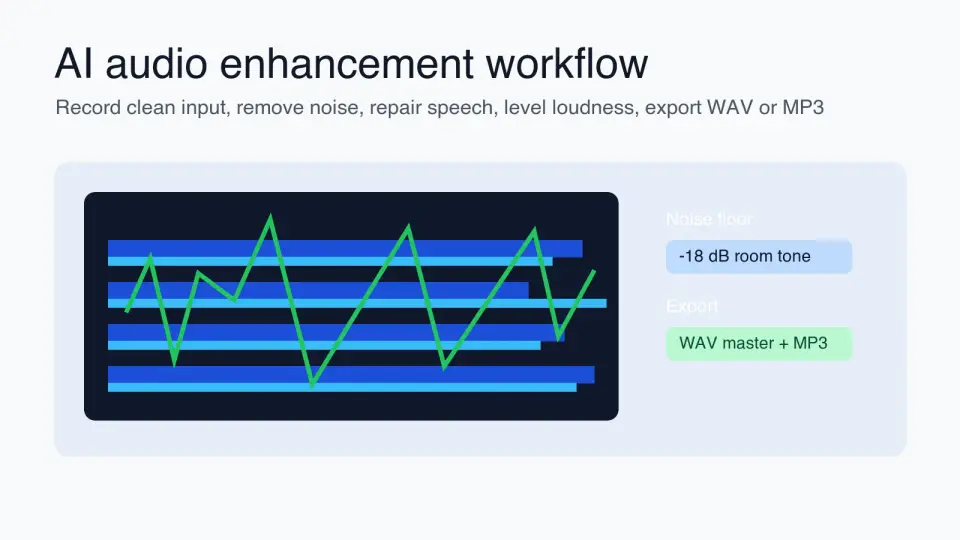
A practical AI audio enhancement workflow for podcasts, video dialogue, interviews, and courses: cleanup order, export settings, and QA checks.
Last updated: July 26, 2026
AI audio enhancement is useful when the recording is understandable but not publishable yet: fan noise under an interview, uneven podcast levels, a clipped sentence in a course, or room echo in a product video. The fix is usually not one magic button. Use light cleanup in the right order, then listen for damage before you export.
Quick answer: how should you enhance audio with AI?
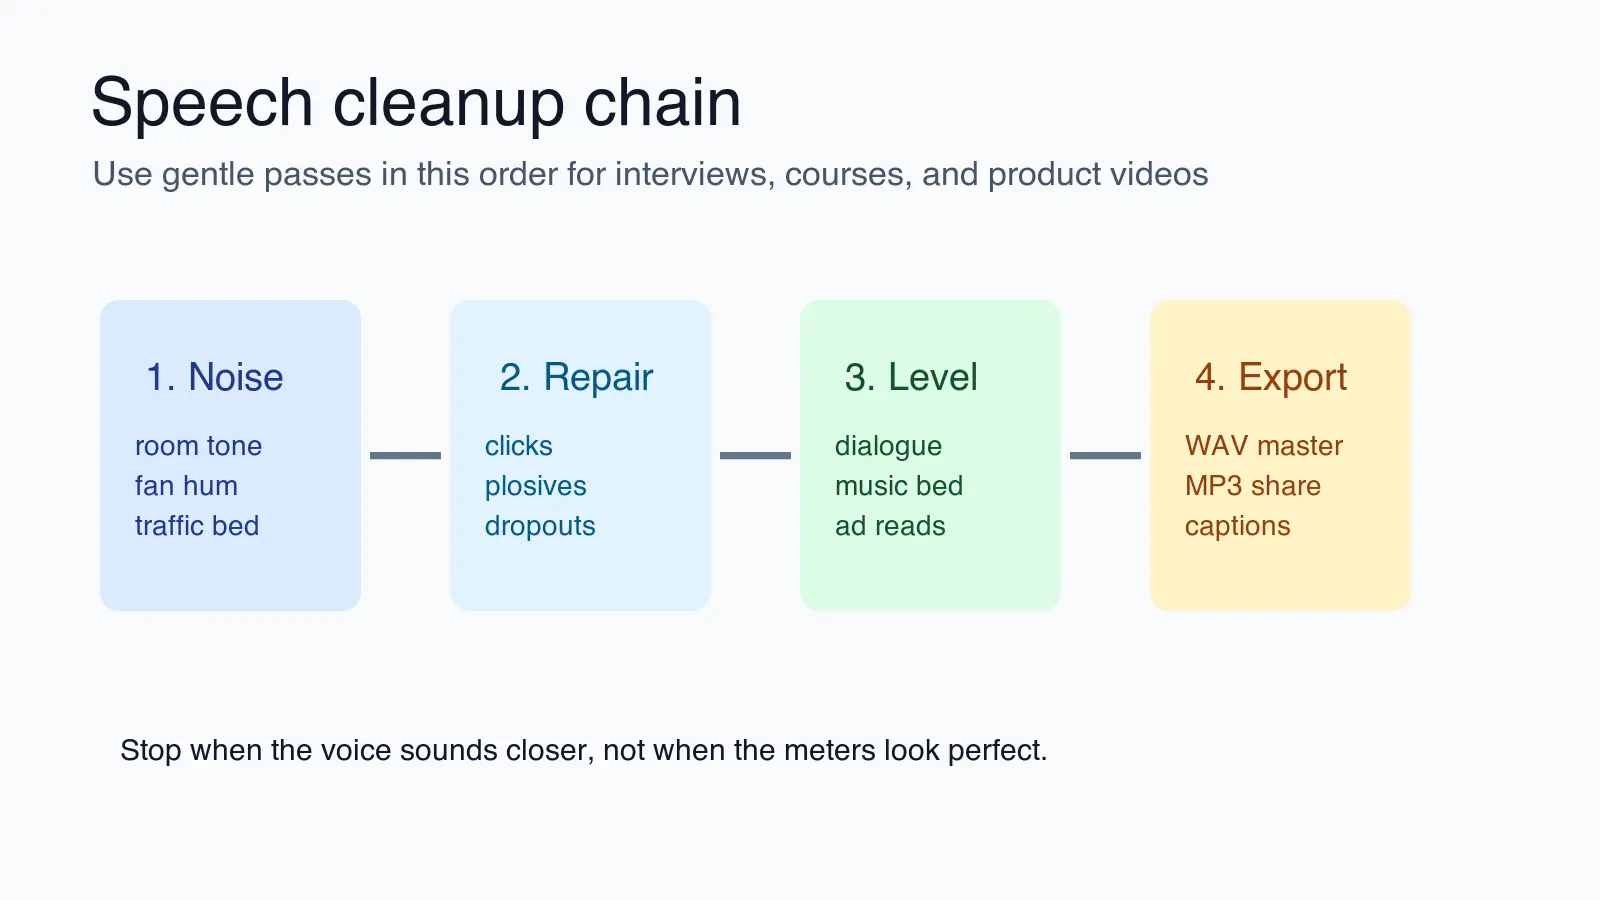
Use AI audio enhancement to remove steady noise, repair small speech defects, reduce echo, and level voices. Start with the rawest file you have, apply noise reduction first, repair clicks and plosives second, level loudness third, then export a separate master file. Never overwrite the original recording.
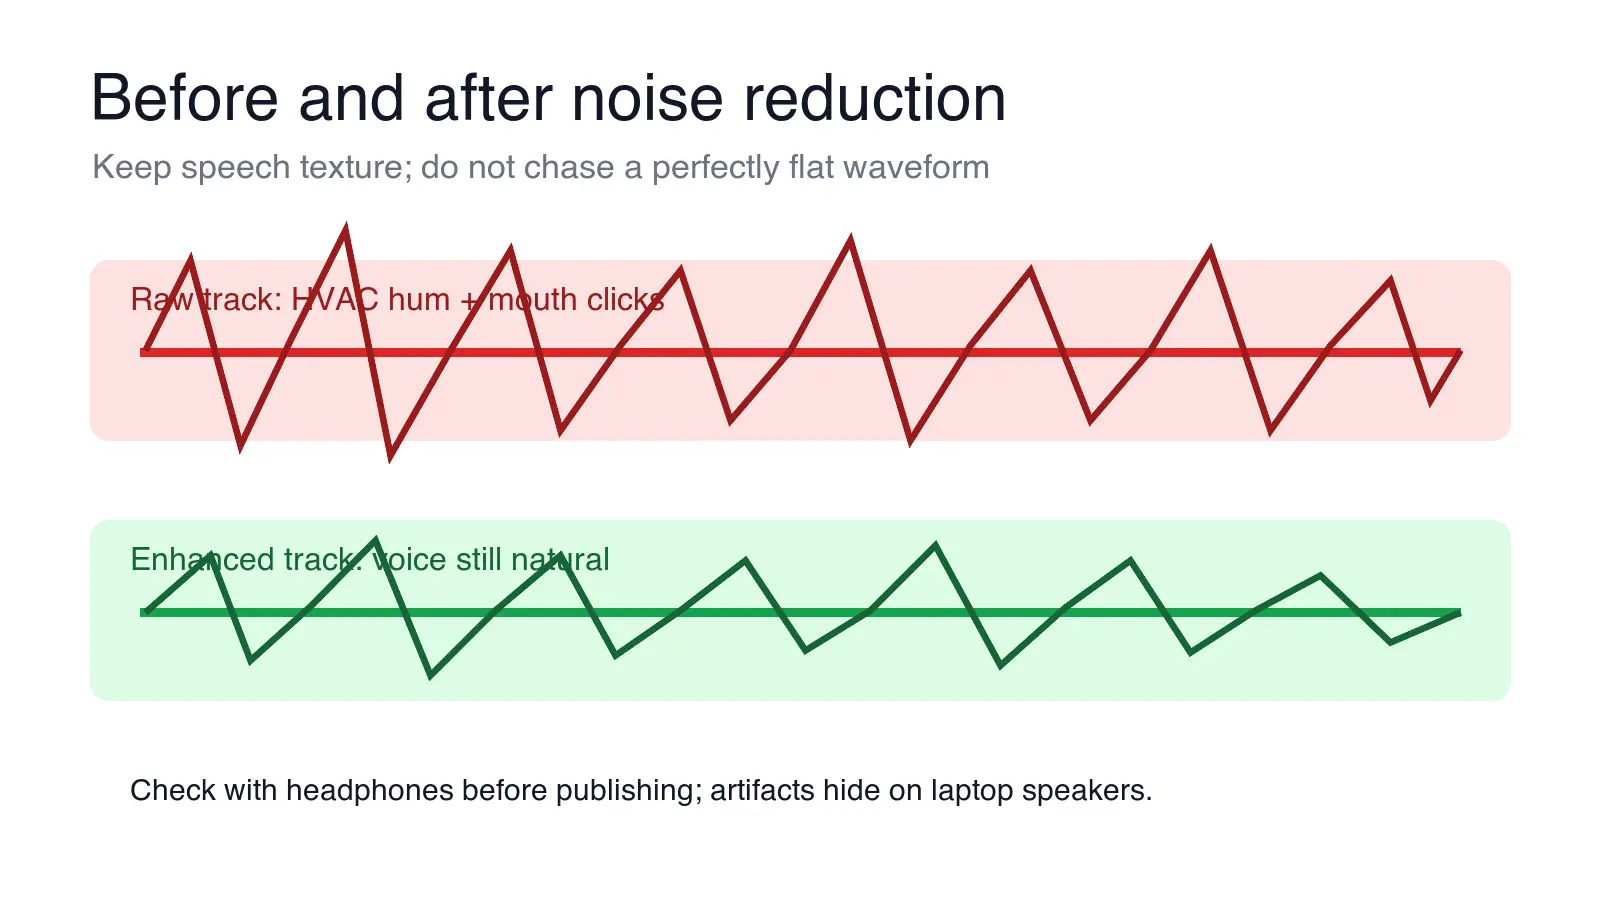
For speech, the best result usually sounds slightly imperfect but natural. If the voice turns metallic, lispy, hollow, or too smooth, the model is working too hard. Back off the strength and accept a little room tone.
For podcasts and video dialogue, keep one high-quality WAV master and one delivery copy. Podcast platforms commonly accept MP3, while video editors often prefer WAV or AAC. Apple's podcast guidance lists accepted audio file types and encoding requirements in its official audio requirements, and EBU R 128 remains a useful reference for broadcast loudness targets through the European Broadcasting Union.
What does AI audio enhancement actually fix?
AI audio enhancement tools compare the recording against learned patterns for speech, music, and background noise. They can separate voice from steady background sound, smooth uneven volume, and repair short problems that traditional filters handle poorly.
Use AI enhancement for these cases:
- Removing steady HVAC, laptop fan, refrigerator, or street-bed noise.
- Reducing mild room echo from a hard-walled office.
- Smoothing podcast guests recorded on different microphones.
- Repairing mouth clicks, lip smacks, and light crackle.
- Reducing plosives from "p" and "b" sounds.
- Making quiet speech easier to hear before transcription.
- Preparing voiceover before AI video editing.
- Cleaning interview audio before AI audio transcription.
Do not expect AI to rescue a file where speech is buried below the noise, distorted by clipping, or recorded through a broken microphone. Enhancement can hide damage; it cannot recover words that were never captured clearly.
| Recording problem | AI can usually help | Watch for |
|---|---|---|
| Constant fan or room hum | Yes | Watery tails after words |
| Mild echo | Sometimes | Hollow voice and lost consonants |
| Mouth clicks | Yes | Over-softened speech texture |
| Clipped shouting | Rarely | Harsh distortion remains |
| Two people talking over each other | Rarely | Words get invented or blurred |
| Very low-bitrate audio | Sometimes | Swirly high frequencies |
Which workflow gives the cleanest speech?
Run speech cleanup in passes, not as one heavy preset. Each pass should solve one audible problem. That makes mistakes easier to hear and easier to undo.
-
Duplicate the original file. Keep the raw WAV, M4A, or video source untouched.
-
Trim dead air and obvious mistakes. Remove sections you know you will not publish before the model analyzes them.
-
Capture or identify room tone. A few seconds of silence helps you judge what noise belongs to the room.
-
Remove steady background noise lightly. Start lower than the default if the voice is important.
-
Repair clicks, plosives, and crackle. These defects are short, so they should not require aggressive global processing.
-
Reduce echo only if it distracts. Echo removal can make speech thin faster than noise reduction does.
-
Level speakers. Bring guests into the same range before adding music or ads.
-
Export and replay the final file. Listen after export, not only inside the editor.
This order matters for a practical reason: levelers and compressors can raise the noise floor. If you level first, you may amplify fan noise and force the denoiser to work harder later.
On a noisy source file, decide early whether denoising is enough or a rerecord is cheaper. Heavy denoising on a bad take costs more listening quality than the ten minutes it takes to record again.
How strong should AI audio enhancement settings be?
Start with conservative settings and increase only when a specific defect is still audible. A clean-looking waveform is not the goal. The listener cares whether the speaker sounds present, intelligible, and believable.
| Control | Start here | Raise it when | Lower it when |
|---|---|---|---|
| Noise reduction amount | 20-40% | Room tone distracts under speech | Words sound watery or gated |
| De-echo | Low | The room tail masks consonants | Voice becomes hollow |
| De-click | Medium | Mouth noise is obvious on headphones | Sibilants lose detail |
| Loudness leveling | Moderate | Guests jump in volume | Breath and noise pump up |
| Compression | Light | Speech disappears under music | Voice feels boxed-in |
A good field test is to play the same sentence three ways: raw, lightly enhanced, and strongly enhanced. If the strong version impresses you for five seconds but annoys you after one minute, it is too much. Long-form listening exposes artifacts that short previews hide.
For creators who also publish synthetic narration, the cleanup step is different: match pacing, pronunciation, and voice consistency before you mix generated speech with recorded dialogue, or the seam between the two becomes obvious.
What export settings should you use?
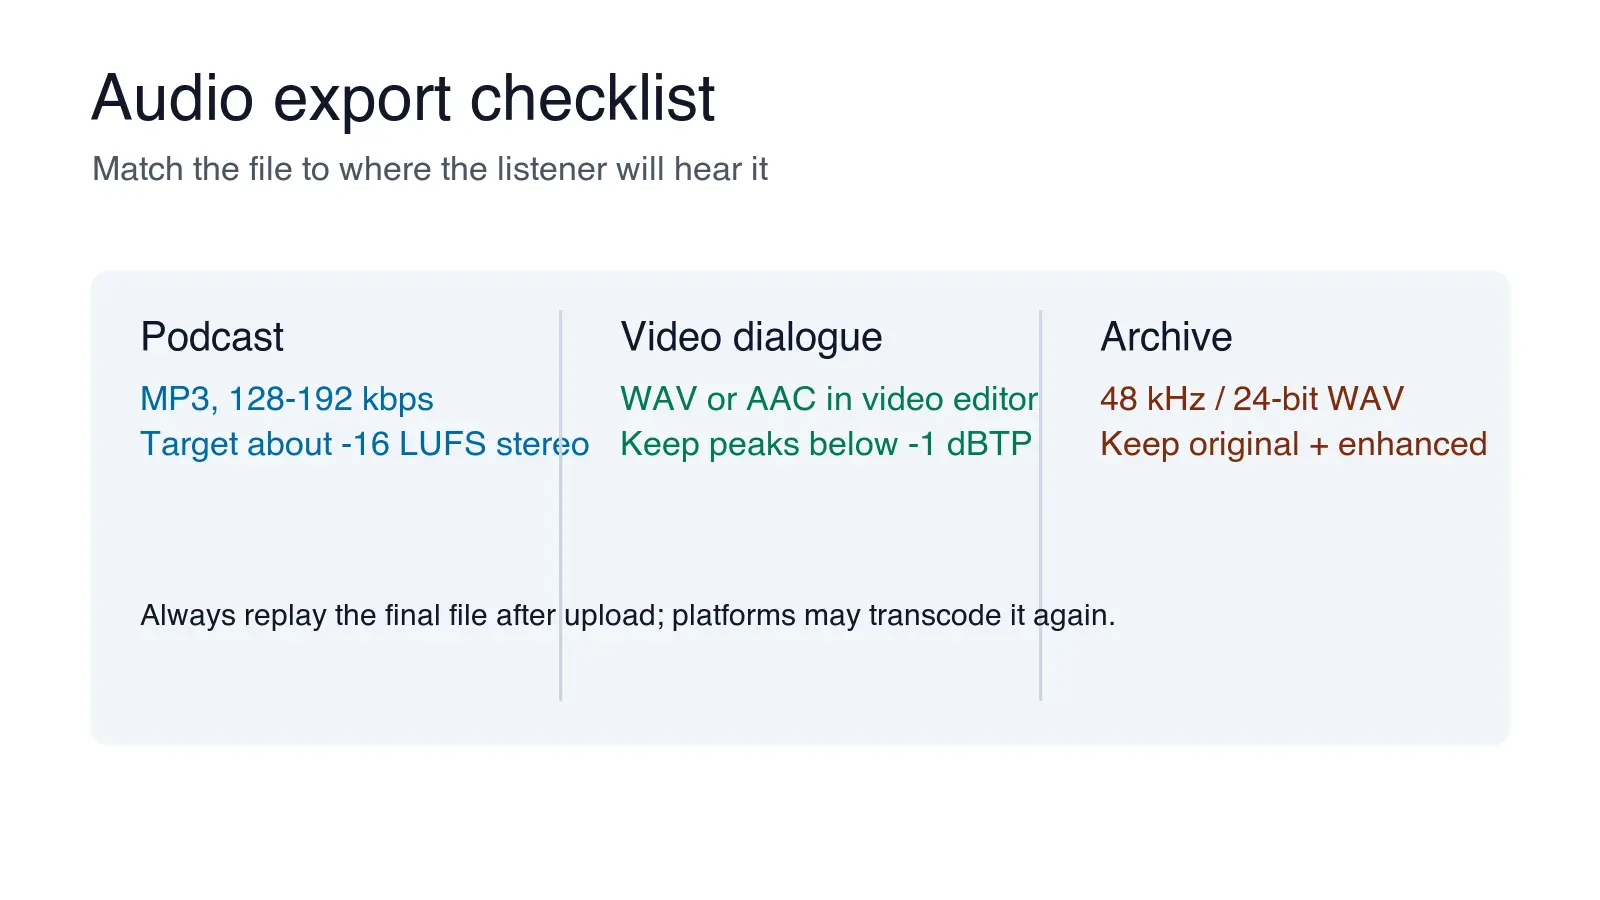
Export settings depend on the destination. Keep a master file that is better than the final upload, because platforms may transcode it again. A lossy MP3 exported from another lossy MP3 leaves less room for future edits.
| Destination | Practical export | Notes |
|---|---|---|
| Podcast episode | MP3, 128-192 kbps, stereo or mono as needed | Check your host's file rules before upload |
| Video edit | WAV 48 kHz or AAC inside the video file | Match the video project sample rate |
| Voice archive | WAV, 48 kHz, 24-bit if available | Keep raw and enhanced versions |
| Transcription prep | WAV or high-quality MP3 | Cleaner speech can improve transcript review speed |
| Social clip | AAC in MP4 | Replay after platform upload |
For loudness, do not chase one universal number across every platform. Podcasts often target around -16 LUFS stereo or -19 LUFS mono, while broadcast workflows may use EBU R 128 targets. The important habit is consistency: set a target for your show, course, or channel, then check every export against it.
If the enhanced audio is heading into subtitles, captions, or a translated voice track, keep the dialogue clean before adding music. The AI audio-to-text guide and AI dubbing guide cover the next steps after cleanup.
How do you QA enhanced audio before publishing?
Listen in the same places your audience will listen. Headphones reveal clicks and artifacts. Laptop speakers reveal thin voices. A phone speaker reveals whether consonants survive compression.
Use this short QA pass before publishing:
- Listen to the first 60 seconds, a middle section, and the final 60 seconds.
- Check every speaker transition for sudden volume jumps.
- Replay the worst original noise section after enhancement.
- Listen once on headphones and once on a phone speaker.
- Confirm the file starts cleanly and does not cut off the final word.
- Verify music, ads, and intro stings do not cover speech.
- Save the raw source, project file, enhanced master, and delivery export.
If you hear artifacts, undo the most aggressive pass first. Many bad AI audio results come from stacking denoise, de-echo, compression, and leveling at full strength. One lighter pass often beats four heavy ones.
Common mistakes that make enhanced audio worse
The most common mistake is treating enhancement as a replacement for recording technique. A $20 lavalier placed close to the speaker often beats a distant laptop microphone plus aggressive AI cleanup.
Avoid these habits:
- Running denoise on music beds and natural ambience that should stay in the scene.
- Removing all room tone, which makes dialogue cuts feel abrupt.
- Exporting only an MP3 and deleting the raw recording.
- Using the same preset for a solo podcast, a street interview, and a webinar.
- Trusting the editor preview without replaying the exported file.
- Enhancing audio before cutting out bad takes, long pauses, and duplicated sections.
- Publishing a transcript from unreviewed enhanced audio when names or numbers matter.
AI enhancement is most valuable when it saves a usable take, not when it encourages sloppy capture. Record closer, reduce room noise before pressing record, and use enhancement as the finishing step.
Related guides
Image credits
- Cover, waveform, cleanup chain, and export checklist graphics were generated for this article with ImageMagick to show the audio decisions discussed in the guide.
Use the free tools while you follow the guide.
Keep reading
2026-09-13
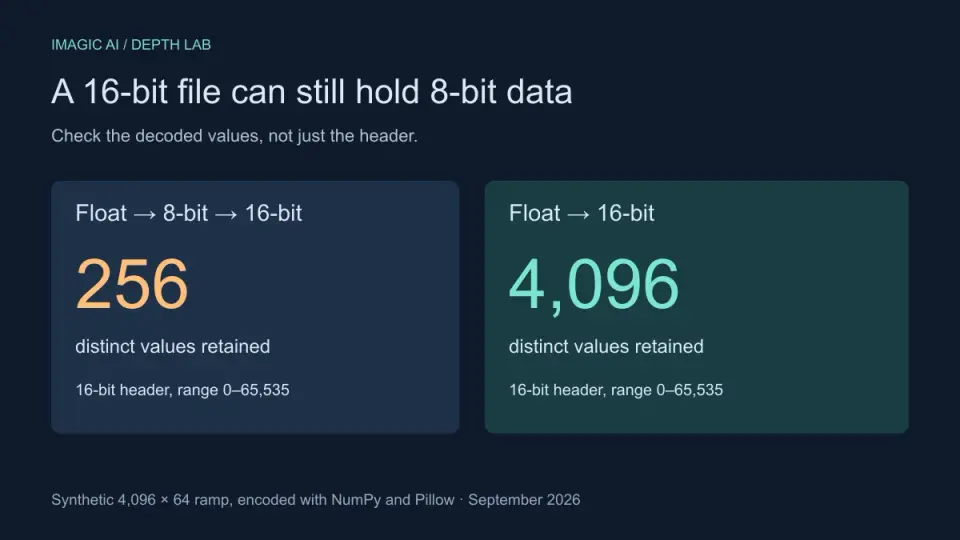
16-Bit Depth Maps: Fix Banding and Verify Your PNG
Fix stair-stepped or inverted depth maps with a reproducible 8-bit vs 16-bit PNG test, a file inspection script, and a practical Blender import checklist.
2026-09-13
GIF Maker From Images: Build Animated GIFs That Load Fast
Turn a set of images into an animated GIF for web and social media. Real frame timing, size limits for each platform, and when to choose GIF over video.

2026-09-13
How to Blur Faces and License Plates Before You Post
Blur or pixelate faces and license plates so they stay unreadable. Which method actually anonymizes, what fails, and how to avoid leaking EXIF location data.