2026-06-28 · Updated 2026-06-30
AI Video Editing in 2026: How to Cut, Caption, and Color With AI
AI video editing in 2026: the hands-on workflow for auto-cut, captions, denoise, color grading, and b-roll. Where AI helps, and where you still cut by hand.
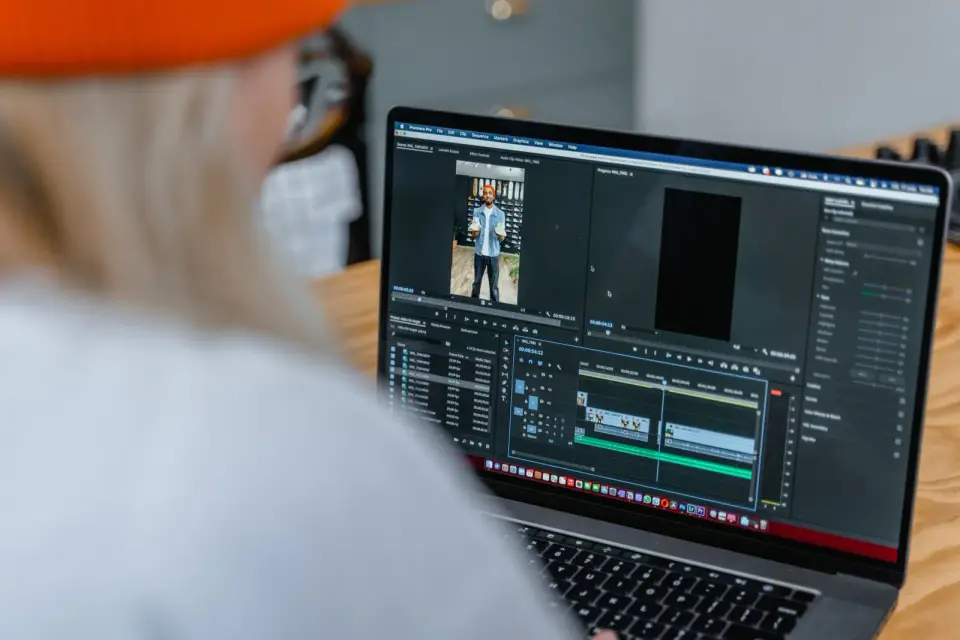
Last updated: June 30, 2026
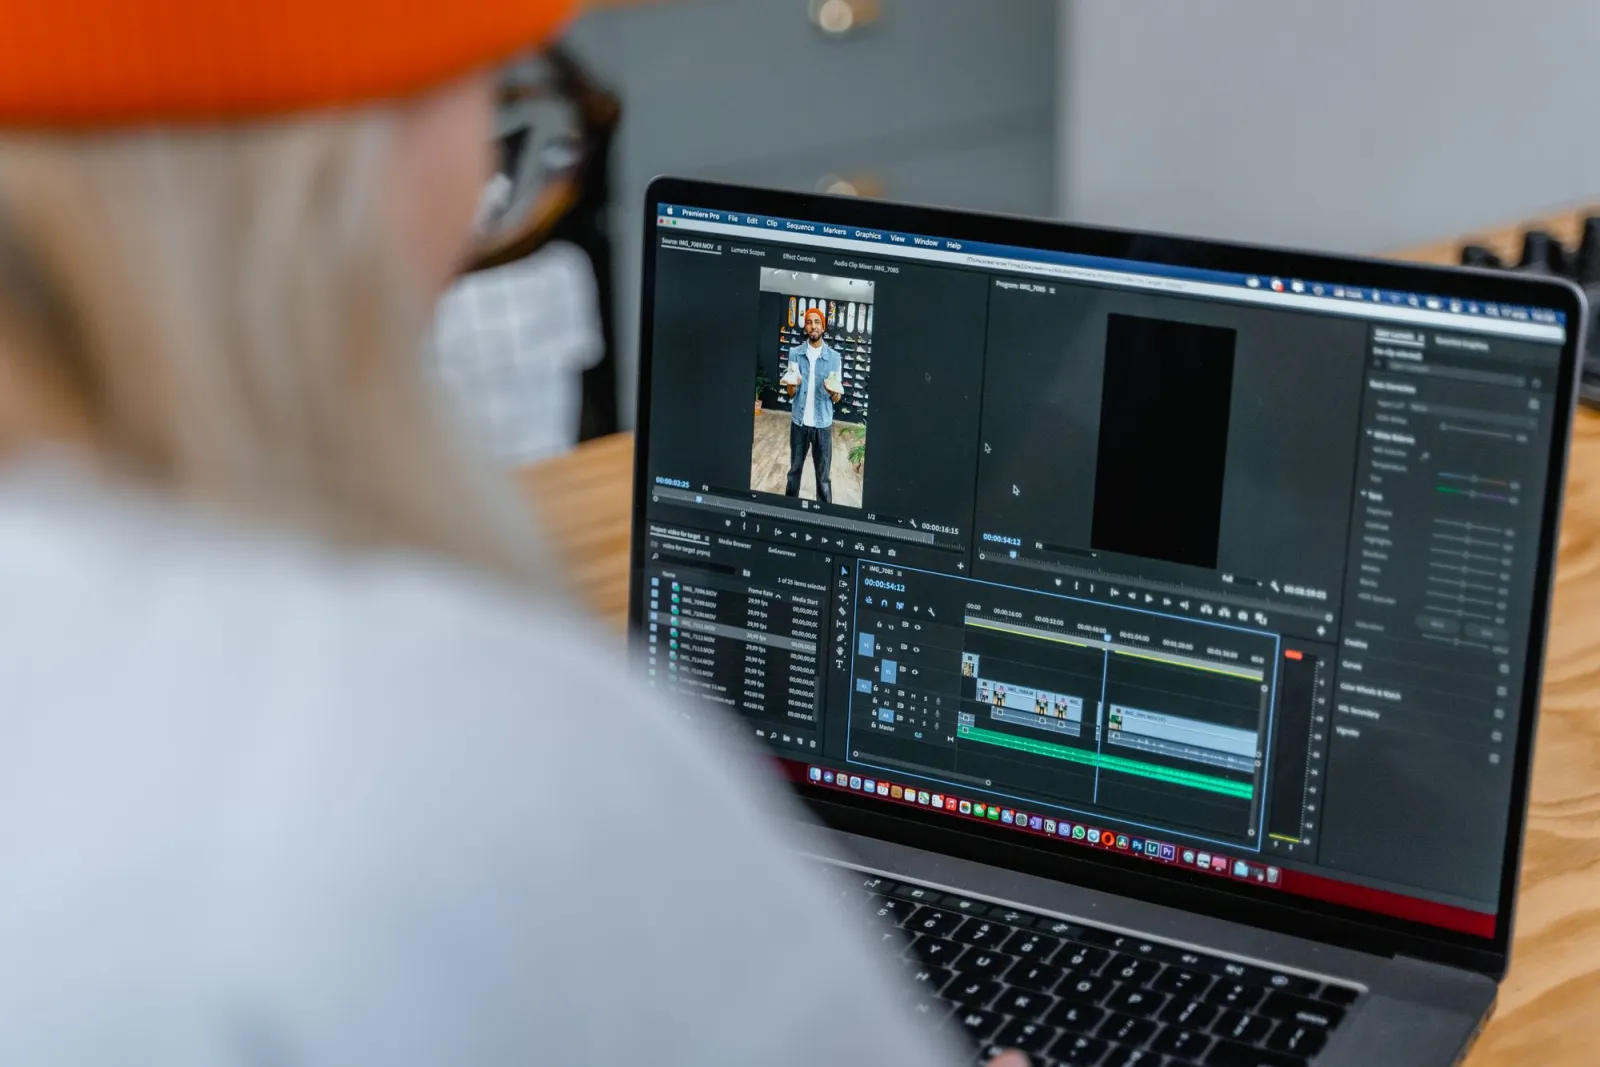
AI video editing is the part of the workflow where the software does the boring 70 percent — detecting cuts, transcribing speech, removing noise, matching color — so you spend your hours on the 30 percent that needs a human eye. I edited a 12-minute talking-head piece last month and let AI handle the captions, the room hum, and the first color pass; I cut the b-roll and tightened the pacing by hand. This is the hands-on workflow for editing video with AI in 2026, focused on the general edit — not short-form vertical clips, which live in our AI short video creation notes.
Quick answer: what does AI actually do in video editing?
AI in a modern editor detects silence and cuts it, transcribes your audio into editable captions, removes background noise, applies a base color grade, and finds b-roll that matches keywords in your footage. You still assemble the story, choose the takes, and approve every change. Treat AI as a fast first pass on every repetitive task, then correct it.
I tested this loop on three projects in the last quarter. The AI never delivered a finished cut, but it consistently shaved 30 to 50 percent off the dull mechanical work. The skill is knowing which tasks to hand off and which to keep.
Where does AI earn its keep in the edit?
Most AI features fall into a clear split: the tedious, repeatable jobs move to the machine, and the judgment calls stay with you. Once you see that line, you stop expecting the wrong things from the tool.

| AI handles well | Still needs you |
|---|---|
| Detecting and trimming silences | Choosing which take to keep |
| Transcribing speech into captions | Fixing caption timing on overlaps |
| Removing steady noise and room hum | Mixing dialogue against music |
| First-pass color match across clips | The final creative grade |
| Surfacing b-roll that matches keywords | Deciding what the cut means |
The left column is where the time goes. The right column is why the edit is still yours.
How do you auto-cut and trim with AI?
Auto-cut, also called silence removal or text-based editing, is the single biggest time-saver in an AI workflow. The editor transcribes your footage, then lets you delete words from the transcript — and the video follows. I cut a 40-minute interview down to 18 minutes this way, faster than I have ever cut one.
The reliable sequence:
- Drop the raw footage on the timeline and run transcription.
- Let the tool mark every silence and filler gap automatically.
- Skim the transcript and delete the dead air word by word.
- Apply a short cross-dissolve or jump cut at each removal.
- Review the cut in real time, not just on the transcript.
Two honest caveats. Silence removal is aggressive by default and will snip natural pauses that carry emotion — breathing room in a serious interview matters, so check the cut rather than trusting it. And text-based editing only works when the transcript is clean; heavy accents or overlapping speakers still need a manual pass.
How do you caption, denoise, and clean audio?
Audio is where AI editing feels closest to magic, and where it fails loudest. Do captions and noise in the right order or you will rebuild work.
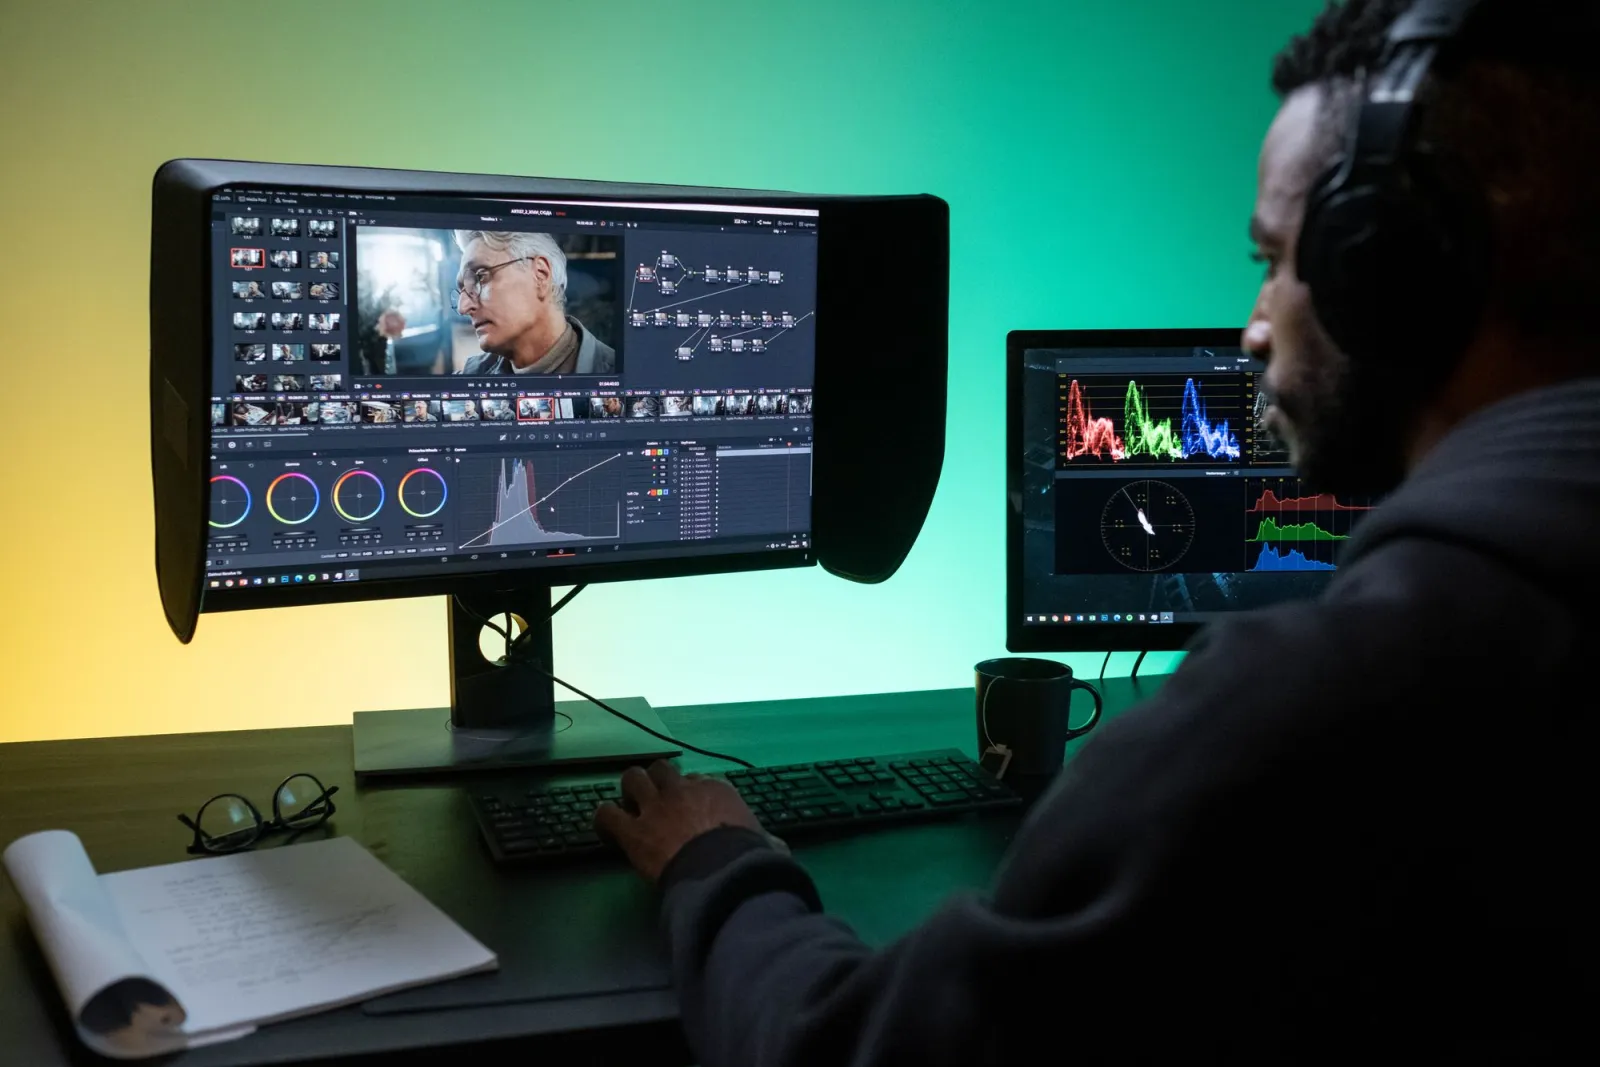
- Transcribe first. Generate captions from the dialogue track before you touch noise, so the words are locked in while the audio is still intelligible.
- Denoise second. Apply noise removal to steady hums, fans, and air conditioning. It works well on constant noise and poorly on sudden sounds like a door slam.
- De-reverb last, and sparingly. Removing room echo can thin out the voice; preview at full volume before committing.
- Fix caption timing by hand. Auto-captions drift on fast speech and hyphenated words, so nudge the in and out points yourself.
The general rule: let AI clean the track, then mix the final levels by ear. A denoised voice over loud music still sounds wrong, and no AI balances that for you yet.
How far can color grading and b-roll go with AI?
Color is the area where AI gives you a head start and a ceiling. Auto color-match balances shots from different cameras or lighting in seconds, and it is genuinely useful for multi-cam interviews. But it sets a neutral base, not a look.
I ran the same interview through auto-match across two cameras and it matched exposure and white balance in about a minute — work that used to take a careful hour. The creative grade, the teal shadows and warm highlights that give the piece a mood, I still did by hand on the nodes.
For b-roll, AI search reads your footage and finds moments that match a word you type — "smile," "hands," "wide shot." It surfaces candidates fast, but it ranks on what it sees, not on what your sentence needs. Always review the picks and trim them yourself.
Which tools fit which job?
The tool you pick shapes which AI features you get. These are the ones I lean on, with the job each does best.
| Tool | Strongest AI feature | Best when |
|---|---|---|
| Premiere Pro | Text-based editing, auto-ducking | You live in the Adobe ecosystem |
| DaVinci Resolve | Magic Mask, neural color tools | You need a serious grade at no cost |
| Descript | Edit the video by editing the transcript | You cut a lot of talking heads |
| CapCut desktop | Auto-captions and ready templates | You publish short, fast clips |
Resolve deserves a callout: its neural color and masking are free in the base version, which is rare at this level. Premiere's text-based editing is the smoothest I have used inside a pro timeline. Pick by the job you do most, not by hype. For the codec and container choices that affect export quality, the MDN video codec reference is the reliable source.
How do you repurpose one video into many formats?
Editing once and shipping many cuts is where AI workflow pays back the fastest. You build a master, then spin off versions for each platform with AI doing the repetitive re-framing and captioning.
- Auto-reframe a 16:9 master into 9:16 and 1:1 without re-editing.
- Regenerate burned-in captions for each platform's style.
- Pull the audio into a transcript for a blog post or newsletter.
- Cut short hooks from the strongest 10 to 15 seconds.
If you generate the footage rather than shoot it, the same finishing stack applies. The Sora video generator and Runway Gen-3 video write-ups cover where the raw clips come from; this guide is what you do with them after. For the vertical short-form variant, the AI short video creation workflow handles the 9:16 repurposing step.
What does AI still get wrong in the edit?
AI is fast and it is not finished. Plan around these before you trust a deadline to it.
- Over-cutting: silence removal trims pauses that carry meaning, so always review.
- Caption drift: timing slips on fast or overlapping speech and needs manual fixing.
- Noise artifacts: heavy denoise adds a watery artifact on voices, especially in quiet parts.
- Flat color: auto-match gives a neutral base, never the creative look you want.
- Keyword misses: b-roll search ranks on visuals, not on your narrative intent.
Key takeaway
AI video editing in 2026 takes the repetitive 70 percent off your plate — auto-cut, captions, denoise, base color, and b-roll search — and leaves the judgment to you. Run transcription, cut silence from the transcript, denoise steady hum, accept the auto color-match as a base, and surface b-roll with keywords. Then fix the pauses, the caption timing, the final grade, and the picks by hand.
The honest caveat: AI gives you a fast first pass, not a finished cut. It will trim a pause you needed, mistime a caption, and hand you a flat grade. Use it to clear the busywork, then do the part that actually makes the video yours. No tool ships a client-ready edit for you yet, and the one that tries will still need your eyes on every cut.
Image credits
- Video editing software running on a laptop with the timeline in focus — photo by MART PRODUCTION on Pexels
- Video editing timeline with colorful clips on a multi-track sequence — photo by Francesco Paggiaro on Pexels
- Editor reviewing and color grading footage on dual monitors — photo by Ron Lach on Pexels
- Director on a video production set with lighting and camera gear — photo by Ron Lach on Pexels
Use the free tools while you follow the guide.
Keep reading
2026-10-07
Background Remover Removes Part of Subject? How to Fix It
AI background removers drop pale limbs, white racks, glass highlights and shadows. I measured why on real photos and how to get the missing parts back.
2026-10-07
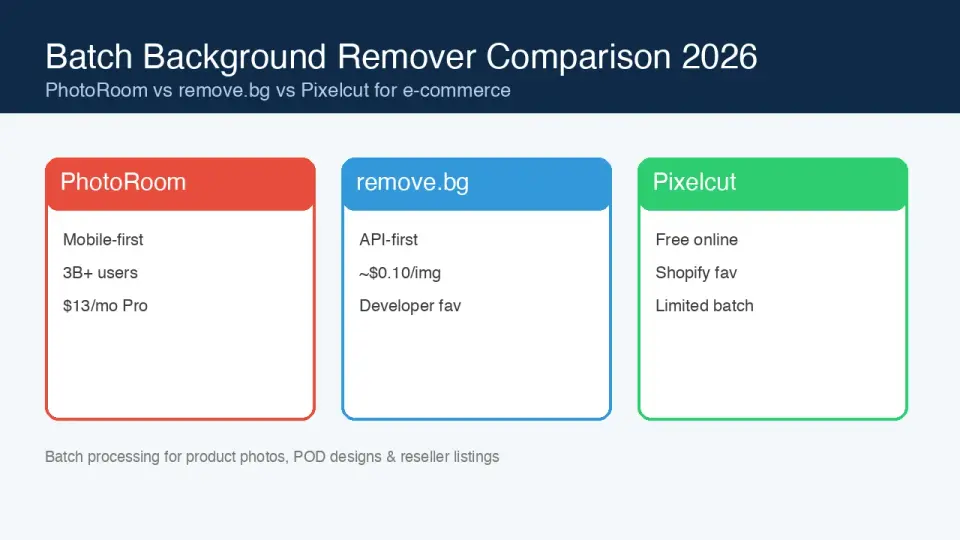
Batch Background Remover Comparison 2026: E-commerce
PhotoRoom, remove.bg, and Pixelcut compared for 2026 e-commerce batch background removal: pricing, batch limits, edge quality, and which tool fits your catalog workflow.

2026-10-07
remove.bg Is Shutting Down on December 1: What to Use Instead
remove.bg closes on 1 December 2026 and unused credits expire that day. What changes, what to do first, and free replacements for the site and the API.