2026-03-28 · Updated 2026-07-12
AI Image Noise Reducer: Clean Grain Without Blur
Learn how to reduce image noise with AI, choose safe denoise strength, inspect artifacts, and export clean WebP photos for web publishing.
Last updated: July 12, 2026
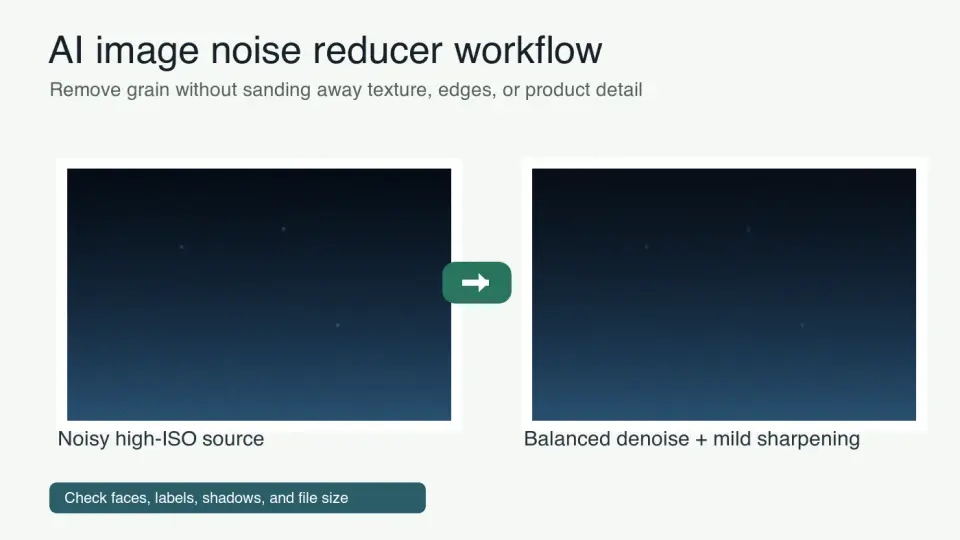
AI noise reduction is useful when a low-light photo, phone crop, product shot, or scanned image has visible grain that distracts from the subject. It is also easy to overdo. A heavy denoise pass can make skin look waxy, fabric look painted, and small label text look unreliable.
Use this guide when you need a cleaner image for a product page, blog post, marketplace listing, or social crop and you still care about real texture.
Quick answer: how do you reduce image noise with AI?
Use our AI Noise Reducer tool on the largest original file, apply it once, and choose the lowest strength that cleans the shadows without flattening the subject. Check the result at the final display size and at 100% zoom before exporting.
Start by removing color speckles because they are distracting and usually easier to fix. Then reduce luminance grain only as much as needed. If you push both sliders hard, the image may look clean in a small preview but fake on a product page or print proof.
Export the approved web copy as WebP or AVIF, not as a giant uncompressed file. If you also need to shrink the final asset, use the image compression ratio guide after denoising so you can measure byte savings without hiding new blur.
What does image noise look like?
Noise is unwanted random variation in brightness or color. It often shows up in photos shot at high ISO, underexposed images brightened in editing, old scans, compressed uploads, and phone images from dim rooms.
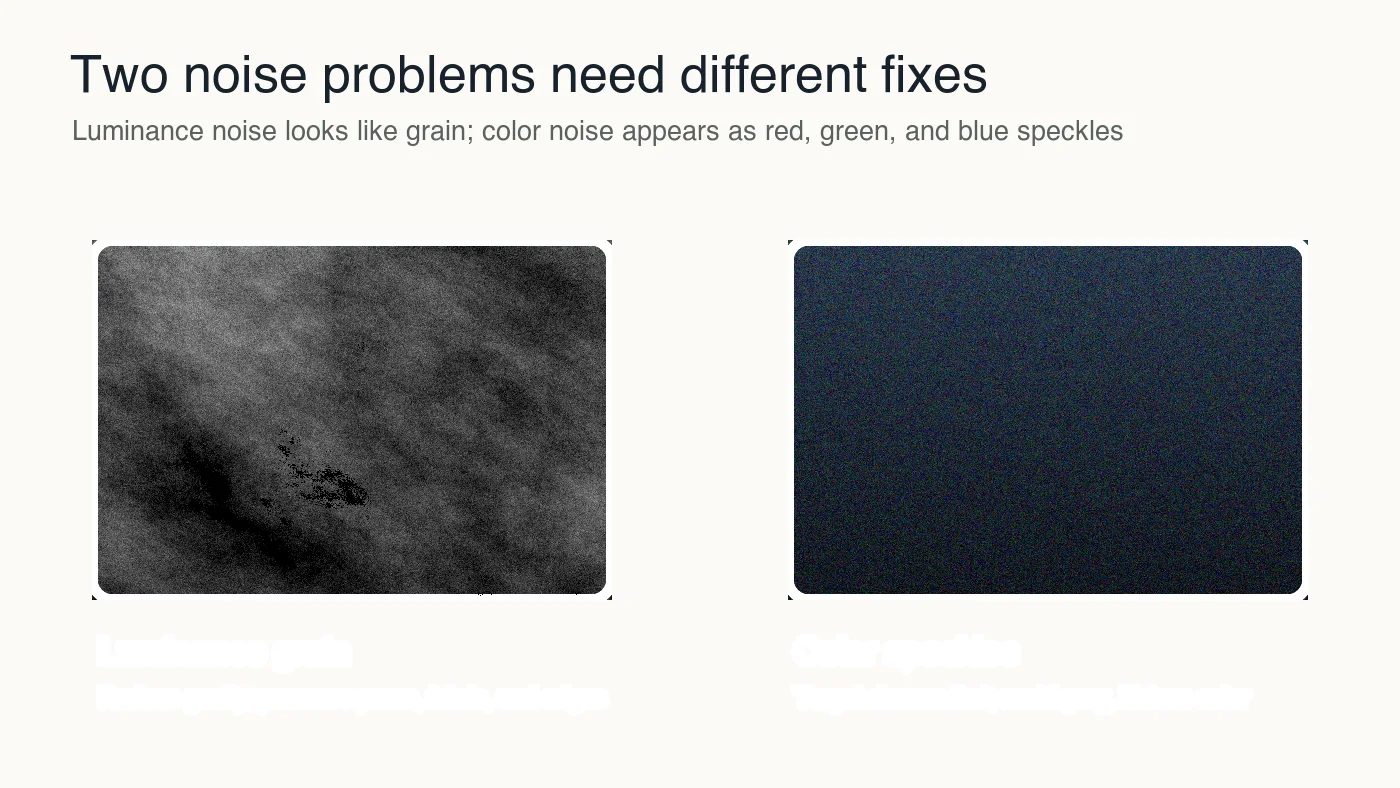
There are two common problems:
| Noise type | What it looks like | First fix to try | What to protect |
|---|---|---|---|
| Luminance noise | Gray grain, rough shadows, gritty skin | Moderate luminance denoise | Pores, hair, fabric, product texture |
| Color noise | Red, green, or blue speckles | Chroma or color denoise | Natural color and edge contrast |
| Compression noise | Blocks, mosquito artifacts near edges | Use a better source, then denoise lightly | Text, logos, hard edges |
| Scan noise | Dust, scratches, uneven grain | Spot repair before AI denoise | Faces, paper texture, handwritten marks |
AI denoise models usually do more than blur pixels. They estimate what the clean version should look like from nearby detail and learned image patterns. That is why the output can be much better than a basic blur filter, but it is also why inspection matters.
OpenCV's denoising documentation describes non-local means as an approach that compares similar patches across an image rather than only nearby pixels. Modern AI tools are different under the hood, but the practical idea is similar: preserve repeated real structure while reducing random variation. See OpenCV's image denoising documentation for the classical baseline.
When should you use an AI image noise reducer?
Use AI denoise when noise is hurting the viewer's ability to inspect the subject and you cannot reshoot or recover a cleaner original. A store owner may need to rescue supplier photos. A designer may need a cleaner editorial crop. A photographer may need to deliver a dim event image where flash was not possible.
Good candidates include:
- High-ISO indoor photos with noisy shadows.
- Product photos shot on a phone in weak light.
- Scans with visible grain after brightness correction.
- Social images cropped from a larger noisy frame.
- Event photos where faces matter more than background texture.
- Marketplace images where the original camera file is unavailable.
Poor candidates include:
- Logos, screenshots, and UI images with small text.
- Technical documents where exact lettering matters.
- Already clean studio photos that only need compression.
- Product labels where AI could alter printed detail.
- Images that are blurry because of focus or motion, not noise.
If the image is mainly too small, start with the AI image upscaler guide. Upscaling and denoising are related, but the order and review criteria are different.
How much denoise strength should you apply?
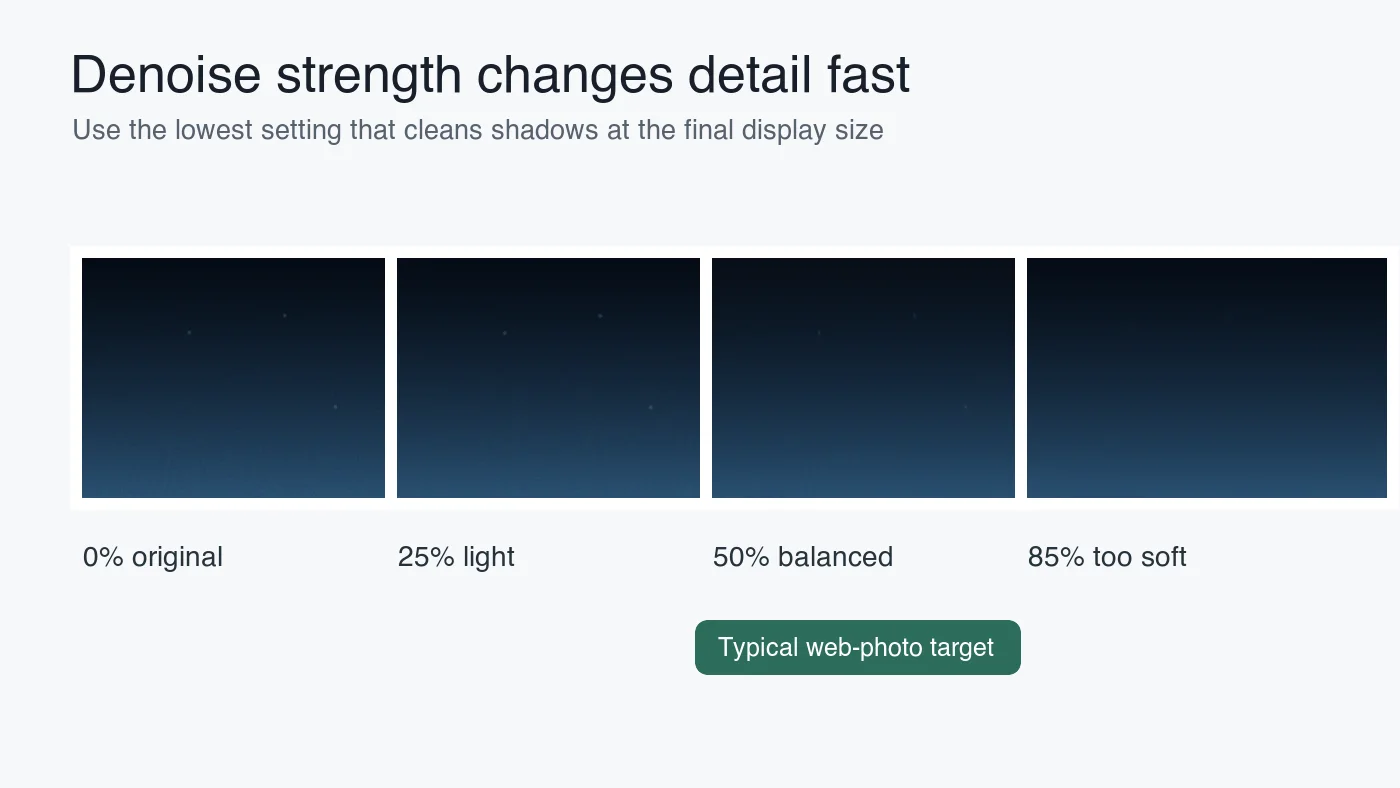
Use the weakest setting that solves the visible problem. A noisy image with believable texture is usually better than a spotless image with plastic skin or smeared product edges.
| Strength level | Use it when | Typical result | Reject it if |
|---|---|---|---|
| Light | Noise is visible only in shadows or background | Grain softens while detail remains | Color speckles stay distracting |
| Medium | High-ISO grain competes with the subject | Balanced cleanup for web images | Hair, fabric, or labels start to smear |
| Heavy | The image is for a small thumbnail or noisy background | Very clean preview | Faces look waxy or fine detail disappears |
| Selective | Noise is mostly in sky, wall, or shadow areas | Subject stays sharper | Masks create halos around edges |
For ecommerce, inspect product labels, stitching, transparent edges, and shadow gradients. For portraits, inspect eyes, hairline, teeth, and skin texture. For food, inspect crumbs, steam, sauce edges, and highlights. Those details tell you whether the model preserved useful information or guessed too aggressively.
Measured while preparing this article, the four local 1400 px WebP graphics exported between 26 KB and 137 KB. Flat infographics compress well. A real denoised photo at the same dimensions can be much larger because AI-restored texture adds detail back into the file.
What is the safest workflow for noisy photos?
Work from the source toward the final delivery file. Do not repeatedly save lossy copies and then ask AI to clean the damage. Each save can add artifacts that become harder to separate from real detail.
Use this order:
- Find the largest original file, ideally RAW, TIFF, PNG, or the best JPEG available.
- Correct exposure enough to see the noise problem, but avoid extreme shadow lifts.
- Remove obvious dust or scan defects before global denoise.
- Apply color noise reduction first if colored speckles are visible.
- Add luminance denoise slowly while watching real texture.
- Compare before and after at the final rendered size.
- Check a 100% crop of the most important detail.
- Add mild sharpening only after noise is controlled.
- Resize for the page, product slot, or social platform.
- Export a WebP or AVIF delivery copy and keep the source master.
If you are unsure whether the image is large enough before you start, check dimensions first. The check image size and dimensions guide explains how to verify pixel size before editing.
How do you inspect AI denoise artifacts?
Inspect the image where the viewer will make a decision. A marketplace buyer studies labels and material. A blog reader scans the hero image quickly. A social manager mostly cares about thumbnail clarity and compression after upload.
Use this review table before publishing:
| Image use | Inspect first | Common AI denoise artifact | Fix |
|---|---|---|---|
| Product photo | Logo, printed label, surface texture | Warped text or fake material grain | Lower strength or mask the label |
| Portrait | Eyes, teeth, hair, skin | Waxy skin and crunchy hair | Reduce luminance denoise, sharpen less |
| Food photo | Crumbs, steam, glossy highlights | Plastic texture or blotchy shadows | Use medium denoise and local sharpening |
| Real estate photo | Walls, windows, floor lines | Smudged edges or haloed windows | Apply selective denoise to shadows |
| Scanned photo | Faces, hands, handwritten notes | Invented facial detail or lost handwriting | Repair manually and denoise lightly |
Check three views: final page size, 100% zoom, and a small preview. Final size reveals what readers see. A 100% crop catches hidden damage. The small preview shows whether sharpening and denoise combine into a harsh thumbnail.
Google's image SEO guidance recommends descriptive alt text, relevant surrounding copy, and crawlable image URLs in Google Images best practices. A denoised image still needs those basics to work well in search and previews.
Which format should you export after noise reduction?
Keep a master and create a separate web copy. The master can stay as RAW, TIFF, PNG, or high-quality JPEG depending on your workflow. The page image should usually be WebP or AVIF because both formats can deliver photographic images efficiently.
MDN's image format guide notes that WebP supports lossy and lossless compression, plus transparency and animation. It also covers AVIF, JPEG, PNG, and browser trade-offs in the image file type and format guide.
Use this export table:
| Final use | Recommended export | Why |
|---|---|---|
| Blog image | WebP around q78-q86 | Good balance of detail and file size |
| Product hero | WebP q82-q90 plus retained master | Preserves texture for buyers |
| Transparent product cutout | WebP lossless or PNG | Protects alpha edges |
| Print handoff | TIFF or PNG master | Avoids extra lossy compression |
| Social thumbnail | WebP resized to the platform slot | Prevents oversized uploads |
Do not publish the full edited master if the page only renders a 1200 px image. Resize to the layout, then compress. The AVIF vs WebP comparison is useful when you need to choose a modern delivery format.
How does denoising affect SEO and page quality?
Noise reduction helps SEO only when it makes the image clearer without making the page slower. A clean but oversized hero can hurt the same page it was meant to improve.
Before publishing, confirm these items:
- The final URL is stable and returns HTTP 200.
- The file is a modern web format, usually WebP or AVIF.
- The dimensions match the layout instead of the camera original.
- The alt text describes what the image shows.
- The surrounding copy explains why the image is useful.
- The image is not a generic replacement that could fit any article.
- The file size is reasonable for its visual role.
- The original master is saved separately from the web export.
For broader image search work, pair denoising with the image optimization for SEO guide. If file size becomes the bigger issue after cleanup, use reduce image size without losing quality as the next step.
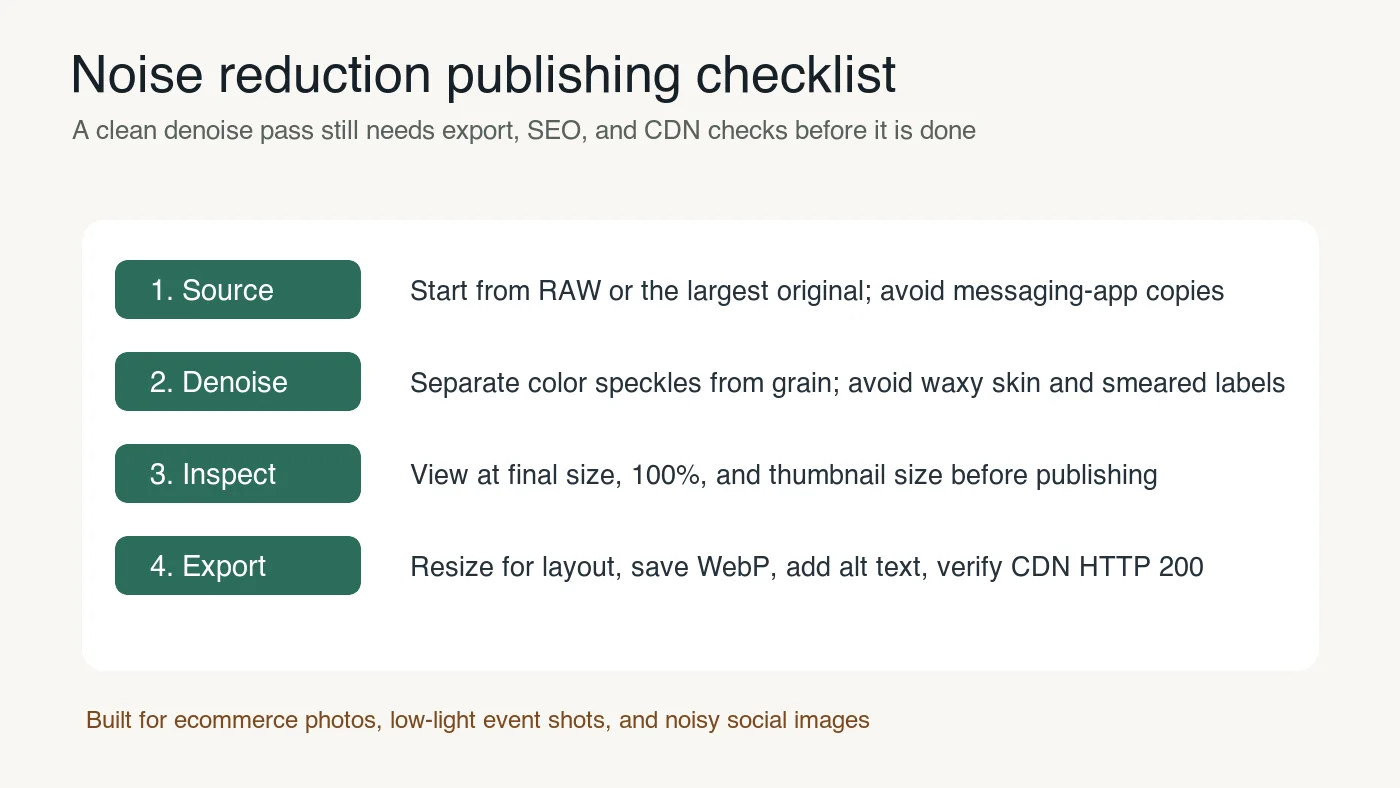
AI image noise reducer checklist
Run this final check before you publish or deliver the file:
| Check | Pass condition | Fix if it fails |
|---|---|---|
| Source | Largest available original was used | Find the original or reshoot if possible |
| Noise type | Color noise and luminance noise were handled separately | Start with chroma cleanup, then adjust grain |
| Strength | Detail survives at final size and 100% zoom | Lower denoise or use selective masking |
| Accuracy | Text, logos, faces, and labels are not changed | Use manual repair or a cleaner source |
| Export | Web copy is resized and saved as WebP or AVIF | Export a delivery file from the master |
| SEO | CDN URL, alt text, and surrounding copy are ready | Rewrite alt text or republish the image |
AI denoise is strongest when it is treated as a repair step, not a beautifying filter. Clean the distraction, protect the detail, then export a right-sized image for the page where it will actually be viewed.
Frequently asked questions
What does an AI image noise reducer actually do?
It estimates a clean version of the photo from nearby detail and learned patterns, so it can reduce grain more intelligently than a basic blur filter.
What is the difference between luminance noise and color noise?
Luminance noise is gray grit in the shadows and skin, while color noise is red, green, or blue speckles, and each type needs a different denoise setting to fix.
How much denoise strength should I apply to a photo?
Use the weakest strength that removes the visible problem, since a slightly noisy image with real texture usually looks better than an over-smoothed one.
Can AI noise reduction fix a blurry or out-of-focus photo?
No, AI denoise targets random grain, not blur from focus or motion, so a soft image caused by camera shake will not become sharp.
Should I resize a photo before or after denoising it?
Denoise the largest original file first, then resize and export the cleaned result, because working from a smaller copy first can hide noise that becomes visible again after enlarging.
What file format should I export after denoising a photo?
Export the finished image as WebP or AVIF for the page, and keep the original master file in RAW, TIFF, PNG, or high-quality JPEG.
What is the most common AI denoise artifact to check for?
Waxy skin, smeared fabric, and warped label text are the most common signs that denoise strength was pushed too high for the subject.
Is AI denoising safe to use on product photos with printed text or logos?
Only at low strength with close inspection, since AI denoise can alter fine printed detail on labels and logos if the setting is too aggressive.
Use the free tools while you follow the guide.
Keep reading
2026-07-28
How to Enhance Photo Quality: Sharpen, Denoise, and Brighten
Enhance photo quality by sharpening, denoising, and brightening, with what enhancement can and cannot fix, the tools, and a real before/after.

2026-07-26
AI Face Enhancer: Natural Portrait Retouching Guide
Use an AI face enhancer without plastic skin: choose the right portrait, protect identity, check artifacts, and export sharp web-ready headshots.
2026-07-26
AI Face Restoration: GFPGAN vs CodeFormer Compared
GFPGAN and CodeFormer both repair damaged faces but trade accuracy for polish differently. Which to use, how they work, and where both invent detail.