2026-06-27 · Updated 2026-06-30
AI Video Effects: Auto VFX, Color, and Background Tools
A working guide to AI video effects for editors and creators: automatic VFX, style transfer, background keying, motion tracking, and generative cleanup.
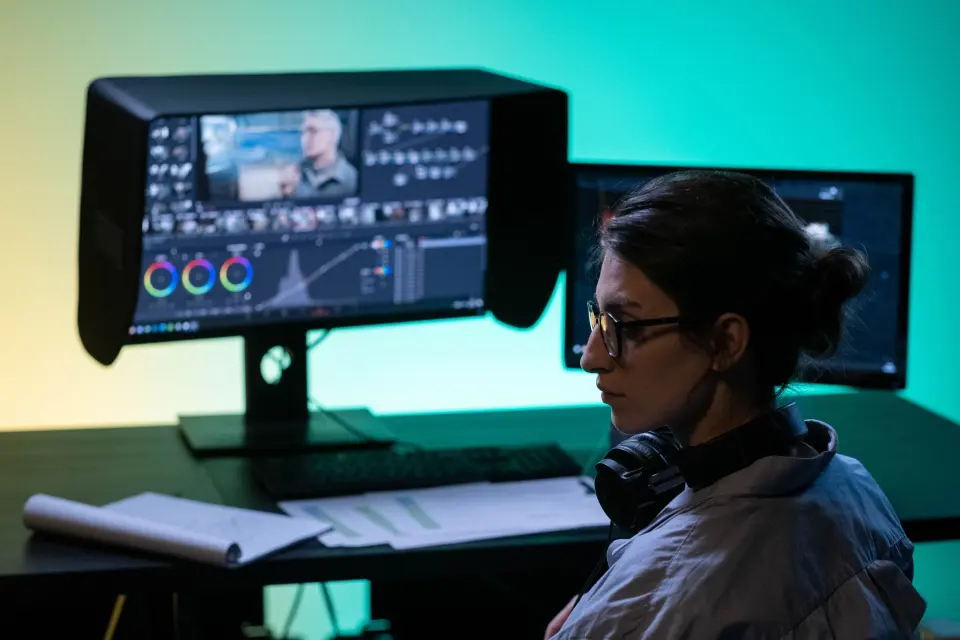
Last updated: June 30, 2026
AI video effects are most useful when they remove the slow, repetitive parts of an edit: rotoscoping a subject by hand, hunting for a clean key on a wrinkled green screen, or color-matching forty clips shot across two days. The model does the tedious pass; you keep the creative decisions.
This is written for the person doing the actual cutting, a YouTube editor, a social content creator, or a small-studio colorist, not for someone reading about the technology in the abstract.
Quick answer: which AI video effects actually save editing time?
Use AI for the effects that are slow and mechanical to do by hand, and keep manual control over anything that changes the story.
The four that pay off in a normal week are automatic masking and keying, style or look transfer, background replacement with motion tracking, and generative cleanup such as object removal. Each replaces minutes or hours of frame-by-frame work.
A reliable order looks like this:
- Cut the timeline first so you only run effects on shots that survive the edit.
- Stabilize and track before you composite anything onto the footage.
- Key or mask the subject, then check the edges on a high-contrast frame.
- Apply the look or style transfer last so color decisions sit on top of clean plates.
- Render a short test region before committing the full export.
If you mostly work with still frames, exports, or thumbnails pulled from your timeline, pair this with an image upscaler and a background remover for the frame-level work.
What counts as an AI video effect today?
An AI video effect is any effect where a model makes a per-pixel or per-frame decision that you would otherwise make manually. The marketing language varies, but the underlying jobs are consistent.
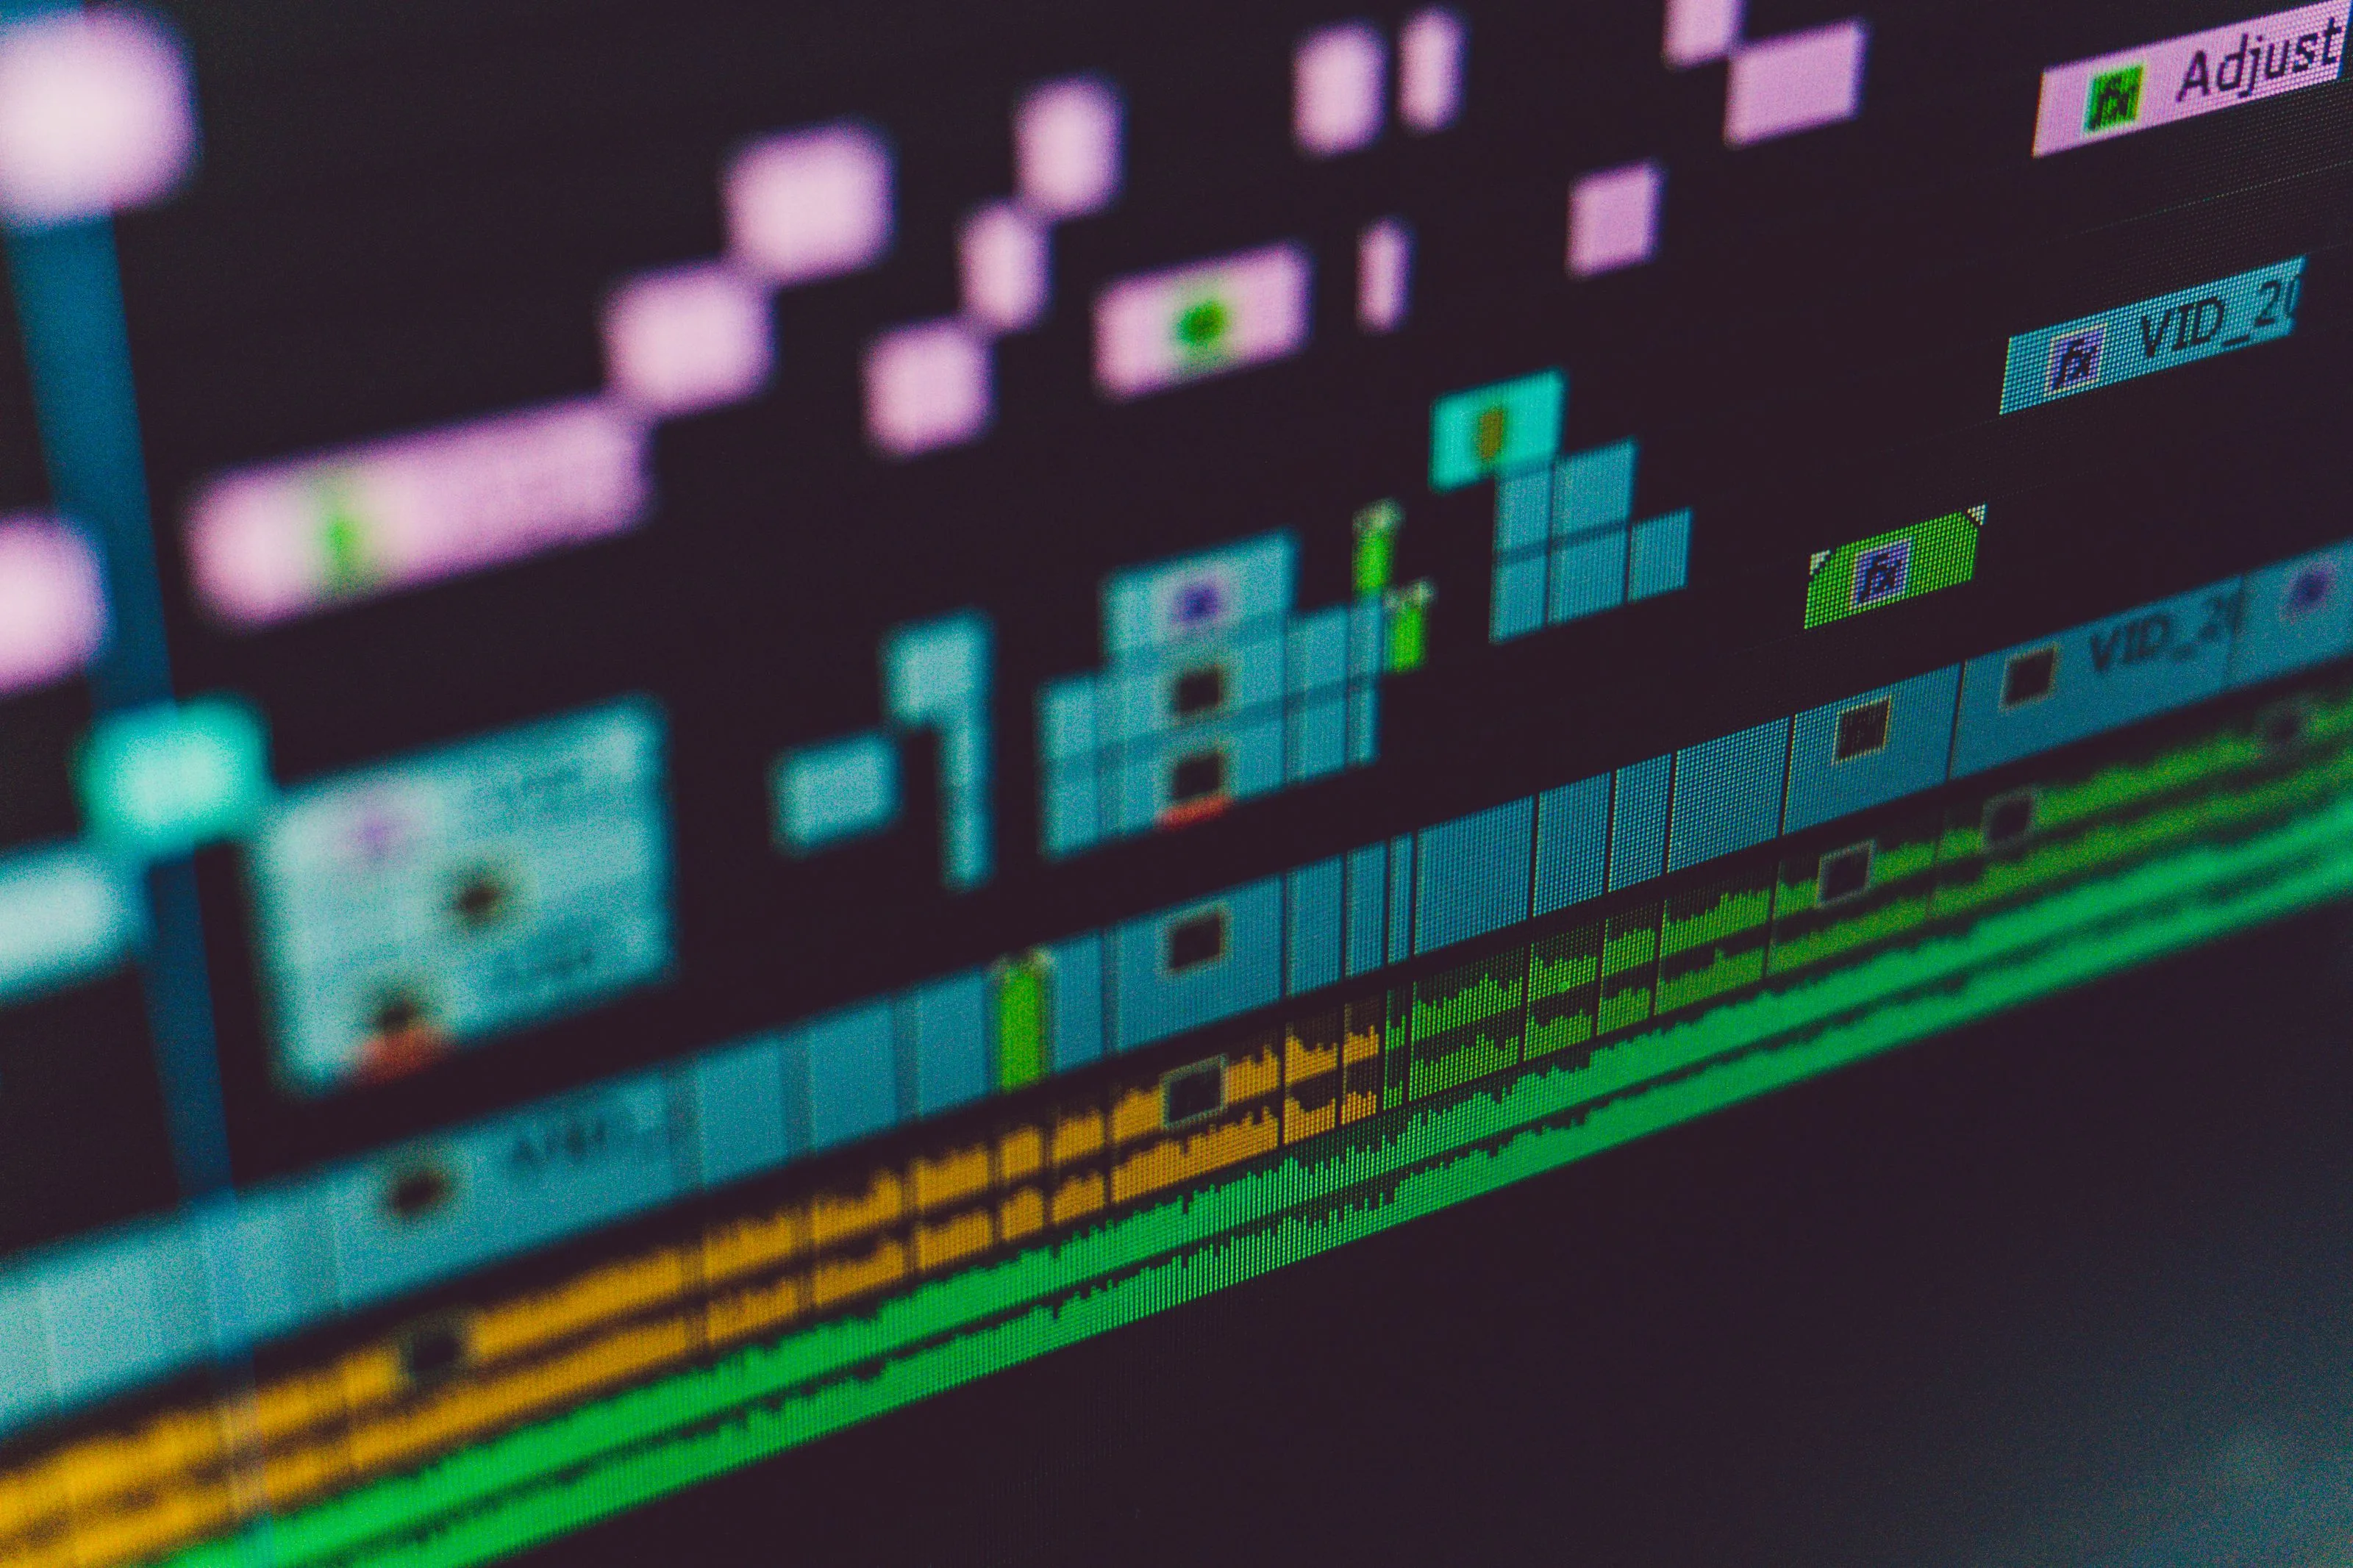
Most "AI effects" in current editors fall into five jobs:
- Segmentation: the model finds the subject and produces a moving matte without keyframed shapes.
- Tracking: it follows points or planes across frames so titles, blurs, or objects stick. This is the same problem the VFX world calls match moving.
- Style transfer: it pushes one clip toward the look of a reference, or applies a learned grade.
- Generative fill: it paints in missing pixels after object removal, reframing, or speed changes.
- Restoration: it denoises, sharpens, or upscales degraded footage.
| Effect category | What the AI does | What you still decide |
|---|---|---|
| Auto masking | Isolates the subject per frame | Where the edge should be soft or hard |
| Keying | Pulls a matte from green or any background | Spill color and edge cleanup |
| Style transfer | Maps a reference look onto the clip | How far to push it before it breaks |
| Background replace | Composites a new plate behind the subject | Whether the lighting and parallax match |
| Generative cleanup | Removes objects and fills the gap | Whether the fill is believable in motion |
The pattern is the same across every tool: the model handles the labor, you handle the judgment about whether the result looks real.
How do you set up automatic VFX without ruining the shot?
Automatic VFX fail in predictable ways, so set up the shot to avoid those failures before you click anything.
Auto masks break on motion blur, thin hair, transparent objects, and frames where the subject leaves the frame. Tracking drifts when the footage is soft or the tracked feature gets occluded. None of this is a reason to avoid the tools; it is a reason to feed them clean input.
Do this before running an auto effect:
- Trim to the exact in and out points so the model only processes frames you keep.
- Stabilize first if the camera is shaky, since a steadier plate tracks far better.
- Pick a tracking target with real contrast and texture, not a flat surface.
- Run the effect on a hard frame first, the one with the most motion or the busiest background.
- Scrub the whole range at full resolution and watch the matte edge, not the center.
If the auto matte chatters on edges, you usually have two fixes: feather and contract the matte slightly, or split the clip and run separate passes on the calm and the chaotic sections. For deeper timeline and codec decisions around these passes, the workflow notes in AI video editing cover where effects sit in a real cut.
Style transfer and color: matching a look across clips
Style transfer is where AI saves the most invisible time, because manual color matching across a multi-cam or multi-day shoot is genuinely tedious.
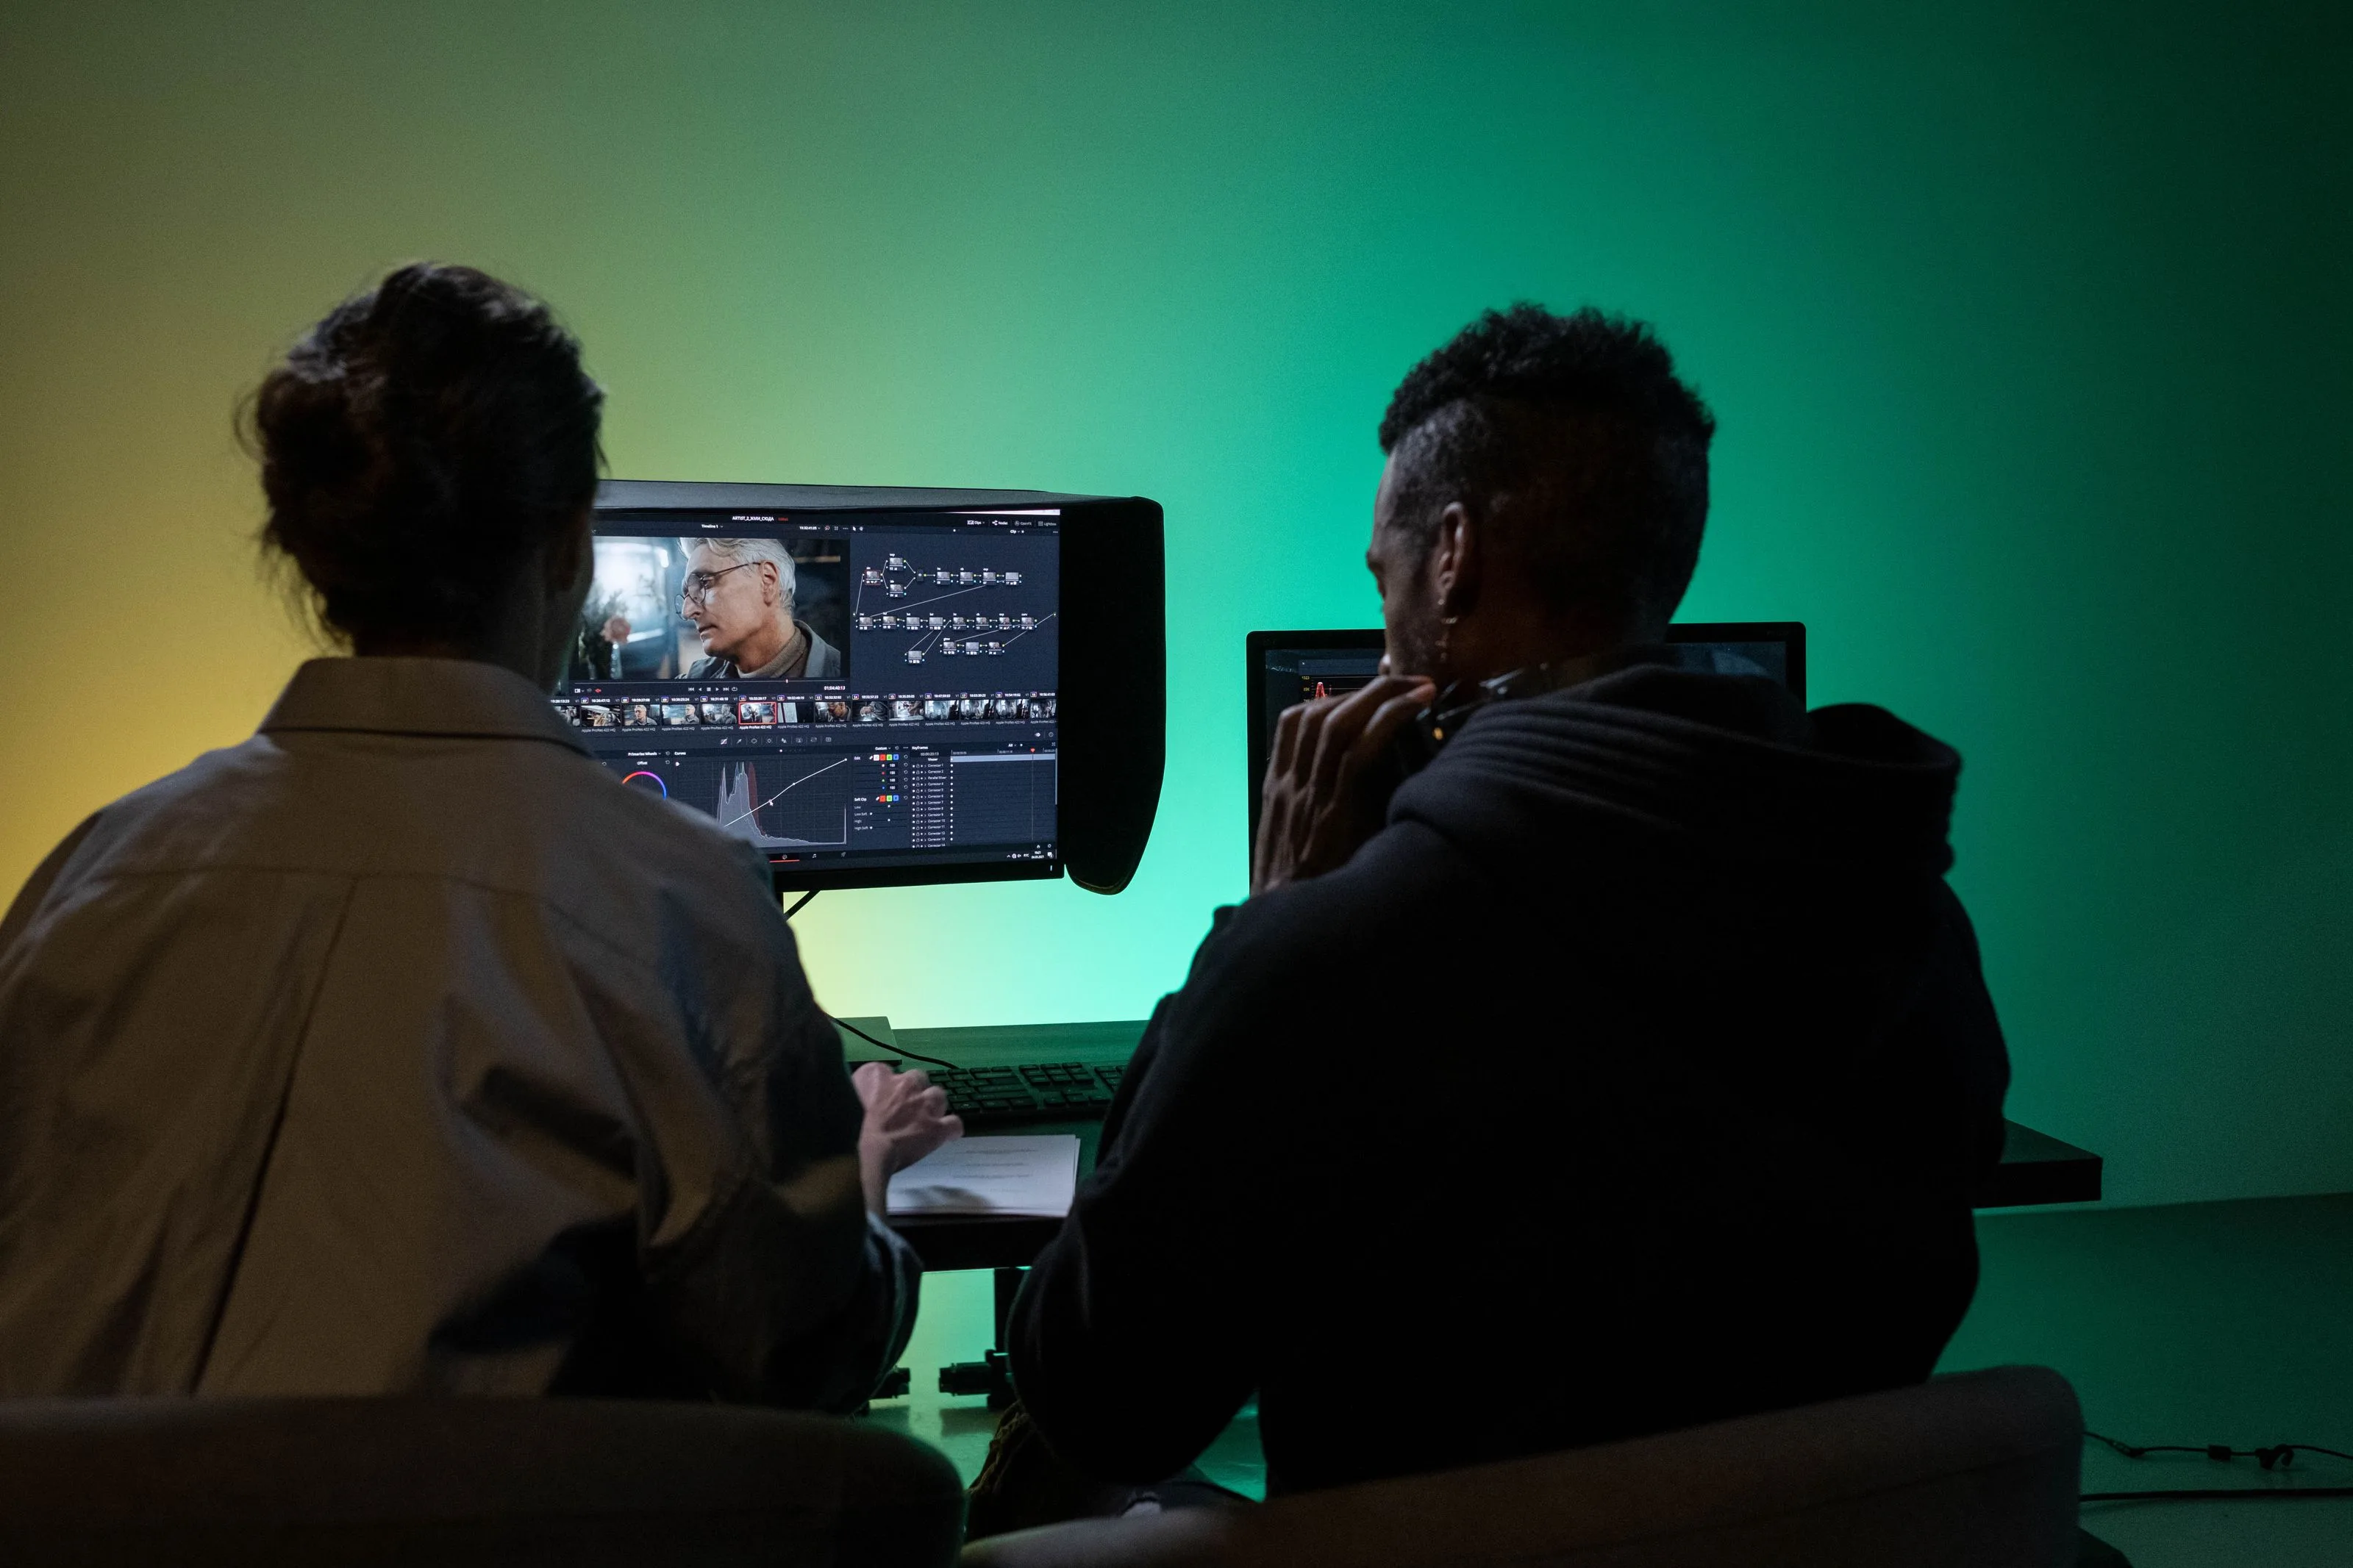
There are two different things people call style transfer, and they behave differently:
- Look matching: the model reads a reference frame and shifts exposure, white balance, and contrast so two clips agree. This is close to traditional color grading and tends to be safe.
- Stylization: the model repaints the footage into a painterly, anime, or sketch style. This is dramatic and far more likely to flicker or smear between frames.
For look matching, grade one hero clip by hand, then let the model match the rest to it. Always check skin tones on a face, because that is where a wrong match reads as obviously broken.
For stylization, watch for temporal flicker, the frame-to-frame wobble where textures crawl. A short clip can hide it; a thirty-second take will not. If you see crawl, lower the strength or apply the style to a smoother, lower-detail version of the plate.
When you export still frames from these graded clips for thumbnails or covers, run them through an image converter to land on the right format and an image cropper for each platform's aspect ratio.
Background replacement and motion tracking that holds
Background replacement is two effects stacked: a clean matte of the subject, and a tracked plate behind them that moves with the camera.
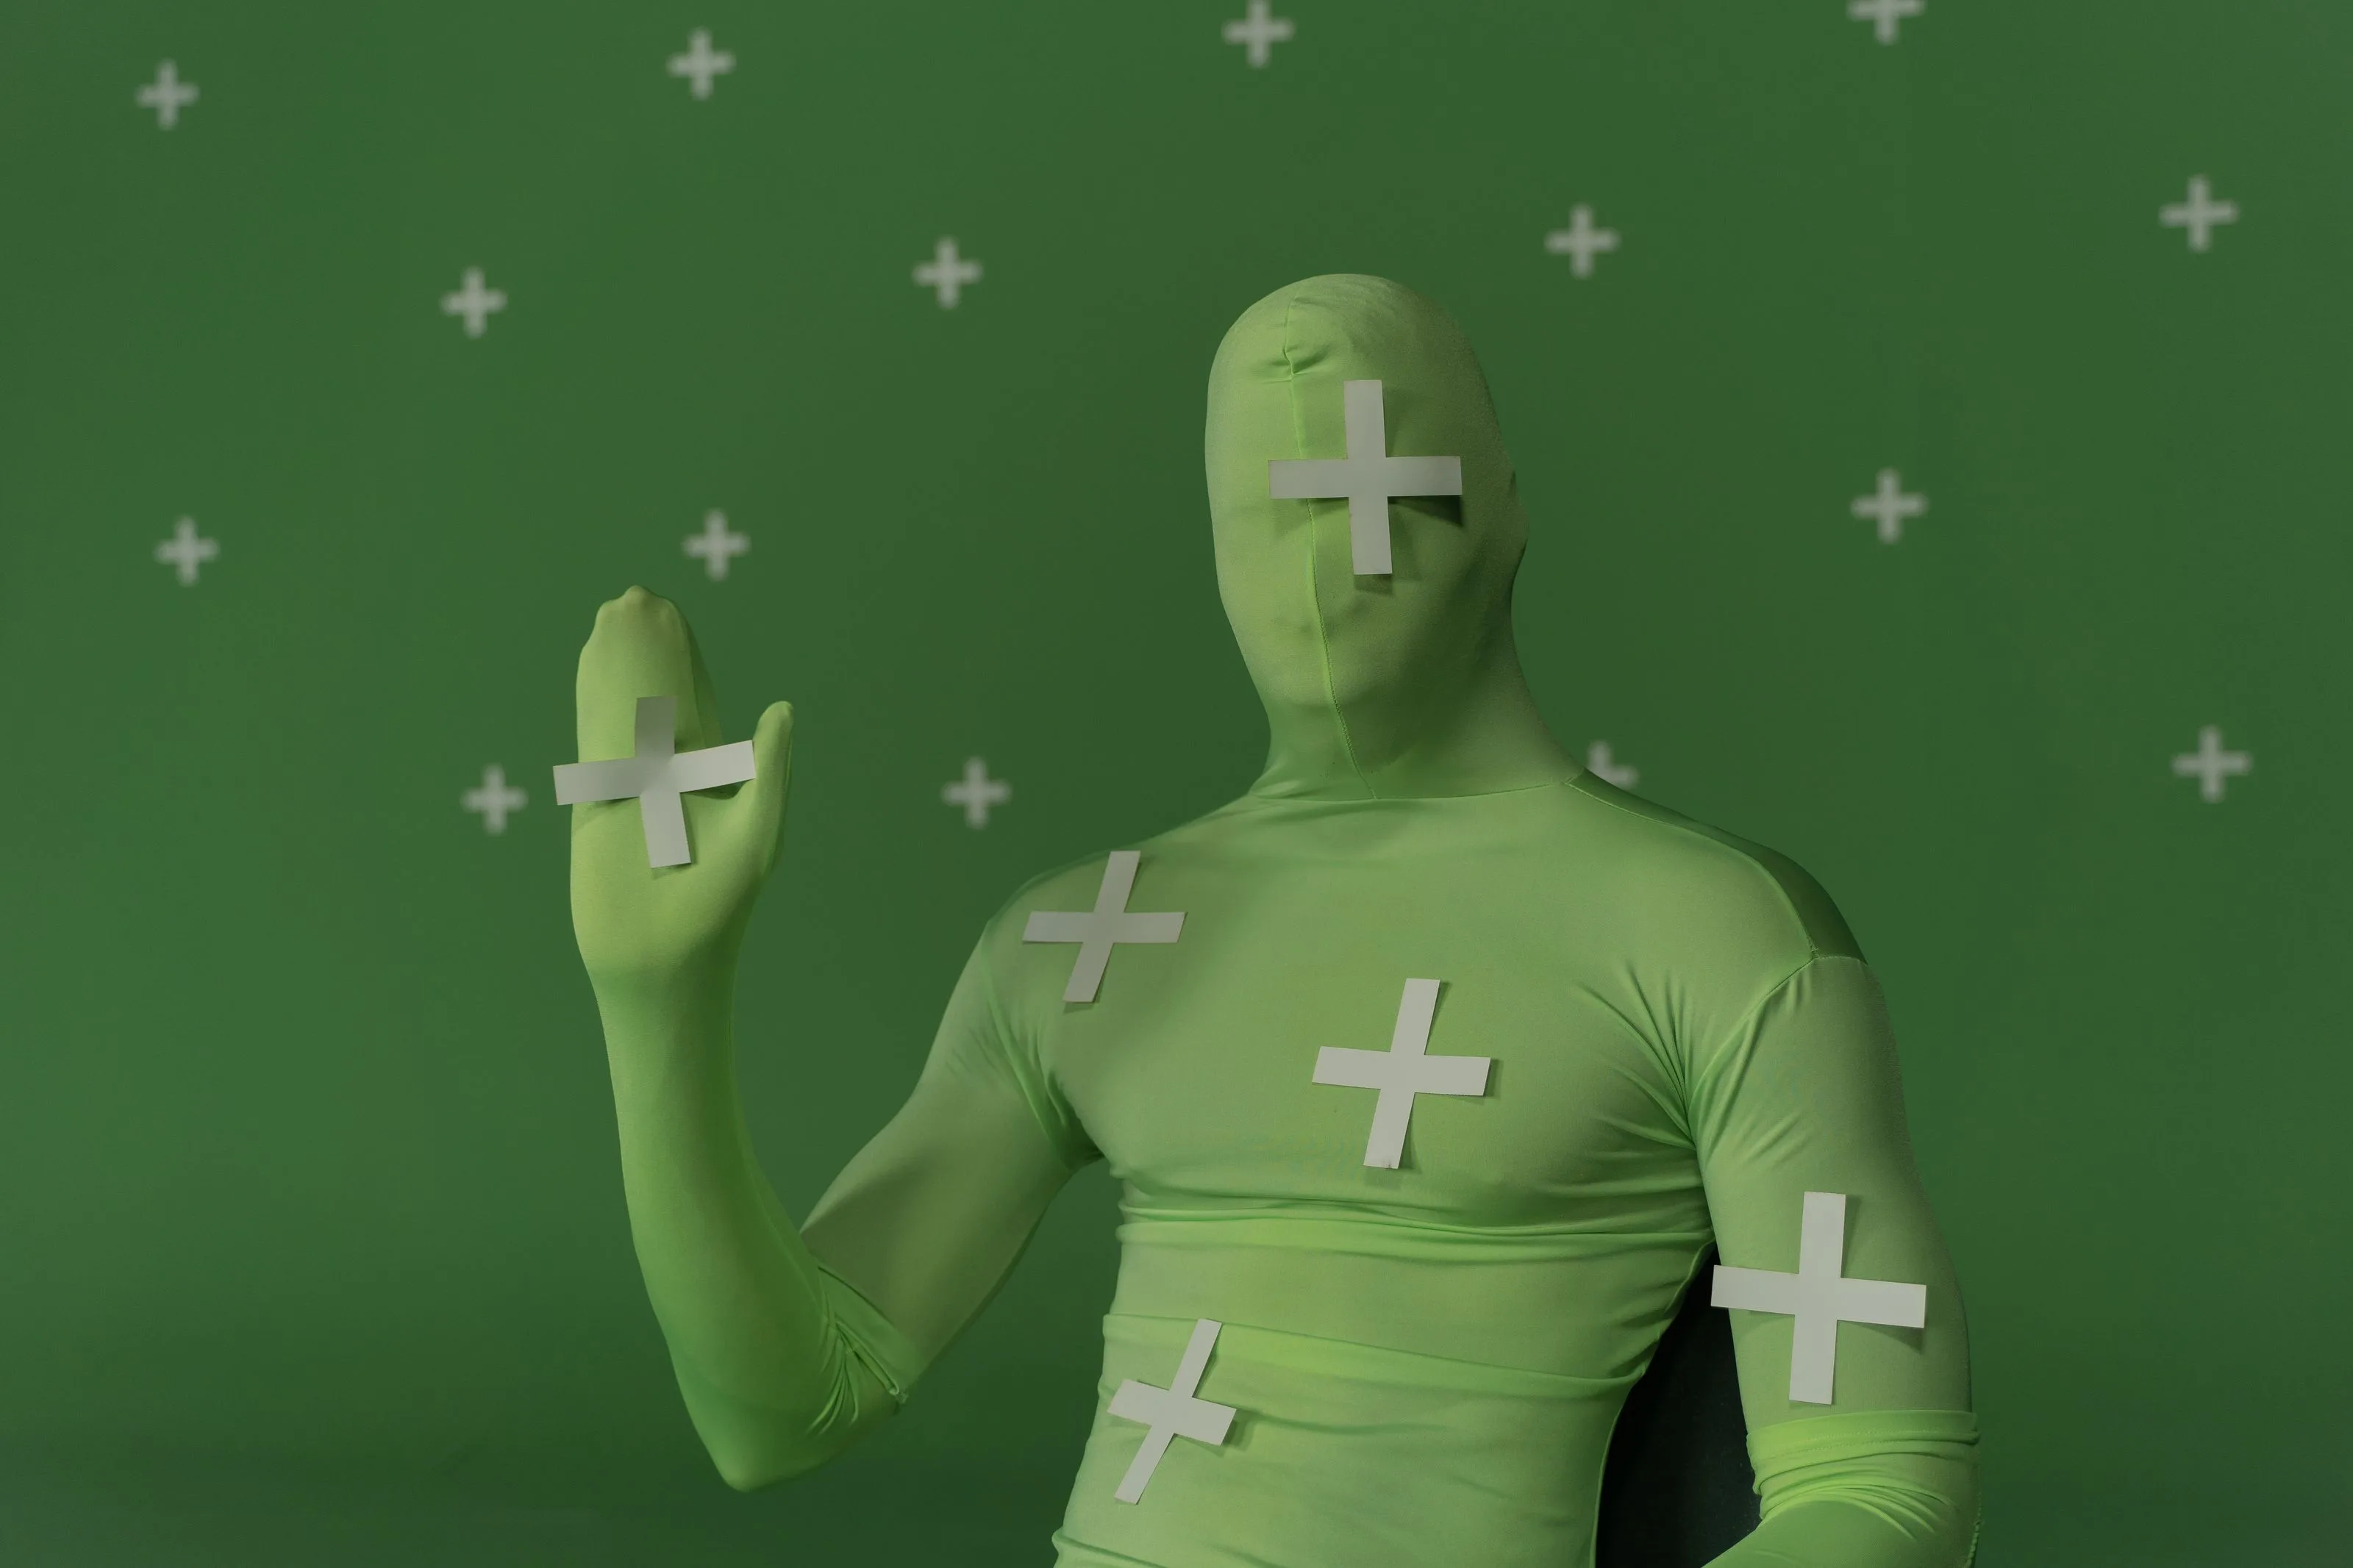
A green screen still gives the cleanest result, and good lighting on set beats any amount of cleanup later. The classic technique, chroma key, works best when the screen is evenly lit and the subject is far enough from it to avoid green spill on hair and shoulders.
AI keyers now pull usable mattes from ordinary backgrounds too, which helps when you cannot reshoot. The trade-off is edge quality: a real green screen gives a crisp edge, while an AI matte on a cluttered room often needs feathering to hide a halo.
Use this checklist when you composite:
- Confirm the camera move on the subject matches the move on the new background.
- Add a touch of matching blur or grain so the plate does not look pasted on.
- Check the contact points, feet, hands, hair, where a bad matte shows first.
- Color the subject toward the new environment's light, not the studio light.
- Watch one full pass for edges that breathe or jump on fast motion.
For talking-head clips where you want a presenter without a full shoot, an AI avatar can stand in, and the same keying logic applies to placing it over your background.
Generative effects: extend, relight, and clean up footage
Generative effects invent pixels that were never filmed: removing a boom mic, extending a frame to a taller aspect ratio, or filling the gap after you erase a passerby.
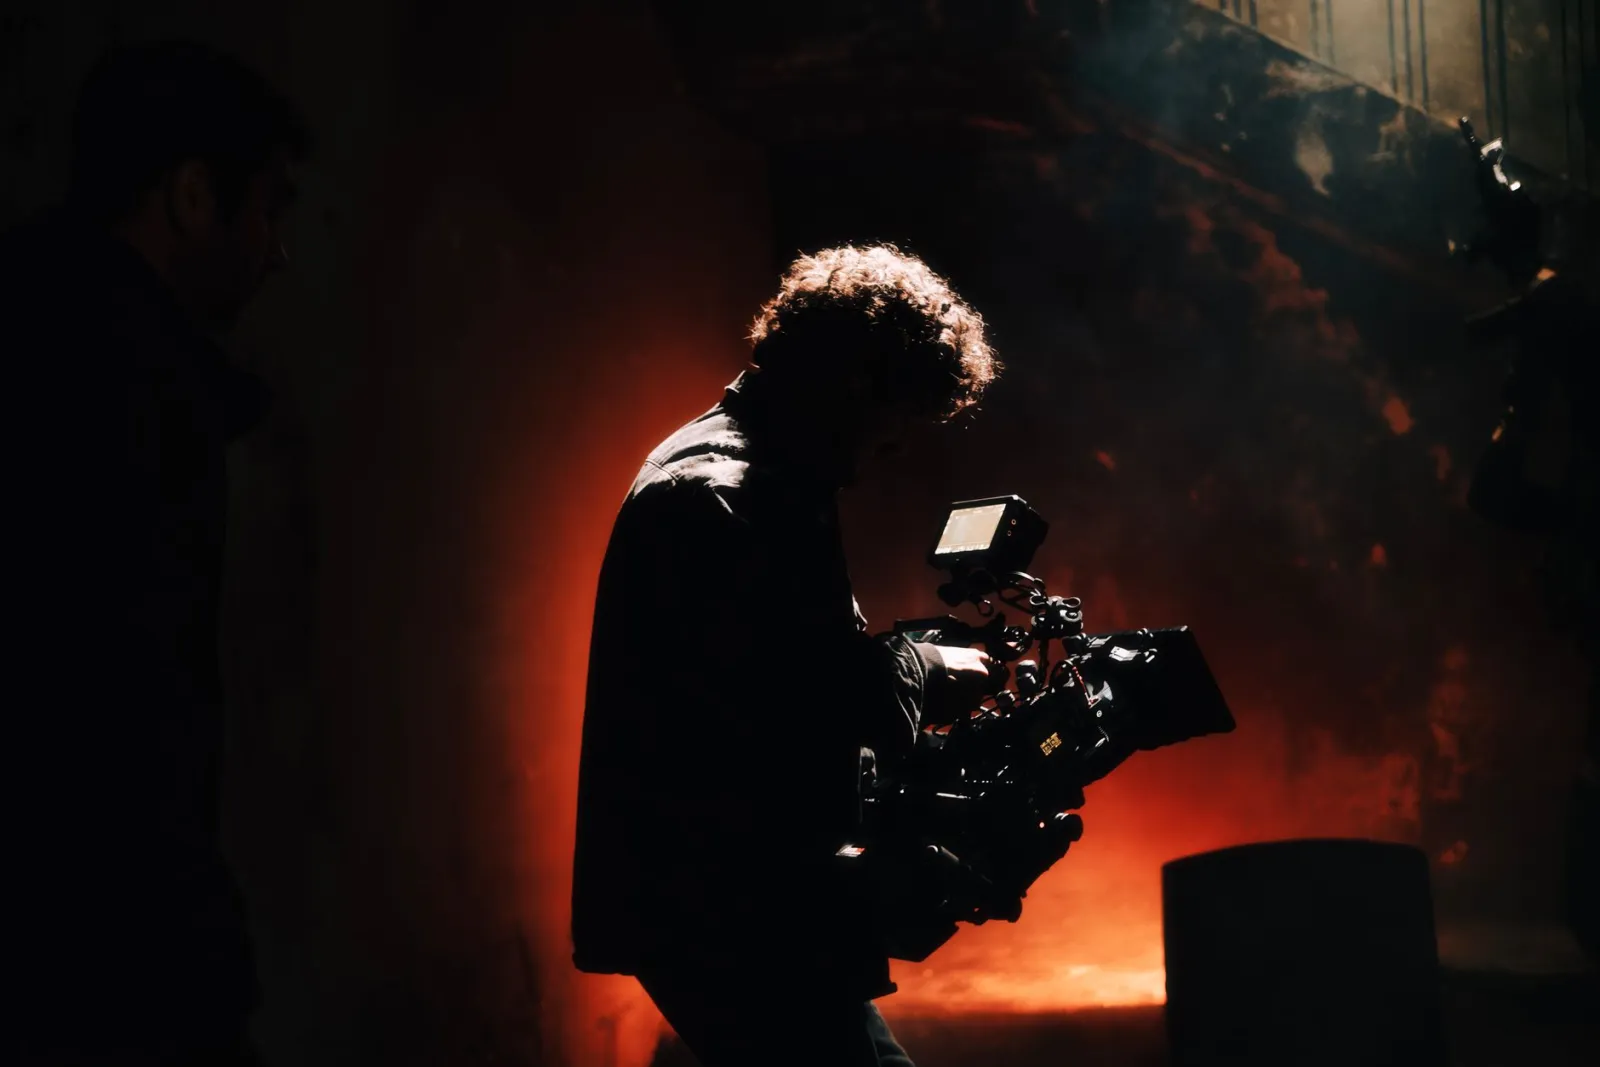
These are the most impressive and the least predictable effects. Object removal that looks flawless on a static frame can shimmer the moment the camera moves, because the model fills each frame slightly differently. Test removal on the busiest few seconds, not a still hold.
Generative effects worth keeping in rotation:
- Object and logo removal for shots you cannot reframe.
- Frame extension to turn a 16:9 capture into a 9:16 vertical without hard cropping the subject.
- Sky and background replacement when the weather on set was wrong.
- Relighting to fix a clip that was underexposed at the source.
- Generative b-roll built from a prompt to fill a gap in your footage.
If you need that synthetic b-roll, test the practical limits before you build a whole sequence on it. And when source clips are simply too soft or noisy to save with effects, restore the source first, since no effect looks good on mushy footage.
Which effects belong in your weekly editing routine?
Not every effect deserves a slot in your normal workflow. The ones that earn their place are the boring, repeatable wins.
| Workflow goal | Reach for | Skip when |
|---|---|---|
| Faster subject cutouts | Auto masking | The edge is hair-fine and the shot is the hero |
| Consistent look | Look matching | The grade is the whole creative point |
| Cleaner backgrounds | Keying or replacement | A reshoot would be faster and safer |
| Removing distractions | Generative cleanup | The object is in heavy motion every frame |
| Reframing for platforms | Frame extension | Cropping keeps the subject intact anyway |
A creator publishing several short clips a week gets the most from auto masking and reframing, because those run on every upload. A narrative editor leans harder on tracking and cleanup, which appear less often but save the most time when they do. To animate stills or add motion to graphic elements between these steps, AI video animation covers the moving-graphics side.
What should you check before you export?
Effects that look fine in the viewer can fall apart at full resolution or on a phone screen, so the final pass is strict on purpose.
Run this check on the actual export, not the preview:
- Play the full clip at 100% and watch every matte edge through fast motion.
- Confirm style transfer and grades do not flicker between cuts.
- Verify generative fills hold up when the camera moves, not just on holds.
- Check that tracked titles and objects never slide off their anchor.
- Listen and watch together; effects can shift sync if you changed clip speed.
- Compare file size and quality against your platform's upload ceiling.
Render a 5 to 10 second test region before the full export. A bad parameter caught in a short render costs seconds; the same mistake found after a 4K export costs the whole render time again. For more on visual effects as a discipline and where these techniques come from, the overview of visual effects is a solid reference, and the Imagic AI FAQ answers common questions about the image-side tools that support a video workflow. When you need a batch of frames or thumbnails processed at once, the batch tools handle that without per-file clicking.
The effects keep getting faster, but the editor's job has not changed: feed the model clean input, judge the result with a critical eye, and only ship the shots that hold up in motion.
Image credits
Article images are sourced from Pexels and stored locally, then served from the Imagic AI CDN for stable page rendering.
Use the free tools while you follow the guide.
Keep reading
2026-10-07
Background Remover Removes Part of Subject? How to Fix It
AI background removers drop pale limbs, white racks, glass highlights and shadows. I measured why on real photos and how to get the missing parts back.
2026-10-07
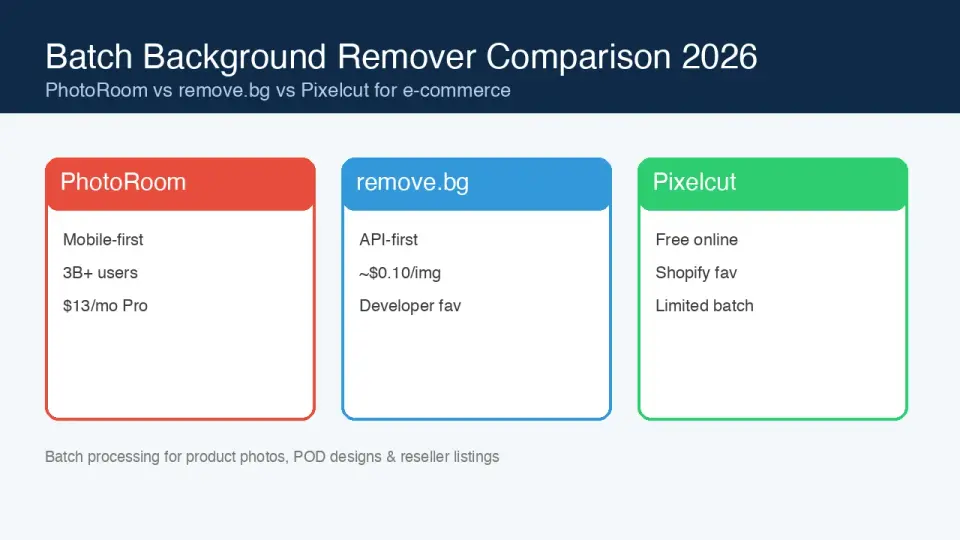
Batch Background Remover Comparison 2026: E-commerce
PhotoRoom, remove.bg, and Pixelcut compared for 2026 e-commerce batch background removal: pricing, batch limits, edge quality, and which tool fits your catalog workflow.

2026-10-07
remove.bg Is Shutting Down on December 1: What to Use Instead
remove.bg closes on 1 December 2026 and unused credits expire that day. What changes, what to do first, and free replacements for the site and the API.