2026-06-28 · Updated 2026-07-10
Photo Noise Reducer: Remove Grain Without Killing Detail
Reduce noise and grain in photos while keeping edges and detail sharp. Real settings for luminance and color noise, when AI denoise wins, and the shots it ruins.
Last updated: July 10, 2026
Noise — that grainy speckle in low-light photos — is the most common image quality problem after poor focus. A noise reducer smooths that speckle, but the catch is that heavy-handed noise reduction also erases real detail, leaving skin looking plastic and edges soft. This guide covers how to reduce noise without destroying the photo: the difference between luminance and color noise, the settings that balance clean and sharp, and the kinds of shots where denoise helps versus hurts.
Quick answer: how do you reduce noise in a photo?
Open the photo in our AI Noise Reducer tool, which separates luminance noise (grain) from color noise (colored speckles), and reduce color noise more aggressively than luminance. Color noise reduction is nearly free — it rarely damages detail — while luminance noise reduction softens edges, so apply it gently. For photos shot at high ISO, a modern AI denoiser rebuilds detail better than a slider. Always denoise before sharpening, and before you resize or compress the file.
What causes photo noise?
Noise comes from two sources: high ISO and long exposures. When you raise ISO, the camera amplifies the sensor signal, and the electronic noise in that signal gets amplified too. Long exposures heat the sensor and introduce thermal noise. Both show up as speckle in shadow areas first, then across the whole image.
| Noise source | Cause | Where it shows |
|---|---|---|
| High ISO | Signal amplification | Shadows, flat areas |
| Long exposure | Sensor heat | Hot pixels, banding |
| Underexposure | Pushed in editing | Entire image |
| Small sensor | Phone cameras | Low light, always |
The worst noise comes from rescuing an underexposed photo. Pulling up the exposure in editing amplifies the noise along with the signal, so a photo shot dark and brightened later is noisier than one shot bright at the same ISO.
Luminance noise versus color noise
These two noise types look different and need different treatment, and confusing them is why most denoising looks bad.
- Luminance noise is grayscale grain — brightness variation. It looks like film grain and is partly acceptable in moderation.
- Color noise is colored speckles, usually red, green, or blue, most visible in shadows. It always looks like a defect.
Color noise reduction is safe to push hard because it works on chrominance without touching luminance detail. Luminance reduction is the dangerous one — it smooths the grain by blurring, and that blur softens real texture like skin pores and fabric. The rule: max out color noise reduction first, then add luminance reduction slowly until the grain is tolerable, not gone.
How much noise reduction is too much?
Over-denoising is more obvious than the noise it removes. The symptoms are recognizable: skin turns waxy and plastic, fabric loses weave detail, and fine hair clumps together. A photo can look "clean" at a glance but wrong on closer inspection.
- Watch skin tones first — they reveal over-denoising faster than anything.
- Keep some grain rather than removing all of it; total smoothness reads as fake.
- Compare before and after at 100% zoom, not fit-to-screen.
- Denoise shadows more than highlights, since noise lives in the shadows.
A practical test: zoom to 100% on an eye or a fabric edge. If the detail is gone or smeared, you went too far. Back off the luminance slider until the texture returns. For the science behind why sensor noise concentrates in shadows, the Cambridge in Colour guide to image noise explains the photon-shot-noise relationship that makes shadows noisier than highlights.
Choosing a noise reduction approach
The right tool depends on the photo and how much time you have. A quick slider fix and a full AI rebuild serve different situations.
| Approach | Speed | Detail retention | Best for |
|---|---|---|---|
| Luminance slider | Instant | Low — softens edges | Mild noise, batch work |
| Color noise slider | Instant | High — safe to push | Colored shadow speckle |
| Traditional denoise filter | Fast | Medium | General cleanup |
| AI denoise | Slow | High — rebuilds detail | High-ISO, rescuable shots |
| Manual masking | Slow | Highest | Selective shadow cleanup |
- For a folder of mildly noisy photos, a luminance slider in batch mode is the practical choice.
- For one important high-ISO shot, spend the time on AI denoise.
- For noise that sits only in the shadows, mask the denoise to those areas and leave the clean highlights sharp.
Selective denoise is the technique that separates a careful edit from a blanket one. Instead of reducing noise across the whole frame, you mask the denoise to the shadow regions where the noise lives and leave the already-clean midtones and highlights untouched. The result keeps maximum detail where the photo is sharp and only smooths where it needs it. Adobe's noise reduction documentation walks through the masking controls that make selective denoise possible.
When does AI denoise win?
Modern AI denoisers — the ones that reconstruct detail rather than just blur it — changed the trade-off. A traditional noise reducer averages neighboring pixels, which smooths noise and detail equally. An AI model trained on noisy/clean image pairs can guess the underlying detail and rebuild it, so you get less noise without the plastic look.
- AI denoise wins on high-ISO shots where traditional tools would smear detail.
- It is slower, often taking seconds per image rather than instant.
- It can still hallucinate texture that was not there, so check results on faces.
- For mild noise, a simple luminance slider is faster and good enough.
The best workflow for a very noisy photo: run AI denoise to recover the bulk of the detail, then a light traditional luminance pass to clean up what remains. The AI noise reducer guide covers the AI-specific settings, and the photo enhancement guide puts denoise in the context of the full enhancement pipeline.
Order of operations in your workflow
Where denoise sits in your editing sequence matters. Do it at the wrong stage and you either amplify the noise or bake it in.
- Correct exposure and white balance first — these changes shift the noise.
- Reduce color noise aggressively.
- Reduce luminance noise gently, checking detail as you go.
- Upscale if needed, after denoise.
- Sharpen last, after denoise, because sharpening before denoise amplifies the grain.
- Resize and compress for the destination as the final step.
The mistake to avoid is sharpening a noisy photo to "fix" it. Sharpening detects edges, and noise is full of false edges, so sharpening noise makes it louder. Denoise first, sharpen second, always.
When should you leave the noise alone?
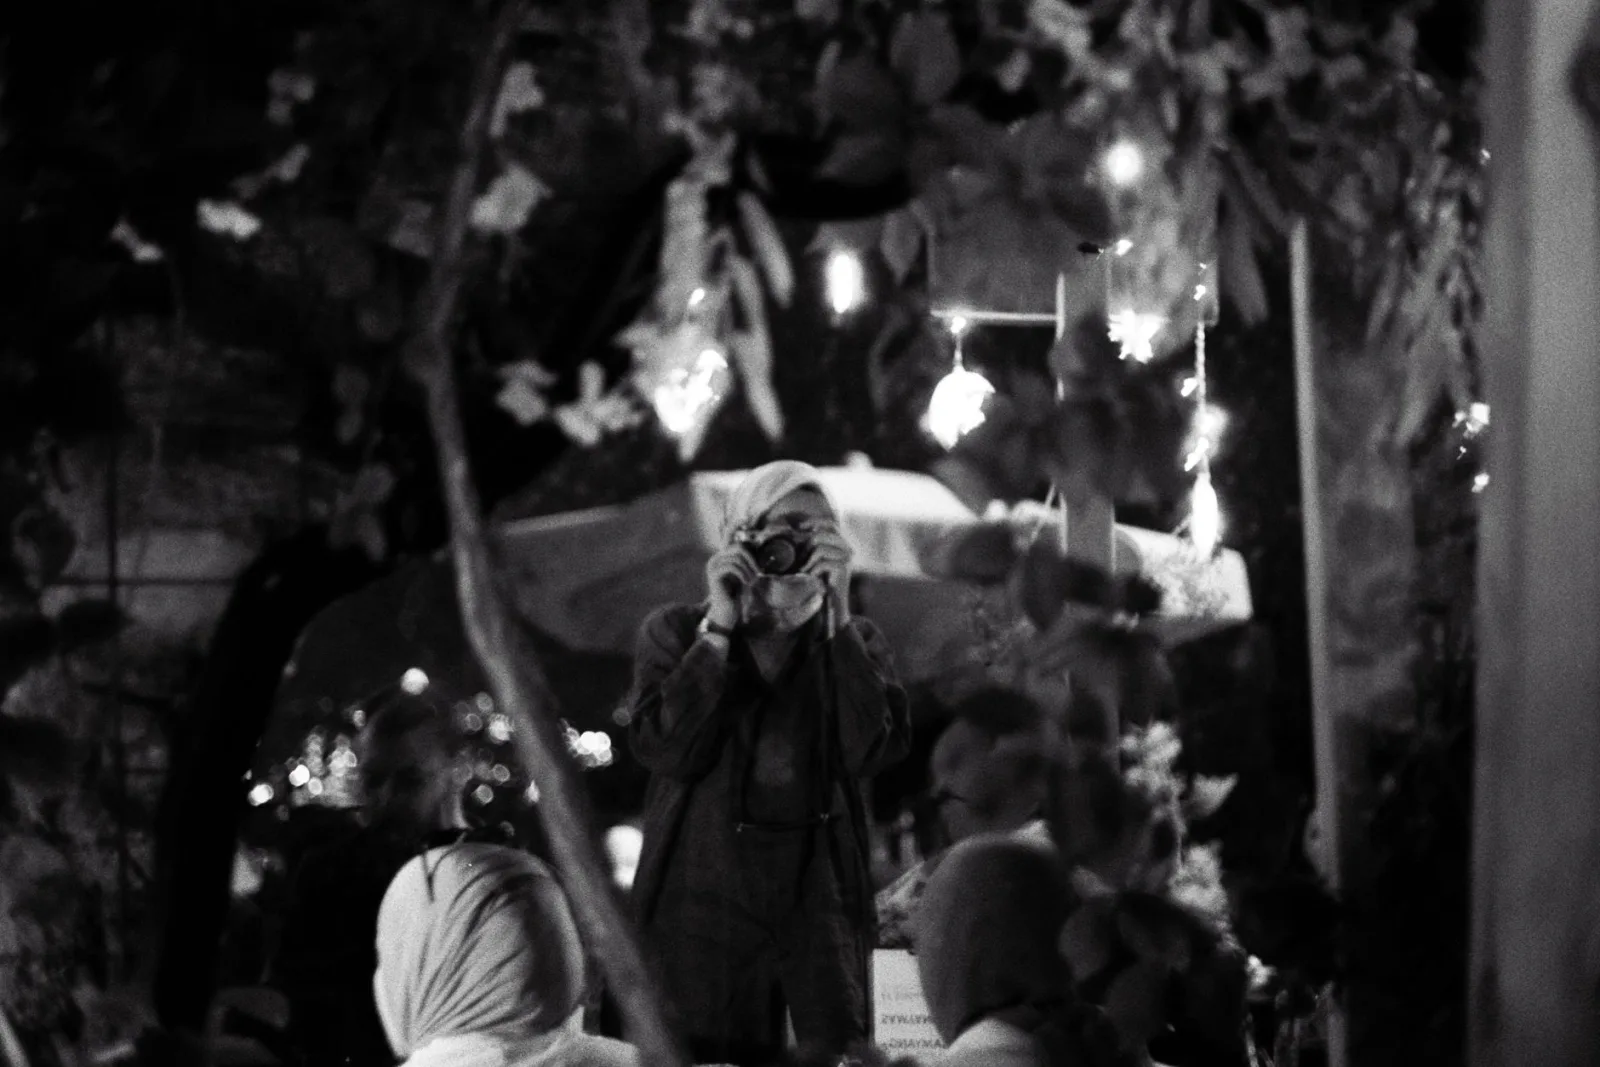
Not every noisy photo needs denoise. A black-and-white street shot with grain can look intentional and editorial — the grain adds mood. A high-ISO concert photo with grit suits the subject. The question is whether the noise reads as a defect or as texture. If it reads as texture that serves the image, leave it or reduce it only lightly. Denoise exists to remove noise that distracts, not to flatten every photo into a clean, uniform smoothness. The photo restoration guide covers the related case of grainy old scans, where the goal is the same: clean enough to read, textured enough to feel real.
Frequently asked questions
Should I denoise before or after sharpening?
Always before. Sharpening detects edges, and noise is full of false edges, so sharpening a noisy photo amplifies the grain. Denoise first to remove the false edges, then sharpen what is genuinely an edge.
Does AI denoise beat traditional denoise?
On high-ISO shots, yes — AI recovers detail that traditional luminance sliders smear. On mild noise, a simple luminance slider is faster and good enough. AI's cost is speed (seconds per image) and a tendency to hallucinate texture, so check faces.
When should I leave noise in a photo?
When the noise reads as texture that serves the image — a grainy black-and-white street shot, a high-ISO concert photo. Denoise exists to remove noise that distracts, not to flatten every photo into uniform smoothness. If the grain adds mood, leave it.
What causes photo noise?
Mostly high ISO (amplifying the sensor signal also amplifies noise) and long exposures. Underexposure makes noise worse because brightening later reveals it. Shoot at the lowest ISO that gives a usable exposure to minimize noise at the source.
What is the difference between luminance and color noise?
Luminance noise is grain (brightness variation); color noise is random colored specks (chroma variation). Reduce color noise aggressively — it is always ugly — and luminance noise gently, because heavy luminance reduction smears real detail. Most tools separate the two; attack color noise first, then tune luminance to taste while checking edges.
Use the free tools while you follow the guide.
Keep reading
2026-07-28
How to Enhance Photo Quality: Sharpen, Denoise, and Brighten
Enhance photo quality by sharpening, denoising, and brightening, with what enhancement can and cannot fix, the tools, and a real before/after.

2026-07-26
AI Face Enhancer: Natural Portrait Retouching Guide
Use an AI face enhancer without plastic skin: choose the right portrait, protect identity, check artifacts, and export sharp web-ready headshots.
2026-07-26
AI Face Restoration: GFPGAN vs CodeFormer Compared
GFPGAN and CodeFormer both repair damaged faces but trade accuracy for polish differently. Which to use, how they work, and where both invent detail.