2026-06-28 · Updated 2026-06-30
How I Make AI Short Videos: Hooks, Captions, and B-Roll
Hooks, captions, b-roll, and repurposing: the AI workflow I use to ship Reels, TikToks, and Shorts each week, with the tools, limits, and what to skip.

Last updated: June 30, 2026
Short-form vertical video is the one format that still earns reach I cannot buy elsewhere, and AI is now doing the parts I used to dread: the hook, the b-roll, the captions, and the chop from a long recording into tight clips. I published roughly 120 short videos last quarter using this workflow, and this is the exact order I run — write a three-second hook, generate or pull b-roll, burn in captions, cut it to length, and post.
For the model behind the clips, I lean on Sora video generator and Runway Gen-3 video; the finishing cut and effects live in our AI video editing notes. Here is how the short-video assembly actually works.
Quick answer: how do you make a short video with AI?
Pick one idea, write a hook that pays off in the first three seconds, generate or gather five to eight seconds of b-roll, transcribe and burn in captions, trim to under 60 seconds at 9:16, and post. That is the whole loop. The AI handles four of those steps — b-roll generation, transcription, captioning, and the long-to-short chop — but you still write the hook and pick the cut.
I tested this exact sequence on a faceless finance channel and a talking-head product channel, and the order held for both. The creative decisions are narrow but they matter: the hook decides whether anyone sees the second second, and the caption style decides whether muted viewers stay.
What counts as a short video, and what do the platforms want?
A short video is vertical, 9:16, under three minutes, and built for autoplay with sound off. The three platforms each define the ceiling differently, and the safe length is shorter than the maximum.
| Platform | Aspect ratio | Max length | Length I actually post |
|---|---|---|---|
| Instagram Reels | 9:16 (4:5 accepted) | 90 seconds | 15 to 30 seconds |
| TikTok | 9:16 | 10 minutes | 21 to 34 seconds |
| YouTube Shorts | 9:16 | 60 seconds | under 58 seconds |
Two rules from the platforms shape everything else. Per YouTube's Shorts guidance, a Short must be vertical and 60 seconds or under or it is not a Short at all — it gets filed as a regular video and loses the Shorts feed. Instagram's Reels best practices push the same vertical-only constraint and reward text and captions because so many people watch muted.
The practical upshot: shoot or render 9:16 every time, write for the muted viewer, and keep the hook in the first three seconds. I treat 30 seconds as my default and only go longer when the idea genuinely needs the runway.
The hook: writing a three-second opener that earns the swipe
The hook is the single highest-leverage thing you write, and AI is mediocre at it, so I write hooks myself and use AI only to pressure-test them. A hook does one of four jobs: it makes a promise, it states a tension, it shows a result, or it asks a question the viewer needs answered.

Hooks I have measured as working:
- "This took me six hours. Here is the 30-second version."
- "Nobody tells you this about [topic] until it costs you money."
- "I tested [tool] for 30 days. The result was not what I expected."
- "Three seconds in, watch what happens to the price."
I write five hooks, paste them into the video generator's prompt as the on-screen text, and pick the one that reads fastest. The first frame has to carry the hook visually, because the caption has not been read yet at second zero.
B-roll and visuals: generating footage when you have none
If you are on camera, the b-roll is your face plus cutaways. If you are faceless, the b-roll is the entire video, and this is where AI footage earns its keep. I generate establishing shots, product close-ups, and abstract motion clips, then lay the script under them.
A faceless workflow I run every week:
- Write the 60-second script and split it into six to eight shots.
- Generate each shot as a five-second clip from a text prompt.
- Hold a consistent style by reusing the same style descriptors in every prompt.
- Sequence the clips so each matches the line being spoken.
- Add a voiceover from a cloned or stock AI voice.
- Burn in captions and export at 9:16.
The honest limit: AI-generated clips drift. A coffee cup changes shape between shots, text in the frame comes out garbled, and identity is not locked across cuts. I generate three takes of each shot and pick the cleanest, and I avoid asking the model for on-screen text or logos. When I need footage I can trust, I pair generated clips with stock so the cuts do not all look synthetic.
Captions: on-screen text that keeps the autoplay muted viewer
Captions are non-negotiable because most short-video views start muted. I auto-transcribe the audio, then style the words so they are readable in the first glance. The default AI caption export is usable but ugly, so I spend two minutes on the type.
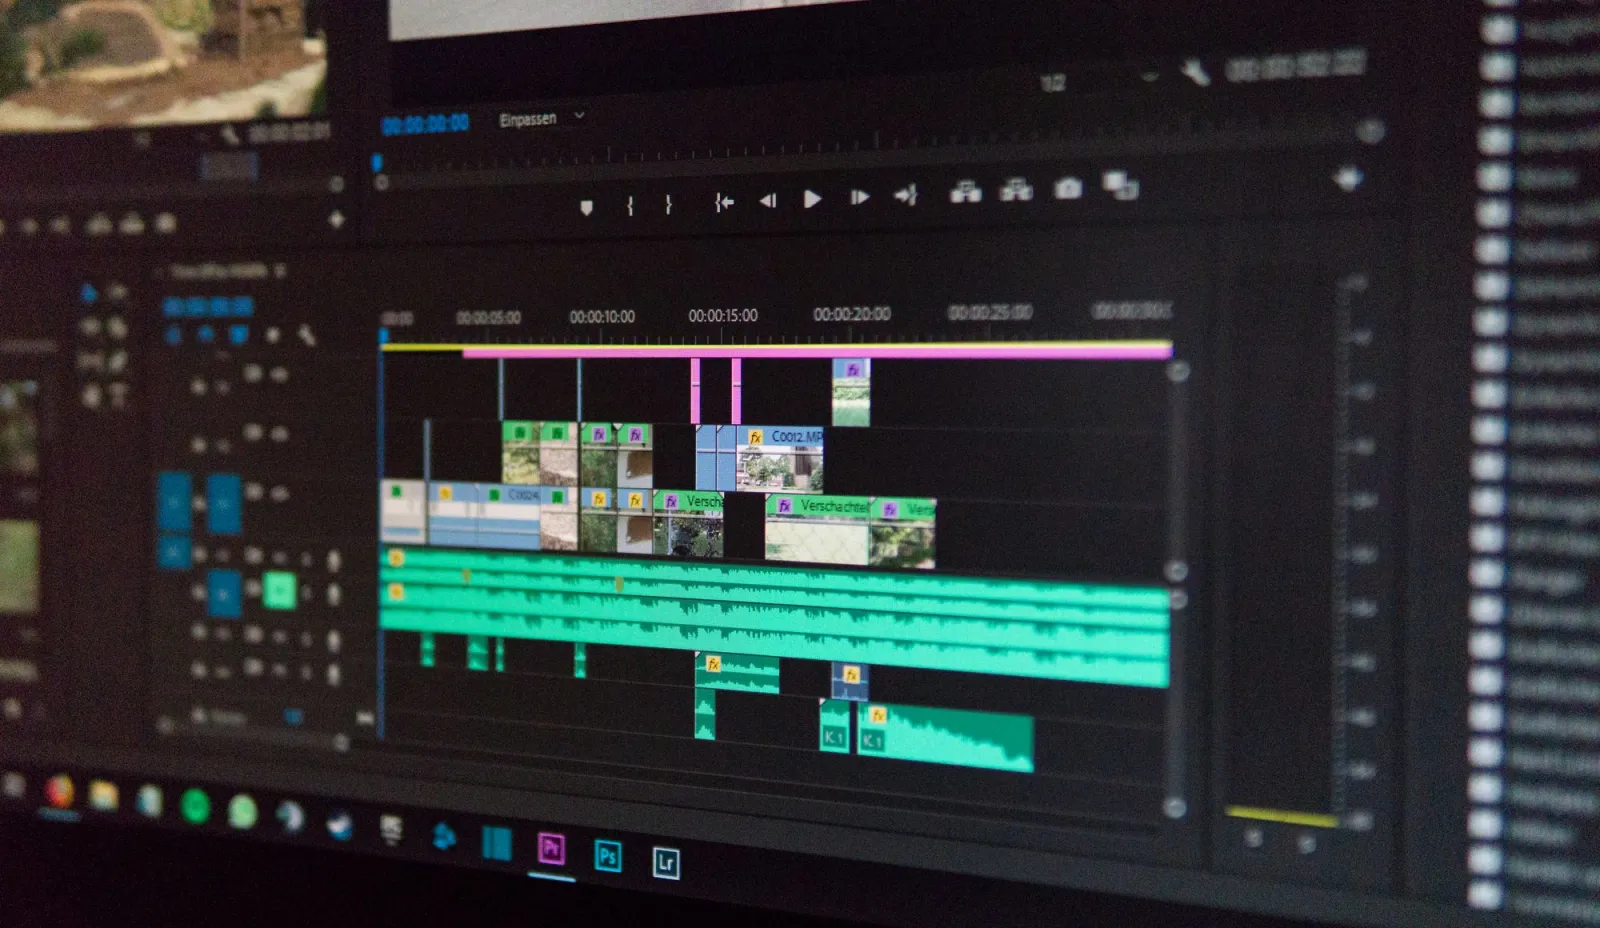
Caption rules I follow:
- One to three words per caption card, synced to the beat of the speech.
- Place words in the upper-middle third, clear of platform UI and the comment bar.
- Use a heavy sans-serif with a stroke or background plate for contrast.
- Highlight the keyword in a contrasting color to anchor the eye.
- Keep captions inside the safe zone so they survive when reposted across apps.
The transcription itself I treat as a draft. AI gets proper nouns, numbers, and technical terms wrong, and one wrong word in a caption reads as a mistake to the viewer. I read every caption aloud against the audio before I export.
Repurposing a long video into short clips
Repurposing is where AI pays back the fastest, because the long video already exists and the only question is which thirty seconds are worth cutting. I take a 20-minute recording and pull four to six shorts from it in one sitting.
The method I use:
- Drop the long video in and run AI transcription with speaker turns.
- Ask the tool to flag moments above a watch-rate or engagement threshold.
- Pull each flagged moment and trim ten seconds of runway on either side.
- Re-frame horizontal footage to 9:16 using auto-tracking on the speaker.
- Re-cut the hook to the front so each clip opens on its strongest line.
- Burn in fresh captions and publish each short as its own post.
Re-framing is the step that breaks most often. Auto-tracking loses the speaker when they move or when two people are on screen, so I check the 9:16 crop frame by frame on the first clip of every batch. Our AI video editing walkthrough covers the re-frame and color tools in more depth.
Which AI tools do I actually use?
I keep the stack small on purpose. Each tool does one job better than the others, and switching tools mid-batch costs more time than it saves.
| Job | What I use | Why |
|---|---|---|
| Text or image to clip | Sora video generator | Longest coherent shots, strong motion |
| Camera-controlled clips | Runway Gen-3 video | Direct pan, tilt, and zoom dials |
| Long-to-short chopping | Built-in AI highlight finder | Finds watch-rate peaks automatically |
| Captions and transcription | Auto-caption with manual pass | Fast draft, I fix the nouns |
The model comparison and the Sora-versus-Runway trade-off live in the Sora AI video generator breakdown. For shorts specifically I reach for Sora when I need the shot to hold together and Runway when I need a precise camera move.
What will get your short flagged or buried?
The platforms penalize specific things, and a few of them are easy to trip by accident when you lean on AI. Knowing the rules before you publish saves a post that would otherwise die in review.
Risks I watch for:
- Watermarks from a rival platform left on the export.
- Low-resolution or letterboxed footage that signals a lazy repost.
- Auto-generated captions with profanity or slurs mis-transcribed.
- AI footage of real people without disclosure where a platform requires it.
- Audio that is unlicensed or pulled from another creator's video.
TikTok's business advertising and content policies set the bar for what gets demoted, and the other platforms follow a similar logic: original, vertical, clear, and on-topic survives. I keep a checklist of these and run it on every short before I hit publish, because one watermark has tanked an otherwise strong post for me.
Summary: my weekly short-video workflow
Here is the loop I run every week, compressed to the steps that matter. The AI does the heavy lifting on b-roll, captions, and the long-to-short chop; I write the hook and make the cut.

My weekly checklist:
- Pick one idea and write five hook variants.
- Generate or pull six to eight seconds of b-roll per shot.
- Record or synthesize the voiceover.
- Auto-transcribe and burn in styled captions.
- Trim to 9:16 under 60 seconds, hook in the first three seconds.
- Run the flag-risk checklist, then post.
The caveat I will end on: AI accelerates production, but it does not manufacture demand. The shorts that performed best for me were the ones with a genuinely useful or surprising idea underneath the polish. A fast, cheap, well-captioned video about nothing still flops. Use the workflow to ship more of your good ideas, not to paper over the absence of one.
Image credits
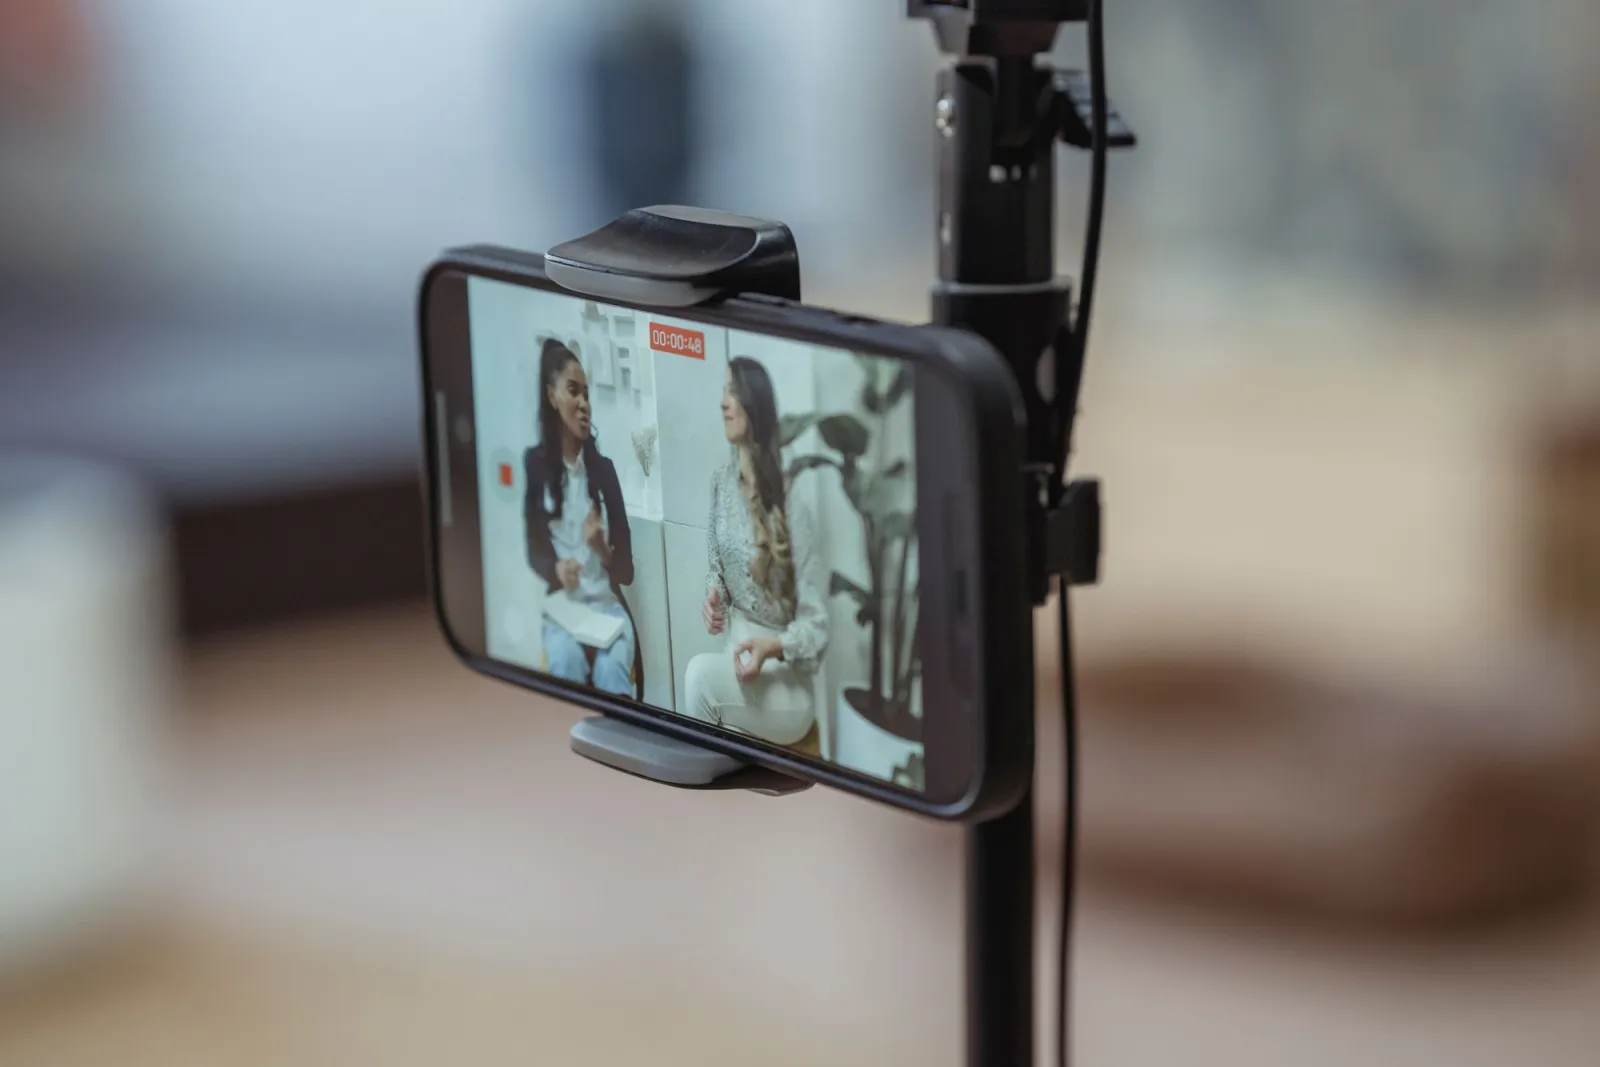
- A modern smartphone on a tripod recording a content styling video setup — photo by Tracy Le Blanc on Pexels
- A content creator recording a video at a desk with camera and lighting gear — photo by RODNAE Productions on Pexels
- A close-up of a video editing timeline interface on a computer screen — photo by Alex Fu on Pexels
- A smartphone screen displaying popular social media applications — photo by cottonbro studio on Pexels
Use the free tools while you follow the guide.
Keep reading
2026-10-07
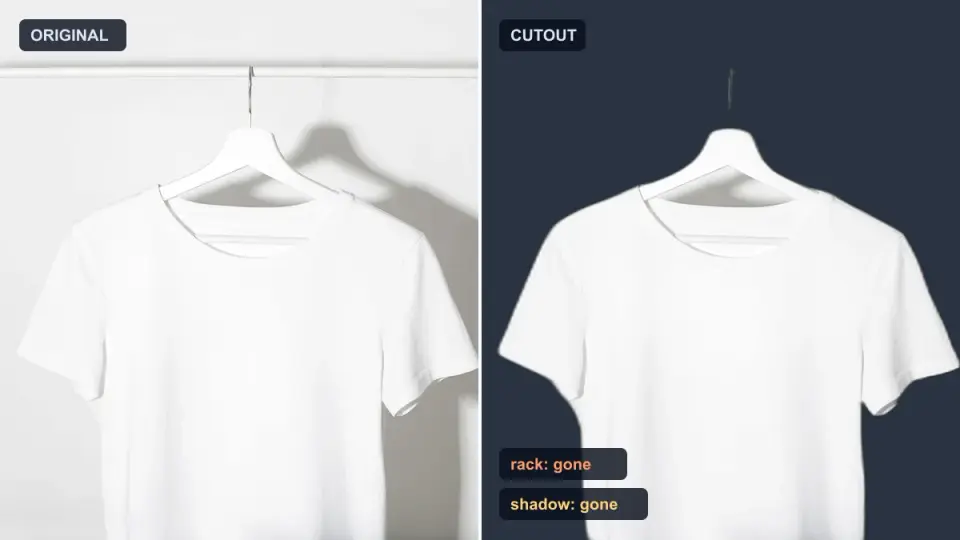
Background Remover Removes Part of Subject? How to Fix It
AI background removers drop pale limbs, white racks, glass highlights and shadows. I measured why on real photos and how to get the missing parts back.
2026-10-07
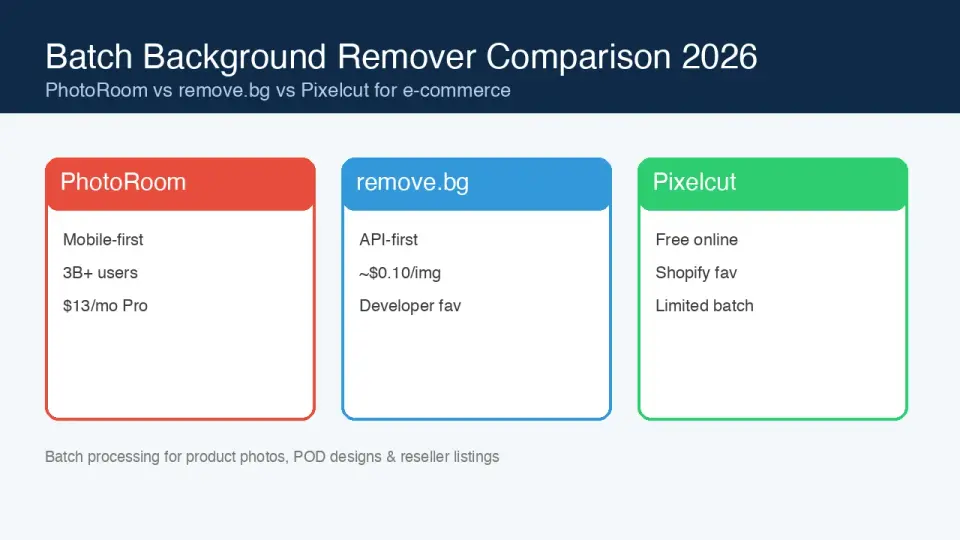
Batch Background Remover Comparison 2026: E-commerce
PhotoRoom, remove.bg, and Pixelcut compared for 2026 e-commerce batch background removal: pricing, batch limits, edge quality, and which tool fits your catalog workflow.

2026-10-07
remove.bg Is Shutting Down on December 1: What to Use Instead
remove.bg closes on 1 December 2026 and unused credits expire that day. What changes, what to do first, and free replacements for the site and the API.