2026-09-10
Image Blurry After Export? 7 Fixes That Target the Cause
Fix an image blurry after export by checking pixels, compression and upload changes. See measured examples, PNG vs JPEG choices, and seven practical fixes.
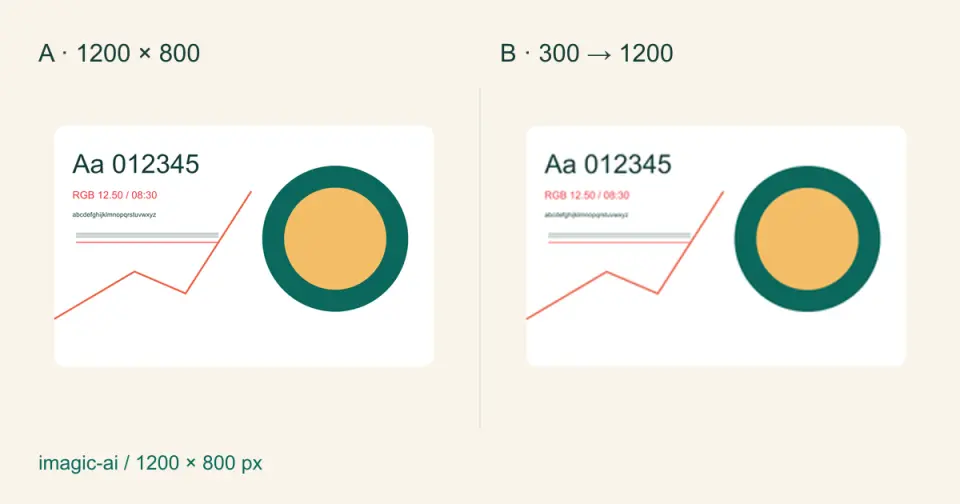
Last updated: September 10, 2026
A design can look sharp while you edit it and still look fuzzy in the downloaded file, a presentation, or an uploaded post. Re-exporting at a larger file size is tempting, but it only helps if it changes the setting that caused the loss.
Quick answer: how do you fix an image blurry after export?
Use the original file, check its pixel dimensions, and compare the source, local export, and uploaded version at the same viewing size. If only the export is blurry, check resizing and lossy compression; if only the uploaded version is blurry, investigate the destination's processing and display size.
PNG or lossless WebP can preserve existing pixels, but neither restores details already discarded. Changing a DPI label also does not repair a small raster image.
This workflow covers still images, screenshots and graphics. It does not reconstruct missing evidence, guarantee social-platform quality, or repair severe camera shake. Our illustrations are controlled, synthetic examples, not tests of Canva, Photoshop or Imagic AI's processing.
| Where blur first appears | Check first | Choose this next step if… |
|---|---|---|
| Original source | Focus and actual pixel dimensions | Find a better original if the detail is already missing |
| Editor preview only | Zoom and preview scaling | Export one sample before changing the artwork |
| Local exported file | Export width, format and compression | Re-export from the master if the local file loses detail |
| Uploaded page only | Served image dimensions and display size | Adjust delivery if the local file remains sharp |
Why is locating the first blurry version so useful?
Each stage can change the picture independently. A tiny preview can look soft even when the downloadable file is fine. A large canvas can contain a small, stretched photograph. A website can serve a thumbnail instead of the full upload.
A recent Canva banner discussion illustrates the confusion: u/theredbedroom asks, “Is it blurry in Canva or also on export?” The original poster later clarifies that the worrying image is the checkout preview. That question is more useful than changing every export option at once.
In a separate PowerPoint screenshot discussion, u/Regular-Accountant87 says, “The screenshots are png and show up clear in their original.” The complaint concerns what happens later in the workflow. These are individual reports, not a survey of which editor has the most problems.
What are the seven fixes for blurry exported images?
1. Compare files at the same scale
Open the source and downloaded file in an image viewer with a pixel-level or actual-size view. Compare the same lettering, boundary or texture, then check the intended display size. Avoid judging one file fitted into a small window against another enlarged across the screen.
Keep a separate copy of each version. Name them source, export and upload-check so you can identify exactly where the change happens. If the original is already soft, an export setting cannot recover information it never contained.
2. Set the required pixel dimensions before exporting
Check width and height in pixels, not just megabytes. For a graphic displayed 600 CSS pixels wide on a device with a pixel ratio of two, a 1200-pixel-wide asset is a useful starting point. That is a display example, not a mandatory social-media specification.
Check placed assets too: a 300-pixel-wide photo stretched across a 1200-pixel canvas is still a low-detail photo. Return to its full-size original or reduce its displayed size. Our resize-with-quality explanation covers this distinction.
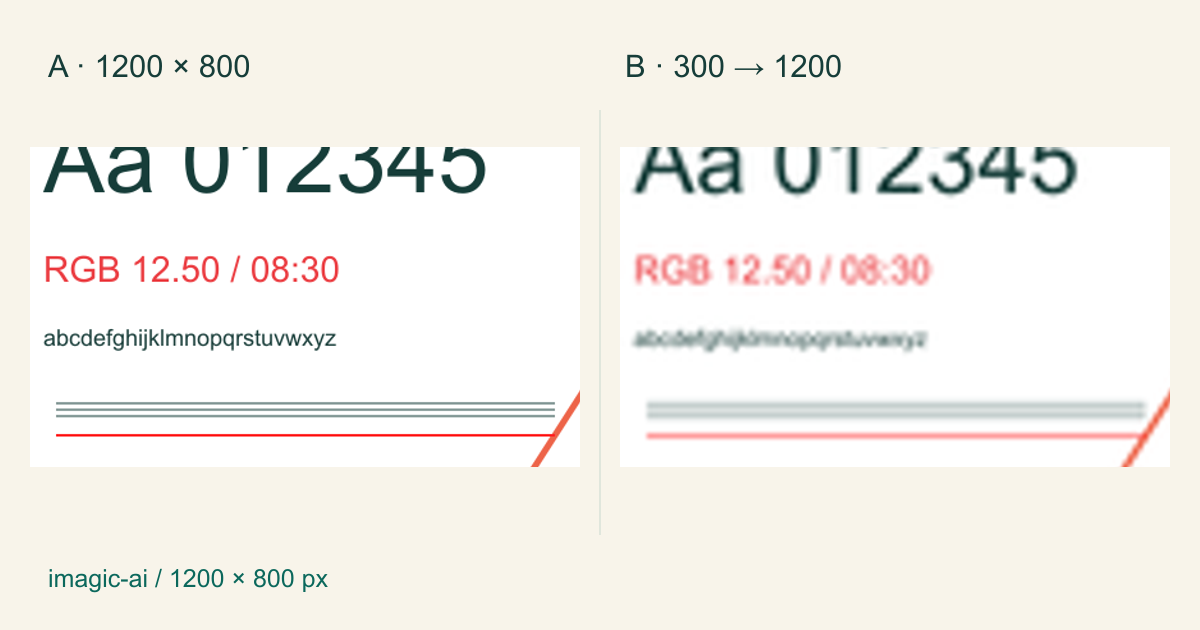
Left: the original raster. Right: reduced to 300×200, then enlarged to 1200×800. Matching crops are enlarged for inspection; the smaller original lost fine detail.
3. Choose the format for the content
For text, screenshots, diagrams and transparent graphics, try PNG or lossless WebP where accepted. For photographs, compare a good-quality JPEG or lossy WebP against the original. The MDN image-format reference explains the format capabilities.
An ordinary lossless PNG encode preserves the pixels supplied to it. An editor can still resize, flatten or otherwise alter an image before encoding that PNG. Therefore, “my PNG is blurry” does not prove that PNG compression caused the blur.
Use an image converter when the destination needs another format, then inspect the result. Converting a damaged JPEG into PNG prevents further JPEG loss in that save; it does not undo earlier damage.
4. Reduce compression damage without chasing the largest file
If small lettering has fuzzy color fringes or sharp edges have blocks around them, compare a less-compressed export at exactly the same dimensions. Changing dimensions and quality simultaneously makes the result harder to diagnose.
There is no universal “quality 80” setting across encoders. Test a few settings on your actual picture. JPEG color subsampling can also affect fine colored text independently of the nominal quality number.
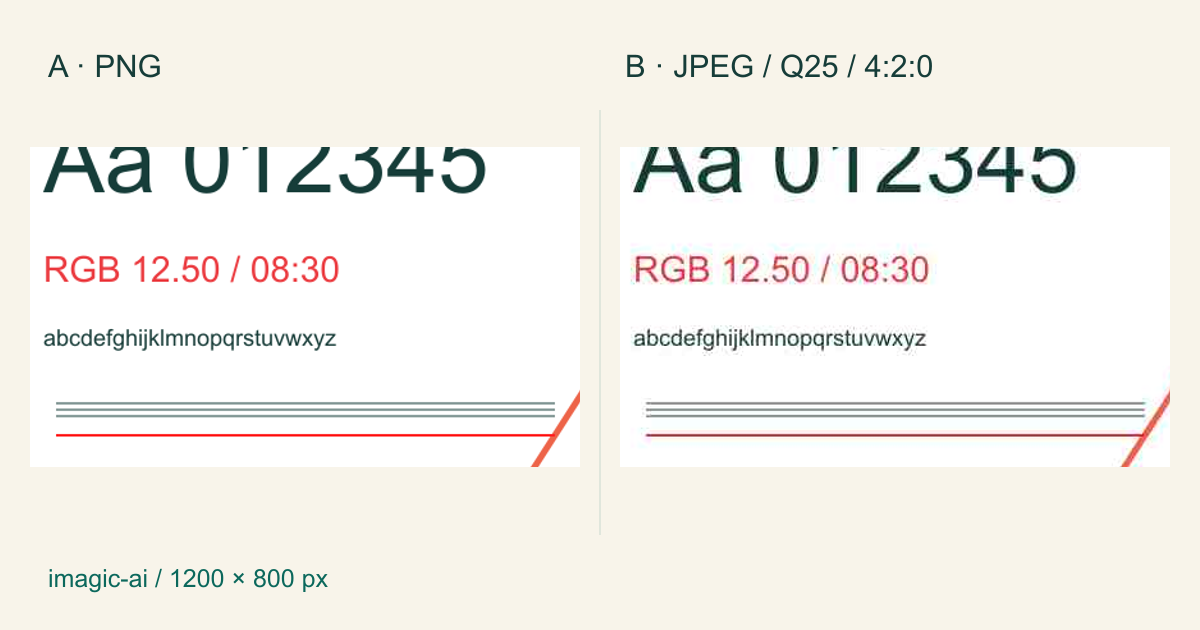
Left: PNG reference. Right: JPEG at quality 25 with 4:2:0 subsampling. This deliberately aggressive example reveals edge damage; it does not represent every JPEG export.
Use the image compressor when file size is the real constraint. Inspect the smallest important text before accepting its output. A smaller file is useful only if the content still works.
5. Resize once from the master
Make each final size from the best available original. Avoid a chain of small export, enlargement, screenshot and another export. Sharpening after the final resize can improve apparent edge contrast, but too much creates bright outlines.
Adobe's resampling documentation distinguishes methods for enlargement, reduction and hard-edged pixel art. Use the method that matches the image. Nearest-neighbor scaling suits intentional pixel art; it is not a general cure for soft photographs.
For a batch, finish one representative image first and inspect it at the actual destination. Only then apply the same recipe to similar images.
6. Separate pixel count from print resolution
PPI describes how densely pixels are placed on paper. A 1200-pixel-wide image printed at 300 pixels per inch spans four inches. Changing its resolution metadata to 600 PPI, without resampling, makes it two inches wide rather than adding detail.
Adobe's print-resolution explanation describes this relationship. Ask the printer about physical dimensions and viewing distance; large banners and small cards need different judgments.
For a text-heavy design, keep genuine vector text in a printer-accepted PDF when possible. Putting a raster screenshot inside PDF or SVG does not turn its pixels into vector lettering.
7. Check what happens after upload
If the local file is sharp, stop repeatedly repairing that export. Compare the full-size uploaded version with the local copy, rather than relying on the feed thumbnail. Check the destination's current size guidance and whether it generates a smaller image variant.
For a website you control, inspect the actual served image dimensions and rendered width. A sharp source can appear soft when a small thumbnail is stretched. The responsive-image explanation describes how different display sizes can use different assets.
For a social service, upload one test directly from the original export. Avoid forwarding it through another messaging app first. You cannot guarantee that a platform will preserve every pixel, but you can avoid adding another conversion before it gets there.
What did our controlled export experiment measure?
We measured one original 1200×800 text-and-shape fixture with Sharp 0.34.5 and libvips 8.17.3 on September 10, 2026. We rasterized the original SVG into PNG, created a 300×200 copy, and enlarged that copy using Lanczos3. Separately, we encoded the master as JPEG and lossless WebP.
| Test file | Pixel dimensions | Measured bytes | What it demonstrates |
|---|---|---|---|
| Original PNG | 1200×800 | 53,289 | Reference raster |
| Reduced PNG | 300×200 | 13,248 | Fewer pixels available for text and lines |
| Reduced, then enlarged PNG | 1200×800 | 188,462 | More bytes do not mean recovered detail |
| JPEG, quality 25, 4:2:0 | 1200×800 | 18,887 | Strong lossy compression damages edges |
| Lossless WebP | 1200×800 | 19,708 | Smaller encoding can retain identical RGB pixels |
The enlargement is about 3.54 times the original PNG's byte count, yet the fine lettering remains visibly degraded. Its dimensions returned to 1200×800; its original detail did not.
For the lossless WebP, we decoded both files into RGB and compared the byte buffers. They were identical. That result concerns decoded color pixels, not metadata or identical file bytes. The fixture is fully opaque.
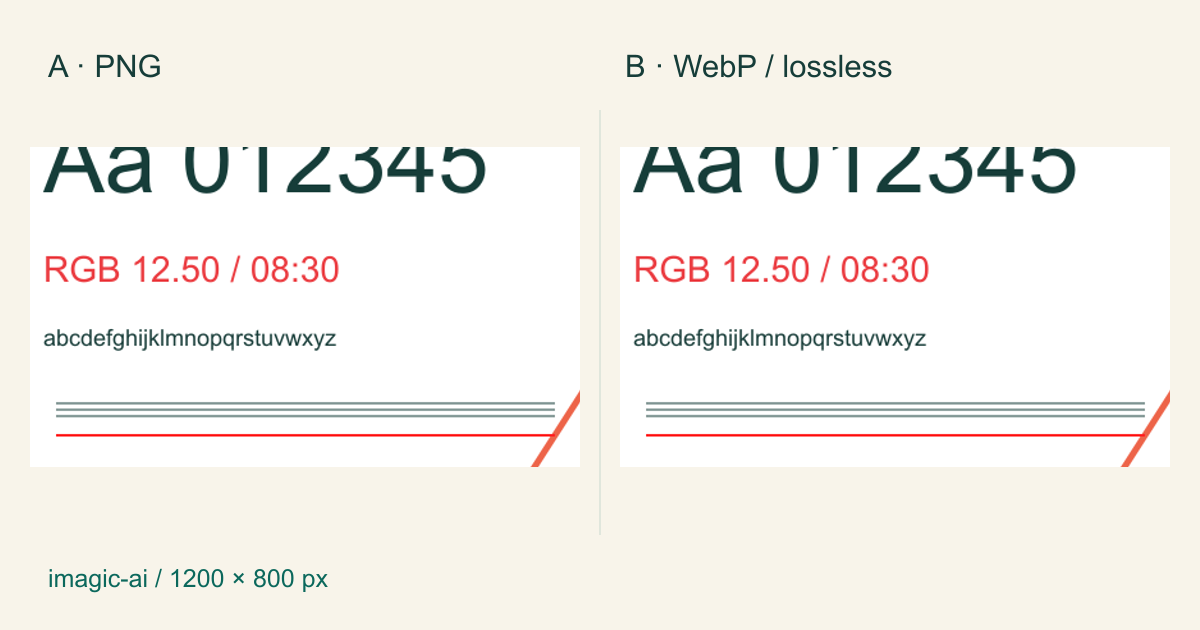
Left: PNG. Right: lossless WebP. The decoded RGB pixels match, despite different file sizes. Displayed crops are scaled equally.
This is a mechanism demonstration with one synthetic graphic. It is not a photographic quality benchmark, a speed test, or a promised compression ratio. Real photos, transparency, metadata, encoders and settings change the results. The byte measurements refer to test files, not these assembled comparison illustrations.
A practical export checklist
Use this sequence before processing an entire folder or paying for a higher-resolution download:
- Keep the editable master and original source assets.
- Find the first stage where the same detail becomes blurry.
- Read actual export width and height in pixels.
- Check whether an individual placed image was enlarged.
- Compare the same crop at the same viewing size.
- Try a lossless format for small text and line work.
- Compare JPEG settings without changing dimensions.
- Resize directly from the master to the intended output.
- Inspect thin lines, colored text, faces and product boundaries.
- Check the full-size uploaded result, not only its thumbnail.
- Confirm physical print size with the printer when relevant.
- Save the working settings with a sample output for reuse.
If you hit a file-size ceiling, follow the compression workflow after confirming dimensions. If the asset itself needs resizing, use the image resizer. Keep the original so each correction starts with the most information available.
Frequently asked questions
Why is my PNG blurry after export?
PNG can contain a resized or already blurry raster, so check pixel dimensions and the image supplied to the encoder before blaming lossless compression.
Does changing 72 DPI to 300 DPI make an image sharper?
Changing only the resolution metadata changes print sizing, not the existing pixel detail.
Should I use PNG or JPEG for text?
Use PNG or another suitable lossless format for fine text when possible, and judge the exported lettering at its intended display size.
Why does a larger exported file still look blurry?
Enlargement can create more pixels and bytes without recovering the detail discarded earlier.
Can converting JPEG to PNG restore quality?
No, it can avoid another JPEG compression step but cannot recover discarded information.
Why is my Canva download blurry?
Compare the source, exported pixel dimensions and local file first, then determine whether the change happens during export or only after uploading elsewhere.
Can AI upscaling fix every blurry image?
No, AI upscaling may create plausible details rather than recover the exact original, so avoid treating invented text or identifying details as evidence.
What should I do if the downloaded image is sharp but the upload is blurry?
Check the destination's processed image size and display scaling before changing an already sharp local export.
Image credits and method
All four illustrations are original Imagic AI test graphics derived from the same synthetic SVG. No stock photograph or competitor screenshot is presented as a product result. The experiment compares pixel resizing and encoding; choose the corresponding correction only after locating where your own image changes.
Use the free tools while you follow the guide.
Keep reading
2026-08-01
Image Compression in 2026: WebP, AVIF, JPEG XL & JPEG AI Benchmarked
I benchmarked WebP, AVIF, and JPEG XL on 4 real photos. WebP saves 32% vs JPEG, AVIF 65%, JPEG XL 30%. Full data, browser support, and which format to pick in 2026.
2026-07-26
Image Optimization Checklist: Every Step for Fast Web Images
A complete image optimization checklist: format choice, resizing, compression, responsive delivery, lazy loading, and CDN setup. Run through it before every publish.
2026-07-26
How to Compress an Image to Under 100KB Without Ruining Quality
Resize to the display width, then export as WebP. Measured file sizes for phone photos, product shots, and screenshots show the recipe to land each under 100KB.