2026-06-28 · Updated 2026-06-30
Real Estate Photo Editing: Make Property Listings Sell
Edit real estate photos that sell listings: fix exposure, straighten walls, replace skies, and declutter interiors. Real steps and the edits buyers actually notice.
Last updated: June 30, 2026
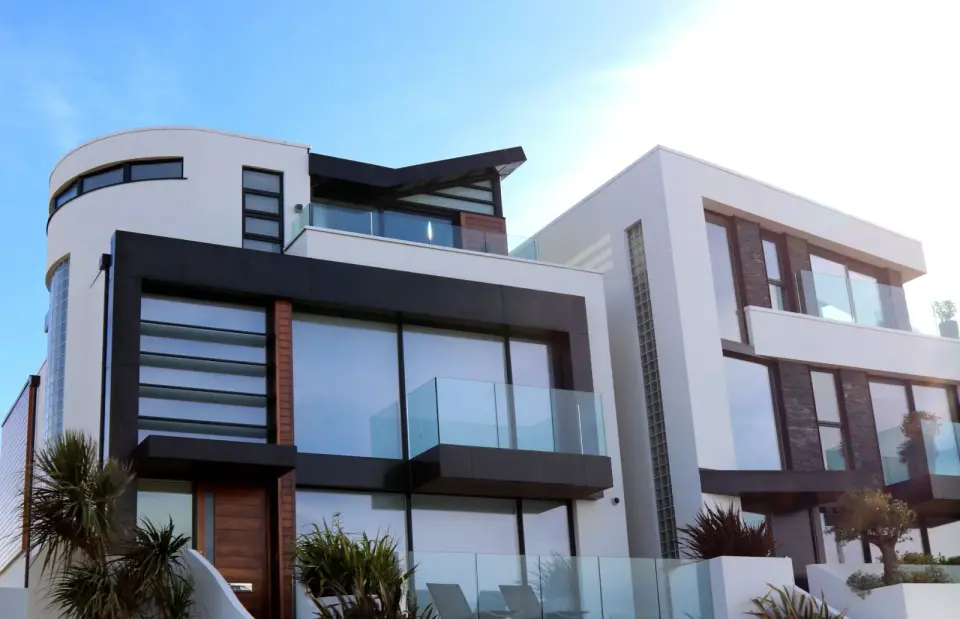
Real estate photos sell the property before the buyer ever sets foot in it. A listing with dark, crooked, cluttered images loses viewings; the same room shot and edited well books showings. Real estate photo editing is a specific discipline — it is not about making a house look fake, it is about correcting what the camera gets wrong so the photo matches what the eye sees in person. This guide covers the edits that matter: exposure blending for windows, vertical correction for walls, sky replacement, and clutter removal.
Quick answer: what makes a good real estate photo edit?
A good real estate edit corrects the camera's limitations, not the property's flaws. Blend exposures so windows and interiors are both visible, straighten the vertical lines so walls do not lean, replace a gray sky with the one from the shoot day, and remove clutter like cords and personal items. Do not add furniture that is not there or widen rooms beyond reality — buyers notice the mismatch on a viewing and lose trust. The goal is a photo that looks like the room looks when you stand in it.
Why real estate photos need editing
A camera cannot capture what your eye sees in a room. Your eye adjusts dynamically as you look from a bright window to a dark corner; the camera picks one exposure. The result is a photo where either the window is a blown-out white square or the interior is a dark cave — usually both problems at once. Editing solves this by blending multiple exposures.
Other camera problems that editing fixes:
- Converging verticals — pointing a camera up or down makes walls lean inward. Lens correction straightens them.
- Color casts — mixed lighting (daylight from windows, tungent from lamps) turns walls yellow or blue. White balance fixes it.
- Clutter — cords, remotes, and personal items distract. Object removal cleans them up.
The National Association of Realtors publishes research on listing photography showing that listings with professional photos consistently receive more views and sell faster, which is why editing has become standard practice rather than a luxury.
How do you fix dark interiors and blown-out windows?
This is the single most common real estate editing problem, and the fix is exposure blending, often called HDR for real estate. You take three to five shots of the same room at different exposures — one dark enough to capture the window detail, one bright enough for the interior shadows, and ones in between — then blend them.

| Exposure | Captures | Problem it solves |
|---|---|---|
| Dark (-2 EV) | Window detail | Blown-out white windows |
| Mid (0 EV) | Balanced areas | General room tone |
| Bright (+2 EV) | Interior shadows | Dark cave interiors |
- Shoot on a tripod so the frames align exactly.
- Use the same white balance on every frame.
- Blend in Lightroom, Photomatix, or a dedicated real estate tool.
- Avoid the over-processed "glow HDR" look — keep it natural.
If you only have a single shot, pull the highlights down to recover the window and lift the shadows for the interior. It is a compromise, but it beats a blown window. The HDR photo merging guide walks through the blend in detail. For the underlying science of why a single exposure cannot capture the full tonal range of a room, the Cambridge in Colour guide to dynamic range explains how sensor limits force the exposure trade-off that blending resolves.
Straightening walls and correcting lens distortion
When you point a wide-angle lens up at a tall room, the walls lean inward and the room looks like it is falling over. Real estate buyers read this as a distorted, smaller space. The fix is vertical perspective correction.
- Open the photo and find the vertical lines — door frames and wall edges are reliable references.
- Apply a vertical perspective slider until those lines run straight up and down.
- Crop the slanted edges the correction creates.
- Check that the horizontal lines (counter tops, baseboards) are also level.
Wide-angle lenses also bulge the center of the frame (barrel distortion). A lens profile correction flattens this back out. Together, these two corrections are what separate a listing photo from an amateur snapshot.
When should you replace the sky?
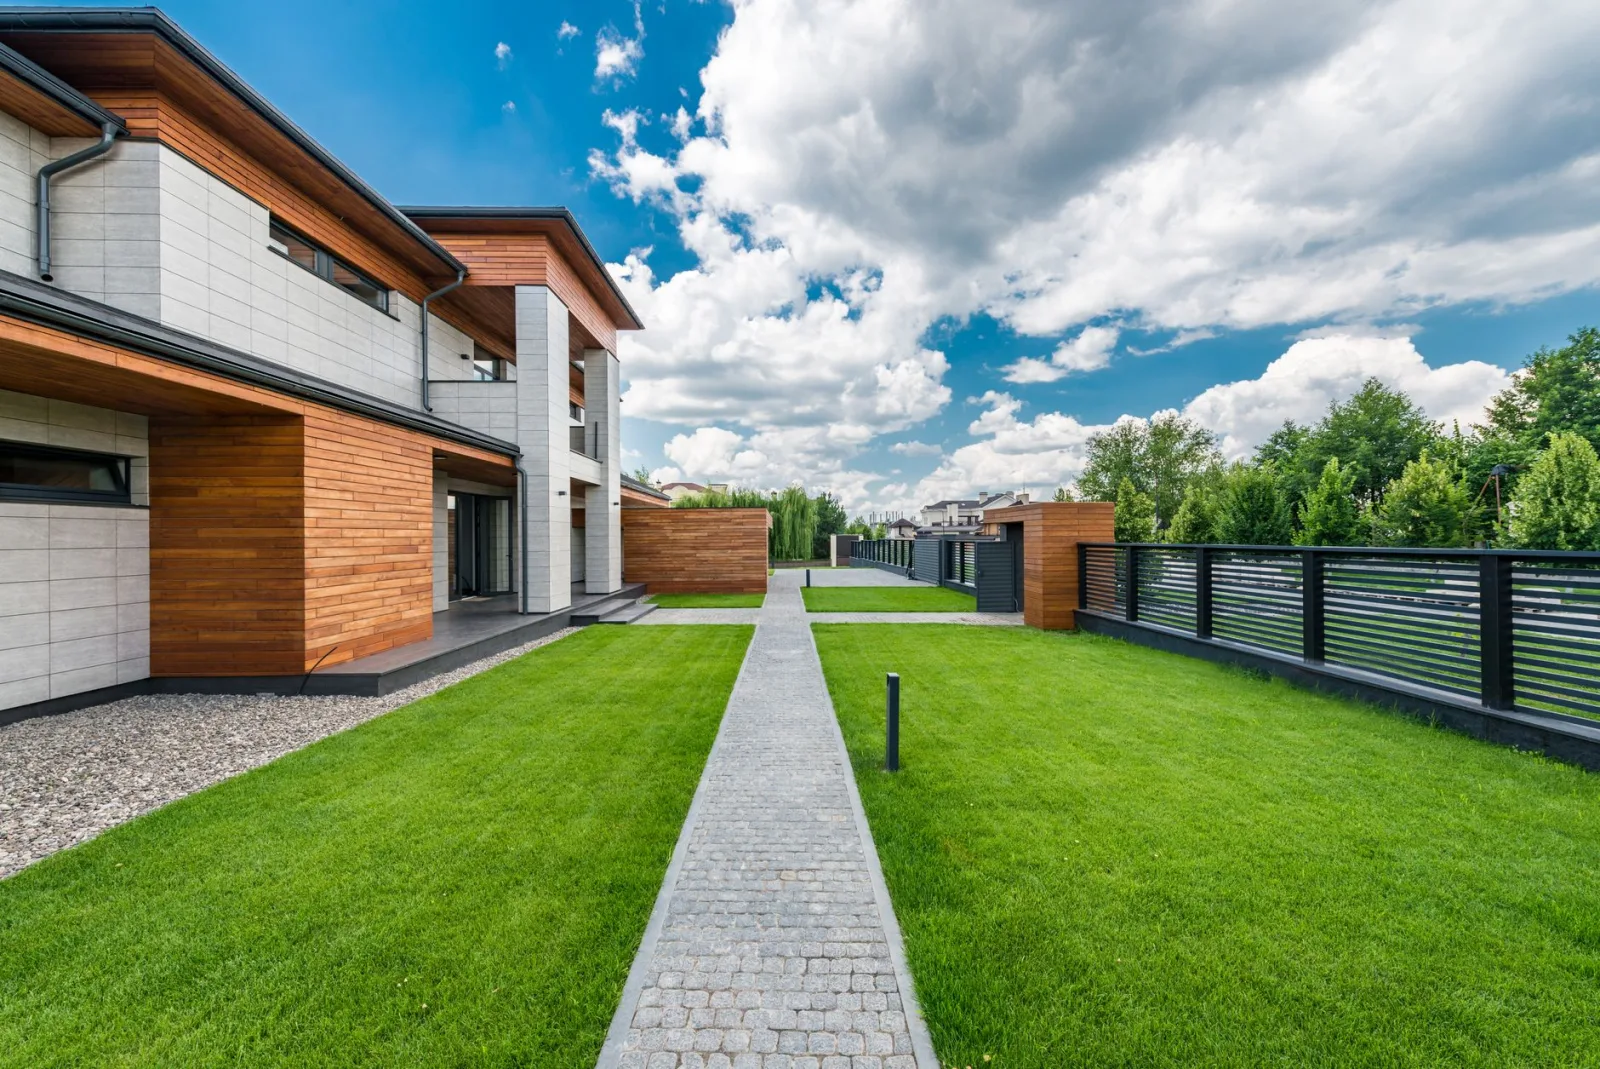
A gray, overcast sky makes an exterior shot feel flat and uninviting. Replacing the sky is a standard real estate edit, but it has a line you should not cross. Replacing a dull sky from the same shoot day is honest — the property really did look good in better weather. Replacing it with a sky from a different season or adding sun that was not there starts to misrepresent the property.
- Replace the sky only with conditions plausible for the location and season.
- Match the lighting direction of the new sky to the property — sun on the house should match the sun in the sky.
- Keep the horizon line clean; a sloppy mask shows immediately.
- Avoid dramatic sunsets that make a daytime property look like dusk.
For the editing mechanics of replacing backgrounds cleanly, the background removal guide covers the masking techniques that produce a clean edge.
Decluttering and object removal
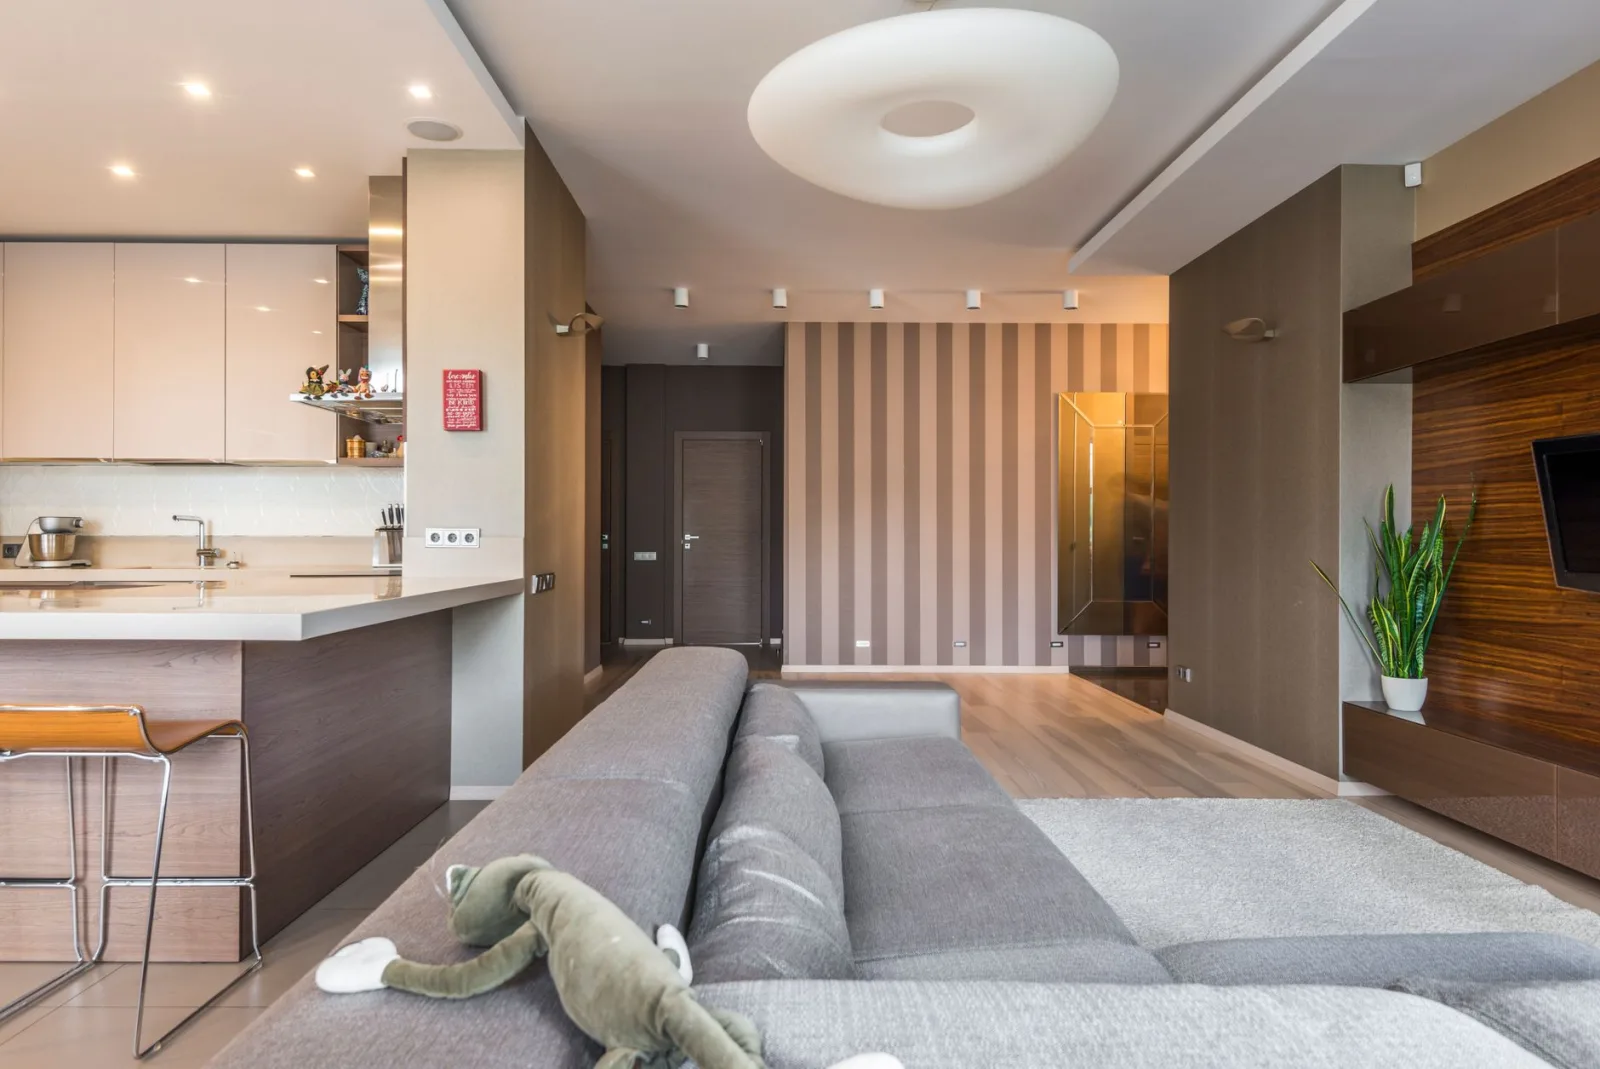
A listing photo should show the space, not the current owner's life. Object removal cleans up the distractions: power cords, refrigerator magnets, toiletries on the counter, and anything personal. The object removal tool handles most of this automatically.
- Remove personal photos, mail, and prescription bottles — buyers should not see the seller's life.
- Remove cords and small appliances from kitchen counters.
- Keep the edit believable; do not remove structural elements like support beams.
- Use the image cropper to tighten the frame after cleanup.
Export settings for listing platforms
Real estate platforms each have their own size and quality expectations. Export for the destination, not for the master.
| Platform | Recommended size | Format |
|---|---|---|
| MLS / general listing | 2048px long edge | JPEG quality 85 |
| Website hero | 2560px wide | WebP |
| Thumbnail / gallery | 800px wide | WebP |
| Print flyer | Full resolution | PNG or JPEG 95 |
- Keep a full-resolution PNG or TIFF master for re-use.
- For the web, convert to WebP — see the format comparison.
- Resize and compress copies for each destination rather than uploading the master.
What edits cross the line?
Real estate editing has an ethical boundary. Corrections that fix the camera are fair game; alterations that change the property are not. Removing a cord is fine. Removing a water stain on the ceiling is fraud. Adding a lawn where there is dirt, widening a room, or hiding structural damage all set up a disappointed buyer on the viewing and can expose the agent legally. The rule: edit the photo so it matches standing in the room, not so it matches a room that does not exist.
Frequently asked questions
What makes a good real estate photo edit?
Balanced exposure (details in both dark interiors and bright windows), straight vertical walls, corrected lens distortion, a clean and decluttered scene, and natural-looking color. The goal is an accurate, inviting representation — not an over-processed "HDR look".
How do you fix dark interiors and blown-out windows?
Shoot multiple exposures (one for the room, one for the window) and blend them, or use an HDR merge. A single exposure cannot hold both. The window detail is what tells a buyer the room is bright and connected to the view.
When should you replace the sky?
When a gray, blown-out sky drags down an otherwise good exterior. Replace it with a realistic sky that matches the scene's lighting and direction. An obvious, over-saturated sky replacement looks fake and hurts credibility.
Should you remove objects from real estate photos?
Remove temporary clutter (a trash can, a hose, personal items) that distracts from the property. Do not remove permanent features (a neighbor's building, a road) — that is misrepresentation. Decluttering is editing; hiding structure is deception.
Can I edit real estate photos on my phone?
Basic edits (crop, straighten, exposure) yes, but the heavy jobs (HDR blend, sky replacement, window detail recovery) need a desktop editor. Phone apps are good for quick on-site previews; desktop for the final listing images.
How do I fix blown-out windows?
Shoot two exposures — one for the room, one for the window — and blend them, so both the interior detail and the window view are visible. A single exposure cannot hold both. This is the single most impactful real-estate edit: a room with a blown-out white square where the view should be reads as poorly shot, no matter how good the rest is.
Should I replace a gray sky?
When a dull, blown-out sky drags down an otherwise good exterior, yes — replace it with a realistic sky that matches the scene's lighting and direction. An over-saturated or obviously fake sky hurts credibility more than a gray one. The goal is a believable, inviting exterior, not a dramatic composite that signals editing.
Use the free tools while you follow the guide.
Keep reading

2026-10-07
Background Remover Removes Part of Subject? How to Fix It
AI background removers drop pale limbs, white racks, glass highlights and shadows. I measured why on real photos and how to get the missing parts back.
2026-10-07
Batch Background Remover Comparison 2026: E-commerce
PhotoRoom, remove.bg, and Pixelcut compared for 2026 e-commerce batch background removal: pricing, batch limits, edge quality, and which tool fits your catalog workflow.

2026-10-07
remove.bg Is Shutting Down on December 1: What to Use Instead
remove.bg closes on 1 December 2026 and unused credits expire that day. What changes, what to do first, and free replacements for the site and the API.