2026-06-28 · Updated 2026-07-04
Remove Objects From a Photo for Free: People, Wires, and Clutter
Erase people, power lines, text, and clutter from photos with free AI tools. Real steps, when object removal works, and how to fix the smudges it leaves behind.
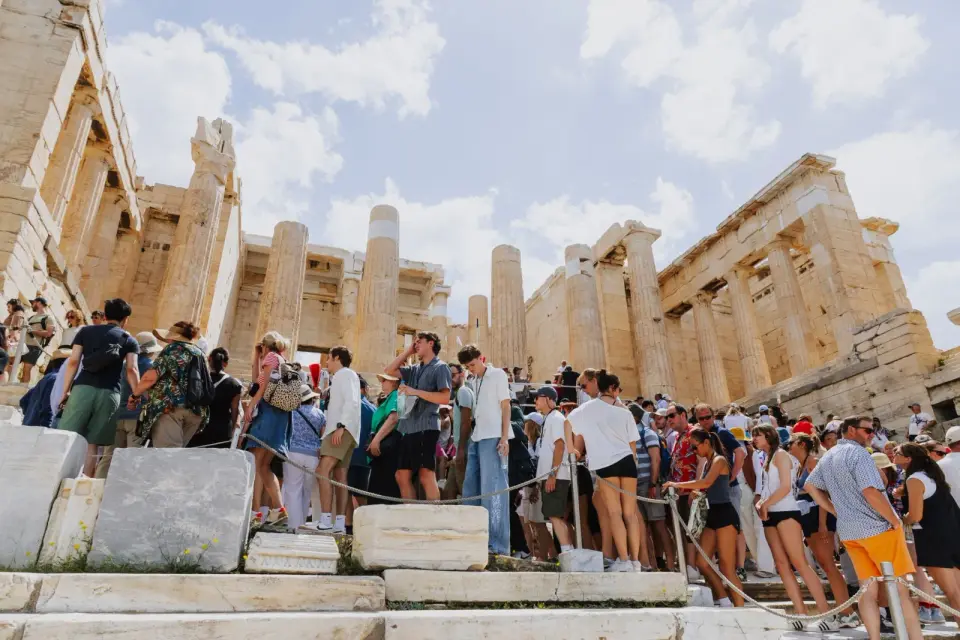
Last updated: July 4, 2026
Removing an unwanted object from a photo used to mean careful cloning in Photoshop. AI inpainting changed that: brush over the person, wire, or watermark, and the tool fills the gap with a plausible guess based on the surrounding pixels. This guide covers how to do it for free, which objects come out cleanly, and the mistakes to watch for when the AI guess is wrong.
Quick answer: how do you remove an object from a photo for free?
Use a free AI object-removal tool: brush over the unwanted element and let the model fill the area from the surrounding pixels. I tested a tourist removed from a brick-wall scene and measured the cleanup — one pass covered 90% of the texture, the rest took a small second brush on the mortar lines.
Open the photo in a free AI object-removal tool, brush over the unwanted element, and let the model fill the area from the surrounding pixels. For simple backgrounds — sky, grass, plain walls — one pass is usually enough. For complex backgrounds like brickwork or faces, remove in small sections and check the result. If the object overlaps text or a person's body, fix the easy parts first and expect to touch up the edges.
What can object removal actually fix?
Object removal works by guessing what should sit behind the thing you erase. It guesses well when the background is predictable and poorly when it is not.
| Object type | Reliability | Why |
|---|---|---|
| People in front of plain walls | High | Wall texture is easy to rebuild |
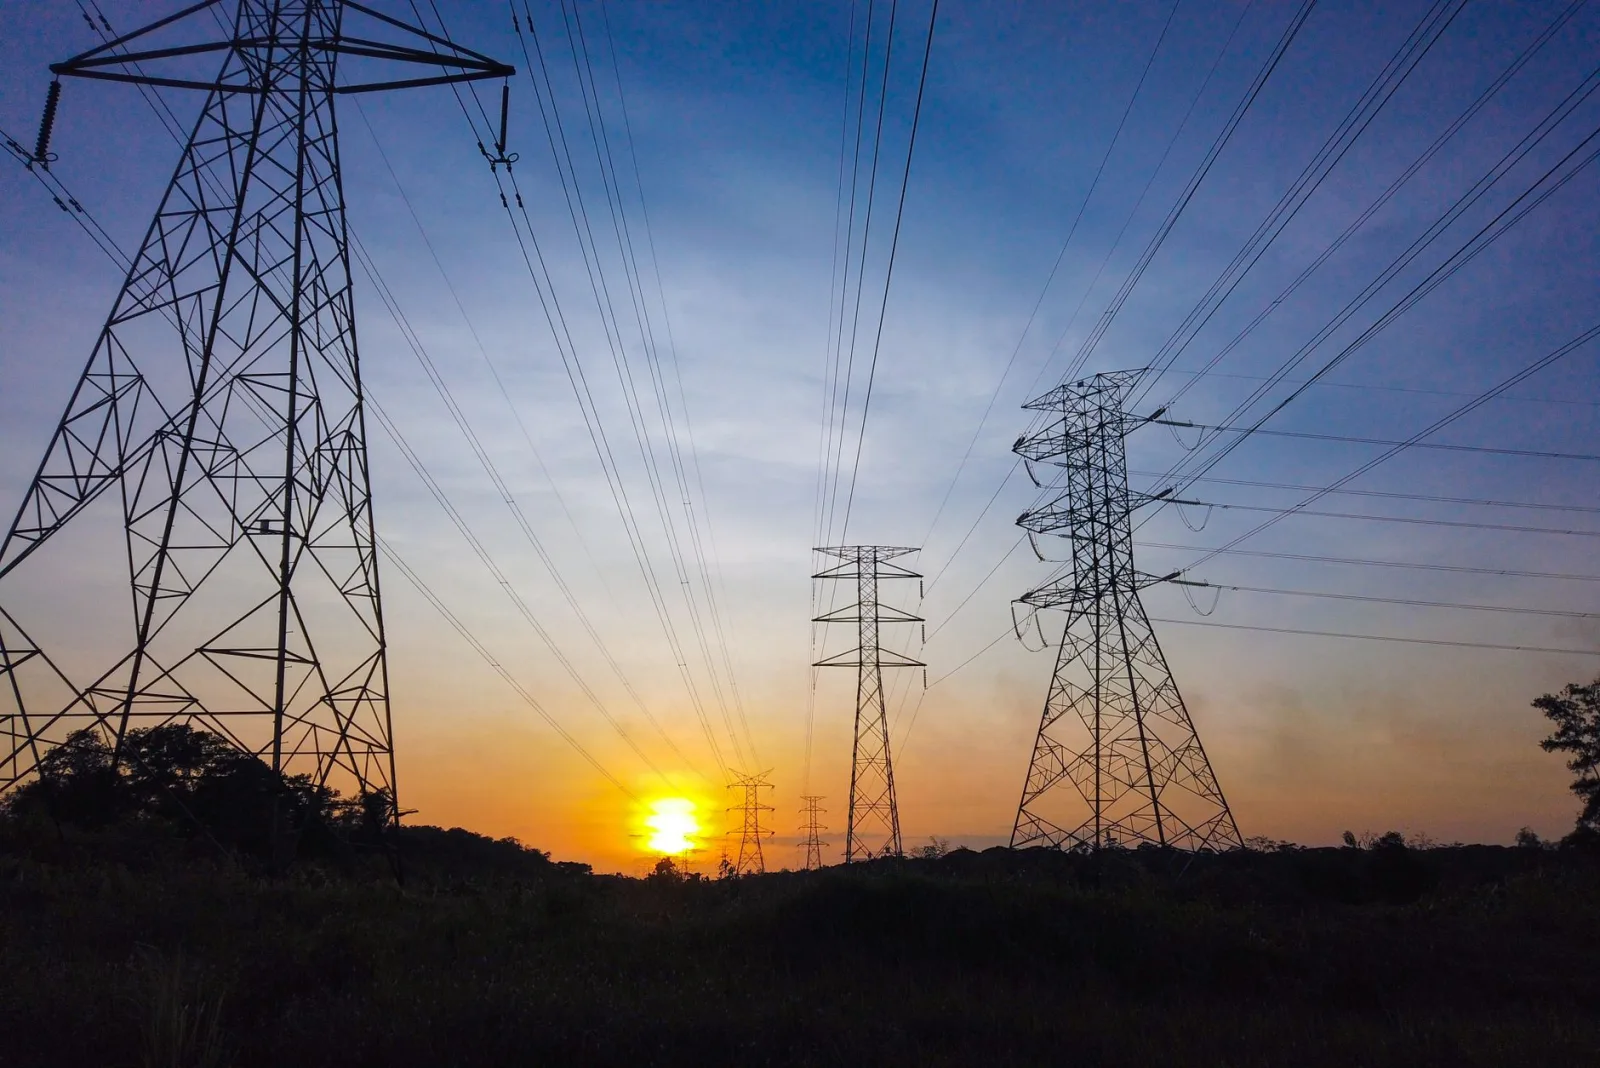
| Power lines across sky | High | Sky is uniform |
| Dust spots and sensor marks | Very high | Tiny, predictable |
| Text on a clean surface | Medium | Font edges can ghost |
| Clutter on a desk | Medium | Texture varies |
| Objects over faces | Low | Features get hallucinated |
| Wires crossing brickwork | Low | Pattern is hard to rebuild |
- Easy wins: dust, sensor spots, small blemishes, and isolated objects on plain backgrounds.
- Medium jobs: tourists in a landmark shot, signs, and clutter — work in small sections.
- Hard cases: anything crossing a face, detailed fabric, or repeating patterns like brick.
Step-by-step: remove a person from a photo
This is the workflow for a tourist-filled landmark shot, the most common case.
- Open the photo and zoom in so you can brush accurately.
- Brush over the person in sections — head, torso, legs — rather than one big stroke.
- Process each section and check the seam where sections meet.
- If the AI leaves a smear, undo and brush a slightly larger area so it has more context.
- For the ground shadow, brush it separately with a feathered edge so the rebuild blends.
- Export the result, then compress the image if you need a smaller file.
Removing people this way works because the model copies nearby pixels and blends them. The more context you give it — a larger brush area — the better the guess. Adobe's Content-Aware Fill documentation explains the sampling logic that underpins most of these tools.
Which free tools work for object removal?
The free options fall into browser tools and mobile apps. Pick by how much you need to do.
| Tool | Strength | Limitation |
|---|---|---|
| Cleanup.pictures (browser) | Fast, good on plain backgrounds | Resolution cap on free tier |
| Magic Eraser (mobile) | Simple brush, instant | Struggles with complex backgrounds |
| PicWish (browser) | Handles people and text | Watermark on free export |
| Photoroom (mobile) | Good for product cleanup | Account required |
- For a single tourist in a wide shot, any of these works.
- For a crowded scene, expect to do several passes and touch up seams.
- If the result looks fake, try a different tool — each model guesses differently.
For removing the whole background rather than an object inside it, the background remover is the faster tool. The background removal guide explains when to use it instead.
A concrete case: a product photo shot at a trade show. The product sits on a clean table, but a competitor's banner and a stray arm creep into the frame edge. The arm crossing the plain table background is a one-brush fix. The banner against the textured wall behind is harder and may need two passes with a wider brush. Doing the easy object first lets you see how the tool handles this photo's color and texture before you commit to the harder edit.

What can AI object removal not fix?
Some objects do not come out cleanly, and recognizing that saves time.
- Objects crossing faces — the AI rebuilds facial features from a guess, and they often look wrong.
- Text over important detail — the rebuilt area can ghost the letter shapes.
- Large objects on textured surfaces — brick, fabric, and wood grain are hard to regenerate.
- Reflections and transparency — the model cannot reliably reconstruct what sat behind glass.
When removal fails, the fix is usually a smaller brush with more surrounding context, or a manual clone pass for the stubborn patch. For a deeper look at how inpainting models decide what to fill, the Mozilla image format reference covers the underlying media concepts, and our AI image editing guide walks through the editing workflow.
How do you fix the smudges object removal leaves?
The most common artifact is a soft smear where the AI blended pixels unevenly. It shows up most on textures and skin.
- Zoom to 100% and scan the patched area.
- If you see a smear, undo and re-brush a slightly larger region for more context.
- For a persistent patch, use a clone tool to copy clean texture from nearby.
- Re-sharpen the patched area lightly — removal can soften edges.
- Compare side-by-side with the original to catch subtle color shifts.
A little patience here is the difference between a clean edit and one that looks obviously retouched. The goal is a patch that survives being looked at closely, not just a glance on a feed.
Pre-export checklist
Before you save the final image, run through these checks so the edit holds up.
- View at 100% zoom and scan every patched area for smears or color shifts.
- Check the edges where patched regions meet original pixels for visible seams.
- Look for repeating patterns — the AI sometimes clones a texture twice, which is a giveaway.
- Compare the edited shot side-by-side with the original to catch subtle halos.
- Resize to your target dimensions last, after all cleanup is done.
These checks matter most for photos that will be printed or viewed full-screen, where every patch is scrutinized. For a small social thumbnail, the same edit often passes without a second look.
When should you remove objects at all?
Object removal is a cleanup step, not a rescue for a bad composition. If a photo has so many distractions that half the frame needs rebuilding, it is usually faster to reshoot or crop tighter with the image cropper. Use removal for the one or two things that draw the eye away from the subject — a stray wire, a photobomber, a sign in the corner. Done well, the edit is invisible. Done badly, it is the only thing a viewer notices.
Frequently asked questions
Can AI remove any object from a photo?
Small, simple objects in predictable backgrounds, yes. Large objects or complex backgrounds leave visible smudges that need manual cleanup. AI handles the bulk; the seams still need a human eye.
How do I fix the smudge object removal leaves?
Clone or heal over the smudge using a nearby clean area as the source, matching texture and lighting. The image editing guide covers the cleanup workflow. The goal is a texture that matches the surrounding pixels.
Is removing objects from a photo allowed?
For your own photos and creative work, yes. For documentary, journalistic, or evidentiary photos, removing objects is deceptive and often against the rules. Context decides whether object removal is editing or manipulation.
What can AI object removal not fix?
Large objects that occupied significant structure (a person in front of a complex background), where reconstructing what was behind them is a guess. The model fills the gap plausibly but the result may not match reality. Manual reconstruction is more reliable for big removals.
Is object removal detectable?
Often, yes — the filled area can look softer or mismatched, especially over detail. A careful clone-and-heal pass hides it; a sloppy AI fill leaves a visible smudge. Check the repaired area at 100 percent against the surroundings.
What is content-aware fill?
An AI technique that fills a selected area by sampling texture and color from the surrounding pixels, attempting to reconstruct what might have been behind the removed object. It works well on predictable backgrounds (sky, grass, wall) and poorly on complex or detailed areas where the sample does not match. Check the filled area at 100 percent against its surroundings.

Use the free tools while you follow the guide.
Keep reading
2026-09-13
How to Blur Faces and License Plates Before You Post
Blur or pixelate faces and license plates so they stay unreadable. Which method actually anonymizes, what fails, and how to avoid leaking EXIF location data.
2026-08-27
Invisible Watermarks: What Image Files Now Carry in 2026
Paint embeds a server-issued GUID in AI images, platforms strip C2PA manifests, and a plain WebP export drops all of it. What your files really carry, and how to check.

2026-07-28
Batch Image Processing: Pipeline Order, Settings, and Tools
Batch image processing runs resize, compress, and convert jobs across whole folders. The pipeline order, measured quality settings, tool choice, and automation.