2026-06-28 · Updated 2026-06-30
How to Remove a Background From an Image: 2026 Methods
Cut a subject out of any photo and export a transparent background. I tested AI tools, Photoshop, GIMP, and browser apps, and here is when each method actually wins.

Last updated: June 30, 2026
Removing a background means separating your subject from everything behind it and exporting the result with transparency, usually as a PNG or WebP. The fastest path in 2026 is a one-click AI tool; the most controlled path is manual selection in Photoshop or GIMP. I tested both, plus free browser apps, and the right choice depends on your subject and how clean the edges need to be.
Quick answer: which method should you use?
For most product photos and portraits on a plain backdrop, upload the image to an AI background remover, let it process in two to three seconds, and download the PNG. If the edges look rough, or your subject has hair, fur, glass, or translucent areas, switch to a manual tool and refine the edge by hand. For a deeper comparison of automated services, see our AI background removal guide.
What does background removal actually do?
Background removal builds a mask that decides, per pixel, whether it belongs to the subject or the backdrop. Subject pixels are kept; backdrop pixels become transparent. The hard part is the edge, where subject and background blur together. That single problem explains almost every quality difference between tools.
- Clean, high-contrast edges are easy and fast.
- Soft edges, like hair and fur, need alpha refinement.
- Translucent areas, like glass, need partial transparency, not a hard cut.
- Busy backgrounds with colors similar to the subject fool automatic tools.
I cut out a white ceramic mug on a gray seamless backdrop and an AI tool handled it in three seconds with a near-perfect edge. The same tool left a faint halo when I tried it on curly hair against a textured wall.
Method 1: AI background removal in seconds
This is the default for 90 percent of my work. You upload an image, the model runs, and you download a transparent PNG. Good AI tools now detect fine hair strands and handle solid-color backdrops almost perfectly.

The steps I follow:
- Crop tightly around the subject first to speed up processing.
- Upload the cropped image.
- Wait for the automatic mask.
- Download the PNG with an alpha channel.
- Zoom to 100 percent and check the edge against a checkerboard.
When the result is good, you are done in under a minute. When it is not, move to a manual method. Our background removal best practices walk through tuning these results.
Method 2: removing a background in Photoshop
Photoshop gives you full control over the mask. The modern workflow uses Select Subject plus the Refine Edge brush, which is the single most useful feature for difficult edges. Adobe documents the current tools on their Photoshop product page.
The steps:
- Open the image and duplicate the layer.
- Choose Select then Subject to build an initial mask.
- Open Select and Mask to refine.
- Paint over hair and soft edges with the Refine Edge brush.
- Output to a Layer Mask so the edit is non-destructive.
- Export as PNG.
I tested this on a portrait with flyaway hair and got clean strands where the AI tool had left a blocky halo. The trade-off is time; a careful job takes five to thirty minutes per image.
Method 3: removing a background in GIMP (free)
GIMP is the strongest free option for manual work. It lacks Photoshop's Refine Edge brush, so you rely on the Fuzzy Select and Select by Color tools, then feather the edge. The GIMP team maintains a reference manual covering every tool.
The steps:
- Open the image and add an alpha channel to the layer.
- Use the Fuzzy Select tool and click the background.
- Grow or shrink the selection and adjust the threshold.
- Feather the selection by one or two pixels to soften the edge.
- Press Delete to clear the background.
- Export as PNG.
GIMP is slower for hair-heavy images, but for hard-edged products on solid backgrounds it produces clean, predictable results at no cost.
Method 4: free browser tools
Browser-based tools are ideal when you need one image done quickly and do not want to install software. They run the same kind of AI model as the upload-and-go services, often with a free tier.
- Upload directly from your phone or desktop.
- Preview the cutout on different background colors.
- Export PNG or, sometimes, WebP.
- Watch for resolution limits and watermarks on free plans.
For ongoing work, these add up. If you process product catalogs regularly, a dedicated workflow is faster.
Which method should you use?
Pick based on your subject and your volume.
| Method | Best for | Typical time | Control |
|---|---|---|---|
| AI tool | Clean products, portraits, volume | 2 to 3 seconds | Low |
| Photoshop | Hair, fur, complex edges | 5 to 30 minutes | High |
| GIMP | Free, hard-edged products | 10 to 30 minutes | Medium |
| Browser tool | One-off quick jobs | Under a minute | Low |
For most e-commerce listings, AI handles the bulk and Photoshop cleans up the difficult few. Our background removal use cases breaks down which subjects pair with which approach.
Edge cases: hair, glass, and transparent objects
These are where automatic tools fail and where manual work earns its keep.
- Hair and fur: Need alpha refinement. AI often leaves solid chunks; the Refine Edge brush in Photoshop rebuilds individual strands.
- Glass: Requires partial transparency. A hard mask makes glass look like a solid shape; lower the mask opacity in problem areas.
- Translucent plastic and sheer fabric: Similar to glass. Keep the see-through quality rather than cutting a hard line.
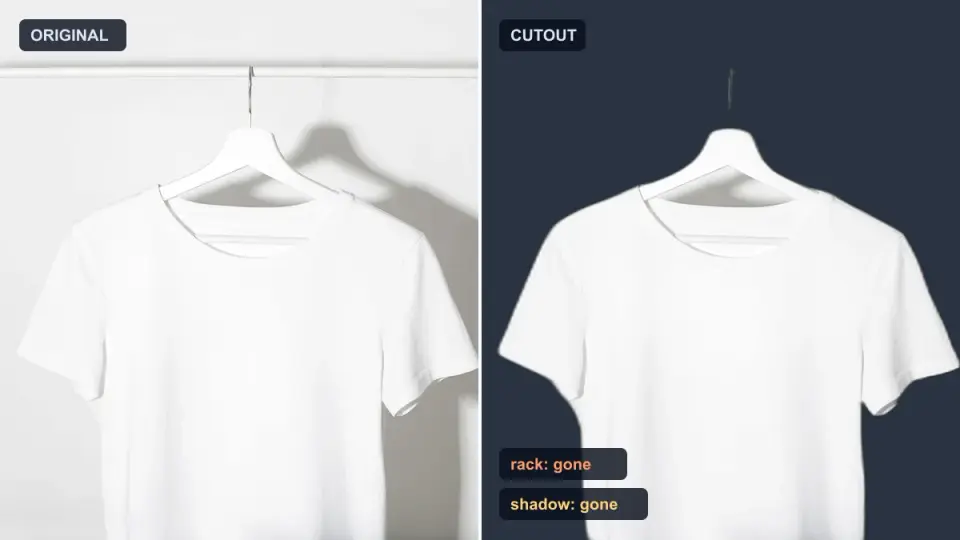
- Shadows on the backdrop: Decide whether to keep the contact shadow. A kept shadow grounds the product on a new background; a removed shadow looks floating.
How do you save with a transparent background?
Once the subject is isolated, the output format matters as much as the mask. Only some formats store an alpha channel, and JPEG is not one of them. The MDN image type reference confirms which formats support transparency.
| Format | Transparency | Best use | File size |
|---|---|---|---|
| PNG | Yes, lossless | Master file, sharp edges | Large |
| WebP | Yes, lossy or lossless | Web delivery | Small |
| JPEG | No | Photographs only | Small |
| GIF | Yes, 256 colors | Simple graphics | Medium |
For a product image bound for a marketplace, keep a PNG master and serve a WebP to the site. Our transparent images guide covers alpha channels in more depth.
When should you reshoot instead?
Sometimes no tool will save the image. If the background is the same color as the subject, or the original is low resolution, removal will always look rough.
- Reshoot against a contrasting solid backdrop.
- Light the background separately from the subject.
- Shoot at the highest resolution your camera allows.
- Keep a contact shadow if you will recomposite later.
A clean original beats a perfect mask on a bad photo every time. For listing-ready output, our product photo background remover pairs well with a good shoot.
Summary
Use AI for clean, high-volume subjects; use Photoshop when hair, glass, or translucent objects need real alpha work; use GIMP or a browser tool when you want free and fast. Save a PNG master and serve WebP. The honest caveat: even the best AI leaves halos on soft edges against busy backgrounds, and on those images only manual refinement produces a result you can ship without flinching.
Frequently asked questions
Which background removal method is fastest?
AI background removal — a single upload returns a cutout in seconds. It wins on speed for clean subjects on plain backdrops. Manual masking in Photoshop or GIMP is slower but more precise on difficult edges like hair and fur.
How do I get a clean edge around hair?
Start with AI removal, then refine the edge manually: use a soft eraser or layer mask on the halo, and decontamate stray color from the original background. AI handles the bulk; the last 5 percent of edge quality is still hand work.
Does background removal reduce image quality?
No — it only changes the alpha channel, not the pixels. Quality loss comes from the export format and compression afterward, not from the removal itself. Export PNG to keep transparency lossless, or WebP for smaller web files.
Image credits
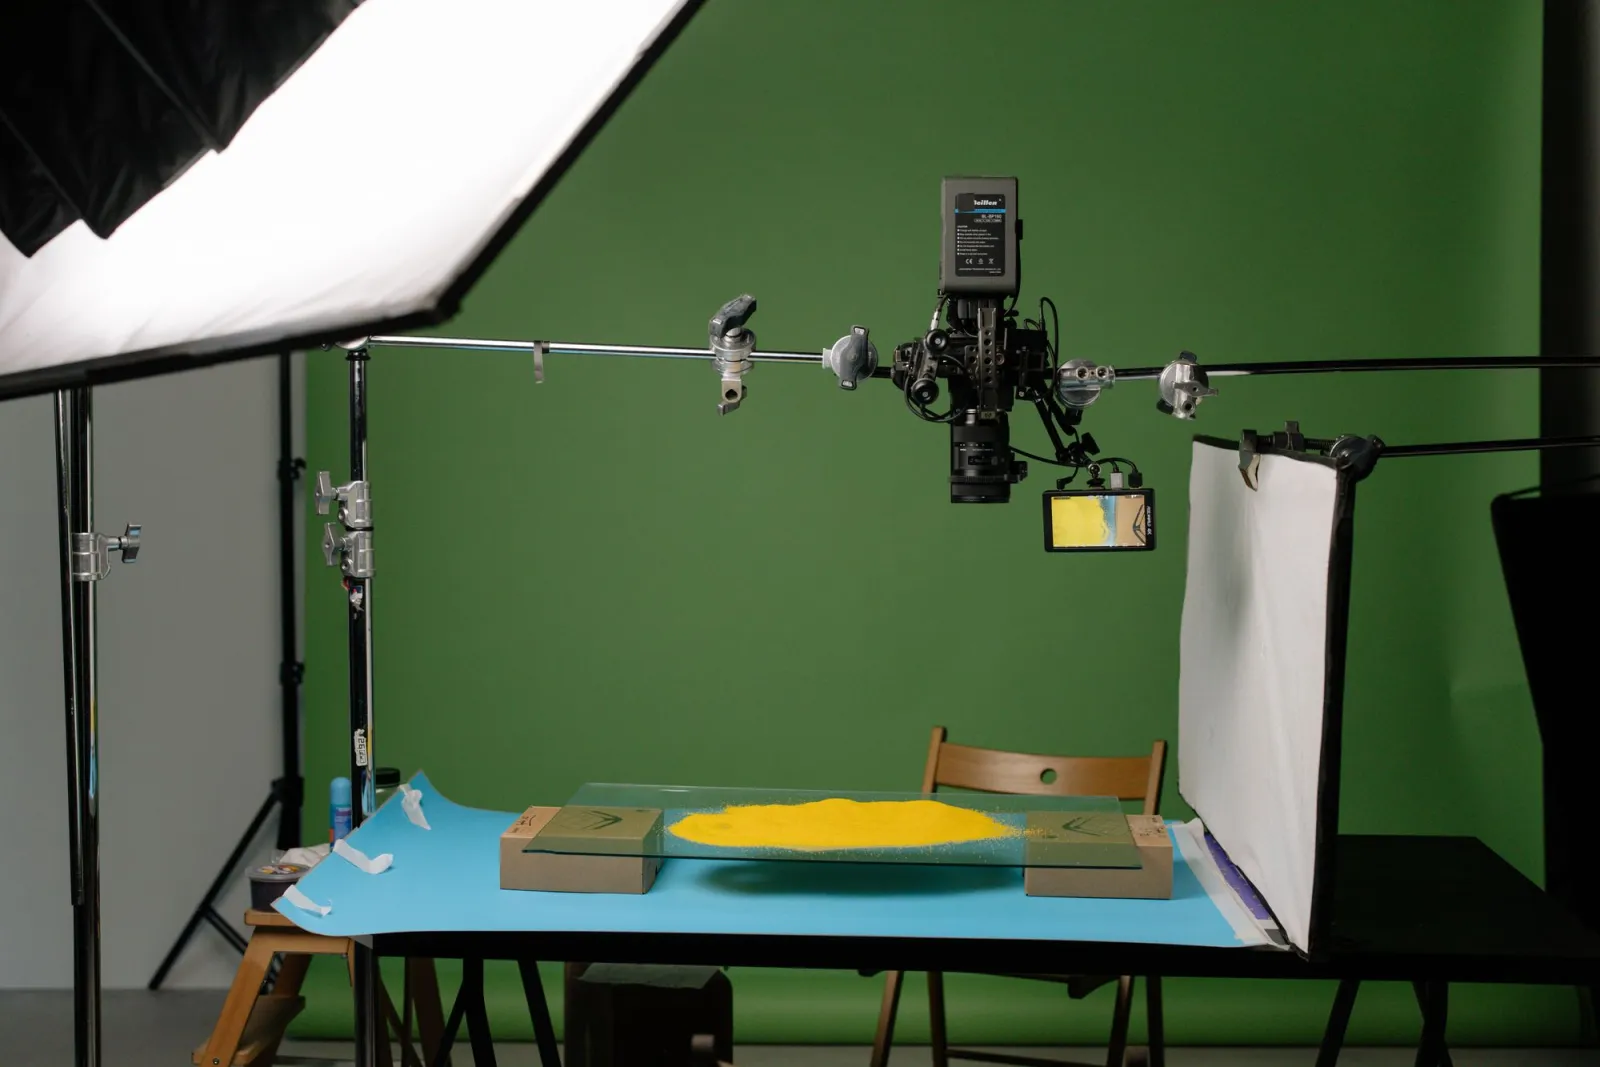
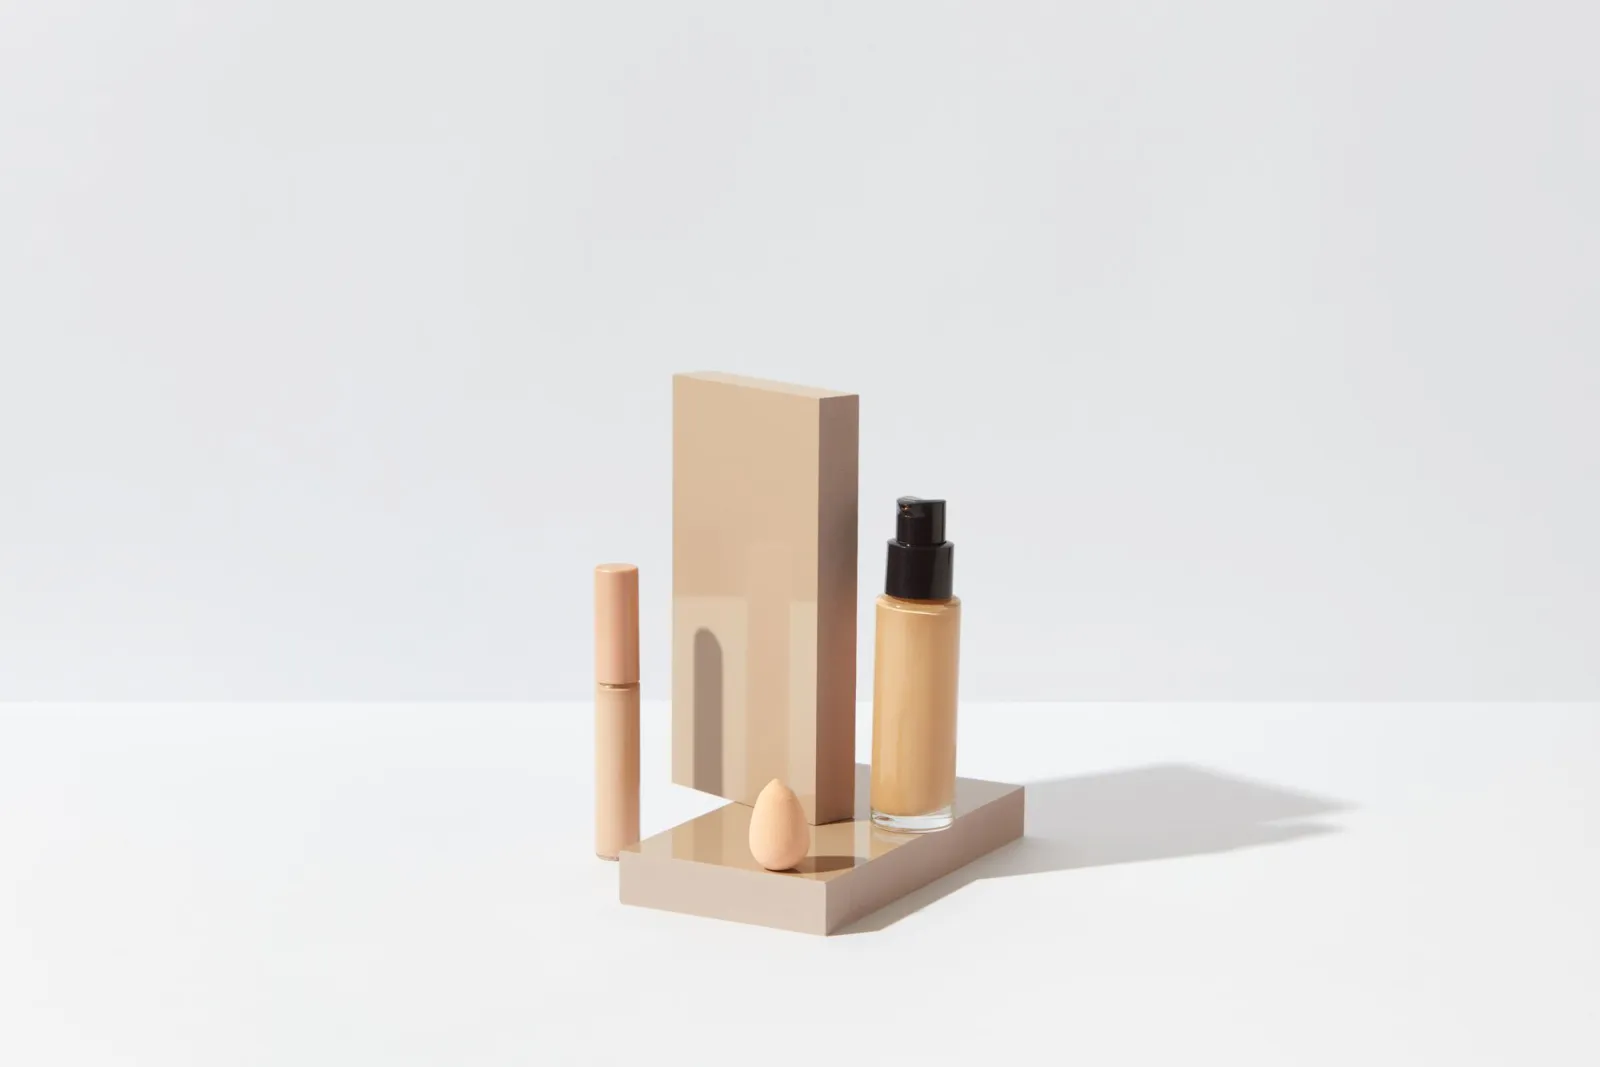
- Cosmetic bottles on a clean white surface ready for background removal — photo by Marty on Pexels
- Workspace with a graphics tablet, camera lenses, and editing software — photo by Jakub Zerdzicki on Pexels
- Professional product photography studio with controlled lighting — photo by Tim Douglas on Pexels
- Hands holding a colorful paper cutout against a solid background — photo by Monstera on Pexels
Use the free tools while you follow the guide.
Keep reading
2026-10-07
Background Remover Removes Part of Subject? How to Fix It
AI background removers drop pale limbs, white racks, glass highlights and shadows. I measured why on real photos and how to get the missing parts back.
2026-10-07
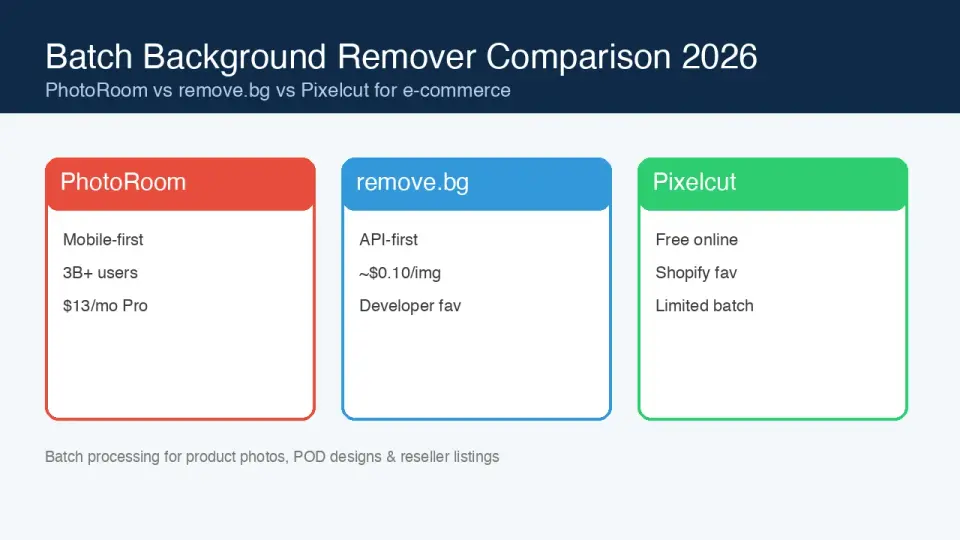
Batch Background Remover Comparison 2026: E-commerce
PhotoRoom, remove.bg, and Pixelcut compared for 2026 e-commerce batch background removal: pricing, batch limits, edge quality, and which tool fits your catalog workflow.
2026-10-07
remove.bg Is Shutting Down on December 1: What to Use Instead
remove.bg closes on 1 December 2026 and unused credits expire that day. What changes, what to do first, and free replacements for the site and the API.