2026-06-28 · Updated 2026-06-30
AI Image Editing Workflow: Retouch, Restore, and Resize Photos
A practical AI image editing workflow for 2026: cleanup, generative fill, background removal, and upscaling, with honest rules for when to use AI or edit by hand.
Last updated: June 30, 2026
AI image editing is best treated as a pipeline of small, specific steps rather than one button that fixes a photo. Clean up the capture, remove or replace the background, restore damaged detail, fill a missing area, and resize for output. This article is the workflow side of editing with AI — if you want a tool roundup, see AI image editing tools instead.
Quick answer: how should you edit an image with AI?
Run AI edits in a fixed order, and keep a manual fallback for each step. Start with cleanup (noise, dust, exposure), then do structural edits (background removal, restoration, generative fill), and finish with sizing and compression. Check every AI output at full size before you keep it, because models invent plausible-looking detail that falls apart under close inspection. When I tested this order on a batch of fifty old family scans, the cleanup pass alone made the later restoration step noticeably cleaner.
What does an AI image editing workflow look like?
A repeatable order beats a random sequence. Do the cheap, safe steps first and reserve generative edits for the end, where you can scrutinize them most.
- Cleanup: remove dust, sensor noise, and exposure problems before anything else.
- Structural repair: fix scratches, tears, and faded color with a restoration model.
- Background: cut out or replace the background once the subject is clean.
- Generative fill: extend the canvas or patch a gap, then inspect the seam.
- Upscale: enlarge only after all edits are done, so you upscale the final pixels.
- Export: resize to display size, convert to WebP, and compress.
The reason cleanup comes first is that noise and JPEG artifacts confuse every later model. A restoration pass run on a noisy file invents texture to fill the noise. Run noise reduction first, then restore.
When should you use AI instead of editing by hand?
AI earns its place on repetitive or tedious jobs, not on judgment calls. Use the table to decide for each step.
| Edit | Use AI when | Edit by hand when |
|---|---|---|
| Background removal | Subject has clear edges, bulk files | Fine hair, glass, or transparent items |
| Noise reduction | High-ISO grain across many photos | You need to keep fine real detail |
| Restoration | Scratches, tears, faded color on scans | Historical accuracy matters |
| Generative fill | Plain backgrounds, small gaps | Faces, hands, text, or product labels |
| Upscaling | Clean source that needs more pixels | Rescuing a blurry or tiny capture |
A practitioner rule: the moment a viewer's decision could hinge on a detail — a product's true color, a face, a price label — edit that part by hand or leave it alone. AI is safest on backgrounds, exposure, and resolution, and riskiest on exact detail.
How do you clean up an image before AI edits?
Cleanup is the step people skip and regret. A few seconds here makes every later model behave better.
- Run noise reduction on high-ISO photos before restoration or upscaling.
- Clone out dust spots and sensor artifacts so the model does not treat them as detail.
- Correct white balance so generative fill matches the real color temperature.
- Crop to the subject before background removal to give the model less to misread.
For noisy photos specifically, the AI noise reducer walkthrough covers settings that preserve real detail. When the problem is a scratch or tear rather than noise, restoring old photos is the more targeted path.
How do you remove a background cleanly?
Background removal is the most reliable AI edit, which is also why it is the most overused. It works well on a product with crisp edges against a plain backdrop, and badly on hair, fur, glass, and semi-transparent items.
- Shoot the subject against a contrasting, uncluttered background.
- Remove the background before you upscale, so edges stay crisp.
- Inspect the cutout at 200 percent for stray halo pixels.
- For hair and fur, expect to clean up edges by hand.
For the full method, including the hair-and-fur edge cases, read the background removal best practices guide. When you need to delete an object rather than the whole background, removing objects from a photo is the right tool.
How does generative fill fit into the workflow?
Generative fill — extending a canvas or patching a hole — is the step that most often needs a redo. It works on plain, predictable areas and invents things in complex ones.
| Fill task | Usually works | Usually needs a redo |
|---|---|---|
| Extending a sky or wall | Yes | Rarely |
| Extending grass or fabric | Sometimes | Repeated texture blocks |
| Filling across a face or hand | No | Almost always |
| Patching missing text or labels | No | Invented letters |
For canvas extension with seam control, the AI image outpainting workflow is the deeper read. The Adobe Firefly product overview documents how a generative model is trained and what its known limits are, useful context before you trust a fill.
How do you upscale without inventing fake detail?
Upscaling is the last structural step, done on the final edited pixels. A good upscaler sharpens real detail that was too small to display; a bad one fabricates smooth, confident-looking texture that is not in the source.
- Upscale only clean sources; do not try to rescue a blurry capture.
- Stick to 2x for product and portrait work; higher ratios invent more.
- Compare the upscaled file against the original at 100 percent.
- Never present an upscaled product photo as the true resolution.
The AI image upscaler guide covers where upscaling genuinely helps and where it lies. For damaged photos that are also small, AI photo enhancement pairs restoration with light upscaling.
When should you avoid AI editing entirely?
AI editing is wrong when the image is supposed to prove something. A real estate listing, an insurance record, a medical image, a news photograph, and a product proof all depend on the pixels being true. Generative edits in those contexts can mislead a viewer even when they look harmless.
Short rule: if a viewer would change their decision based on a detail, and that detail could be generated, do not generate it. Exposure, crop, and denoise are usually safe; inventing a cleaner background, a straighter wall, or a missing object is not.
Summary: the editing order that holds up
Run cleanup first, structural edits in the middle, and sizing last, then inspect every generative step at full size before you keep it. Treat AI edits as drafts, keep a manual fallback for hair, text, and product labels, and finish with the complete image optimization checklist so the published file is compressed and responsive.
Frequently asked questions
When should I use AI instead of editing by hand?
Use AI for repetitive, mechanical jobs — denoise, upscale, background removal, generative fill of simple areas — where it is faster and good enough. Use manual editing for precise creative work where you need exact control over every pixel. AI is a tool for the boring parts, not a replacement for judgment.
Can AI remove any object from a photo?
Small, simple objects in predictable backgrounds, yes. Large objects, or objects in complex backgrounds, leave visible smudges that need manual cleanup with a clone or heal tool. AI handles the bulk of the removal; the seams where it guessed still need a human eye.
Does AI editing reduce quality?
Generative edits (fill, extend) can hallucinate detail that was not there, so always compare against the original before shipping — check faces, text, and textures especially. Non-generative edits (denoise, upscale) preserve quality within their limits. The risk is in generation, not in the deterministic operations.
What is the correct AI editing workflow?
Clean the image first (crop, fix exposure), run the deterministic AI steps (denoise, upscale), then generative steps (fill, extend) last, because generation works better on a clean base. Sharpen and export for the destination as the final step. Order matters: generative fill on a noisy image produces noisy guesses.
Image credits
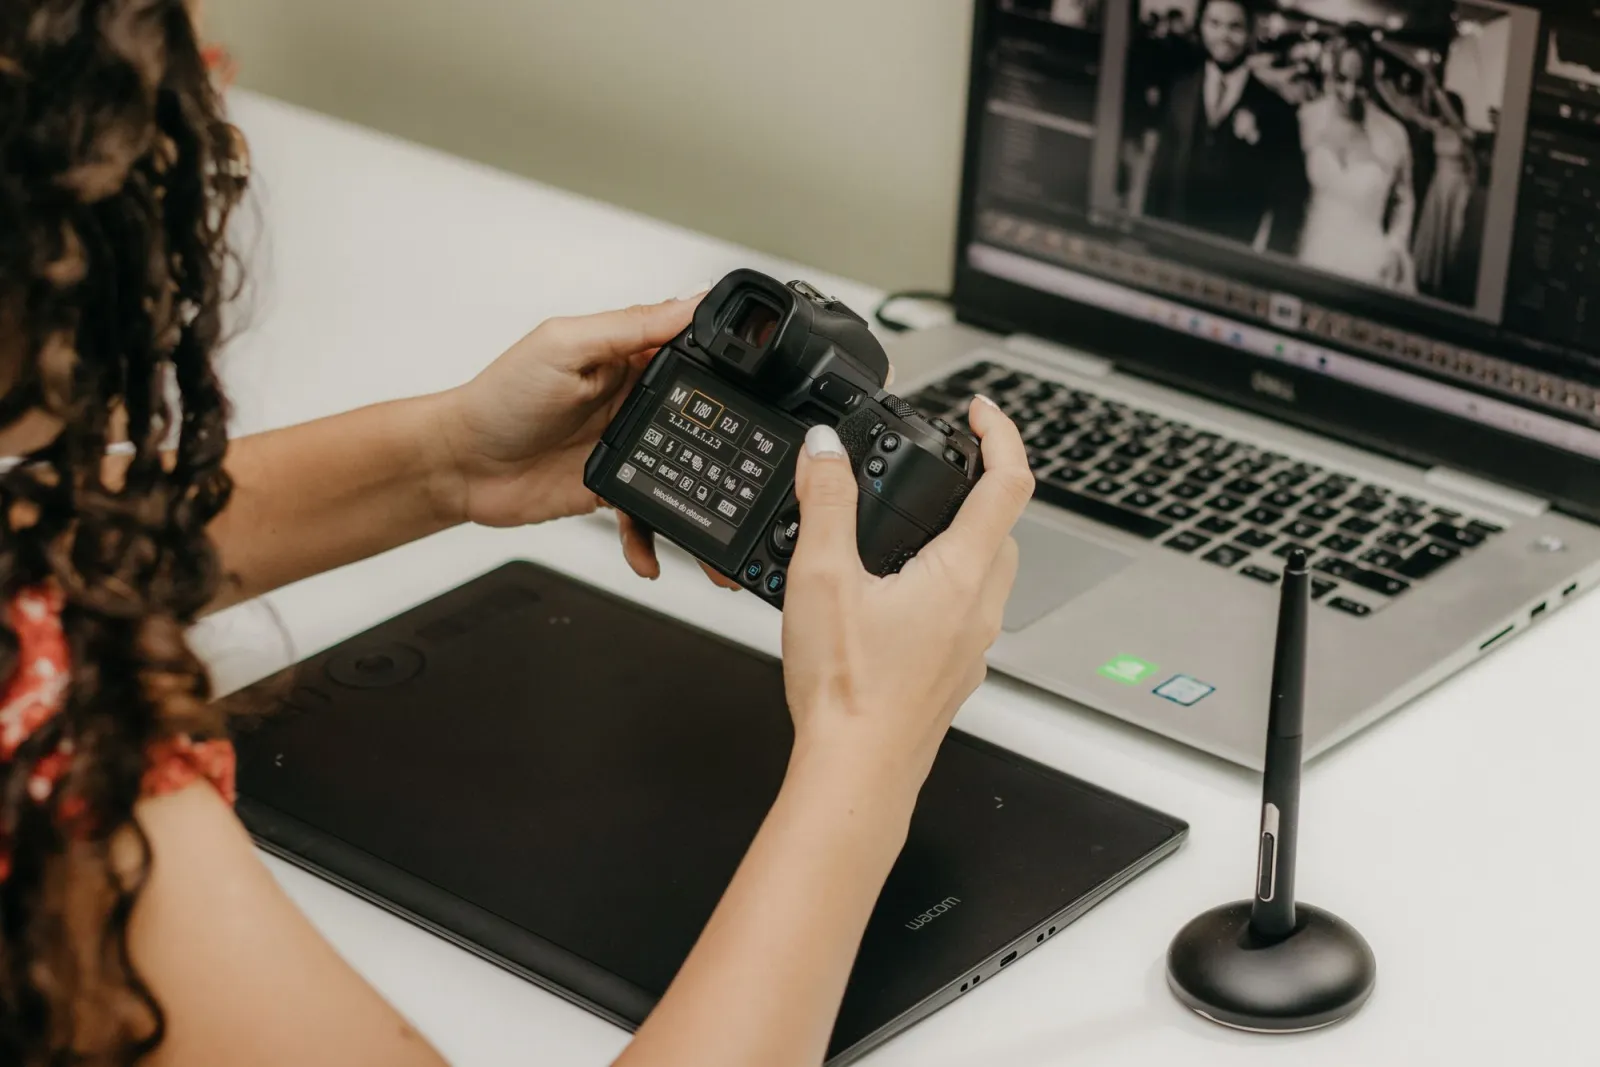
- Cover: a designer's desk with a laptop showing photo editing software and a graphics tablet — photo by Kawê Rodrigues on Pexels
- A designer's desk with a laptop showing photo editing software and a graphics tablet — photo by Jakub Zerdzicki on Pexels
- A close-up of a photographer retouching a portrait on a laptop — photo by Kawê Rodrigues on Pexels
- A photographer working on outpainting and canvas extension with a tablet — photo by Daniele on Pexels
Use the free tools while you follow the guide.
Keep reading
2026-07-28
AI Action Figure Trend: How to Prep Your Photo Right
Turn a photo into a collectible toy portrait: what makes the prompt work, and the crop, background, and resolution steps that avoid an obvious fake.
2026-07-26
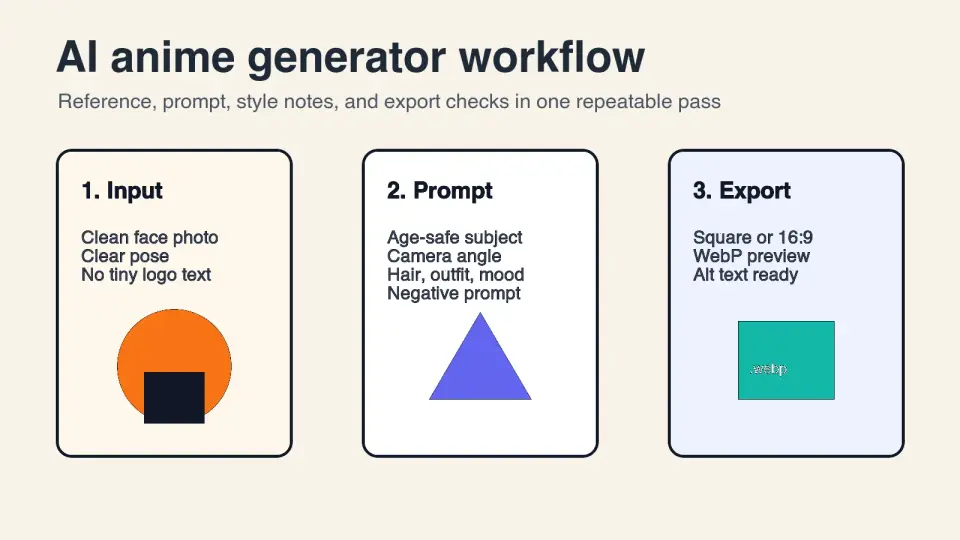
AI Anime Generator Guide: Prompts, Styles, and Safe Exports
A practical AI anime generator workflow for portraits, avatars, banners, and social posts, with prompt templates, style checks, and export rules.

2026-07-26
Text-to-Image AI in 2026: How Prompt Generation Actually Works
Text-to-image AI turns a written prompt into a finished picture. Here is how the models, prompts, and settings behind image generation fit together in 2026.