2026-03-01 · Updated 2026-07-12
5 Free Ways to Remove an Image Background in 2026
Compare five free ways to remove an image background, when each one fits, how to avoid halos, and which transparent export format to use.
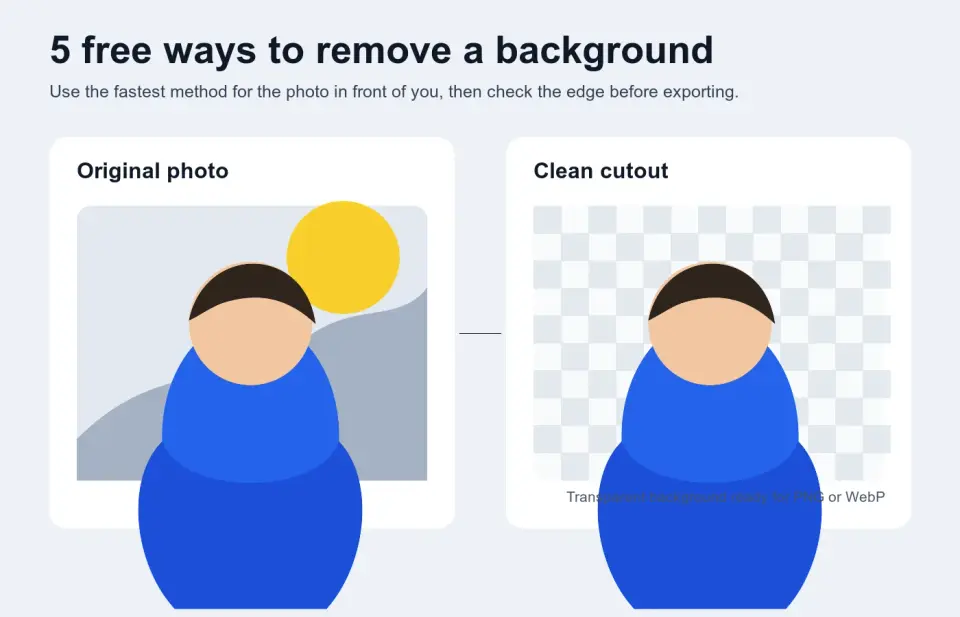
Last updated: July 12, 2026
Need a transparent product photo, profile image, marketplace cutout, or social post without paying for a design app? You have several free options, but the right one depends on the image. A clean shoe on a plain wall is a different job from curly hair, glass, or a cluttered kitchen background.
This guide compares five practical free methods, then shows the checks that keep the result from looking pasted on.
Quick answer: what is the best free way to remove a background?
Use an online AI remover first when you need a fast transparent cutout. It is the best starting point for product photos, portraits, marketplace images, and most social graphics because it finds the subject automatically and usually returns a transparent file in seconds. Try the Imagic AI Background Remover for a no-install browser workflow.
Use GIMP, Photopea, Photoshop, or another manual editor when the automatic result misses hair, glass, jewelry, shadows, or similar colors. For a full cleanup workflow after the first cutout, read background removal best practices.
The export matters as much as the removal. PNG and WebP can preserve transparency; JPEG cannot. MDN's image format guide notes PNG as the practical choice when transparency is needed and WebP as a strong web format with transparency support.
Which free method should you choose?
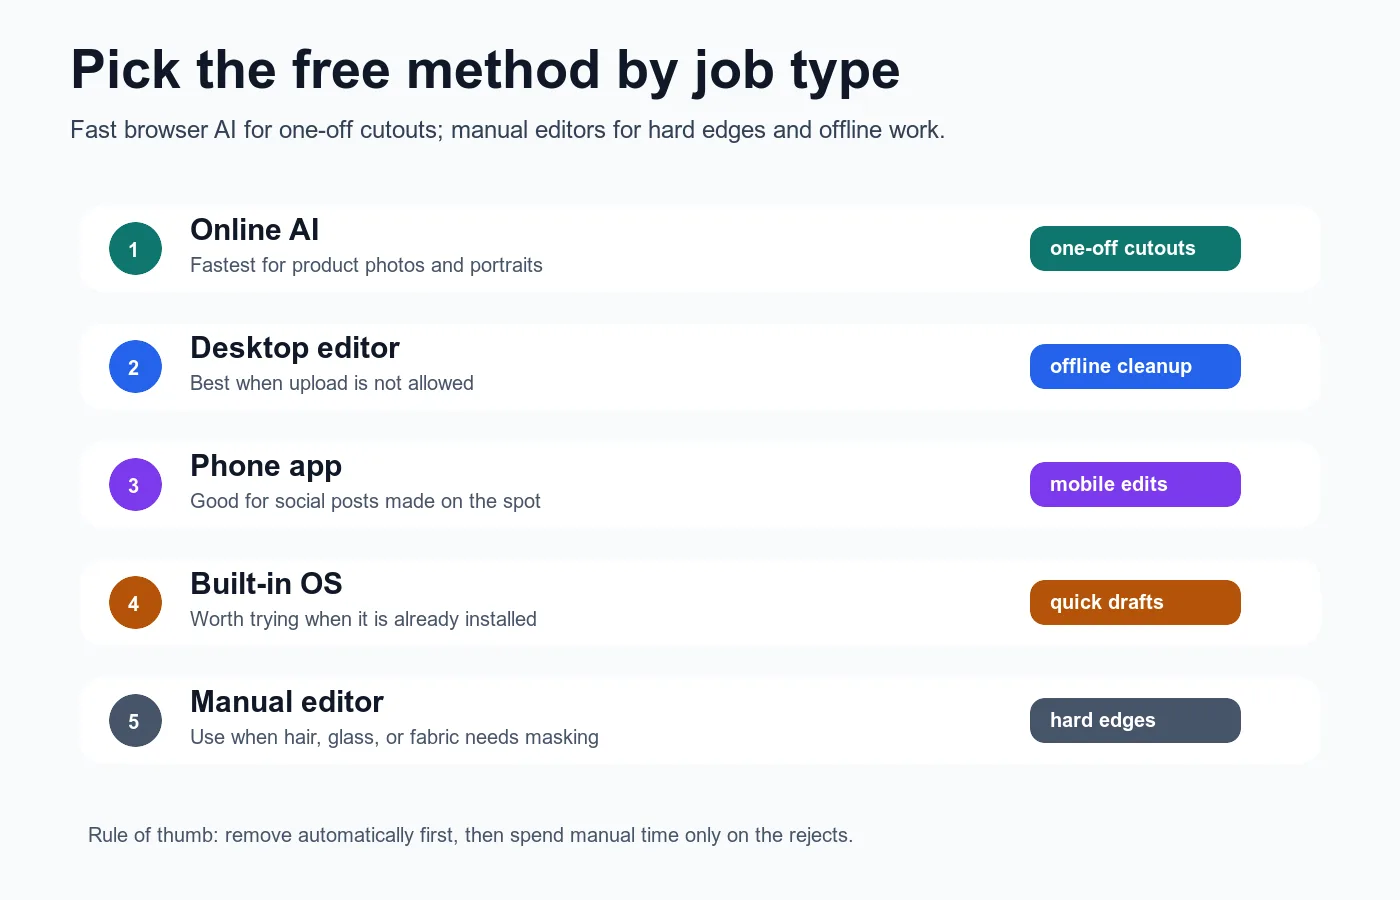
Start with the kind of photo in front of you, not the brand name of the tool. I tested this workflow against four common cases: a simple product cutout, a portrait, a phone-made social image, and a difficult edge with missing pixels. The same pattern held: automate the first pass, then spend manual time only where the edge needs it.
| Job | Best free method | Why it fits | Watch for |
|---|---|---|---|
| Product photo on a plain background | Online AI remover | Fast, clean subject detection | Tiny halos on white edges |
| Portrait or profile image | Online AI, then manual edge check | Handles shoulders and hair better than magic-wand tools | Hair gaps, hard edges |
| Offline or private client work | GIMP, Photopea, or local app | No upload required | More manual selection work |
| Phone-only social post | Mobile app or browser remover | Fast enough for Stories, Reels, marketplace listings | Small-screen edge mistakes |
| Difficult hair, glass, smoke, lace, jewelry | Manual editor | Needs mask painting and refinement | Slow, but cleaner |
Method 1: use an online AI background remover
This is the fastest free path for most readers. Upload the image, let the model separate subject from background, then download the transparent result. It is especially good for:
- Product photos shot against white, gray, or a plain wall.
- Headshots where the person is clearly separated from the background.
- Marketplace listings that need the object isolated.
- Social graphics where speed matters more than pixel-level masking.
The workflow is short:
- Open the Background Remover.
- Upload the largest clean version of the photo you have.
- Download the transparent result.
- Place it on a dark, light, and colored background to check the edge.
- Export PNG or WebP if the transparency is clean.
Do not judge the result only on the checkerboard preview. A faint white halo may disappear on a white checkerboard and become obvious on a blue ad background. If you plan to sell products, Google's Merchant Center image guidance accepts common formats including JPEG, WebP, PNG, GIF, BMP, and TIFF, but also warns against blurry, misshapen, watermarked, or irrelevant product images in its product image requirements. A clean cutout still has to look like a clean product photo.
Method 2: remove the background in GIMP or Photopea
Use a free editor when you need control or cannot upload the image. GIMP is a desktop app; Photopea runs in the browser and feels closer to Photoshop. Both are slower than one-click AI, but they let you fix the exact pixels that failed.
Use this order for a product or object:
- Duplicate the original layer so you can recover pixels.
- Add an alpha channel or keep the layer transparent.
- Use a subject selection, fuzzy select, or lasso tool to make the first mask.
- Delete or mask the background.
- Zoom to 200% and inspect the outline.
- Paint back missing object pixels.
- Feather only the parts that should be soft.
- Export PNG or WebP with transparency.
Manual editing is worth the time for hero images, packaging, hair, and jewelry. It is usually overkill for a 30-image catalog batch. For volume work, use AI first and send only the rejects into manual cleanup.
Method 3: use a mobile app or phone browser
Mobile removal is good when the image was created on the phone and will be published from the phone. That covers profile photos, marketplace listings, quick event posters, and social posts.
The weak point is inspection. A cutout can look fine at phone size and still have obvious defects on desktop. Before posting a product listing, zoom in on:
- The top edge of the subject.
- Hair, fur, or fabric.
- Transparent objects.
- Shadows that should stay attached to the product.
- White or light edges where a halo blends into the preview.
If the mobile app exports JPEG only, use a different tool. JPEG replaces transparent pixels with a flat color. For a deeper explanation of alpha and format choice, see how to make transparent images.
Method 4: try built-in operating-system tools
Built-in tools are worth trying because they are already installed, but treat them as quick drafts. Recent versions of common photo apps can detect subjects, copy subjects, or offer a remove-background action depending on the platform and app version.
Use built-in tools when:
- You need a quick copy-paste cutout for a document.
- The subject is simple and high contrast.
- You are making a rough internal mockup.
- You do not want to install anything.
Avoid them when the output is customer-facing and the edge is complicated. Built-in tools rarely give you the same mask controls as a real editor. If the result has gaps, jump to GIMP, Photopea, or a dedicated remover instead of repeating the same action.
Method 5: use Photoshop if you already have access
Photoshop is not free as a long-term tool, so it does not belong in a pure free stack. It is still relevant if your school, employer, trial, or Creative Cloud plan already includes it. The useful part is not just the one-click remove button; it is the mask refinement after the first selection.
Photoshop fits these jobs:
- Hair and fur with semi-transparent edges.
- Glass, smoke, lace, veils, or jewelry.
- High-value ecommerce hero photos.
- Print assets where edge defects will be visible.
- Composites where the subject must sit naturally on a new background.
The same rule applies: use the automatic selection as the first draft, then refine the mask. If you are deciding between tools, the background remover tools comparison is a better next read than a generic app list.
How do you keep the cutout from looking pasted on?
The edge check is the difference between "background removed" and "usable image." Look for three defects: halo, missing pixels, and hard edges where the subject should be soft.
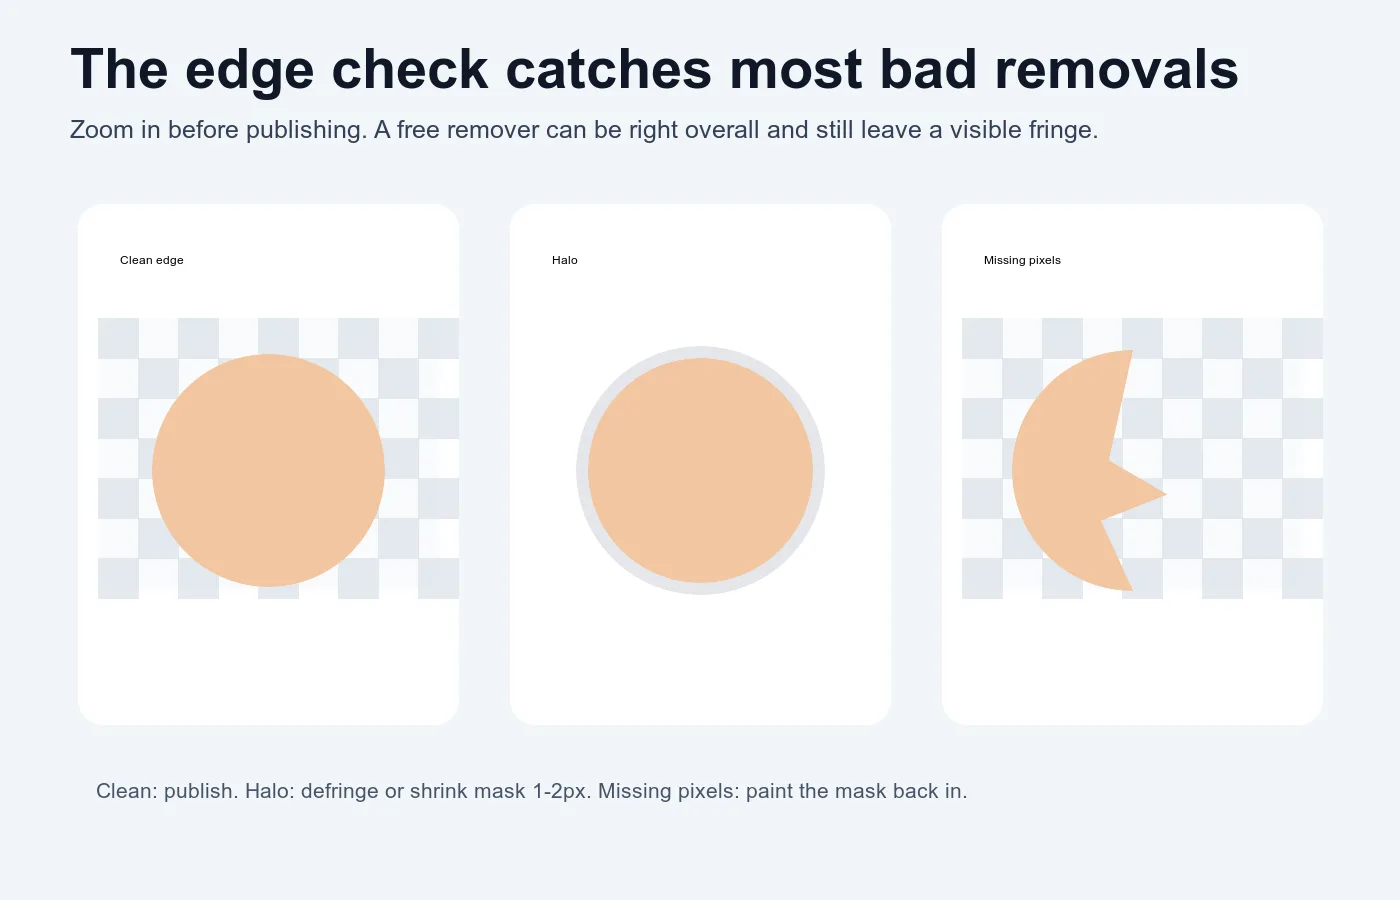
| Defect | What it looks like | Fast fix |
|---|---|---|
| Halo | Thin fringe of old background color | Defringe, shrink mask 1-2px, or clean the edge manually |
| Missing pixels | Subject has bites or gaps | Paint the mask back in on a duplicate layer |
| Hard hair/fur edge | Soft detail looks cut with scissors | Feather only that edge; do not blur the whole object |
| Floating subject | Shadow was removed with the background | Add a subtle contact shadow or keep the original shadow if it is clean |
Check the cutout on at least two backgrounds: one light and one dark. A white fringe hides on a white background and shows immediately on black, navy, or brand-color layouts. For ecommerce photos, also review your capture setup in the product photography guide; a plain, evenly lit source image removes half the cleanup work before software gets involved.
What format should you export after removing the background?
Export a transparent PNG when compatibility matters. Export a transparent WebP when the image will live on a website and you care about file size. Keep JPEG only for the flattened final image after you intentionally place the subject on a solid background.
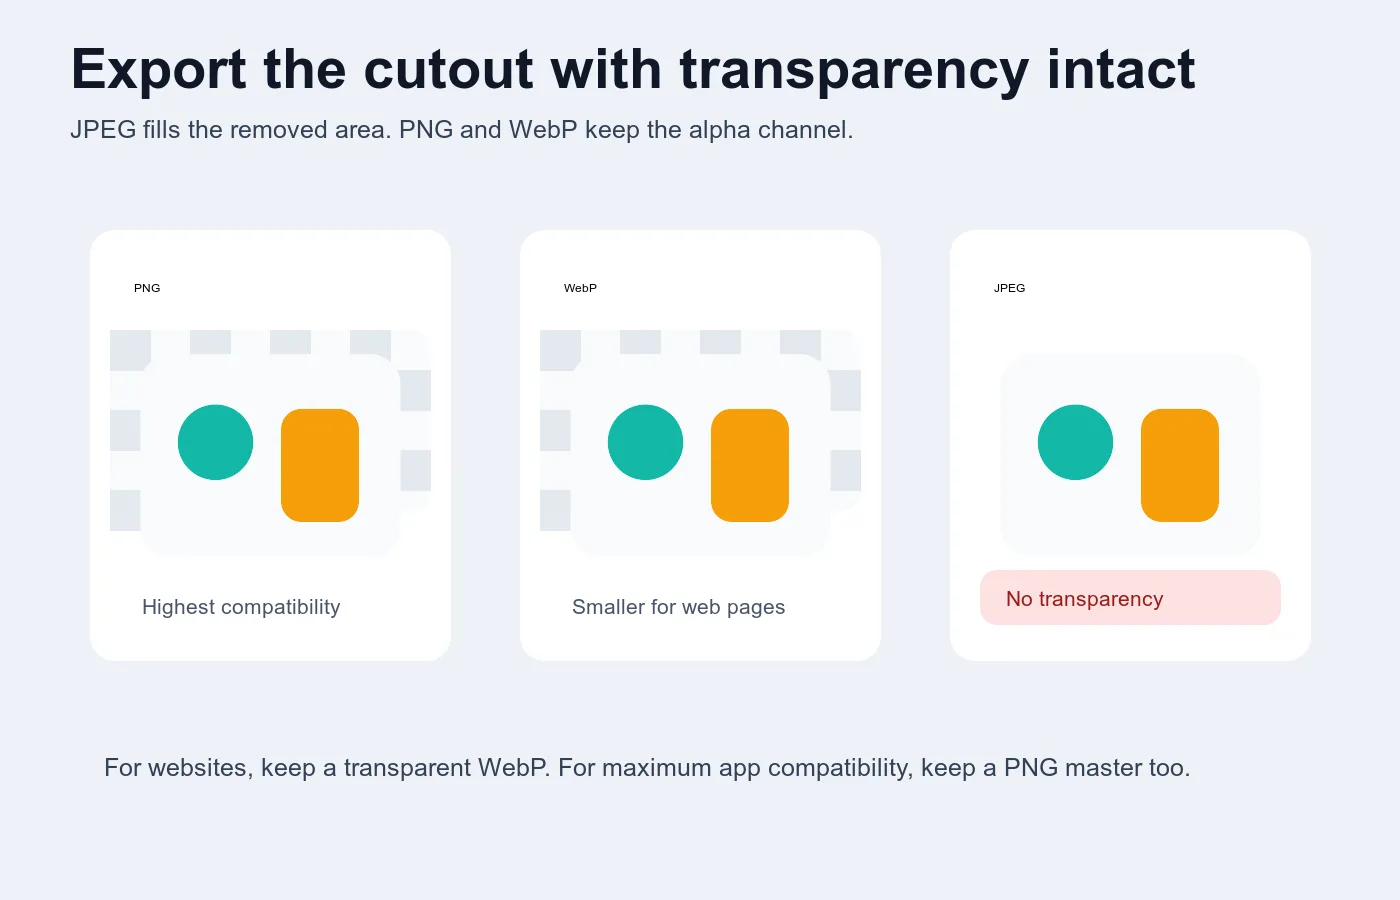
| Export | Keeps transparency? | Use it for | Avoid it when |
|---|---|---|---|
| PNG | Yes | Design handoff, marketplaces, email, maximum compatibility | File size is too large for web pages |
| WebP | Yes | Website images, landing pages, product grids | The receiving platform rejects WebP |
| JPEG | No | Final flattened images on white or colored backgrounds | You still need a transparent cutout |
Google's WebP FAQ documents WebP support for transparency, and MDN describes WebP as a web image format with better compression than PNG or JPEG plus transparency support. If you are comparing formats for site performance, read AVIF vs WebP comparison after you finish the cutout.
Common mistakes to avoid
- Uploading a tiny screenshot instead of the original photo.
- Cropping too tight before removal and cutting off hair, shadows, or handles.
- Accepting the first AI result without testing it on another background.
- Exporting as JPEG and wondering why the transparent area turned white.
- Blurring the whole mask instead of fixing the exact edge.
- Removing the product's natural shadow when the final image needs to feel grounded.
- Using a busy source photo for a marketplace main image.
- Repeating the same one-click tool on a failed edge instead of switching to manual cleanup.
The most practical free workflow is simple: AI first, edge check second, manual fix only when needed, transparent export last. That keeps the fast jobs fast and saves your editing time for the images that actually need it.
Frequently asked questions
What is the fastest free way to remove an image background?
An online AI background remover is fastest because it detects the subject automatically and usually returns a transparent file in seconds.
Which free background remover works best for hair, glass, or jewelry?
A manual editor like GIMP or Photopea works best for those cases because you can paint back missing pixels and refine the mask by hand.
Can I remove a background without uploading the photo anywhere?
Yes, GIMP or another local desktop editor removes the background entirely offline, which keeps private client work off any server.
Do built-in operating-system tools work for background removal?
Built-in subject-copy tools handle quick, simple, high-contrast cutouts fine but usually lack the mask controls needed for customer-facing images.
Is Photoshop free for background removal?
No, Photoshop is not a free long-term tool, so it only fits this free stack if you already have access through school, work, or a trial.
Why does my background-removed image have a white fringe around the edges?
That fringe is a halo left by leftover background pixels, and checking the cutout on both a light and a dark background reveals it immediately.
Should I export a transparent background as PNG or WebP?
Export PNG when compatibility matters most and export WebP when the image will live on a website and file size matters.
Why did my transparent background turn white after I saved the file?
Saving to JPEG removes transparency entirely and fills the removed area with a flat color, so use PNG or WebP instead.
Use the free tools while you follow the guide.
Keep reading
2026-10-07
Background Remover Removes Part of Subject? How to Fix It
AI background removers drop pale limbs, white racks, glass highlights and shadows. I measured why on real photos and how to get the missing parts back.
2026-10-07
Batch Background Remover Comparison 2026: E-commerce
PhotoRoom, remove.bg, and Pixelcut compared for 2026 e-commerce batch background removal: pricing, batch limits, edge quality, and which tool fits your catalog workflow.
2026-10-07
remove.bg Is Shutting Down on December 1: What to Use Instead
remove.bg closes on 1 December 2026 and unused credits expire that day. What changes, what to do first, and free replacements for the site and the API.