2026-06-28 · Updated 2026-06-30
Image Blend Modes: Multiply, Screen, and Overlay Explained
Use blend modes to combine image layers for compositing, double exposure, and texture effects. Real explanations of multiply, screen, and overlay, and when each works.
Last updated: June 30, 2026
Blend modes control how two image layers combine pixel by pixel. Instead of one layer simply covering the other, a blend mode decides how their colors interact — multiply darkens, screen lightens, overlay adds contrast. Blend modes are the foundation of compositing, double exposure, texture overlays, and most non-destructive photo editing. This guide explains how the main blend modes work, when to use each, and the common compositing techniques they enable.
Quick answer: what is a blend mode?
A blend mode is a setting that determines how the pixels of an upper layer interact with the pixels of the layer below it. Normal mode just stacks the upper layer on top; other modes mix the two based on math — multiplying, screening, or comparing values to darken, lighten, or add contrast. The practical use is compositing: blending a texture into a photo, combining two exposures, or creating a double exposure effect. Pick the mode by the result you want — multiply to darken and add texture, screen to lighten and glow, overlay to boost contrast.
How do blend modes actually work?
Every blend mode is a formula applied to each pixel pair — the base layer below and the blend layer above. The formula takes the two color values and produces a result, and the difference between modes is entirely in that formula.
| Mode group | What it does | Example modes |
|---|---|---|
| Darken | Result is darker than either layer | Multiply, Darken, Color Burn |
| Lighten | Result is lighter than either layer | Screen, Lighten, Color Dodge |
| Contrast | Darkens darks and lightens lights | Overlay, Soft Light, Hard Light |
| Comparative | Compares the two layers | Difference, Exclusion |
| Component | Affects one color property only | Hue, Saturation, Color, Luminosity |
The key insight is that most blend modes work per-channel on the raw color values, so a bright pixel and a dark pixel interact predictably. Understanding the five groups lets you predict a mode's behavior without memorizing each one.
When should you use multiply?
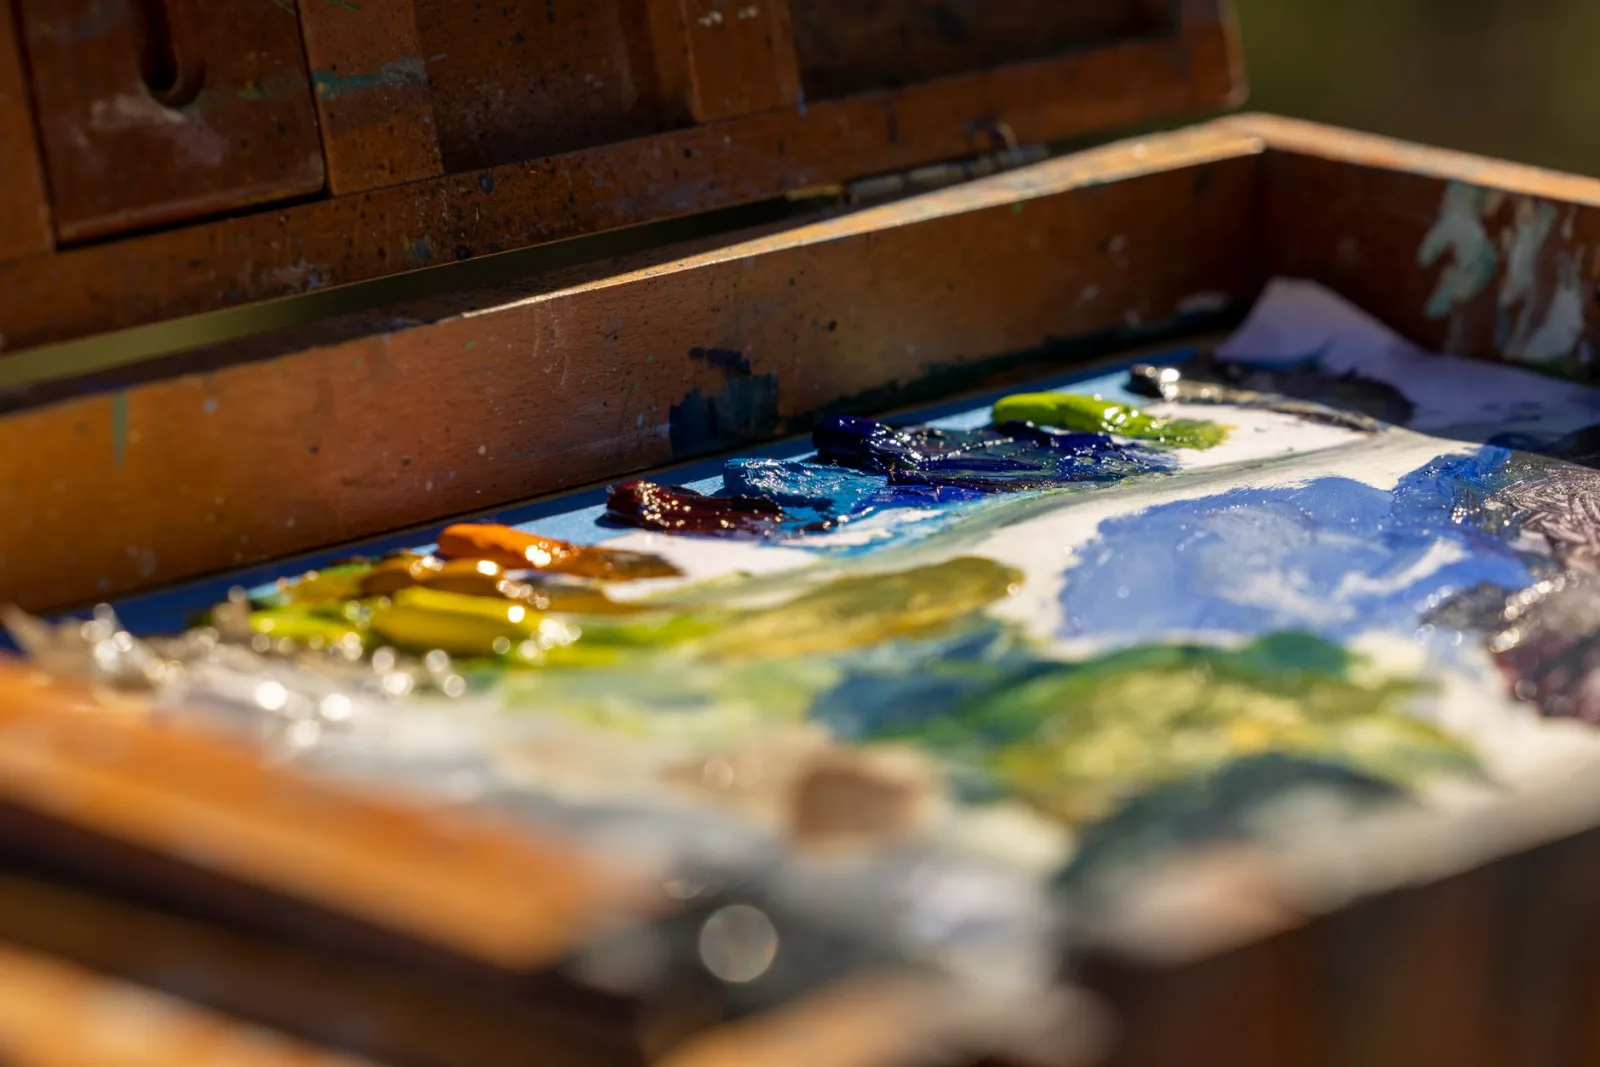
Multiply is the most-used darkening mode. It multiplies the base and blend values, which always produces a darker result, and it ignores pure white — white becomes transparent. This makes multiply ideal for texture overlays and shadows, because the white parts of the overlay disappear and only the darker texture shows.
- Drop a paper texture over a photo on multiply to add grain and age.
- Use a dark layer on multiply to create realistic shadows.
- Combine two photos on multiply for a darkened double exposure.
- White areas of the blend layer vanish, so they need no masking.
The ignore-white property is what makes multiply so useful for textures: a white-background scan of paper grain drops out entirely, leaving only the grain to darken the photo beneath.
When should you use screen?
Screen is multiply's opposite — it lightens, and it ignores pure black. Black becomes transparent, so a black background disappears and only the bright parts of the blend layer show. Screen is the mode for light effects: glows, light leaks, sparkles, and anything that should add light to the scene.

- Add a light leak overlay on screen for a vintage glow.
- Composite sparkles or bokeh on a black background — the black drops out.
- Build a double exposure by screening a bright texture over a photo.
- Use screen to lift shadows without affecting highlights.
Screen and multiply are complementary. For a balanced composite, a designer often uses multiply for the dark elements and screen for the light elements in the same piece.
How do you use overlay and soft light?
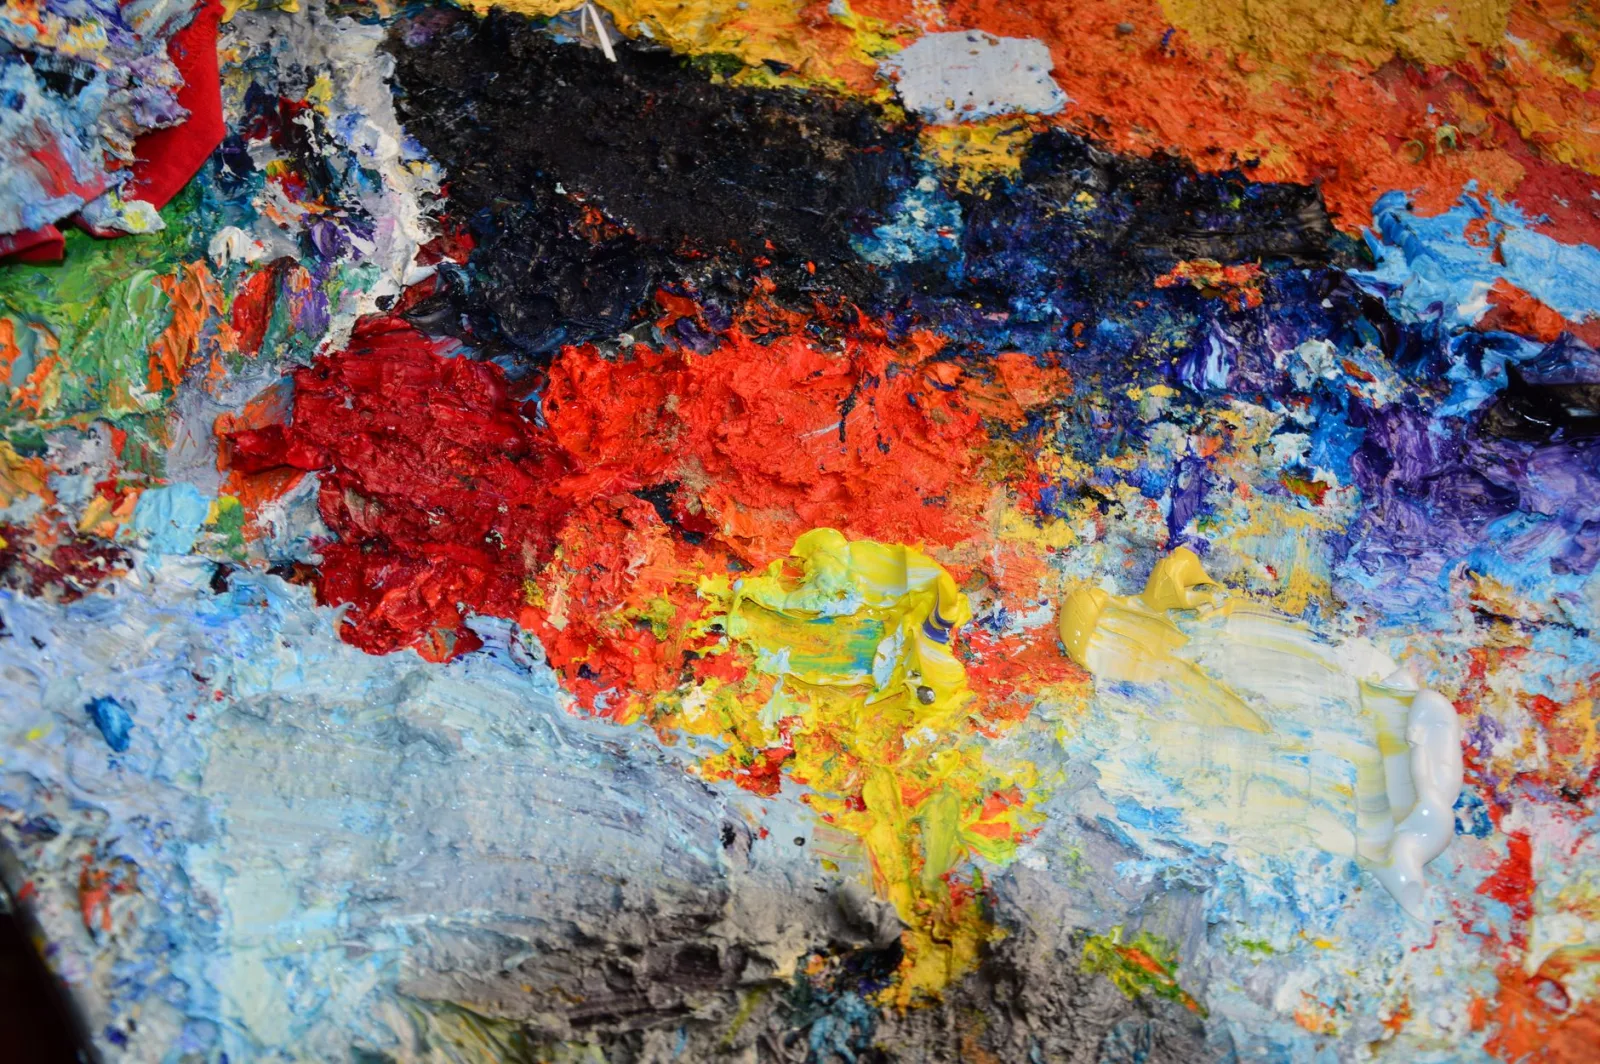
The contrast group — overlay, soft light, hard light — darkens the darks and lightens the lights, which boosts overall contrast. Overlay is a blend of multiply and screen; soft light is a gentler version. These modes are used for dodging and burning, adding contrast locally, and blending a texture while preserving the base photo's tonal range.
- Overlay a texture to add contrast and detail without flatly darkening.
- Soft light is subtler and safer for skin and portraits.
- Hard light is intense — use sparingly for dramatic effects.
- Paint on a 50% gray layer set to overlay for non-destructive dodging and burning.
The 50% gray overlay technique is a staple of professional retouching: a gray layer on overlay is invisible until you paint lighter or darker on it, which lets you dodge and burn non-destructively on a separate layer.
Blend modes in a compositing workflow
Blend modes rarely work alone — they sit inside a larger compositing workflow that combines several techniques into one finished image. A typical composite uses blend modes alongside layer masks, opacity adjustments, and the related photo effects covered elsewhere on this site.
| Technique | Blend mode used | Related guide |
|---|---|---|
| Texture overlay | Multiply | — |
| Light leak / glow | Screen | Light leak effect |
| Double exposure | Screen or Multiply | Duotone effect |
| Dodging and burning | Overlay (50% gray) | Photo enhancement |
| Color grading | Color or Hue | Color extraction |
The workflow that ties these together is non-destructive editing: each blend mode and mask lives on its own layer, so you can adjust or remove any effect without touching the original. This is why professional compositors work in layers rather than flattening as they go — the flexibility to revisit a blend mode later is what makes complex composites manageable. When a composite is finished, resize and compress the result for its destination.
Common blend mode mistakes
- Using the wrong group — picking a darkening mode when you wanted to lighten. Match the group to the goal.
- Ignoring opacity — a blend mode at 100% is often too strong; drop the layer opacity to 30-50%.
- Forgetting that black or white drops out — screen ignores black, multiply ignores white; use this, do not fight it.
- Not trying the mode menu — the fastest way to choose is to cycle through modes with the layer selected and watch the result.
For the technical definitions of every mode, the Adobe blend mode reference documents each formula, and the W3C CSS compositing spec defines the same modes for the web, where blend modes are available in CSS via mix-blend-mode and background-blend-mode. The same math applies whether you are in Photoshop or in a browser stylesheet, so learning the modes once transfers everywhere. Experiment with a real two-layer composite — a photo and a texture — and cycle through the modes; the behavior becomes intuitive fast, and that intuition is the real skill behind compositing.
Frequently asked questions
What is a blend mode?
A blend mode decides how one layer's pixels combine with the pixels beneath it — whether they multiply (darken), screen (lighten), overlay (contrast), or simply cover. Blend modes are how compositing, light effects, and color grading work in any layer-based editor.
When should I use multiply?
To darken — multiply keeps white transparent and darkens everything else, so a black-on-white texture (like grain or a shadow) multiplies onto a photo without covering it. It is the mode for adding shadows, texture, and darkening overlays.
When should I use screen?
To lighten — screen keeps black transparent and lightens everything else, so it is the mode for light effects, glows, and light leaks. A black-background light leak screened onto a photo adds light without darkening it.
What does overlay do?
Overlay combines multiply and screen: it darkens the darks and lightens the lights, increasing contrast. It is the mode for adding a color or texture that respects the underlying light and dark. Soft light is a gentler version.
Which blend mode adds a texture overlay?
Overlay or Soft Light — both increase contrast (darkening darks, lightening lights) so a texture layer reads as integrated rather than pasted on. Multiply darkens only; Screen lightens only. Overlay adds a texture that respects the light.
What is the difference between Overlay and Soft Light?
Both increase contrast (darkening darks, lightening lights), but Soft Light is gentler — it produces a subtler effect suitable for natural-looking texture overlays. Overlay is stronger and more visible. Use Overlay when you want the effect to read clearly; use Soft Light when you want it to blend invisibly. They are the same operation at different strengths.
Use the free tools while you follow the guide.
Keep reading
2026-09-13
How to Blur Faces and License Plates Before You Post
Blur or pixelate faces and license plates so they stay unreadable. Which method actually anonymizes, what fails, and how to avoid leaking EXIF location data.
2026-08-27
Invisible Watermarks: What Image Files Now Carry in 2026
Paint embeds a server-issued GUID in AI images, platforms strip C2PA manifests, and a plain WebP export drops all of it. What your files really carry, and how to check.
2026-07-28
Batch Image Processing: Pipeline Order, Settings, and Tools
Batch image processing runs resize, compress, and convert jobs across whole folders. The pipeline order, measured quality settings, tool choice, and automation.