2026-06-28 · Updated 2026-07-10
Light Leak Effect: Add Analog Film Light Leaks to Photos
Add light leaks to photos for an analog film look: warm streaks, edge flares, and hazy glow. Real placements, blend modes, and the photos where the effect works best.
Last updated: July 10, 2026
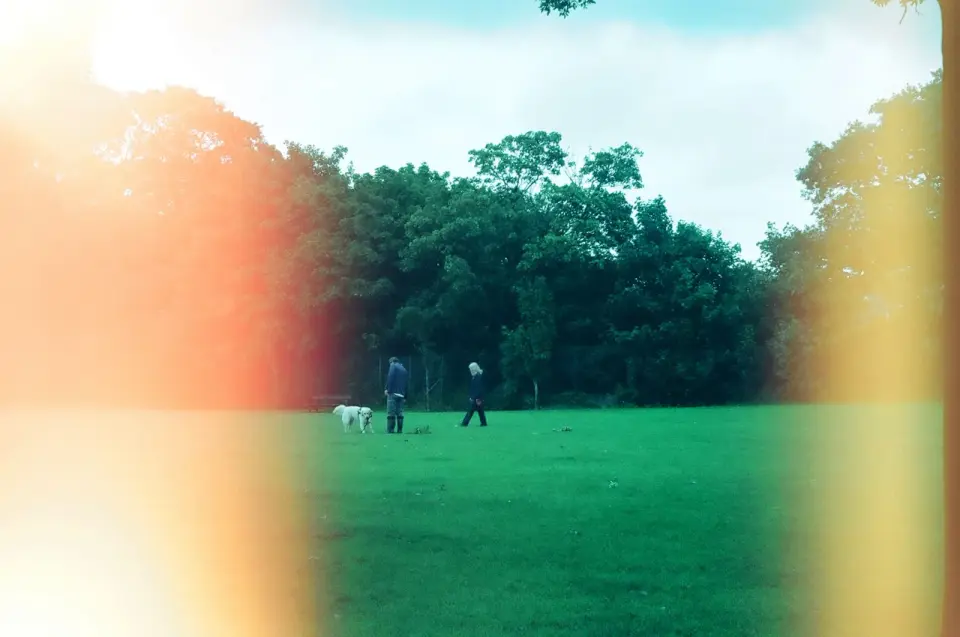
A light leak is a streak or haze of light across a photo, originally an accident of old film cameras where light seeped through a worn seal and exposed the film. As an accident it was a flaw; as a deliberate effect, it adds the warm, imperfect, analog mood that digital photos lack. This guide covers how to add light leaks convincingly, where to place them, and the blend modes that make them read as light rather than as a graphic overlay.
Quick answer: how do you add a light leak to a photo?
Use our Light Leak Effect tool for an instant version, or manually: place a light leak overlay (a soft, warm streak or haze) on a layer above the photo, set the blend mode to Screen so the dark areas drop out and only the light shows, and position it along an edge or corner where light would naturally enter. Adjust opacity so the leak glows rather than overwhelms. For a custom leak, paint a soft brush with warm color and blur it. The effect works best on photos with a vintage or casual mood; it clashes with clean product shots. Compress carefully because the gradients in a leak band under heavy JPEG.
What makes a convincing light leak?
A real light leak has specific characteristics, and matching them is what separates a believable effect from a cheap overlay.
| Characteristic | Why it matters |
|---|---|
| Warm color | Leaks pick up warm light, usually orange or pink |
| Soft edges | Light diffuses; hard edges read as graphic |
| Edge placement | Leaks enter from the frame edge, not the center |
| Variable intensity | Real leaks fade across the frame |
| Haze and bloom | The light lifts shadows where it falls |
- Warm orange, pink, or red tones read as light leaks; cool tones do not.
- The leak should be soft and diffused, never hard-edged.
- Leaks belong at the edges and corners, where camera seals failed.
- The light lifts the shadows where it falls, creating a hazy bloom.
How do you place a light leak?
Placement is what sells the effect. A leak in the wrong spot reads as a graphic element; a leak along an edge reads as light.
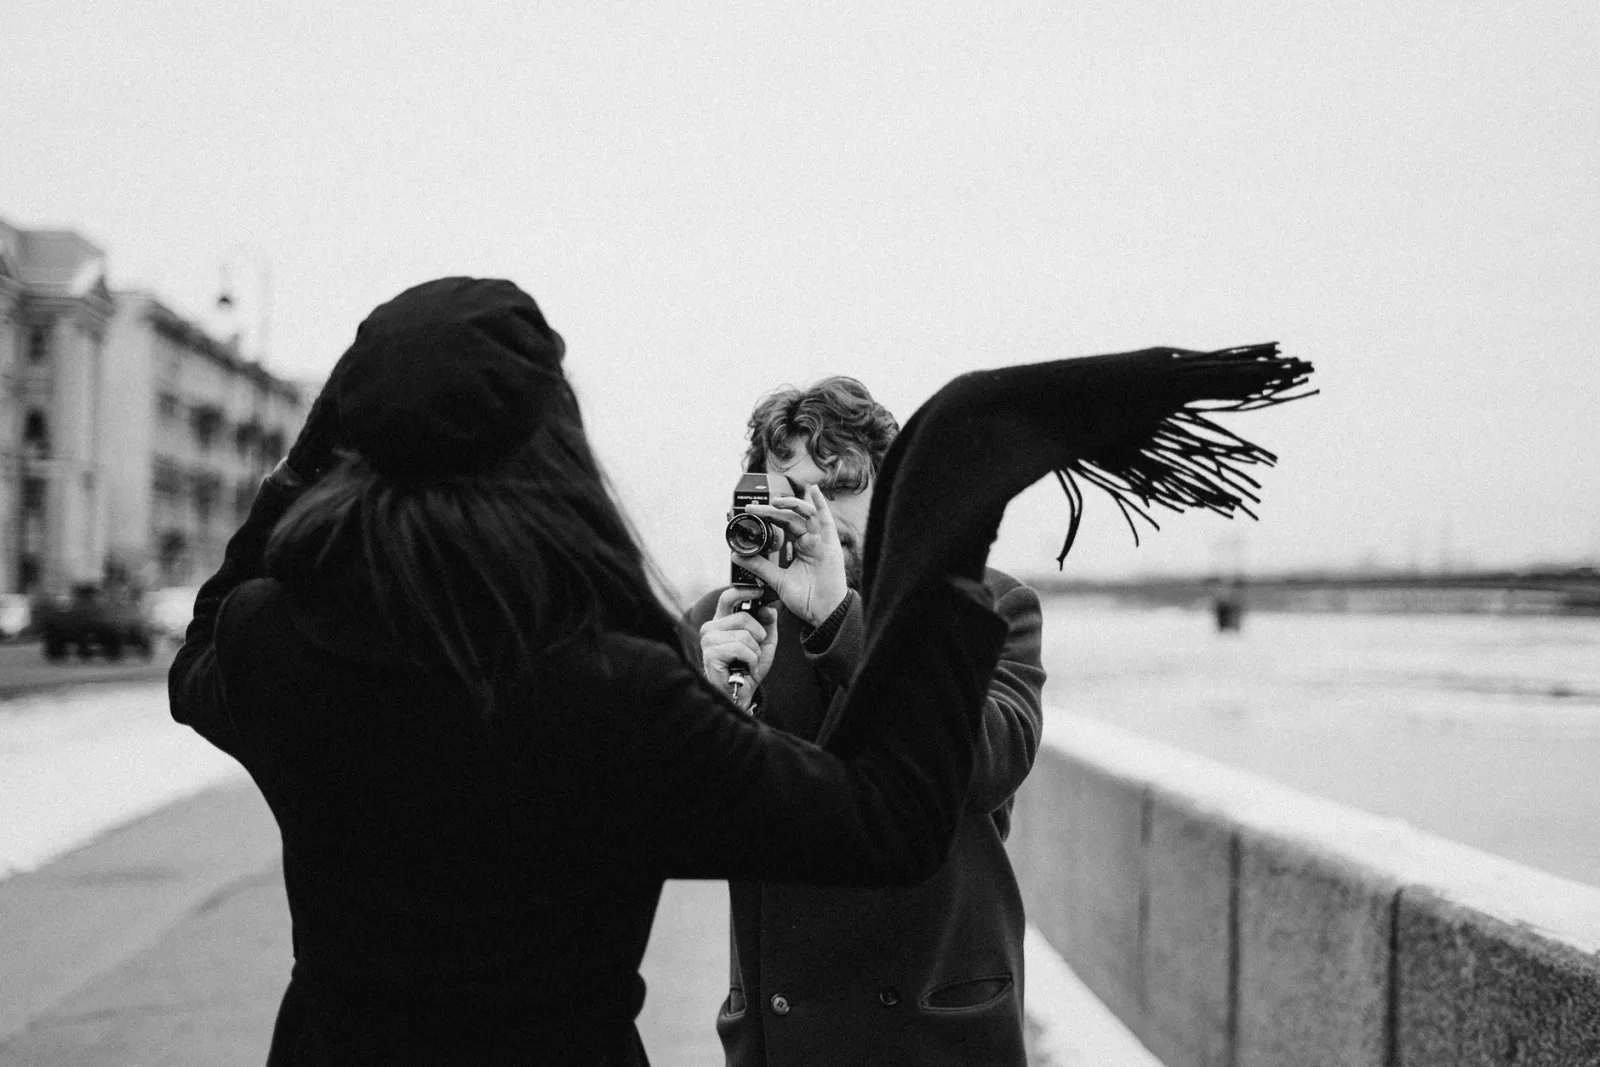
- Choose an edge or corner — top, bottom, or a corner where light would enter.
- Place the leak so it fades inward from the edge.
- Set the blend mode to Screen so the dark parts disappear.
- Reduce opacity until the leak glows rather than dominates.
- Match the leak color to the photo's existing light direction.
- The leak should feel like it is coming from outside the frame.
- Avoid placing leaks dead center — that never happens in reality.
- Multiple small leaks at different edges can look more authentic than one big one.
Which blend mode should you use?
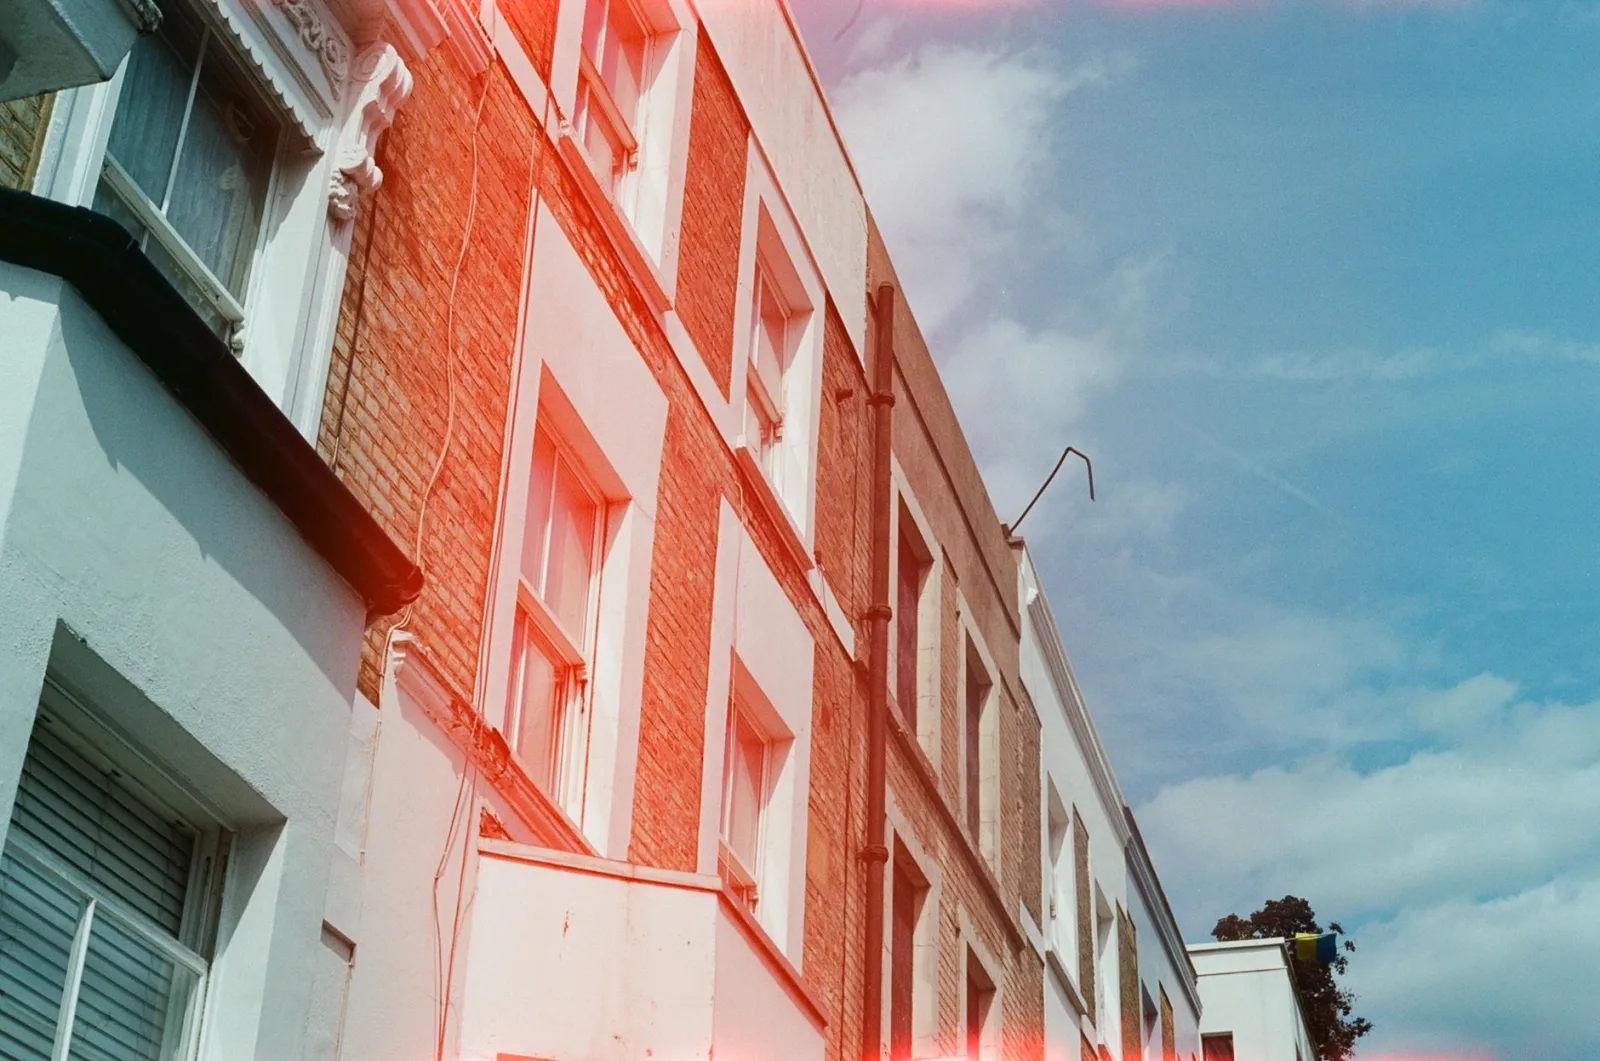
The blend mode is the technical key to the effect. Screen and its relatives make the dark parts of the leak transparent, so only the light shows — which is exactly how real light leaks behave.
| Blend mode | Effect on the leak |
|---|---|
| Screen | Dark drops out, light adds — the default |
| Lighten | Similar to screen, slightly different math |
| Overlay | Adds contrast, can look punchy |
| Soft Light | Subtle, good for gentle haze |
- Screen is the workhorse — it makes the leak behave like light.
- Avoid Normal mode, which just pastes the overlay as a graphic.
- Lower opacity is almost always needed; 30-60% is typical.
The blend mode guide covers the math behind Screen and the other modes in depth. The principle for light leaks is always the same: use a lightening mode so the overlay adds light rather than covering the photo.
When does the light leak effect work?
Light leak is a mood effect, and it suits some photos far better than others.

-
Casual and lifestyle photos — the imperfect analog feel fits.
-
Outdoor and golden-hour scenes — the warm light harmonizes with the leak.
-
Portraits with a nostalgic mood — the haze softens and romanticizes.
-
Music and editorial graphics — the texture adds analog character.
-
It clashes with clean product photography, corporate headshots, and anything where clarity and accuracy matter.
-
The photo should already have a loose, warm, or vintage quality for the leak to enhance rather than fight.
Common light leak mistakes
The effect is easy to overdo, and a few specific mistakes separate a convincing leak from an obvious overlay.
- Too much opacity — the leak dominates instead of glowing. Drop to 30-50%.
- Wrong blend mode — Normal mode pastes the overlay; use Screen.
- Cool-colored leaks — real leaks are warm. Stick to orange, pink, red.
- Center placement — leaks belong at edges, not the middle.
- Hard edges — light diffuses. Blur the leak until it is soft.
- Ignoring the photo's light direction — the leak should come from a direction consistent with the scene's light.
The single most common mistake is opacity. A light leak at full strength looks like a colored shape pasted on the photo; the same leak at 35% opacity looks like light bleeding into the frame. When in doubt, reduce the opacity further than seems necessary — the effect should be felt more than seen, contributing mood without drawing attention to itself as an effect.
Pairing leaks with other analog effects
Light leaks work well as part of a broader analog treatment rather than in isolation. Combining a leak with other vintage effects produces a more convincing film look than any single effect alone.
| Companion effect | How it complements the leak |
|---|---|
| Film grain | Adds the texture of real film |
| Faded blacks | Mimics aged film stock |
| Warm color cast | Unifies the analog mood |
| Soft focus / bloom | Enhances the hazy feel |
| Vignette | Focuses attention inward |
A light leak plus light grain and a slightly faded black point produces a composite that reads as genuine film photography rather than a digital photo with an effect layered on. The vintage filter guide covers the full analog treatment, and the noise reducer guide is the inverse — useful to know so you understand what grain you are adding back. The art is in restraint across all the effects: each one subtle, combined into a coherent whole.
Creating custom light leaks
Beyond pre-made overlays, you can build custom leaks from scratch, which gives full control over color, shape, and placement.
- Create a new layer filled with black above the photo.
- Paint soft, warm-colored (orange, pink) streaks along an edge with a large, soft brush.
- Apply a heavy Gaussian blur to soften the streaks into a haze.
- Set the layer to Screen blend mode.
- Adjust opacity and position to taste.
The advantage of a custom leak is that it is tailored to the specific photo — the color matches the scene's light, the shape follows the composition, and the placement enhances rather than distracts. The vintage filter guide and the glitch effect guide cover related stylized effects, and the duotone guide covers another color-overlay technique. For the underlying blend mode behavior, the Adobe blend mode reference documents the Screen and Lighten modes that leaks rely on, and the W3C compositing spec defines them for the web. A light leak, done with restraint and the right blend mode, is one of the easiest ways to give a digital photo the warmth and imperfection of analog film.
Frequently asked questions
Where should I place a light leak?
Along an edge or corner, where real light would bleed through a camera — never across the subject's face. A leak on a featureless edge reads as analog warmth; a leak over the subject looks like a mistake.
Which blend mode should a light leak use?
Screen or Lighten. Both add light without darkening the photo, which is what a real light leak does. Multiply or Normal would paint an opaque streak instead of a glow.
Can I add a light leak to any photo?
Most photos take one, but the effect suits warm, nostalgic, or outdoor scenes best. A clinical product shot or a technical diagram looks wrong with a leak. Match the mood: the leak should feel like the photo was shot on old film.
Should I combine a light leak with grain?
Yes, lightly. A light leak plus faint grain and a slightly faded black point reads as genuine film rather than a digital overlay. Keep each effect subtle — the combination sells the analog look where any single effect looks pasted on.
Can I save a light leak as a reusable overlay?
Yes — photograph or create a leak on a black background, save it as a PNG, and Screen-blend it onto any photo. A library of leak overlays lets you apply a consistent analog look across a set quickly.
How do I make a custom light leak overlay?
Create a new layer filled with black above the photo, paint soft warm-colored streaks (orange, pink) along an edge with a large soft brush, apply a heavy Gaussian blur, and set the layer to Screen blend mode. Save the result as a PNG on black, and you can Screen-blend it onto any photo for a consistent analog look. A library of custom leaks applies a series-wide look in one step.
Use the free tools while you follow the guide.
Keep reading
2026-07-28
AI Action Figure Trend: How to Prep Your Photo Right
Turn a photo into a collectible toy portrait: what makes the prompt work, and the crop, background, and resolution steps that avoid an obvious fake.

2026-07-26
AI Anime Generator Guide: Prompts, Styles, and Safe Exports
A practical AI anime generator workflow for portraits, avatars, banners, and social posts, with prompt templates, style checks, and export rules.

2026-07-26
Text-to-Image AI in 2026: How Prompt Generation Actually Works
Text-to-image AI turns a written prompt into a finished picture. Here is how the models, prompts, and settings behind image generation fit together in 2026.