2026-03-28 · Updated 2026-07-12
LinkedIn Image Resizer: Sizes, Crops, and Export Tips
Resize LinkedIn images for posts, profiles, banners, and ads with exact dimensions, crop-safe guidance, tables, and a repeatable export checklist.
Last updated: July 12, 2026
LinkedIn images fail in predictable ways: the banner crops a logo, a shared post looks soft, a profile photo has too much empty space, or an ad file is rejected during upload. The fix is usually simple. Pick the LinkedIn placement first, crop around the subject, then resize to the final pixel dimensions before you compress.
Quick answer: what size should a LinkedIn image be?
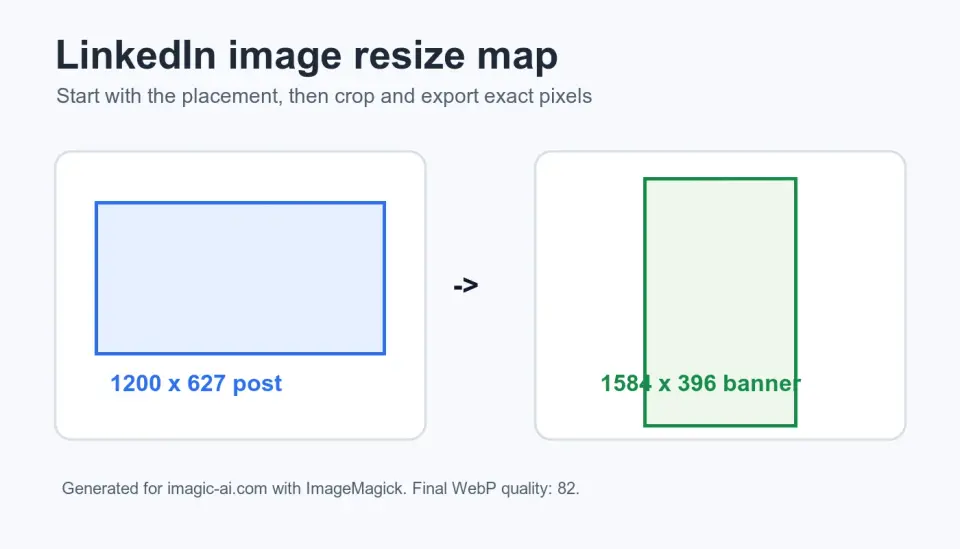
Use 1200 x 627 pixels for a standard LinkedIn shared image or link-preview style post, 400 x 400 pixels or larger for a square profile photo or company logo master, and 1584 x 396 pixels for a personal profile background banner. For paid single-image ads, check LinkedIn's current ad format documentation before launch because ad placements have their own ratio and file rules.
Start from the largest clean source image you have. Crop for the placement, export exact pixels, then compress once. If you only need the dimensions changed, use the Image Resizer. If the subject is off-center, crop first with the Image Cropper, then resize.
The practical rule is this: LinkedIn rewards a clean crop more than a huge file. A 5000-pixel image can still look amateur if the headline sits on the edge or the profile photo leaves the face tiny in the circle crop.
Which LinkedIn image size should you use?
Choose the placement before choosing the file. A company page banner, personal banner, profile headshot, organic post, and ad creative are different jobs. One resized image should not be forced into all of them.
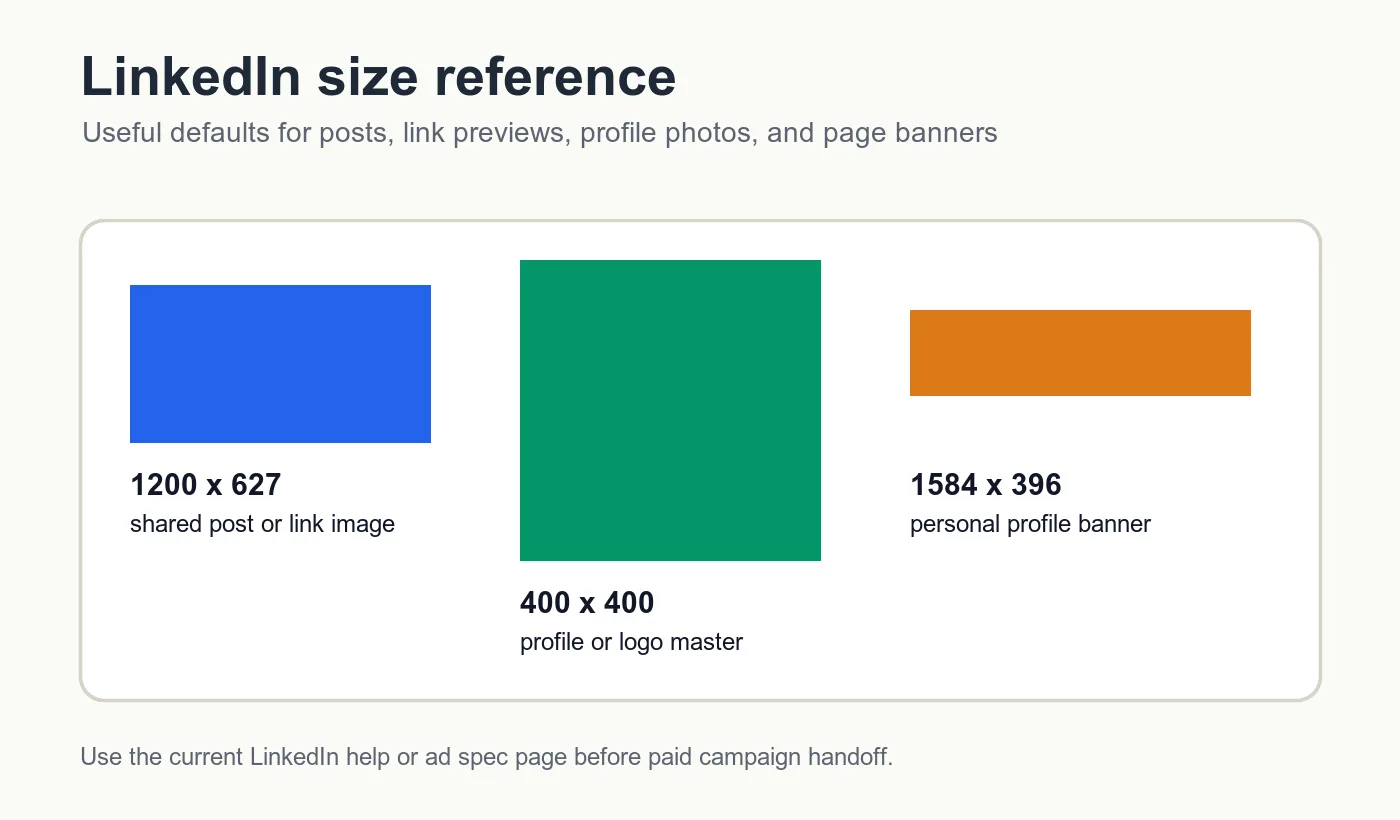
| LinkedIn placement | Practical export size | Aspect ratio | Crop note |
|---|---|---|---|
| Organic image post or link-style image | 1200 x 627 | 1.91:1 | Keep the subject and headline in the center because feeds can preview tightly. |
| Single image ad creative | Verify in LinkedIn Ads Guide | Varies by placement | Use LinkedIn's live ad spec before buying media. |
| Personal profile background | 1584 x 396 | 4:1 | Keep text away from the lower-left area where the profile image overlaps. |
| Profile photo or company logo master | 400 x 400 or larger | 1:1 | Export square, then check the circular preview. |
| Company page cover image | Wide banner crop | Wide | Keep brand marks centered and avoid thin text at the edges. |
| Article or newsletter thumbnail | 1200 x 627 | 1.91:1 | Match the Open Graph-style crop so the same asset works off LinkedIn too. |
LinkedIn's own single image ads guide is the right citation for paid creative because ad specs change by objective and placement. For website link cards, the Open Graph protocol explains the metadata pattern behind social preview images, including og:image.
How do you resize a photo for LinkedIn without blur?
Resize down from a larger source whenever possible. Upscaling a small headshot from 320 pixels wide to a large banner will not create facial detail; it only spreads the same pixels across a bigger canvas. If the source is small, choose a smaller placement or replace the photo.
Use this order for most LinkedIn assets:
- Open the original image, not a compressed social download.
- Duplicate it so the source stays untouched.
- Choose the LinkedIn placement.
- Crop to the placement ratio.
- Put faces, logos, and headlines inside the safe center area.
- Resize to the final pixel dimensions.
- Export as JPEG, PNG, or WebP depending on the upload destination.
- Compress only the final export.
- Preview on desktop and mobile.
- Keep the full-resolution source for future crops.
For web pages that will be shared to LinkedIn, web performance still matters. Google's web.dev image performance guide explains why right-sized, compressed images reduce wasted bytes. The same habit helps with LinkedIn: resize to the actual use case instead of uploading a giant untouched original.
If quality is the main concern, read how to resize an image without losing quality. If file weight is the issue, run the final export through the Image Compressor.
What should stay inside the LinkedIn crop-safe zone?
Protect the information that would make the image useless if it were cut off: a face, company name, product label, event date, offer, chart number, or callout. Put that content away from the outer edges before export.
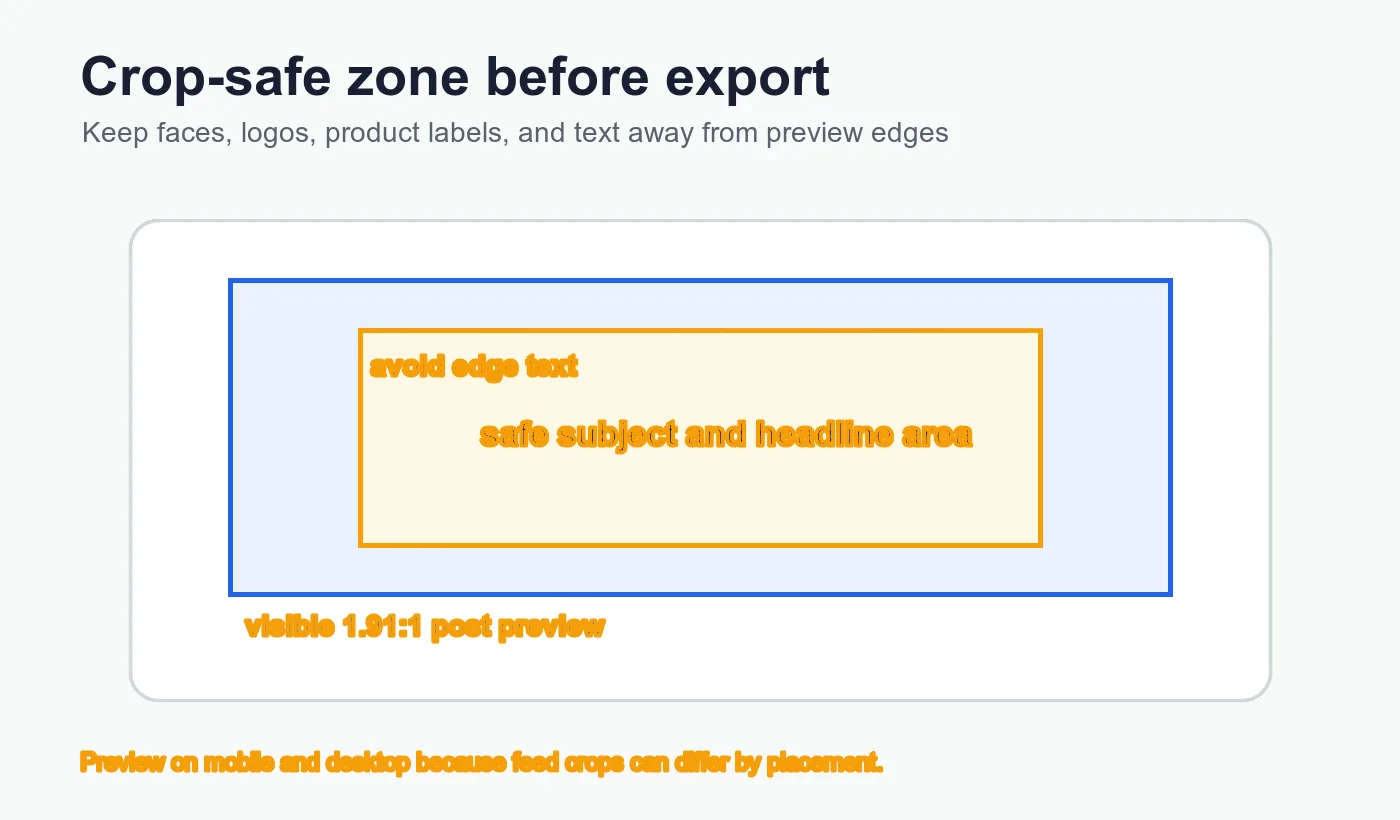
| Asset type | Keep centered | Keep away from edges | Check before publishing |
|---|---|---|---|
| Profile photo | Eyes, face, shoulders | Top of hair and chin | Circular avatar preview |
| Company logo | Whole logo mark | Taglines and legal text | Small feed comment avatar |
| Personal banner | Name, short positioning line | Important text near lower-left | Desktop profile and mobile profile |
| Organic post image | Subject, headline, product | CTA text and faces near sides | Feed preview on mobile |
| Event or webinar graphic | Date, title, speaker faces | Sponsor logos at corners | Small preview readability |
| Link preview image | Page topic and brand cue | Thin text and border elements | Website share debugger or draft post |
For a personal banner, leave extra space near the lower-left area because the profile photo can overlap the background image on many views. For a company logo, start with a square master and check whether the mark survives at small sizes. A logo that looks crisp at 1200 pixels can become a gray smudge in a comment thread.
Should you crop, fit, or add padding?
Use crop when the image should fill the LinkedIn frame. Use fit when the full asset must remain visible. Use padding when the source is a logo, screenshot, certificate, quote card, or document-style graphic that cannot lose edges.
| Method | What it does | Best for | Watch out for |
|---|---|---|---|
| Crop to fit | Fills the target ratio by cutting off extra sides or height. | Headshots, product photos, event photos, post images. | Can remove faces, logos, hands, dates, or chart labels. |
| Fit inside | Keeps the full image visible and may leave empty space. | Screenshots, reports, charts, certificates. | The image may look smaller in the feed. |
| Add padding | Places the full image on a larger canvas with a brand color or neutral background. | Logos, quote graphics, square-to-wide conversions. | Random padding colors can make the asset look unfinished. |
LinkedIn post graphics with heavy text usually need a new layout, not just a resize. A square webinar flyer squeezed into a 1200 x 627 frame will make the speaker names too small. Rebuild the wide version with fewer words, larger type, and the date in the center.
What export checklist catches most LinkedIn image problems?
Use a short checklist before upload. It catches the dull but expensive mistakes: wrong crop, soft text, huge files, and filenames that do not tell anyone what the image is.
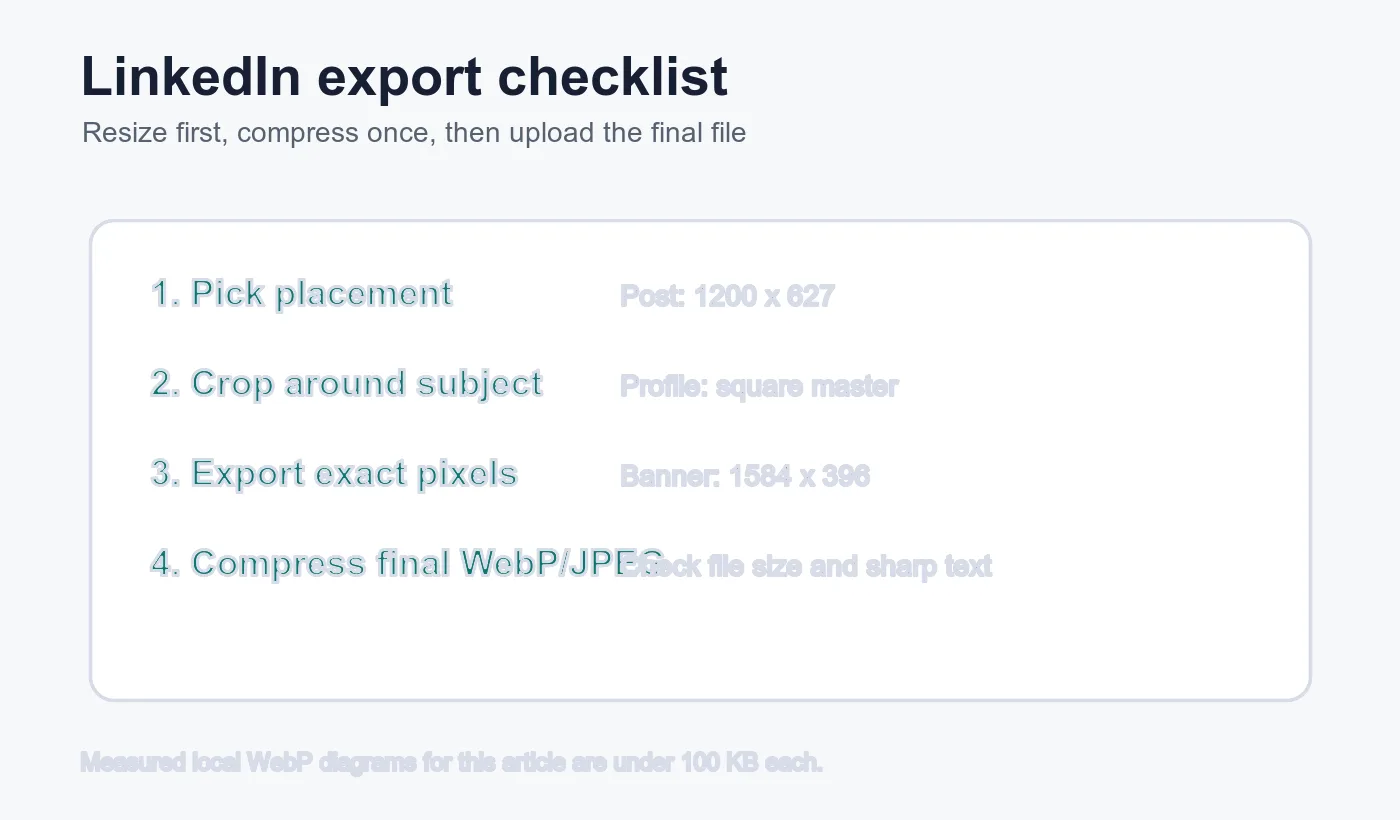
- Name the placement before editing, such as
founder-profile-bannerorq3-report-post. - Confirm the target ratio before resizing.
- Crop around the subject, not around the canvas center by default.
- Check that text is readable at feed size.
- Export the exact pixel size needed for the placement.
- Use sRGB color for browser and social uploads.
- Avoid repeated JPEG exports from the same file.
- Compress after resizing, not before.
- Open the exported file at 100% zoom.
- Upload a draft or preview before scheduling a campaign.
For this article, the reference diagrams were rendered at 1400 pixels wide with ImageMagick and exported as WebP at quality 82. The local files are about 25 KB to 32 KB each, which keeps the article fast while preserving readable labels. That measured workflow is the same one to use for LinkedIn: create the needed pixels, then compress the final file.
How should teams organize repeated LinkedIn exports?
Use a folder structure that separates source files from final uploads. It prevents the familiar mistake of posting banner-final-final-2.jpg because nobody knows which file passed review.
A simple structure works:
sourcefor original photos, screenshots, and layered design files.profilefor headshots and company logos.bannersfor personal and page background images.organic-postsfor feed graphics.adsfor paid creative that must match live LinkedIn specs.compressedfor final approved uploads.
When every headshot needs the same square output, use a batch process. The batch resize guide covers that workflow. When every image has a different face position, crop manually. Batch resizing cannot know that one person is leaning toward the left edge or that one company logo has tiny text underneath.
Common LinkedIn image resizing mistakes
Most LinkedIn image issues come from sequence, not software. Fix the order and the output usually improves.
- Resizing first, then discovering the crop ratio is wrong.
- Uploading a tiny profile photo and expecting it to sharpen.
- Putting banner text under the profile-photo overlap area.
- Designing a post image with small text meant for a desktop monitor.
- Exporting a screenshot as a low-quality JPEG.
- Reusing one square post graphic for every LinkedIn placement.
- Letting LinkedIn auto-crop a link preview with important text near the edge.
- Compressing the source file before creating the final dimensions.
- Forgetting to check the circular avatar crop.
- Naming files with vague labels like
linkedin-image-new.png.
For cross-platform campaigns, use the social media image sizes guide after you finish the LinkedIn version. LinkedIn is only one crop in a broader asset set, and the same hero image may need a square, story, link preview, and YouTube thumbnail.
Related tools and guides
- Image Resizer for exact LinkedIn pixel dimensions.
- Image Cropper for fixing composition before export.
- Image Compressor for smaller final upload files.
- Social Media Image Sizes Complete Guide for campaign-wide dimensions.
- Resize an Image Without Losing Quality for quality checks.
Frequently asked questions
What size should a LinkedIn post image be?
Use 1200 x 627 pixels for a standard organic post or link-preview image, the same crop that works for an Open Graph share image off LinkedIn.
What is the correct LinkedIn personal banner size?
Export the personal profile background at 1584 x 396 pixels and keep important text out of the lower-left area where the profile photo overlaps.
What size should a LinkedIn profile photo or company logo be?
Export a square master at 400 x 400 pixels or larger, then confirm the mark still reads clearly inside the circular avatar preview.
Why does my LinkedIn image look blurry after I resize it?
Blur almost always comes from upscaling a small source file, so resize down from a larger original whenever one is available.
Should I crop, fit, or pad a graphic before uploading to LinkedIn?
Crop photos that should fill the frame, fit screenshots and certificates that must stay fully visible, and pad logos or quote cards that cannot lose their edges.
What file format should I export LinkedIn images in?
Export as JPEG, PNG, or WebP depending on the upload destination, and compress only after the image is resized to its final pixel dimensions.
Where can I find the exact size for a LinkedIn single image ad?
Check LinkedIn's own single image ads guide before launch because ad ratios and file rules change by placement and objective.
How do I keep a face or logo from being cut off in a LinkedIn crop?
Keep faces, logos, and headline text centered and away from the outer edges before you export the final crop.
Image credits
The LinkedIn resize map, size reference, crop-safe zone, and export checklist images were generated for this article with ImageMagick, based on practical LinkedIn export dimensions, and converted to WebP for CDN delivery.
Use the free tools while you follow the guide.
Keep reading
2026-07-26
How to Batch Resize Images: Free Tools and Scripts Compared
Resize hundreds of images at once with free online tools, ImageMagick, XnConvert, and Python scripts. Copy-paste commands, preset sizes, and a practical workflow.
2026-07-26
Bulk Image Resizer: Resize Hundreds of Images at Once (Free)
Resize hundreds of images in bulk for free with a browser tool, ImageMagick, XnConvert, or a Python script, with real byte savings and the safe batch workflow.
2026-07-26
How to Crop an Image to a Circle (Profile Photos and Avatars)
Crop an image to a circle for avatars and profile photos: the square-first rule, making a transparent circle PNG or a circle on a background, and where circles are used.