2026-06-28 · Updated 2026-07-10
Image Shadow Generator: Add Realistic Shadows to Photos
Add shadows to product and object photos: drop shadow, contact shadow, and cast shadow. Real settings for believable light direction, softness, and grounding a subject.
Last updated: July 10, 2026
A shadow is what grounds a subject in its scene. A product floating on pure white looks pasted; the same product with a soft contact shadow looks photographed. Shadow generation is the skill of adding believable shadows to a cutout or a flat image, and it is essential for product photography, compositing, and any image where the subject needs to read as occupying real space. This guide covers the shadow types that matter, the light and softness settings that make them believable, and the mistakes that make a shadow look fake.
Quick answer: how do you add a shadow to a photo?
Decide the shadow type — a drop shadow for a floating look, a contact shadow to ground the subject, or a cast shadow for directional light — then set the direction to match a single implied light source, control the softness and opacity, and blend. The shadow should be subtle enough to read as light, not as a graphic. For products on white, a soft contact shadow directly beneath is the standard. Use our Shadow Generator tool or a layer with a blur, and keep the background remover result as the source so the shadow follows the cutout.
Why do shadows matter for product photos?
E-commerce product photos almost always sit on pure white, and a product on pure white with no shadow looks like it is floating in a void. The shadow is what tells the eye the product is resting on a surface. This is why every major marketplace and product photographer adds a contact shadow — without it, the image reads as a graphic, not a photograph.
| Without shadow | With contact shadow |
|---|---|
| Product looks floating | Product looks grounded |
| Reads as a cutout | Reads as a photo |
| Unprofessional | Marketplace-ready |
- A contact shadow grounds the product on the implied surface.
- It adds depth without distracting from the product.
- It is the difference between a clean catalog image and a flat one.
Which type of shadow should you use?
Shadow types serve different purposes, and choosing the right one depends on the light you are implying.
| Shadow type | Best for | Look |
|---|---|---|
| Contact shadow | Grounding a product on a surface | Soft, directly beneath |
| Drop shadow | Floating a subject off the page | Offset, directional |
| Cast shadow | Implied directional light | Long, follows light angle |
| Inner shadow | Depth inside an object | Receding edges |
- Contact shadow: a soft shadow directly under the subject — the product-photo default.
- Drop shadow: an offset shadow as if from a light above and behind — for UI and floating graphics.
- Cast shadow: a directional shadow from an implied side light — for dramatic or natural scenes.
- Inner shadow: darkens the inside edges of an object to suggest depth.
How do you set light direction and softness?
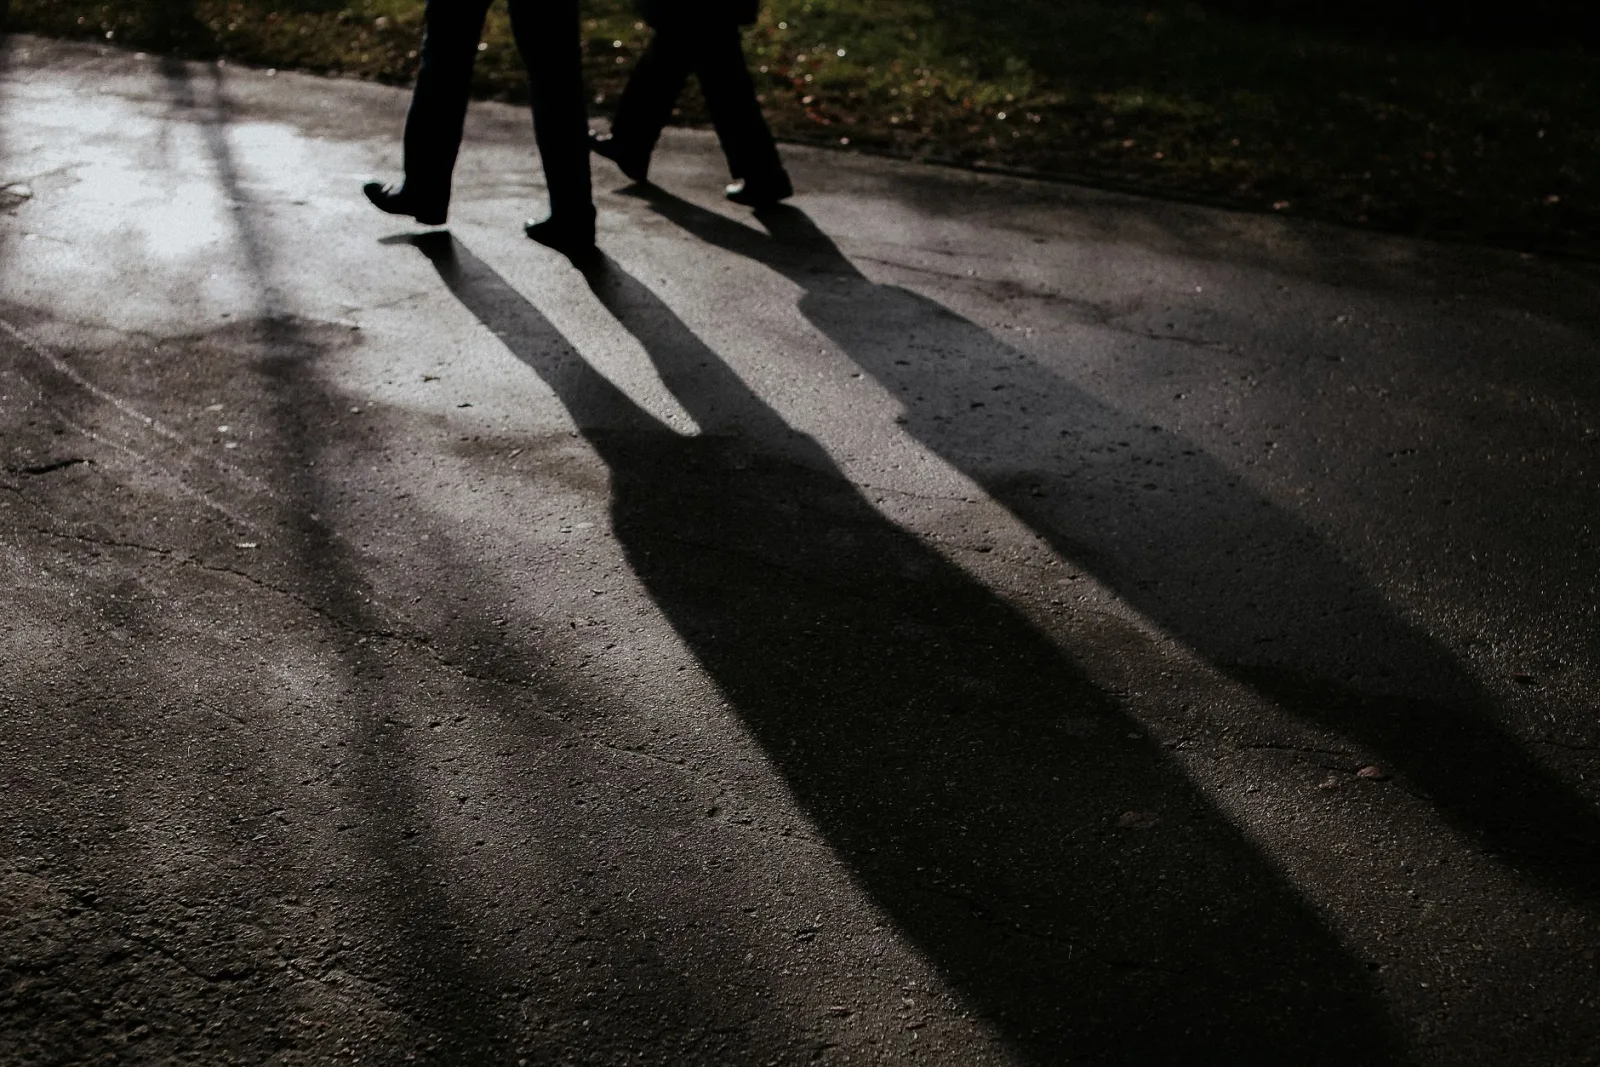
A believable shadow follows a single implied light source. Decide where the light comes from — usually above and slightly to one side — and make every shadow in the image consistent with that direction. Softness is controlled by the blur on the shadow layer: a hard-edged shadow implies a small, hard light; a soft shadow implies a large, diffuse light.
- Choose the light direction — top-left, top-right, straight above.
- Set the shadow to fall opposite the light.
- Match the softness to the implied light — soft for diffuse, hard for direct.
- Set opacity low — shadows are rarely pure black; 20-40% opacity is typical.
- Keep every shadow in the image consistent with the same light source.
- Inconsistent light direction is the most common giveaway of a fake shadow.
- Softness should match the scene — a hard shadow in a soft-lit scene looks wrong.
- Shadows are rarely black; they take on a tinted, translucent quality.
How do you create a contact shadow for products?
The product contact shadow is the workhorse of e-commerce editing. It is a soft, slightly offset shadow directly beneath the product that grounds it on the white surface.
- Duplicate the cutout product onto a shadow layer.
- Fill it black, then blur it heavily to soften.
- Position it slightly offset beneath the product.
- Reduce opacity to 25-35% so it reads as shadow, not as a shape.
- Optionally compress it vertically to mimic the surface perspective.
The product photo background remover guide covers the cutout step that precedes the shadow, and the result combined with the shadow produces a clean, grounded product image ready for any marketplace.
Matching shadow to surface and context
The shadow must match the surface the subject sits on and the context of the scene. A shadow that works on a pure white product background looks wrong in a lifestyle scene with a real floor, because the real surface has its own color, texture, and reflectivity that the shadow should interact with.
| Surface | Shadow treatment |
|---|---|
| Pure white (product) | Soft, low-opacity contact shadow |
| Wood or concrete | Shadow takes on surface tint |
| Reflective floor | Shadow plus a faint reflection |
| Fabric | Soft, diffuse shadow |
| Outdoor ground | Longer, directional cast shadow |
On a pure white product background, the shadow is purely about grounding — a soft, low-opacity shape that says "this sits on a surface." On a real surface, the shadow should pick up some of the surface's color and texture, and a reflective surface may need a faint reflection of the subject in addition to the shadow. The skill is in reading the scene and matching the shadow to what that surface would actually produce, rather than applying the same shadow preset everywhere.
Common shadow mistakes
- Pure black, full opacity — looks like a shape, not a shadow. Lower the opacity.
- Inconsistent light direction — every shadow must follow the same source.
- Too hard an edge — real shadows are soft; add blur.
- Drop shadow on a grounded product — products need contact shadows, not floating ones.
- Shadow too long or too short — match the shadow length to the implied light angle.
For the technical foundation of how light creates shadows, the Mozilla guide to CSS shadows documents the parameters for web-based shadows, and the Cambridge in Colour lighting guide covers the physical principles. The image border generator guide covers a related finishing touch, and the background removal guide covers the cutout step that shadows follow. A believable shadow is the final detail that sells a composite or a product image — it tells the eye the subject belongs in the scene.
Frequently asked questions
Why do shadows matter for product photos?
A shadow grounds the product — without one, the object looks pasted onto the background, floating unnaturally. A subtle contact or drop shadow tells the eye the product sits on a real surface. It is the difference between a cutout and a believable product shot.
Which type of shadow should I use?
A contact shadow for an object sitting on a surface (a soft, dark shape directly beneath), a drop shadow for an object floating above (offset, softer), or a cast shadow for directional light (angled, longer). Match the shadow to the implied light source.
How do I set light direction?
Decide where the light comes from (usually top-left or top-right), then cast the shadow away from that direction. The shadow direction must match the highlights on the subject — a mismatch gives away the composite. Keep it consistent across a product set.
How do I create a contact shadow?
Duplicate the product cutout, fill it black, blur it heavily, flatten it beneath the product, and reduce opacity until it reads as a soft grounding shadow rather than a black blob. The blur and the opacity are the controls.
Can shadows be added in batch?
Yes — a script applies the same shadow settings to a folder of product cutouts, keeping the lighting consistent across a catalog. Keep the shadow direction and opacity identical across the set so the catalog reads as one shoot.
How do I match a shadow to the surface?
Read the surface the subject sits on: a shadow on pure white is a soft, low-opacity shape that grounds the subject, while a shadow on a real floor should pick up some of the floor's color and texture, and a reflective surface may need a faint reflection too. Applying the same shadow preset everywhere looks wrong; match the shadow to what that surface would actually produce.
Use the free tools while you follow the guide.
Keep reading

2026-09-13
How to Blur Faces and License Plates Before You Post
Blur or pixelate faces and license plates so they stay unreadable. Which method actually anonymizes, what fails, and how to avoid leaking EXIF location data.

2026-08-27
Invisible Watermarks: What Image Files Now Carry in 2026
Paint embeds a server-issued GUID in AI images, platforms strip C2PA manifests, and a plain WebP export drops all of it. What your files really carry, and how to check.

2026-07-28
Batch Image Processing: Pipeline Order, Settings, and Tools
Batch image processing runs resize, compress, and convert jobs across whole folders. The pipeline order, measured quality settings, tool choice, and automation.