2026-06-28 · Updated 2026-07-12
AI Art Generator Workflow: Prompts, Review, and Export
Use an AI art generator with a practical prompt workflow, review checklist, rights checks, and export steps for publishable images.
Last updated: July 12, 2026
An AI art generator is useful when you need original-looking concept art, editorial images, ad variants, or visual directions faster than a manual illustration pass. It is not a slot machine. The strongest results come from a clear brief, a controlled prompt, a review pass, and a boring export checklist.
Quick answer: how should you use an AI art generator?
Use an AI art generator by writing a short creative brief first, then turning that brief into a structured prompt: subject, style, composition, constraints, and review notes. Generate several candidates, keep the one closest to the brief, and make targeted edits instead of endlessly rerolling.
For publishable work, check three things before export: visible artifacts, usage rights, and final format. Faces, hands, logos, invented text, and product details need a 100% zoom review. For web publishing, export a correctly sized WebP or JPEG and keep a record of the prompt, model, date, and edits.
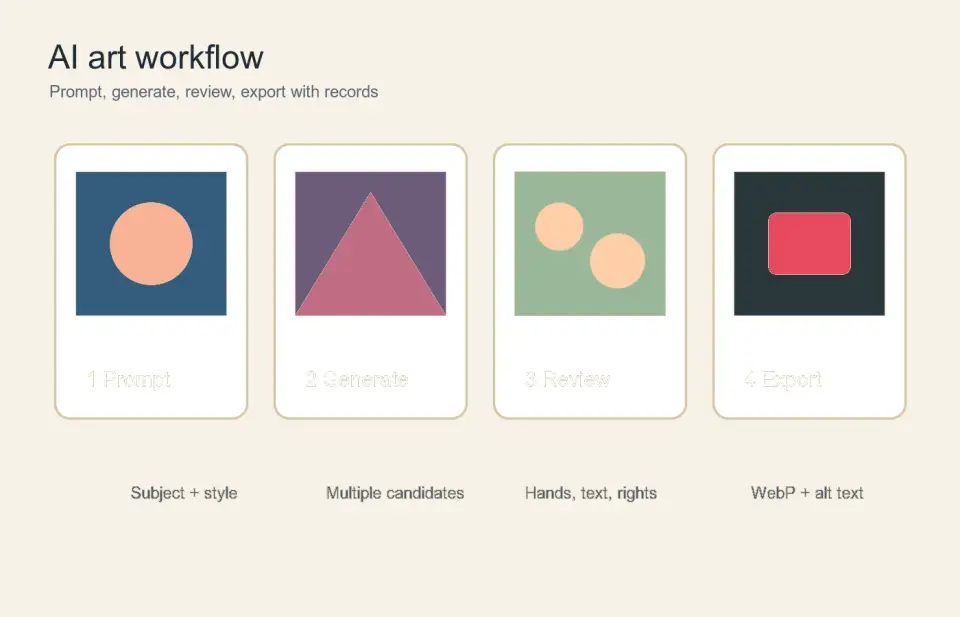
I tested this workflow while making the four visuals in this article: each image started as a job-specific brief, then moved through prompt wording, visual review, and WebP export. The exact tools can change; the review discipline should not.
What is an AI art generator?
An AI art generator creates images from text prompts, reference images, masks, or a mix of all three. The common use cases are concept exploration, blog illustrations, mood boards, ad mockups, thumbnails, and style studies.
The category overlaps with text-to-image AI, AI art from a photo, and broader AI image editing tools. The difference is workflow intent. A text-to-image tool starts from words. A photo-to-art workflow starts from a supplied image. An art-generator workflow often combines prompt writing, selection, editing, and export into one production sequence.
The official OpenAI image generation guide describes the core modes as image generation, image editing, and image variation. That is a useful mental model even when you use another product: create the first image, edit the selected one, then make controlled variants only when the brief still needs options.
Which AI art workflow should you choose?
Pick the workflow based on how much control the final image needs. A social post can tolerate a looser prompt. A product page, client deck, or ad needs stronger review because small visual errors become trust problems.
| Job | Best workflow | What to control |
|---|---|---|
| Blog hero or editorial image | Text prompt plus two review passes | Mood, composition, readable subject |
| Product concept mockup | Prompt plus reference image | Shape, materials, scale, brand safety |
| Portrait style exploration | Photo-to-art workflow | Likeness consent, face quality, lighting |
| Ad creative variations | Seeded variants from one approved image | Crop, message fit, platform size |
| Finished commercial illustration | Prompt, edit, manual polish, rights review | Artifacts, usage license, provenance |
Use a generator for fast visual exploration when the cost of trying five directions is lower than commissioning five sketches. Do not use it as the final authority on details. AI systems still invent letters, logos, jewelry, UI controls, product seams, and extra fingers.
How do you write a prompt that produces usable art?
Write the prompt like a tiny creative brief, not like a search query. A good prompt names the subject, visual style, composition, constraints, and what to avoid. Keep it specific enough to guide the model, but not so packed that the model treats every word as equal.
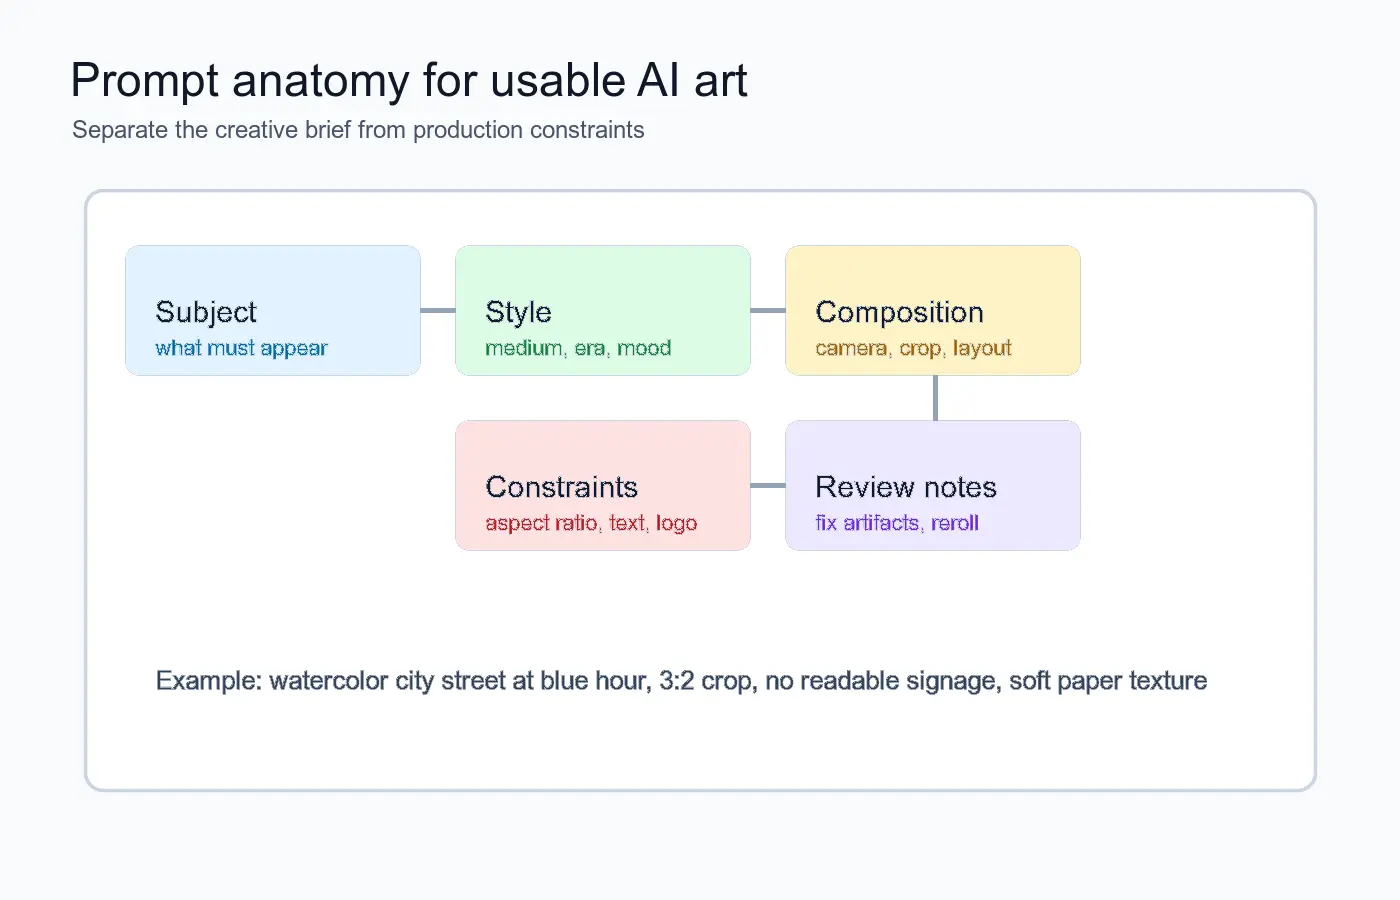
Use this order when the first generation matters:
- Name the subject in plain language.
- Add the medium or style: watercolor, cinematic photo, gouache poster, ink drawing.
- Set the composition: close-up, overhead, wide landscape, centered product, 3:2 crop.
- Add lighting and mood only when they affect the result.
- State constraints: no readable text, no logos, no extra objects, white background.
- Ask for the intended output size or aspect ratio if the tool supports it.
- Save the prompt with the chosen result so you can reproduce the direction.
Here is a usable prompt skeleton:
| Prompt part | Example wording | Why it helps |
|---|---|---|
| Subject | "A ceramic coffee cup beside a sketchbook" | Gives the model the main object |
| Style | "Loose editorial gouache, visible paper texture" | Narrows the visual language |
| Composition | "Three-quarter view, negative space on the right" | Leaves room for layout or headline |
| Constraints | "No logo, no readable text, no extra hands" | Reduces common failure points |
| Output | "Horizontal 16:9, soft daylight" | Fits the publishing surface |
If you are starting from a real photo, use the more controlled process in AI Art Generator From Photo. Reference images are better when the subject must stay recognizable.
What should you check before accepting generated art?
Review the image at normal size first, then at 100% zoom. Normal size tells you whether the image works as a composition. Zoom tells you whether it will embarrass you after publishing.
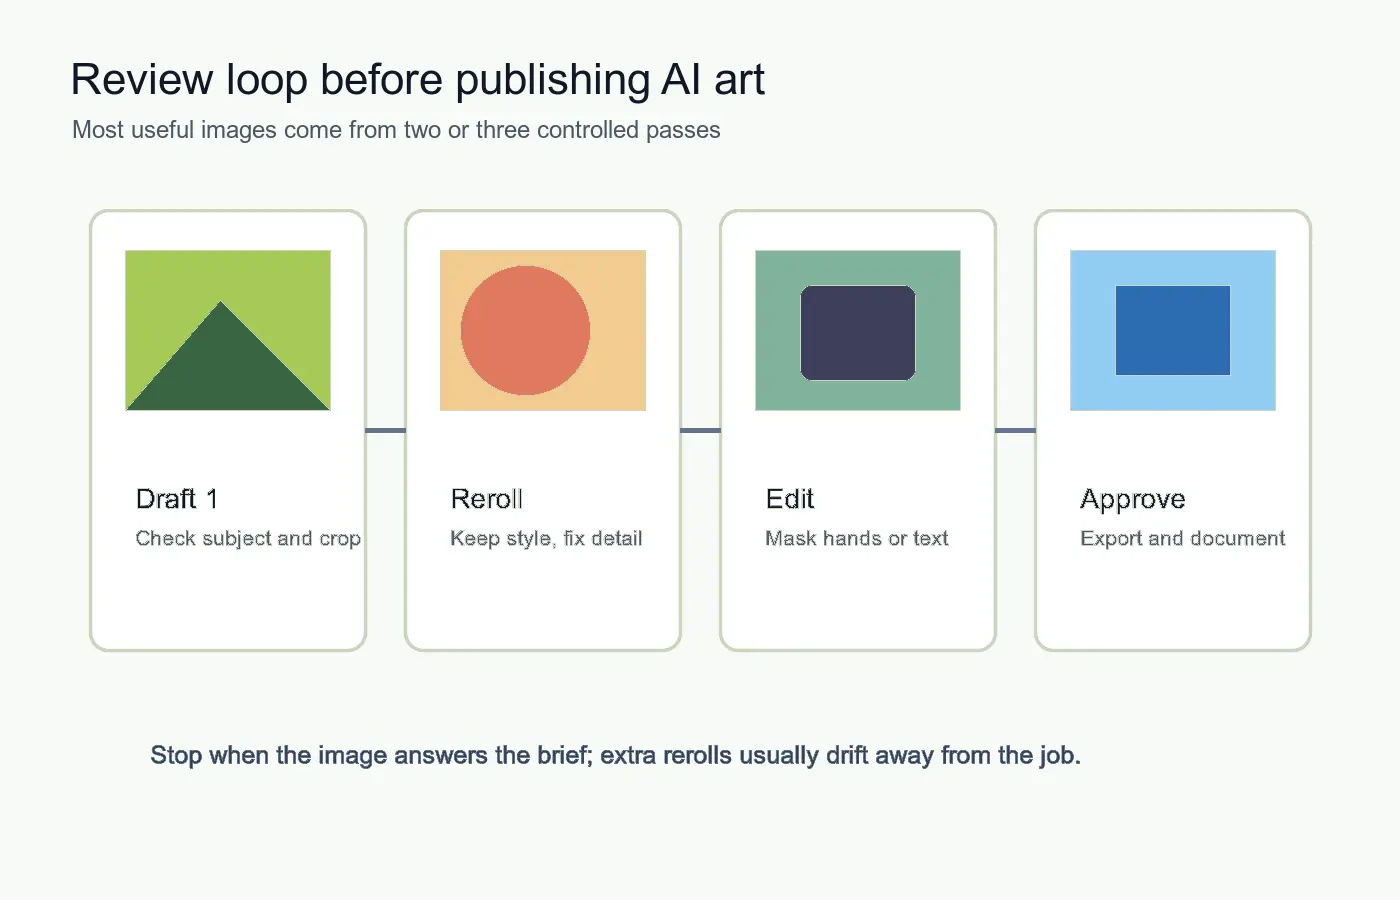
Check these details before you call a generated image finished:
- Hands, fingers, teeth, eyes, and ears.
- Invented text on signs, labels, books, UI screens, and packaging.
- Logo-like shapes that could be mistaken for a real brand.
- Symmetry errors in products, furniture, vehicles, and architecture.
- Background objects that change the story or add clutter.
- Skin texture and lighting consistency in portraits.
- Cropping around hair, transparent objects, or product edges.
- Color banding after compression.
- Aspect ratio against the page, ad slot, or thumbnail surface.
- Whether the image still answers the original brief.
Stop rerolling when the image solves the job. Extra generations often drift away from the useful idea. If the best candidate has one flaw, mask or edit that area instead of asking the model to rebuild the whole image.
Can you use AI-generated art commercially?
Sometimes, but you need to check the tool terms, source material, and subject matter. Commercial use is not only a copyright question. It can involve trademark, publicity rights, client contracts, marketplace rules, and platform policies.
The U.S. Copyright Office explains in its copyright and artificial intelligence materials that copyright protection depends on human authorship. Treat that as a reason to keep clear records of your human choices: the brief, prompt, selection notes, edits, and final approval.
Use this practical rights screen:
| Risk area | Safer practice | Red flag |
|---|---|---|
| Living person or celebrity | Use consented source material or avoid likeness | "Make it look like..." a real person |
| Brand or logo | Use owned brand assets only after approval | Fake marks that resemble real companies |
| Training/reference image | Use images you own, licensed stock, or client-approved files | Pulling random artwork as style reference |
| Marketplace or ad use | Check the destination policy before export | Upload rejected for synthetic content rules |
| Client delivery | Document tool, prompt, edits, and review date | No record of how the image was made |
When provenance matters, consider adding content credentials or keeping a production log. The C2PA specification defines a standard for attaching provenance metadata to media. Not every workflow supports it yet, but the direction is clear: clients and platforms increasingly want to know how an image was made.
How do you export AI art for web, social, and clients?
Export is where many good generations get damaged. Do not upload a 4096px PNG to a page that displays it at 720px. Resize first, then choose the format.
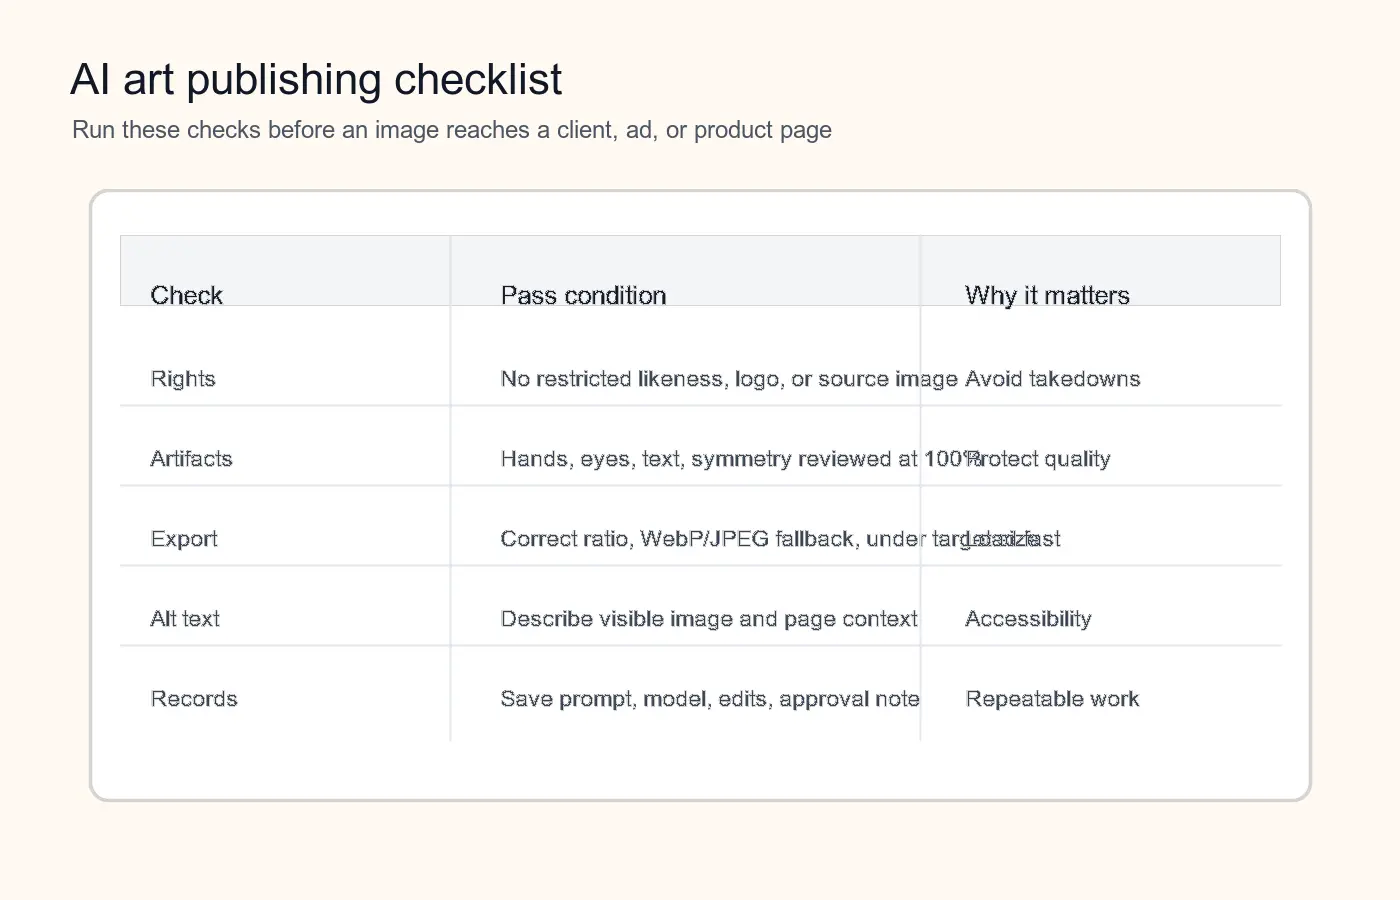
Use this export rule:
| Destination | Recommended export | Check before publishing |
|---|---|---|
| Blog image | WebP at display width, JPEG fallback if needed | File size, alt text, LCP impact |
| Social post | Platform-specific JPEG or PNG | Crop, safe area, text legibility |
| Client deck | High-quality PNG or JPEG | Slide crop and color consistency |
| Product concept page | WebP plus original master file | Edges, shadows, product truthfulness |
| Print handoff | Ask printer before conversion | DPI, color profile, bleed |
For web work, use the Image Format Converter when you need WebP, JPEG, or PNG versions, and compress final files with an image compressor before upload. If you are comparing model output across tools, the DALL-E 3 alternatives and Midjourney v7 guide help set expectations about prompt control and style range.
Add alt text after the final image is chosen. Describe the visible image and its page context. A good alt text line is specific: "Watercolor city street illustration with blue evening light and empty space for a headline." A weak line says only "AI art."
Common mistakes that waste time
- Starting with a prompt that is really a paragraph of mood words.
- Asking for readable poster text instead of adding real text later.
- Using a famous artist's name when a plain style description would work.
- Publishing the first pretty result without checking hands, eyes, and objects.
- Rerolling a near-finished image instead of editing the one flawed area.
- Exporting huge PNG files for web pages.
- Forgetting to save the prompt and approval notes.
- Using a real person's likeness without consent.
- Treating the model's output as accurate product photography.
- Cropping after export and accidentally cutting off the subject.
A practical starting workflow
For one blog hero, ad concept, or internal mood board, use this simple order:
- Write a one-sentence brief: audience, subject, mood, destination.
- Create a structured prompt from the brief.
- Generate four candidates.
- Pick the closest candidate, not the prettiest unrelated one.
- Review artifacts at 100% zoom.
- Make one focused edit or reroll with a narrower instruction.
- Resize to the real display size.
- Export WebP for web or JPEG/PNG for handoff.
- Add alt text and a short production note.
- Archive the prompt, final file, and source reference.
This keeps AI art useful as a production tool instead of a time sink. The generator gives you options quickly; the human part is deciding which image is true to the job, legally usable, and ready for the surface where it will appear.
Related guides
- Text-to-Image AI Workflow
- AI Art Generator From Photo
- AI Image Editing Tools
- DALL-E 3 Alternatives
- Midjourney v7 Guide
- Image Format Converter
Frequently asked questions
What is an AI art generator good for?
It is good for fast concept exploration, blog and editorial images, mood boards, ad mockups, and thumbnails, not for guaranteed final-detail accuracy.
How is an AI art generator different from a photo-to-art workflow?
A text-to-image workflow starts from words alone, while a photo-to-art workflow like the one in AI Art Generator From Photo starts from a supplied image and preserves its subject.
How long should an AI art prompt be?
Keep it to one short creative brief covering subject, style, composition, and constraints; a paragraph of stacked mood words gives the model no clear priority.
How many candidates should you generate before picking one?
Generate around four candidates, pick the one closest to the brief, and make a targeted edit instead of rerolling repeatedly.
Can you use AI-generated art commercially?
Sometimes, but only after checking the tool's terms, the source material, and subject-matter risks such as trademarks, likeness rights, and platform policies.
What should you check before publishing a generated image?
Zoom to 100% and inspect hands, faces, invented text, logo-like shapes, and symmetry errors before treating any generated image as finished.
What export format works best for web publishing?
Resize to the real display size first, then export WebP with a JPEG fallback if the destination page needs one.
Why do AI art generators still get hands and text wrong?
These models predict plausible pixels rather than verified structure, so fine detail like fingers, teeth, and readable text remains a common failure point worth a dedicated review pass.
Image credits
- Workflow cover, prompt anatomy, review loop, and publishing checklist: generated by the author as explanatory WebP infographics for this guide.
Use the free tools while you follow the guide.
Keep reading
2026-07-28
AI Action Figure Trend: How to Prep Your Photo Right
Turn a photo into a collectible toy portrait: what makes the prompt work, and the crop, background, and resolution steps that avoid an obvious fake.
2026-07-26
AI Anime Generator Guide: Prompts, Styles, and Safe Exports
A practical AI anime generator workflow for portraits, avatars, banners, and social posts, with prompt templates, style checks, and export rules.
2026-07-26
Text-to-Image AI in 2026: How Prompt Generation Actually Works
Text-to-image AI turns a written prompt into a finished picture. Here is how the models, prompts, and settings behind image generation fit together in 2026.