2026-03-28 · Updated 2026-07-12
AI Art Generator from Photo: Practical Workflow Guide
Turn a photo into AI art without losing the subject. Learn style choices, prompt rules, export checks, copyright cautions, and web publishing settings.
Last updated: July 12, 2026
Turning a photo into AI art is easy to start and surprisingly easy to ruin. A good result keeps the person, product, pet, or room recognizable while changing the visual language around it: oil paint, watercolor, comic ink, clay render, cinematic poster, or another clear style.
Quick answer: how do you turn a photo into AI art?
Upload the clearest version of the photo, choose one art direction, describe what must stay unchanged, generate two to four variations, then export the best result at the size you need. The short version is: preserve the subject first, style it second, compress it once at the end.
For portraits, name identity-preserving details: face shape, age, hair outline, skin tone, and expression. For products, protect the silhouette, logo placement, material, and readable edges. For interiors or landscapes, protect the camera angle and major layout.
Do not start with a tiny screenshot. If your source is small, use the image upscaler or read the upscaling guide before you generate. If the finished file is going online, resize and compress it once using the image compressor or the workflow in how image compression works.
| Source photo | Best AI art target | Watch closely |
|---|---|---|
| Headshot or selfie | Painted portrait, avatar, editorial illustration | Eyes, teeth, fingers, skin texture |
| Product photo | Poster art, catalog concept, lifestyle scene | Logo, shape, material, background clutter |
| Pet photo | Storybook, watercolor, sticker, mascot | Fur edge, eye direction, collar tags |
| Travel photo | Vintage postcard, anime background, oil landscape | Horizon, people in the background, signs |
| Room photo | Mood board, architectural sketch, concept render | Furniture scale, windows, floor lines |
What photo should you start with?
Start with the boringly clear image, not the moodiest one. The AI model needs enough structure to understand what is important. A sharp phone photo in plain light usually beats a dramatic low-light shot with motion blur.
Use this input checklist before you upload:
- Pick the highest-resolution original you have.
- Crop out unrelated background before generating.
- Keep the subject large enough in the frame.
- Avoid heavy filters, screenshots, and previously compressed social downloads.
- Remove private details such as license plates, addresses, badges, and documents.
- Keep one untouched copy of the original photo.
If the background is fighting the subject, remove it first. A clean subject cutout gives the generator fewer distractions, especially for product art and profile avatars. The background remover is useful for that step, and the background removal best practices guide explains the edge checks that matter.
Which AI art style works best for your photo?
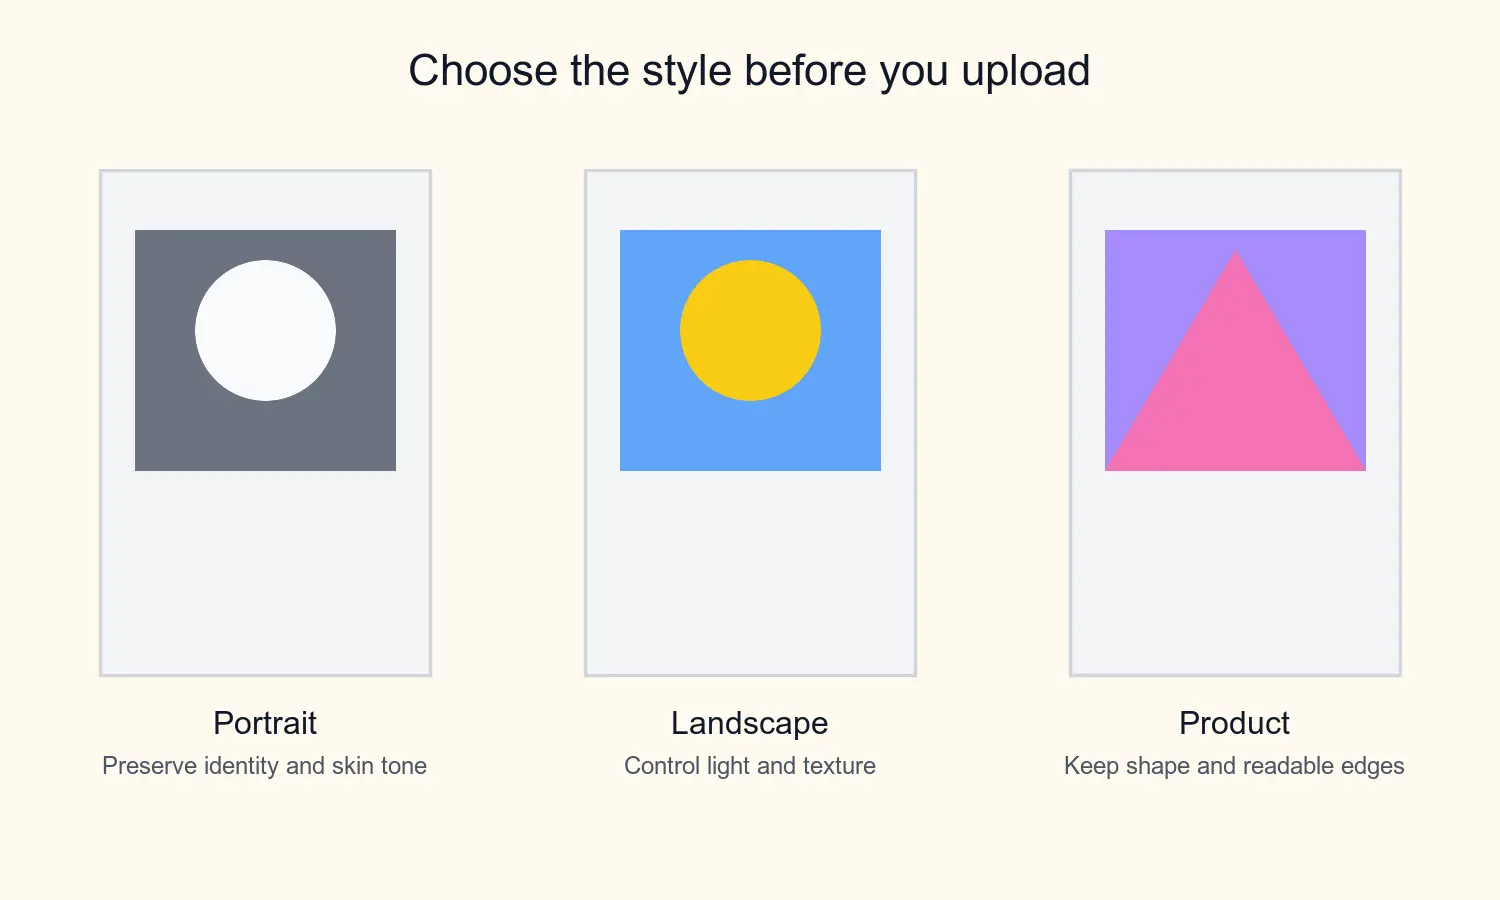
The style should match the job. A business profile image needs restraint. A pet sticker can be playful. A product concept needs clean edges more than dramatic texture. Most bad outputs happen because the style fights the subject.
| Goal | Good style prompts | Avoid |
|---|---|---|
| Profile avatar | "soft oil portrait", "editorial illustration", "clean digital painting" | Extreme fantasy, heavy aging, distorted facial features |
| Product hero | "premium poster illustration", "studio lighting", "clean shape language" | Melted materials, unreadable logo text, busy scenes |
| Pet keepsake | "storybook watercolor", "friendly mascot", "gouache texture" | Over-sharpened fur, human-like eyes, extra limbs |
| Travel memory | "vintage travel poster", "ink and wash", "cinematic matte painting" | Fake landmarks, warped signs, crowded details |
| Social graphic | "bold comic style", "flat vector poster", "sticker art" | Tiny text, low contrast, complex background |
One useful prompt pattern is:
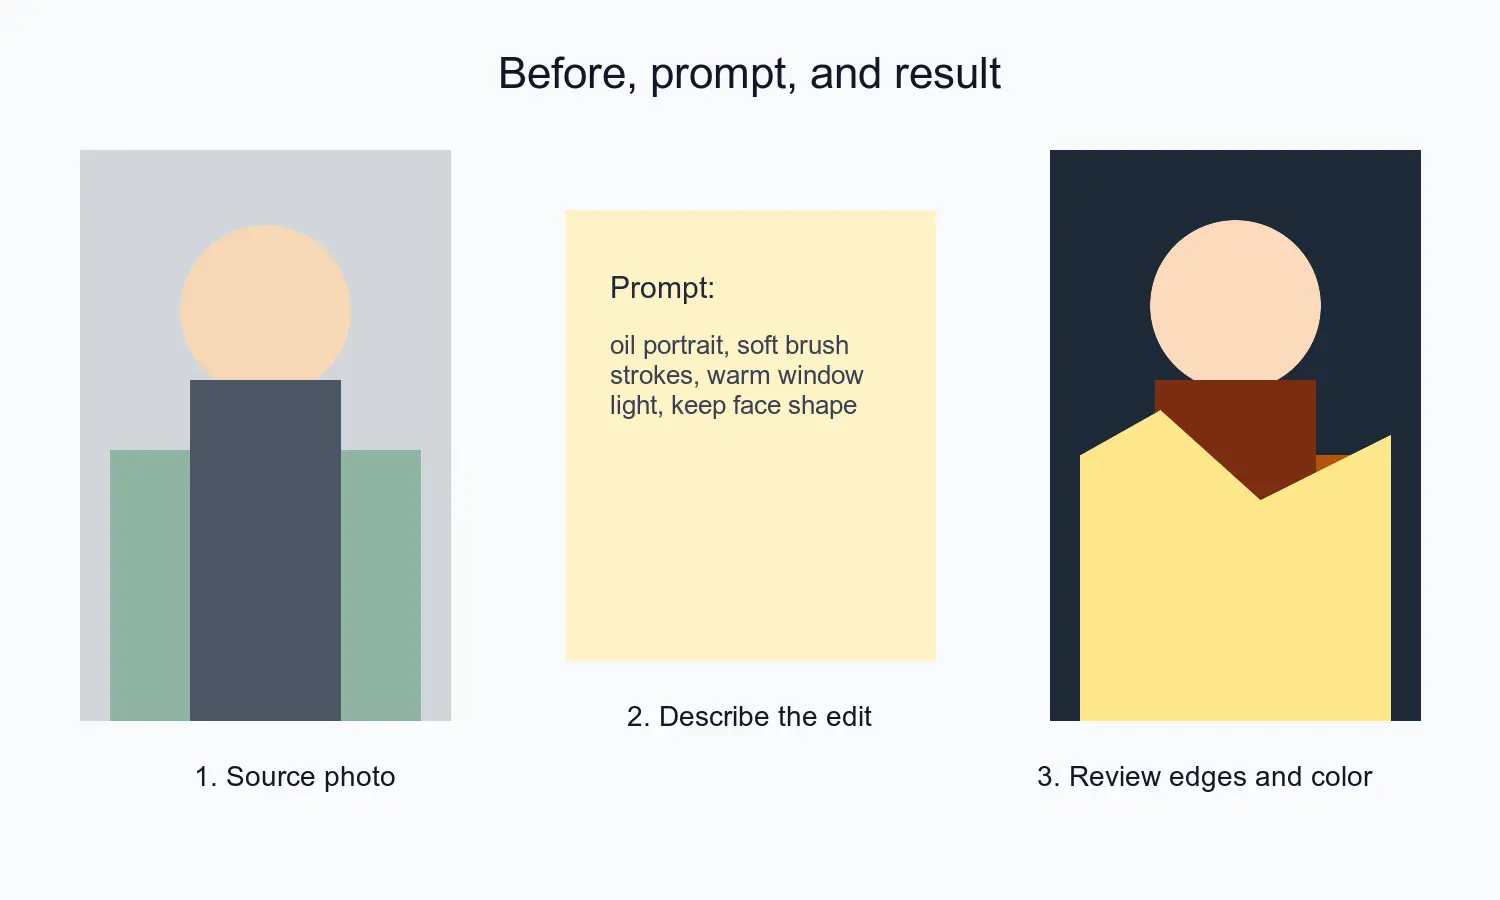
- Name the subject: "a close portrait of a woman with short curly hair."
- Lock the important details: "keep face shape, age, expression, and hair outline."
- Add one style: "soft oil painting with visible brush texture."
- Add lighting or color: "warm window light, muted green background."
- Add a negative instruction: "no extra fingers, no text, no logo changes."
Keep the style phrase short. "Watercolor, anime, cinematic, charcoal, 3D, cyberpunk, editorial, ornate, hyperreal, sticker" in one prompt is not control. It is a request for a visual argument.
How do you write a prompt that preserves the subject?
Write the prompt like instructions to an editor, not like a list of adjectives. The model already knows many styles. Your job is to tell it what cannot change.
For a portrait:
- "Keep the person's face shape, age, eye direction, hairstyle, and natural expression."
- "Convert the photo into a loose watercolor portrait with soft paper texture."
- "Do not change eye color, add jewelry, change clothing, or smooth the face into plastic."
For a product:
- "Keep the bottle shape, cap position, label area, and material reflections."
- "Turn the image into a clean editorial poster with soft studio shadows."
- "Do not invent brand text, change the logo area, bend the label, or add extra objects."
For a pet:
- "Keep the dog breed, ears, eye direction, collar, and sitting pose."
- "Render as a children's book illustration with warm gouache texture."
- "Do not add clothing, change the fur pattern, or make the eyes human."
Run small batches and compare. Four deliberate attempts are better than twenty random ones. Save the prompt with the winning export so you can reproduce a series later.
I also keep a measured export note beside the winning file: source size, generated size, final crop, and compressed WebP or JPEG size. That makes it obvious when the final art was softened by an export setting rather than by the prompt.
What can go wrong with AI art from photos?
The common failures are not subtle. Faces get younger. Hands gain fingers. Product labels become nonsense. Background signs turn into fake writing. Pets get a second tail. The fix is to check the result like a retoucher, not like someone impressed by the first colorful output.
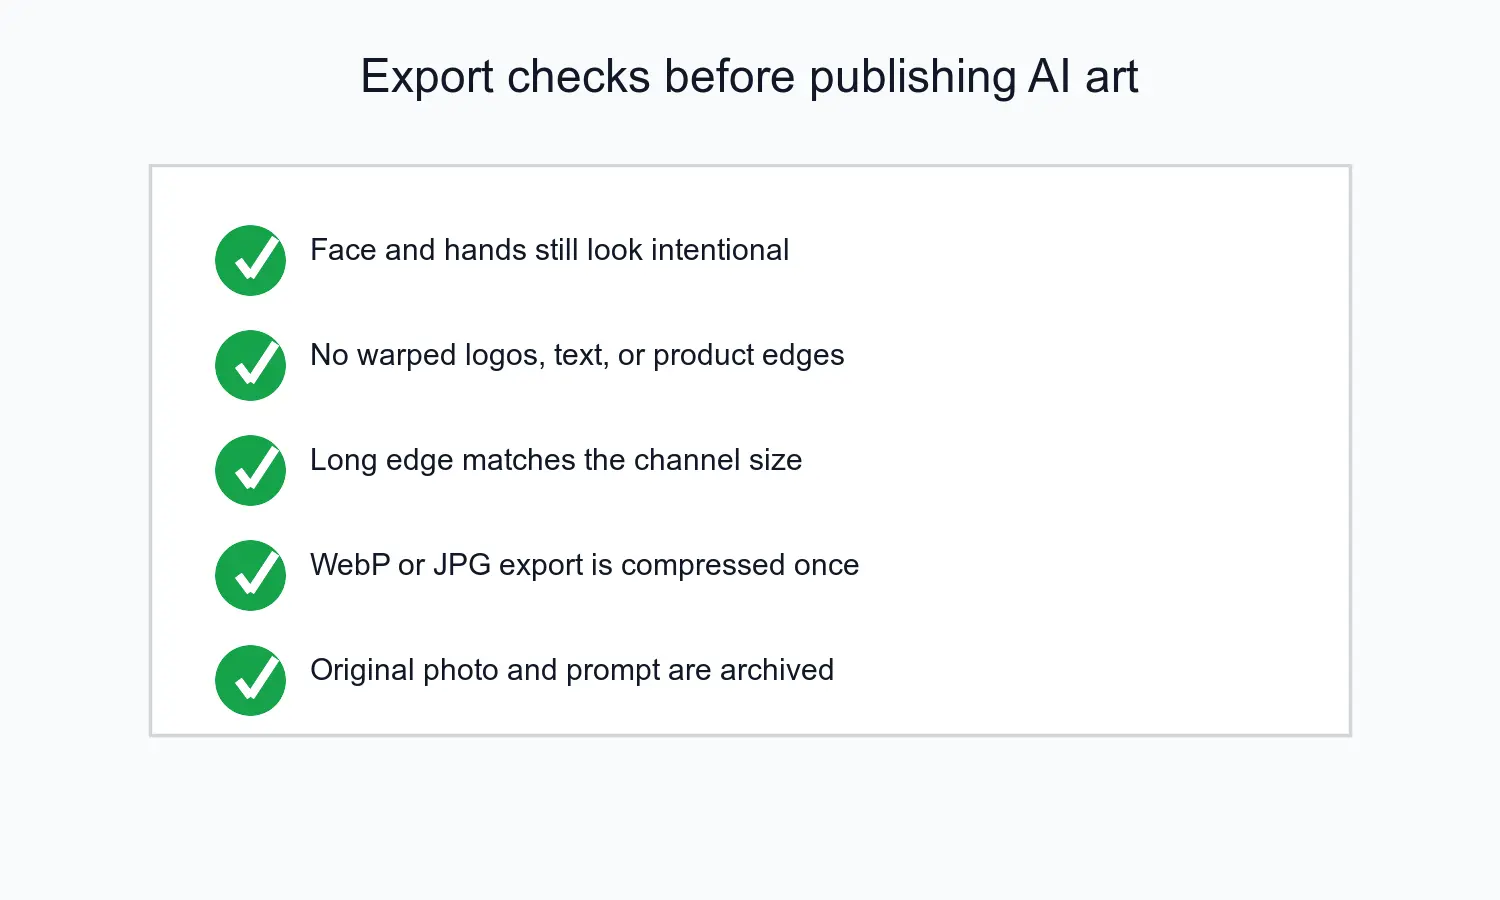
Use this review list before you publish:
- Zoom to 100 percent and inspect eyes, teeth, fingers, paws, and jewelry.
- Check any text, label, badge, or sign for nonsense letters.
- Compare the silhouette with the original photo.
- Look for duplicated objects near edges.
- Confirm the subject still looks like the same person, product, pet, or place.
- Export a smaller test file and view it on a phone.
There is also a rights issue. The U.S. Copyright Office's AI registration guidance says copyright analysis depends on human authorship and on what parts were generated by a machine. If the image will be sold, licensed, or used for a client campaign, read the Copyright Office AI guidance and keep a record of the original photo, your prompt, and your manual edits.
For provenance, Content Credentials can attach edit history and source information to media. The Content Authenticity Initiative explains how this metadata is used to show where an image came from and how it changed. It is not a magic legal shield, but it is useful when a client asks how a visual was made.
How should you export AI art for web, print, and social?
Export from the generator at the largest useful size, then make channel-specific files. Do not repeatedly download, upload, and re-save the same image as JPG. That is how painterly texture turns muddy and small text turns soft.
| Destination | Starting size | Format | Final check |
|---|---|---|---|
| Blog image | 1200-1600px wide | WebP | Compressed, descriptive filename, meaningful alt text |
| Instagram post | 1080x1080 or 1080x1350 | JPG or PNG | Subject safe inside crop |
| LinkedIn image | 1200x627 or 1080x1080 | JPG or WebP | Text readable on mobile |
| Print card | 300 PPI at print size | JPG or TIFF | No AI artifacts visible close up |
| Product listing concept | Marketplace-required size | JPG | Shape, color, and label still accurate |
Google's image SEO documentation recommends standard image elements, supported file formats such as WebP, descriptive context around images, and performance-conscious delivery. See Google Search Central's image SEO guide when you publish AI art on a crawlable page.
For article images, use a real sentence as alt text. "AI art" is weak. "Watercolor-style pet portrait generated from a clear phone photo" is useful. If you are adding text over the image, the add text to photo guide covers contrast and placement. If you need a subtle ownership mark, use the watermarking guide after the art is final.
A practical workflow for one photo
Use this order when the image matters:
- Save the original photo in a project folder.
- Duplicate it and crop away distractions.
- Upscale only if the subject is too small or the file is low resolution.
- Remove the background if the subject needs clean separation.
- Choose one style direction.
- Write the preservation prompt before the style prompt.
- Generate two to four versions.
- Compare against the original at 100 percent.
- Fix or reject any version with warped anatomy, fake text, or changed product details.
- Export one master file and one channel-sized file.
- Compress once for web delivery.
- Store the source photo, prompt, generator name, and final export together.
For a store owner making a seasonal product banner, that workflow is enough. Start from the product photo, remove the cluttered background, prompt for "warm illustrated holiday poster, keep bottle shape and label area unchanged," reject any version with broken label text, then export a web-sized hero. The creative part is the style. The quality control is the business part.
Related guides
- How to Upscale Images Without Losing Quality
- Background Removal Best Practices
- How Image Compression Works
- Add Text to Photo: Complete Guide
- Add a Watermark to an Image
Frequently asked questions
What is the best way to turn a photo into AI art without losing the subject?
Name the identity-preserving details in the prompt first, such as face shape, hair outline, or logo placement, then add the style and compare the result against the original at 100 percent zoom.
Which AI art style works best for a headshot or selfie?
A soft oil portrait or editorial illustration style keeps a headshot recognizable, while extreme fantasy or heavy aging styles usually break the likeness.
How many AI art variations should I generate from one photo?
Generate two to four deliberate variations and compare them against the source instead of rerolling dozens of random attempts.
Do I need to upscale a photo before turning it into AI art?
Yes, if the source is a small screenshot or a low-resolution photo, upscale it first so the generator has enough structure to work with.
Should I remove the background before generating AI art from a photo?
Remove the background first when the subject needs a clean cutout, such as for product art or profile avatars, so the generator has fewer distractions.
Can I sell or license AI art generated from my own photo?
Sometimes, but check the U.S. Copyright Office's AI guidance on human authorship first and keep a record of the original photo, prompt, and manual edits before selling or licensing the piece.
What size should I export AI art for a blog or social post?
Export blog images at 1200-1600px wide in WebP, and use platform-specific sizes such as 1080x1080 for Instagram or 1200x627 for LinkedIn.
What are the most common mistakes when generating AI art from a photo?
The most common mistakes are skipping the preservation prompt, accepting a result without zooming to 100 percent, and repeatedly re-saving the exported file as JPG.
Image credits
- Cover, workflow, style matrix, and export checklist: generated by the author with ImageMagick as topic-specific editorial graphics for this article.
Use the free tools while you follow the guide.
Keep reading
2026-07-28
AI Action Figure Trend: How to Prep Your Photo Right
Turn a photo into a collectible toy portrait: what makes the prompt work, and the crop, background, and resolution steps that avoid an obvious fake.
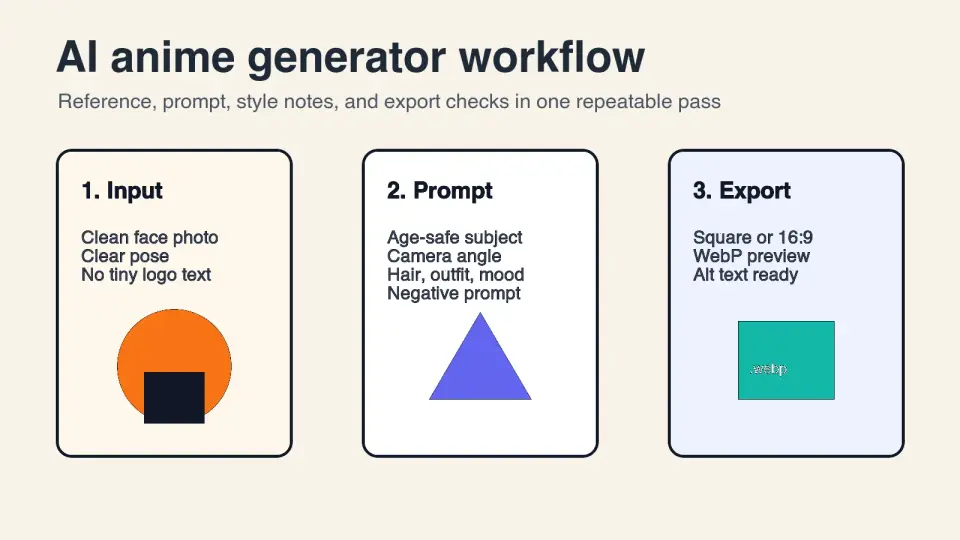
2026-07-26
AI Anime Generator Guide: Prompts, Styles, and Safe Exports
A practical AI anime generator workflow for portraits, avatars, banners, and social posts, with prompt templates, style checks, and export rules.
2026-07-26
Text-to-Image AI in 2026: How Prompt Generation Actually Works
Text-to-image AI turns a written prompt into a finished picture. Here is how the models, prompts, and settings behind image generation fit together in 2026.