2026-06-28 · Updated 2026-07-12
AI Image Editing Tools in 2026: Strengths, Limits, and Honest Picks
Compare AI image editing tools for 2026: what each does best for background removal, upscaling, generative fill, and photo restoration, plus the honest limits and cost.
Last updated: July 12, 2026
AI image editing tools have split into a few real jobs: removing and replacing backgrounds, upscaling small or soft files, generative fill and outpainting, and restoring damaged photos. Each job has tools that do it well and tools that do it badly. The mistake is paying for one product to do everything and then trusting its output on product photography without checking it.
Quick answer: which AI image editing tools should you actually use?
Pick by job, not by the marketing page. For background removal and product cutouts, a dedicated matting tool beats a general generator. For upscaling, a diffusion upscaler beats a plain resize. For extending a canvas or filling a hole, generative fill works when you protect the subject and check the seam. For damaged or noisy photos, a restoration model trained on faces and film beats a generic editor.
When I tested these tools I ran the same product photo through each category and measured where the output still needed manual repair. The pattern was consistent: specialized tools produce fewer artifacts, but they cost more per task and you own the glue between them. Build a small stack of one editor, one upscaler, and one background tool, then inspect every output before it ships.
What can AI image editing tools actually do in 2026?
The useful capability set is narrower than the feature lists suggest. A tool that markets ten effects usually does two of them well. The capabilities that hold up under close inspection are cutouts, upscaling, generative fill, restoration, and cleanup of common defects like noise and JPEG blocking.
| Capability | What it does well | Common failure |
|---|---|---|
| Background removal | Clean edges on simple product shots | Stray pixels on hair, fur, and glass |
| Upscaling | Recovering soft but real detail | Inventing texture that reads sharp but is fake |
| Generative fill | Extending plain backgrounds | Hallucinated objects near the seam |
| Outpainting | Adding canvas for new aspect ratios | Bent horizons and repeated texture |
| Restoration | Fixing scratches and faded color | Smoothing faces into a plastic look |
| Noise reduction | Cleaning high-ISO grain | Loss of real fine detail |
Upscaling is the category most often oversold. A good upscaler can make a genuinely sharp 2x file from a clean source, but it cannot add detail the sensor never captured. If you feed it a tiny web thumbnail, you get a large, smooth, confident-looking fake. The honest rule is to upscale only when the source already has real detail that is too small to display, never to rescue a blurry capture. For a deeper treatment of where upscaling helps and where it lies, see the AI image upscaler guide. If your work touches background removal often, the AI background removal guide covers hair and transparency better than a general editor will.
Where do AI image editing tools fall short?
This is the part most comparison pages skip. The failure modes matter more than the feature list, because they decide whether the output is usable or needs a manual redo.
- Text and logos: models invent plausible-looking letters that do not spell anything real.
- Hands and faces: small anatomy errors become obvious the moment a viewer looks closely.
- Repeated texture: grass, fabric, and tile often clone into visible blocks.
- Fine product detail: watch dials, jewelry facets, and printed labels drift or blur.
- Reflective surfaces: glass, water, and chrome pick up hallucinated reflections.
- Color across a seam: generated pixels can run cooler or warmer than the original.
The model makers document these limits honestly if you read past the landing page. Adobe trains Firefly on licensed and public-domain content, described in the Adobe Firefly product overview. OpenAI describes its image models and their constraints in the DALL·E research overview. Stability AI publishes model cards and usage notes at stability.ai. Read those before assuming any model is safe for a regulated use case.
How much do AI image editing tools cost?
Pricing falls into a few shapes, and the shape matters more than the headline number. Credits vanish fastest on upscaling and large generative fills, which is where most people overspend without noticing.
| Model | Typical pricing | Watch out for |
|---|---|---|
| Credit packs | Pay per generation or per megapixel | Upscaling burns credits quietly |
| Subscription | Flat monthly fee with a quota | Overage rates after the cap |
| Free tier | Limited daily generations | Resolution caps and watermarks |
| API | Per-call pricing for developers | Storage and retry costs add up |
Track cost per usable image, not per generation. If you discard four of every five outputs, the real price of the keeper is five times the per-generation rate. That math is what turns a cheap-looking tool into an expensive one over a quarter, and it is why a small stack of specialized tools usually beats one expensive all-in-one subscription.
How do you pick the right tool for each job?
The right tool depends on who is doing the work and what happens if the output is wrong.
- A marketer retouching product shots needs fast background swaps and reliable cutouts, with readable labels untouched.
- A designer extending a canvas needs outpainting with seam control and a path back into a layered file.
- A photographer cleaning noise needs a tool that preserves real detail instead of smearing it.
- A store owner batch-processing listings needs predictable, repeatable output at scale.
- A developer building a pipeline needs an API with logging, retries, and a cost you can forecast per call.
For canvas extension specifically, the AI image outpainting workflow covers masking, prompts, and seam repair. For batch work, batch image processing handles resizing and compression across many files. And when an image is damaged rather than just soft, restoring old photos and AI photo enhancement are more targeted than a general editor.
How do you check an AI-edited image before it ships?
Generative output is a draft until a human has looked at it at full size. The check is quick once it is a habit, and it is what separates a usable asset from an embarrassing one.
- Zoom to 100 percent and pan the seam between real and generated pixels.
- Look for repeated texture blocks in grass, fabric, cloud, or tile.
- Confirm shadows keep the same direction and softness across the edit.
- Check that readable text, labels, and logos are unchanged or absent.
- Verify color temperature matches on both sides of any filled area.
- Confirm no extra fingers, faces, handles, or reflections appeared.
If a seam is visible, mask a thin strip around it and prompt for a blend rather than regenerating the whole region. If perspective is wrong, it is usually faster to step back to the previous version than to patch every line. For a final pass on file size and format, the complete image optimization checklist makes sure the edited file is compressed and responsive before it reaches a page.
Rights and disclosure: what should you check?
Editing an image does not erase the rights attached to it. If the source photo is licensed, that license still applies. If it shows a recognizable person, private property, a logo, or branded packaging, treat the edited file as part of the same commercial-use review you would run on the original.
The U.S. Copyright Office maintains official guidance on copyright and artificial intelligence, including the human-authorship question around AI-generated material. For product listings specifically, never let generative fill invent a label, a price, or a feature the real item does not have. The ecommerce product photography notes cover listing-specific checks in more detail.
When should you avoid AI editing entirely?
AI editing is wrong when the image is supposed to prove something. A real estate listing photo, an insurance record, a medical image, a news photograph, and a product proof all depend on the pixels being true. Generative fill in those contexts can mislead a viewer even when it looks harmless.
Use this short rule: if a viewer would change their decision based on a detail, and that detail could be generated, do not generate it. Exposure, crop, and denoise are usually safe. Inventing a cleaner background, a straighter wall, or a missing object is not.
Summary: choosing AI image editing tools honestly
AI image editing tools are good at narrow, well-defined jobs and unreliable at anything that asks them to invent exact detail. The practical move is to assemble a small stack of specialized tools, keep a human review step before anything ships, and treat generative output as a draft until you have checked it at 100 percent. Start with the job in front of you: cutouts, upscaling, or restoration, in that order.
Frequently asked questions
What is the best AI image editing tool overall?
There is no single best tool; pick a dedicated product per job — background removal, upscaling, generative fill, or restoration — rather than one all-in-one editor.
Can an AI upscaler really add detail to a blurry photo?
No, a good upscaler sharpens real detail that is already present in the source but cannot invent detail the sensor never captured.
Why do AI background removers still leave stray pixels?
Matting models still struggle with fine edges like hair, fur, and glass, which is the most common background-removal failure mode.
Is generative fill safe to use on product listings?
Only if you inspect the seam by hand and never let the fill invent a label, price, or feature the real product does not have.
How much does AI image editing typically cost?
Pricing runs through credit packs, flat subscriptions, limited free tiers, or per-call APIs, and upscaling or large fills burn credits fastest.
When should you avoid AI image editing entirely?
Avoid it for images that must prove something true, such as real estate listings, insurance records, medical images, or news photographs.
How do you check an AI-edited image before it ships?
Zoom to 100 percent and confirm texture, shadows, color, and anatomy stay consistent across the seam before the file goes out.
Do AI image editors respect the original photo's copyright?
Editing does not erase existing rights, so a licensed source photo or a recognizable person, logo, or property still needs the same commercial-use review as the original.
Image credits
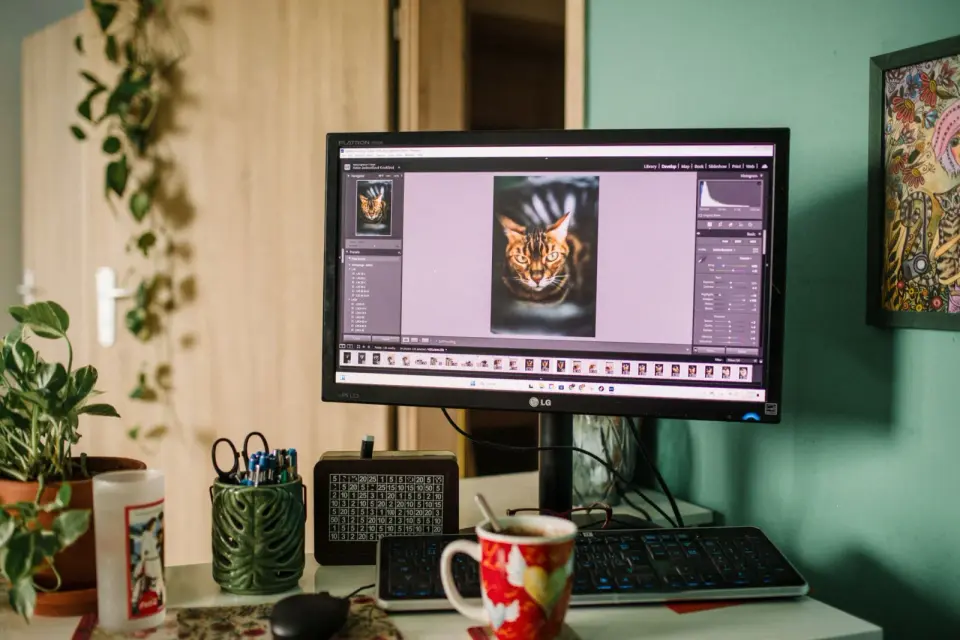
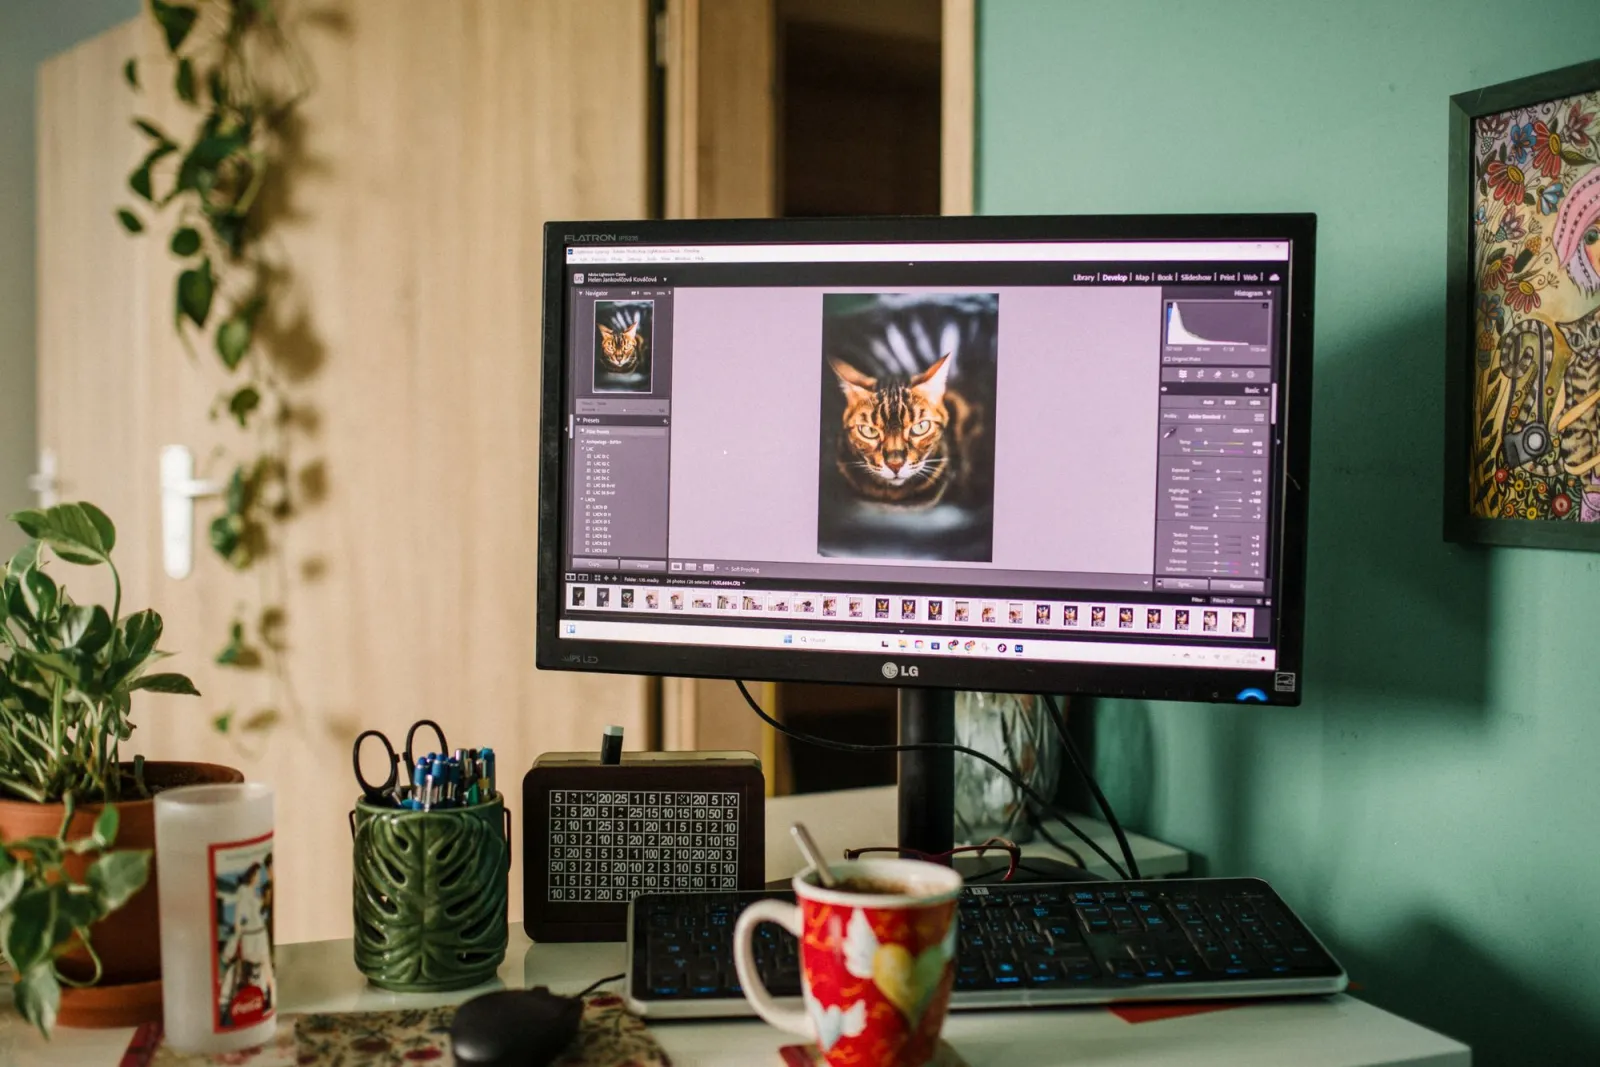
- Home office desk with a monitor showing photo editing software and a graphics tablet — photo by Helena Jankovičová Kováčová on Pexels
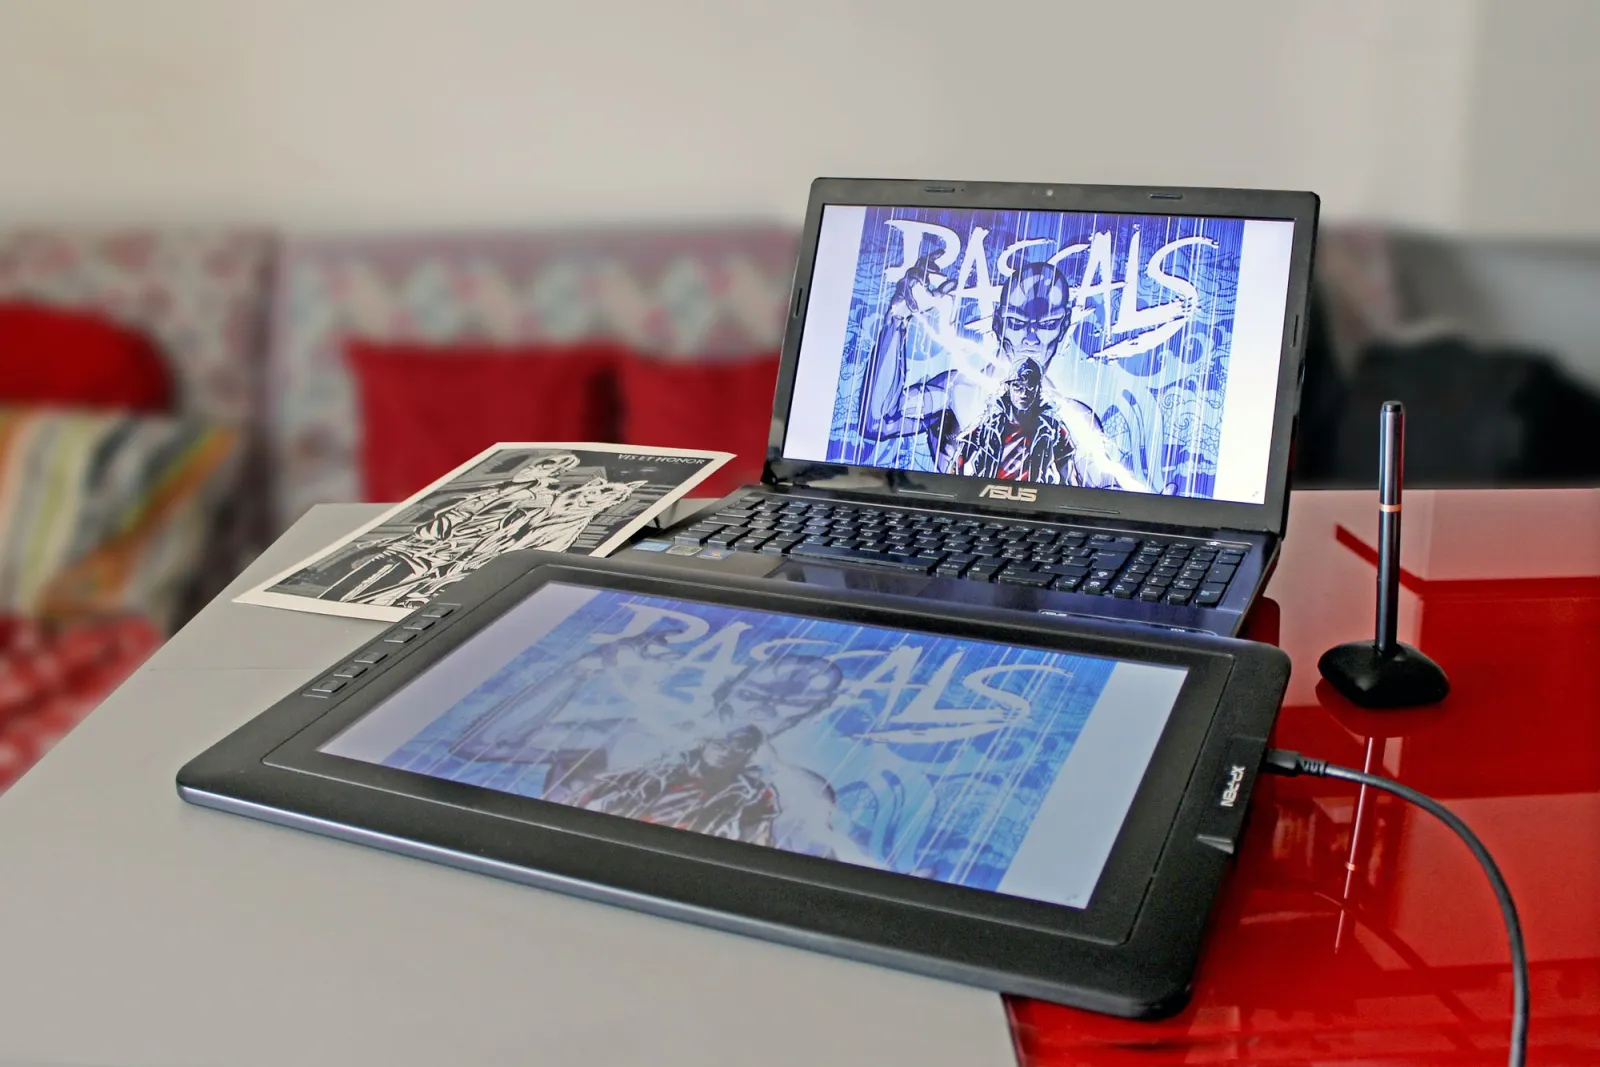
- Digital drawing tablet paired with a laptop for design and outpainting work — photo by Daniele on Pexels
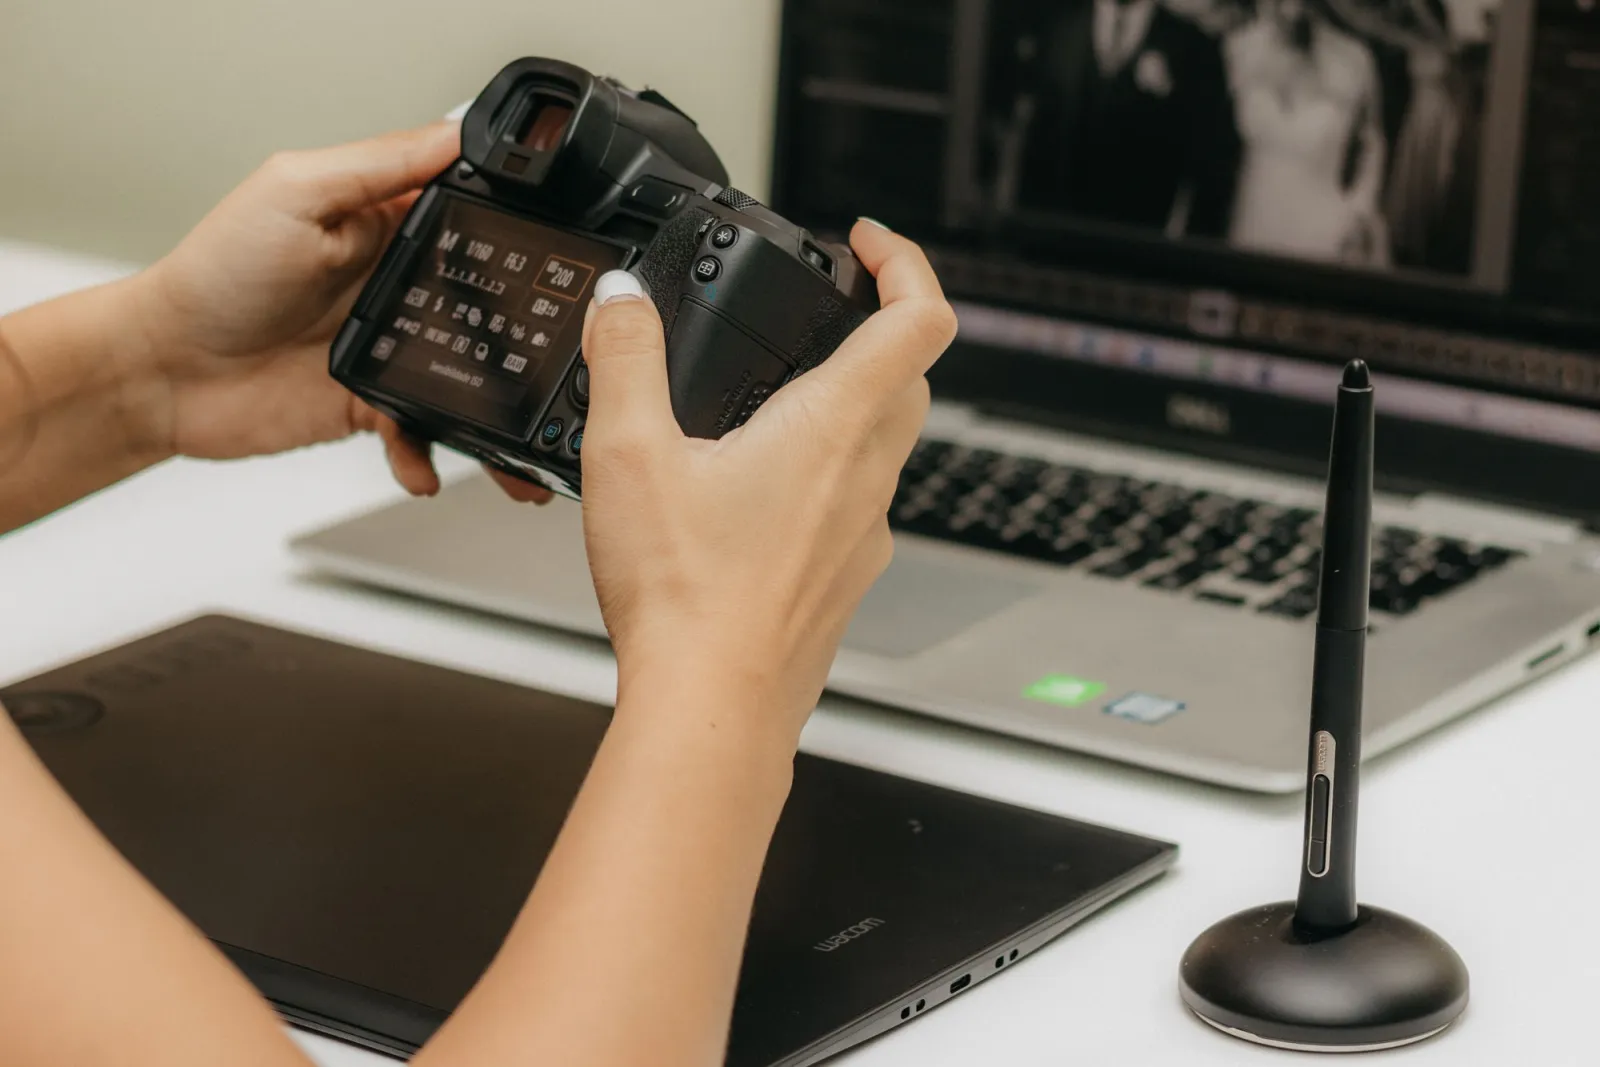
- Photographer's hands on a camera and laptop during a product retouching session — photo by Kawê Rodrigues on Pexels
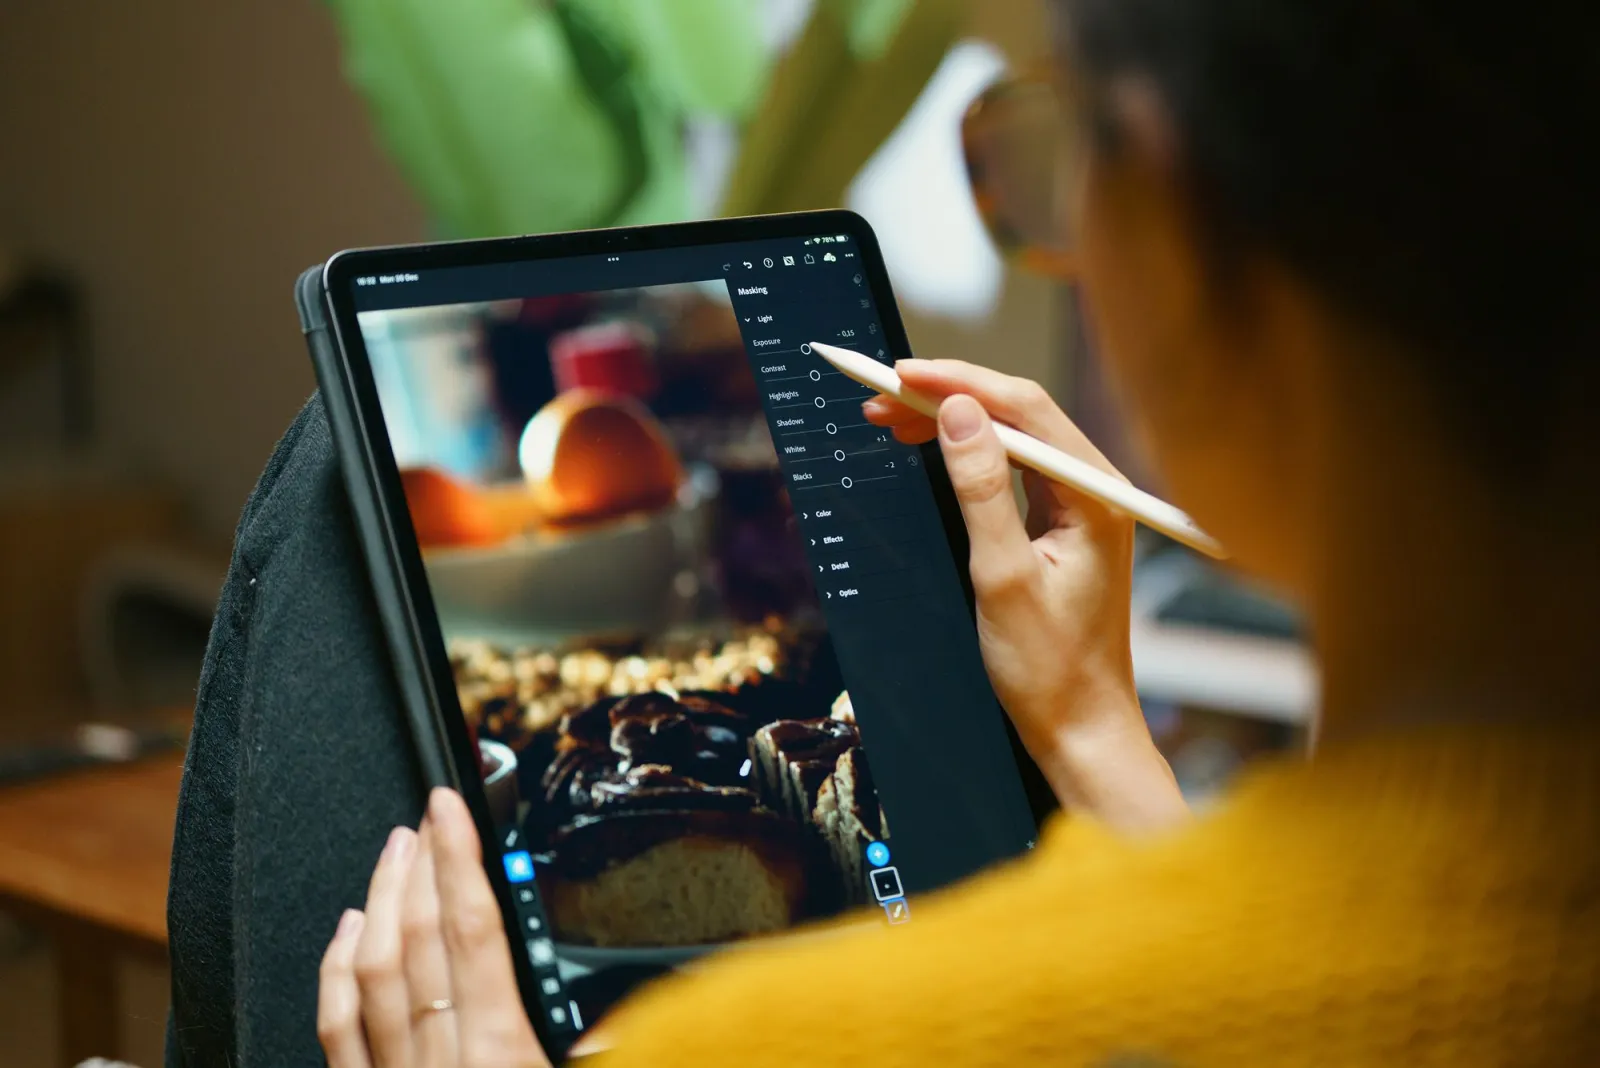
- Freelance creative retouching a photo on a tablet with a stylus in a bright workspace — photo by Jakub Zerdzicki on Pexels
Use the free tools while you follow the guide.
Keep reading
2026-07-28
AI Action Figure Trend: How to Prep Your Photo Right
Turn a photo into a collectible toy portrait: what makes the prompt work, and the crop, background, and resolution steps that avoid an obvious fake.
2026-07-26
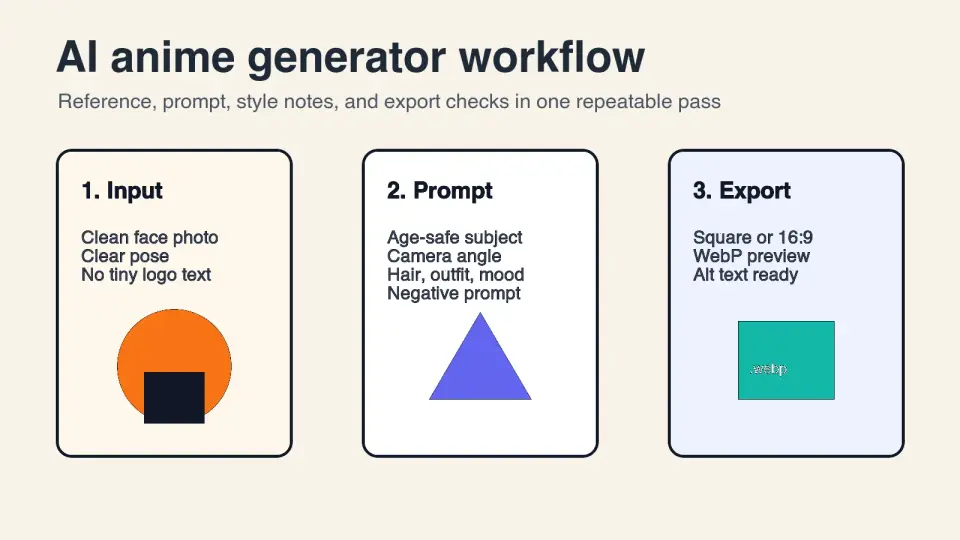
AI Anime Generator Guide: Prompts, Styles, and Safe Exports
A practical AI anime generator workflow for portraits, avatars, banners, and social posts, with prompt templates, style checks, and export rules.
2026-07-26
Text-to-Image AI in 2026: How Prompt Generation Actually Works
Text-to-image AI turns a written prompt into a finished picture. Here is how the models, prompts, and settings behind image generation fit together in 2026.