2026-06-28 · Updated 2026-07-10
Glitch Art Effect: How to Distort Photos Into Digital Art
Create glitch art from photos: channel splitting, datamoshing, and pixel sorting. Real techniques for the glitch look, the tools that do it, and when it fits the subject.
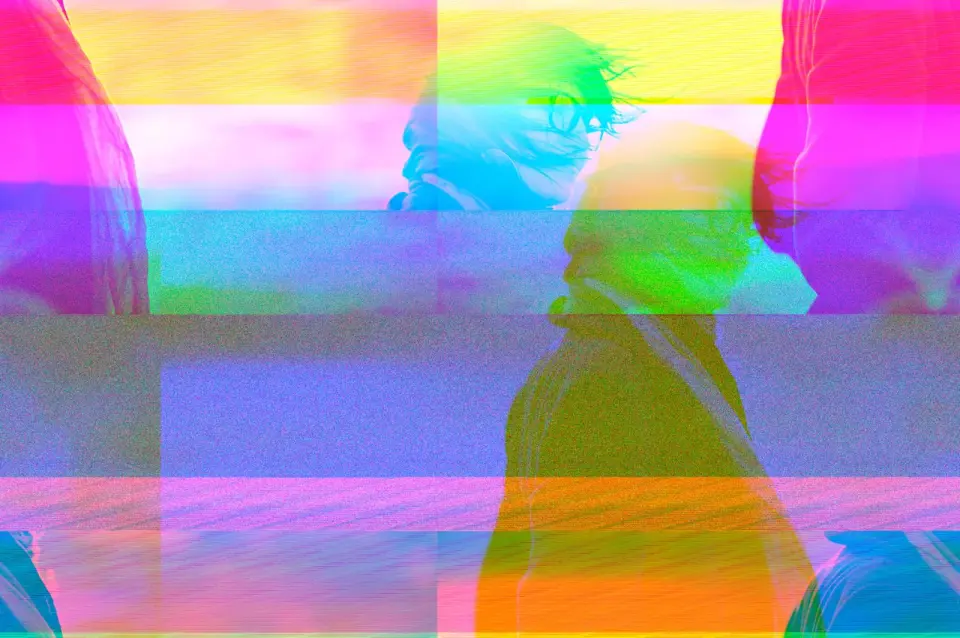
Last updated: July 10, 2026
Glitch art deliberately corrupts an image to produce visual artifacts — color channel shifts, scanline tears, pixel sorting, datamoshing — that read as digital decay. It started as an accident of broken files and became a deliberate aesthetic for music covers, cyberpunk graphics, and edgy branding. This guide covers the techniques that produce the glitch look, how to control them, and when glitch suits a subject versus ruining it.
Quick answer: how do you create a glitch effect on a photo?
Apply channel separation with offset red, green, and blue layers to create color fringing, add horizontal slice displacement for the torn-scanline look, and optionally run pixel sorting to streak colors along brightness edges. Control each effect's intensity so the subject stays recognizable — glitch works when the corruption is a texture, not a destruction. For a quick version, our Glitch Effect tool applies the RGB split and slice controls in one click. Compress the result carefully, since glitch artifacts fight compression.
What makes the glitch look?
Glitch is not one effect; it is a family of artifacts, each mimicking a different kind of digital corruption. Understanding the components lets you build the look deliberately.
| Technique | What it mimics | Visual result |
|---|---|---|
| RGB channel split | Color misregistration | Red/cyan fringing |
| Slice displacement | Scanline corruption | Horizontal tearing |
| Pixel sorting | Datamoshing | Color streaks along edges |
| Compression artifacts | JPEG corruption | Blocky regions |
| Noise and static | Signal interference | Grain and snow |
- RGB split is the signature — most glitch images use it.
- Slice displacement creates the "torn" horizontal bands.
- Pixel sorting streaks colors in organic, runny lines.
- Combining several techniques produces a richer glitch than any one alone.
How do you do an RGB channel split?
The RGB split is the foundation of the glitch look. It separates the red, green, and blue channels of an image, offsets them by a few pixels each, and recombines them, producing the color fringing that reads instantly as digital error.
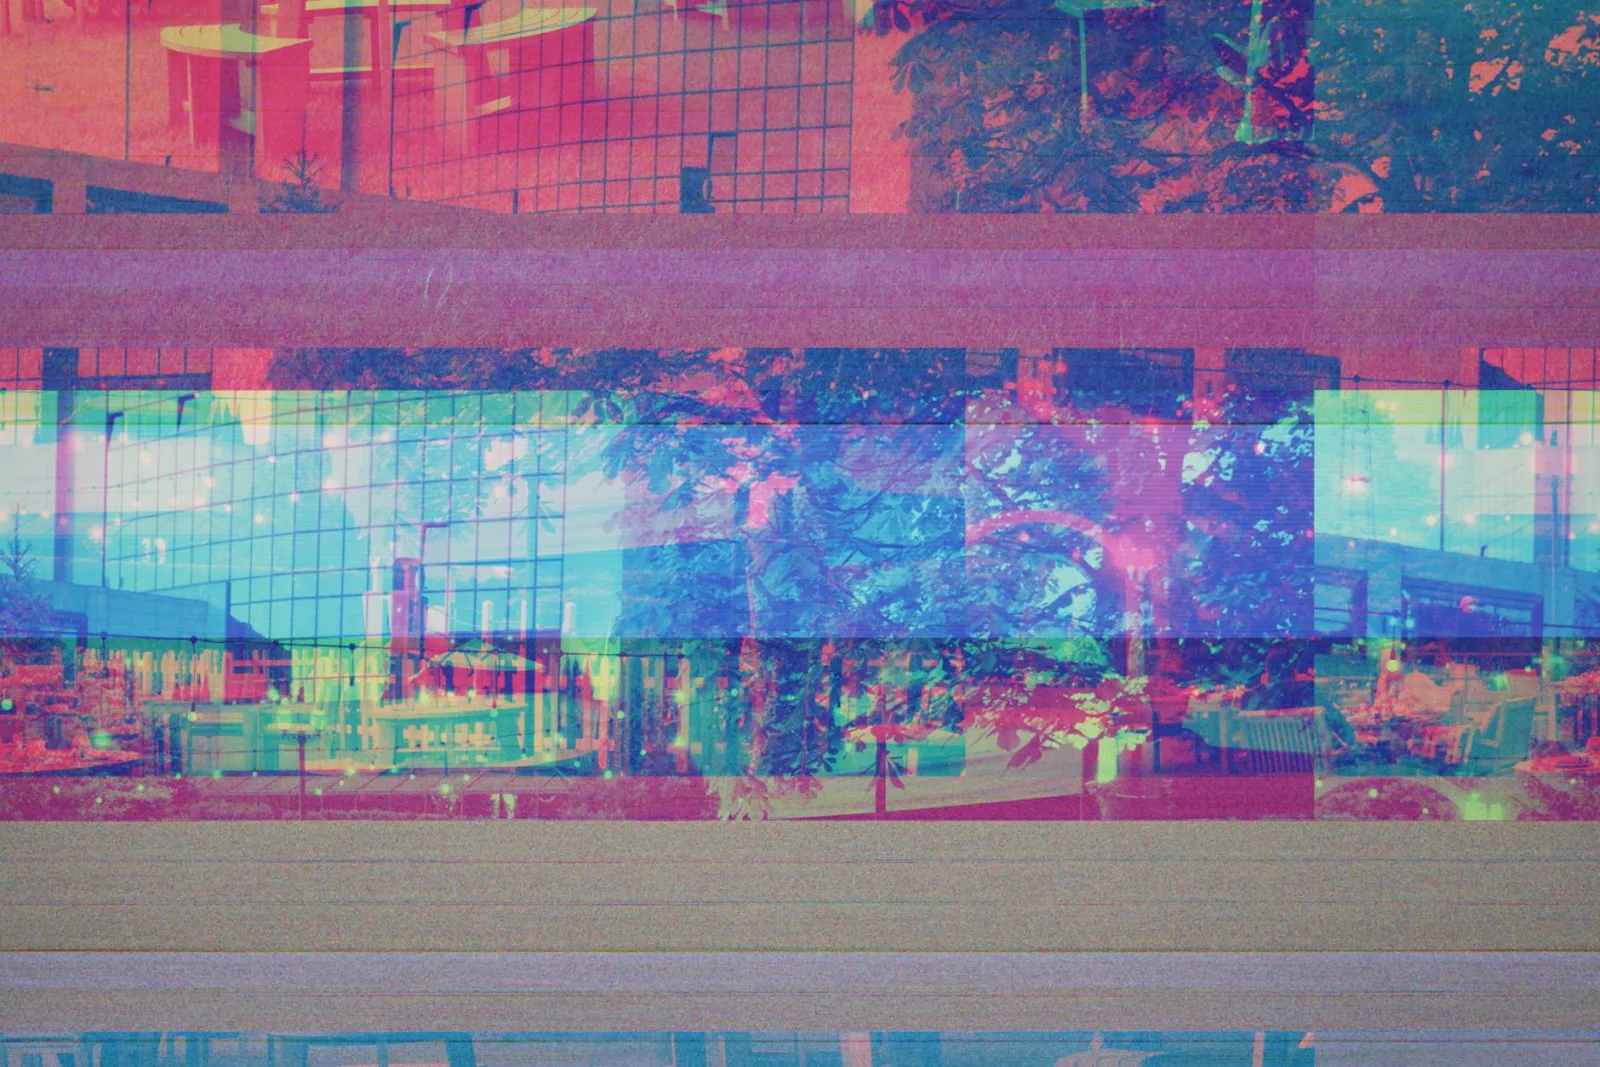
- Split the image into red, green, and blue channel layers.
- Offset the red layer a few pixels left, the blue a few pixels right.
- Leave green centered, or offset it slightly.
- Recombine the layers with screen or add blending.
- Adjust the offset distance — more offset means more fringing.
- Small offsets (2-5px) look subtle; large offsets look extreme.
- The direction of the offset matters — horizontal reads as scanline error.
- The fringing is most visible at high-contrast edges.
How do you add slice displacement?
Slice displacement tears the image into horizontal bands and shifts them independently, mimicking the look of corrupted video frames. It is the second most recognizable glitch technique after RGB split.
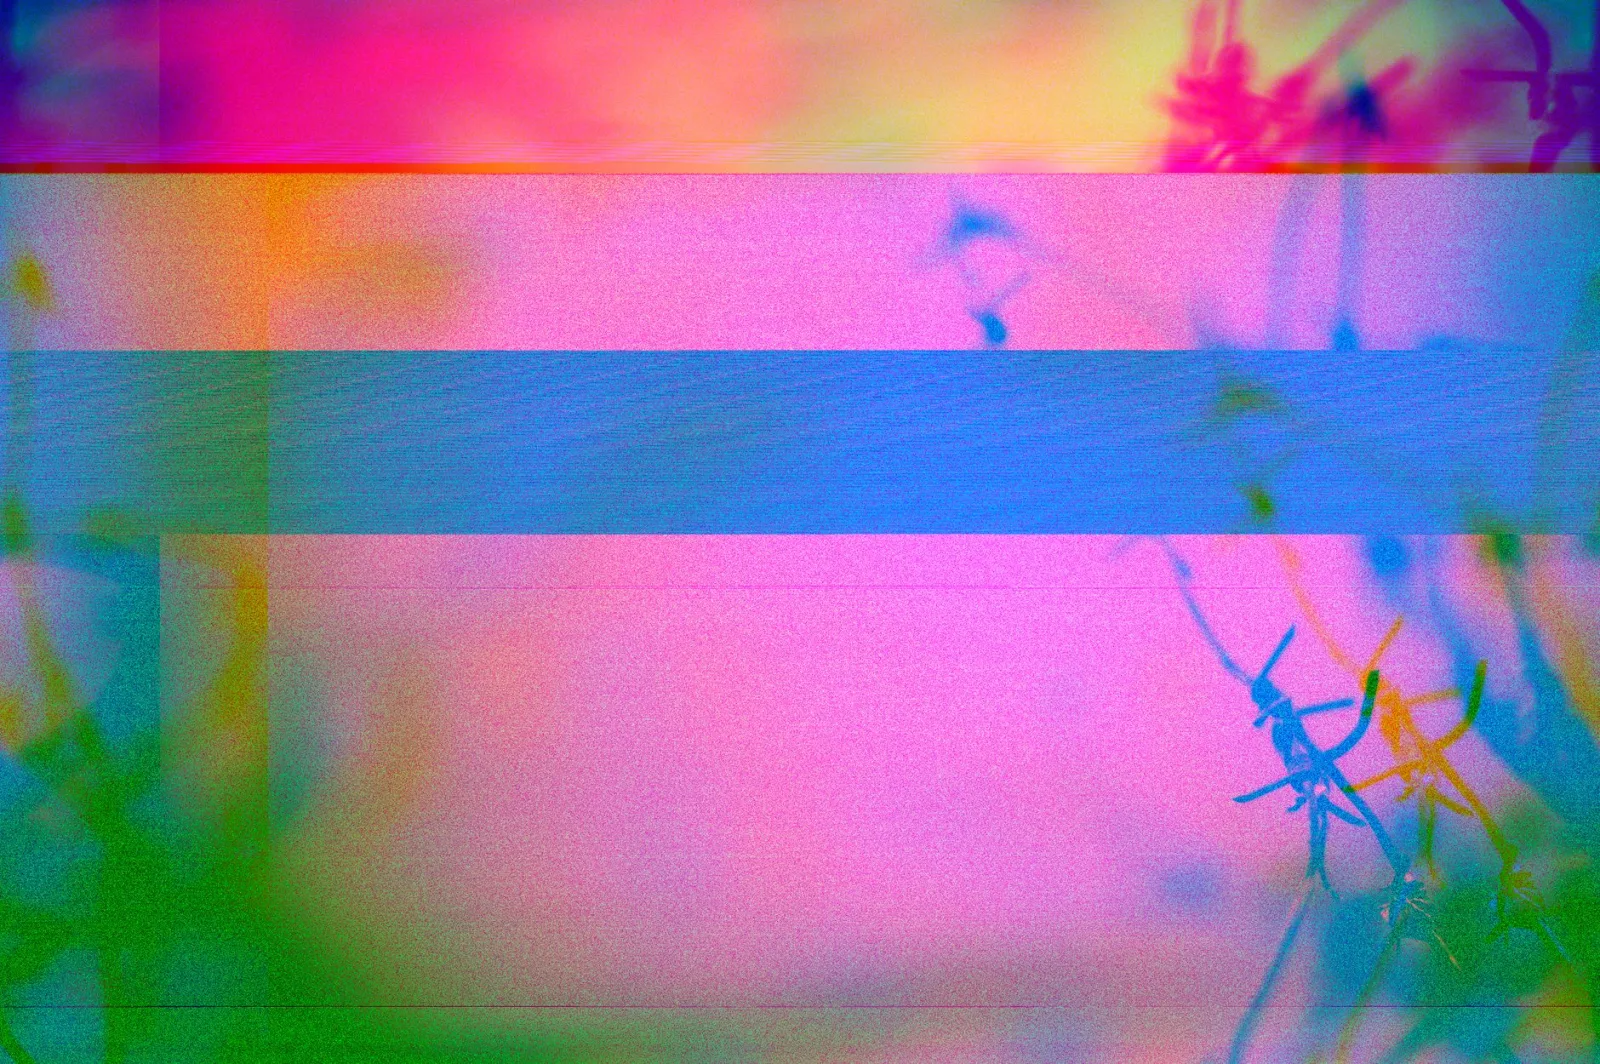
- Select horizontal bands of varying heights.
- Shift each band left or right by a random amount.
- Leave some bands unshifted so the subject is partly intact.
- Vary the band heights so the tearing looks organic, not uniform.
The key is randomness and partial application. If every band shifts the same amount, it looks like a plain offset, not a glitch. If the bands vary in height and shift distance, with some regions left untouched, the result reads as corrupted data.
Pixel sorting and datamoshing
Pixel sorting is the technique that produces the runny, streaked color bands along edges that read as advanced glitch. It works by sorting the pixels in each row or column by some property — usually brightness — so that regions of similar brightness bleed into long streaks. The result looks like the image is melting or smearing along its own contours.
| Pixel sort mode | Effect |
|---|---|
| Sort by brightness | Streaks along bright edges |
| Sort by hue | Color bleeding |
| Sort within threshold ranges | Contained smears |
Datamoshing is a related technique borrowed from video, where the motion data between frames is applied to the wrong frames, producing a melted, smeared look. Applied to still images through simulation, it produces similar smearing artifacts. Both techniques are more computationally intensive than a simple RGB split, but they produce the distinctive "advanced glitch" look that filter apps rarely match. The skill is in applying them selectively — a fully pixel-sorted image is just abstraction, while a partially sorted image with the subject's key regions intact reads as corrupted but recognizable.
When does glitch fit a subject?
Glitch is a strong stylistic choice, and it does not suit every image. It works on subjects that benefit from a digital, edgy, or corrupted aesthetic.
-
Music graphics, especially electronic and cyberpunk genres.
-
Tech branding that wants a digital-edge feel.
-
Portraits where the corruption adds mood rather than destroying the face.
-
Urban and neon scenes that already read as digital.
-
Glitch ruins clean product photography, formal portraits, and anything where clarity is the point.
-
The subject must stay recognizable through the corruption.
-
Less is often more — a subtle glitch reads as style, a heavy glitch as noise.
Tools for glitch art
| Tool | Approach | Best for |
|---|---|---|
| Glitch filter app | One-click presets | Quick results |
| Photo editor with layers | Manual RGB split and slicing | Full control |
| Command-line (ImageMagick) | Scripted corruption | Batch, reproducible |
| Direct file corruption | Editing raw bytes | Authentic, unpredictable |
- Filter apps are fastest for a quick look.
- Manual layer work gives the most control over each artifact.
- Direct byte corruption of the file itself produces the most authentic — and least predictable — glitches.
The direct-corruption approach is the purist method: open the image file in a text or hex editor, change random bytes, and save it back. The resulting corruption is genuinely unpredictable, which is the original spirit of glitch art. For reproducible results, layer-based techniques win. The neon glow guide and the duotone guide cover related stylized effects, and the vintage filter guide covers the analog cousin of digital glitch. For the technical basis of channel operations, the Mozilla canvas pixel manipulation reference documents the per-pixel access that scripted glitch uses. The Web.dev guide to image formats is worth noting because glitch artifacts compress poorly — test the final file size after compressing.
Common glitch mistakes
- Too much corruption — the subject becomes unrecognizable. Pull back.
- Uniform slicing — looks like a plain offset, not a glitch. Randomize.
- Forgetting the RGB split — without it, the effect reads as blur, not glitch.
- Applying glitch to the wrong subject — clean product shots and formal portraits suffer.
- Ignoring compression — glitch artifacts bloat JPEG and WebP files. Check the size.
Glitch is an aesthetic of controlled damage. Done well, it turns an ordinary photo into something that feels digitally alive; done badly, it just looks broken. The skill is in choosing the right subject, applying the techniques with restraint, and stopping before the corruption overwhelms the image beneath it.
Frequently asked questions
What makes a glitch effect look real?
A combination of channel separation (RGB split), slice displacement, and datamoshing — the artifacts of real digital corruption. A single slider rarely sells it; layering two or three glitch techniques reads as authentic digital damage.
Which photos suit a glitch effect?
High-contrast, geometric, or tech-themed images. Soft portraits and smooth gradients turn to mush because glitch needs strong edges to displace. A neon cityscape reads as cyberpunk; a soft portrait just looks broken.
Does a glitch effect reduce quality?
By design, yes — the effect is controlled damage. Keep the original and export the glitched version separately, because the "artifacts" are the point. The vintage filter guide is the analog counterpart.
How do I do an RGB channel split?
Duplicate the image into red, green, and blue layers, then offset each layer by a few pixels horizontally. Where the channels no longer align, edges show colored fringes — the classic glitch look. The blend mode guide covers the compositing.
What is datamoshing?
A glitch technique that mixes the motion data from one clip with the image data from another, producing melted, smeared transitions where pixels flow incorrectly. It is harder than a simple RGB split and usually needs video, but it produces the most authentic "corrupted file" look. For a still image, channel split and slice displacement are the practical glitch tools.
Is the glitch effect reversible?
Only if you kept the original. Glitch effects are destructive by design — they deliberately corrupt, displace, and split the image data, so the result cannot be "unglitched" back to the source from the output file. Work on a copy, keep the original, and export the glitched version separately. This is the same discipline as any irreversible creative effect.
Use the free tools while you follow the guide.
Keep reading
2026-07-28
AI Action Figure Trend: How to Prep Your Photo Right
Turn a photo into a collectible toy portrait: what makes the prompt work, and the crop, background, and resolution steps that avoid an obvious fake.
2026-07-26
AI Anime Generator Guide: Prompts, Styles, and Safe Exports
A practical AI anime generator workflow for portraits, avatars, banners, and social posts, with prompt templates, style checks, and export rules.
2026-07-26
Text-to-Image AI in 2026: How Prompt Generation Actually Works
Text-to-image AI turns a written prompt into a finished picture. Here is how the models, prompts, and settings behind image generation fit together in 2026.