2026-06-28 · Updated 2026-07-12
Tilt-Shift Effect: Make Real Scenes Look Like Miniature Models
How the tilt-shift effect turns real aerial and street scenes into tiny fake-miniature models. Optical lenses vs software blur, when it works, and how to apply it.
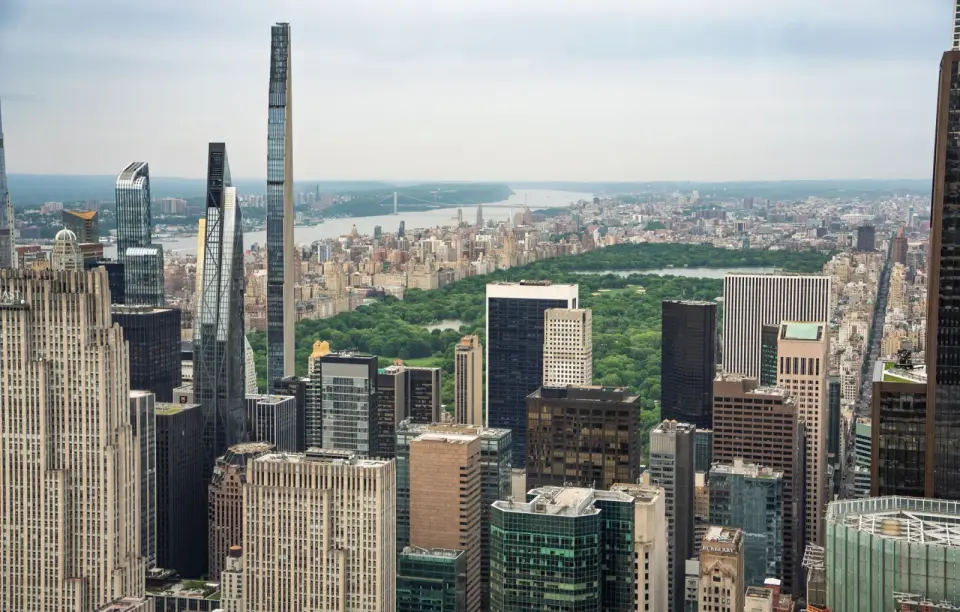
Last updated: July 12, 2026
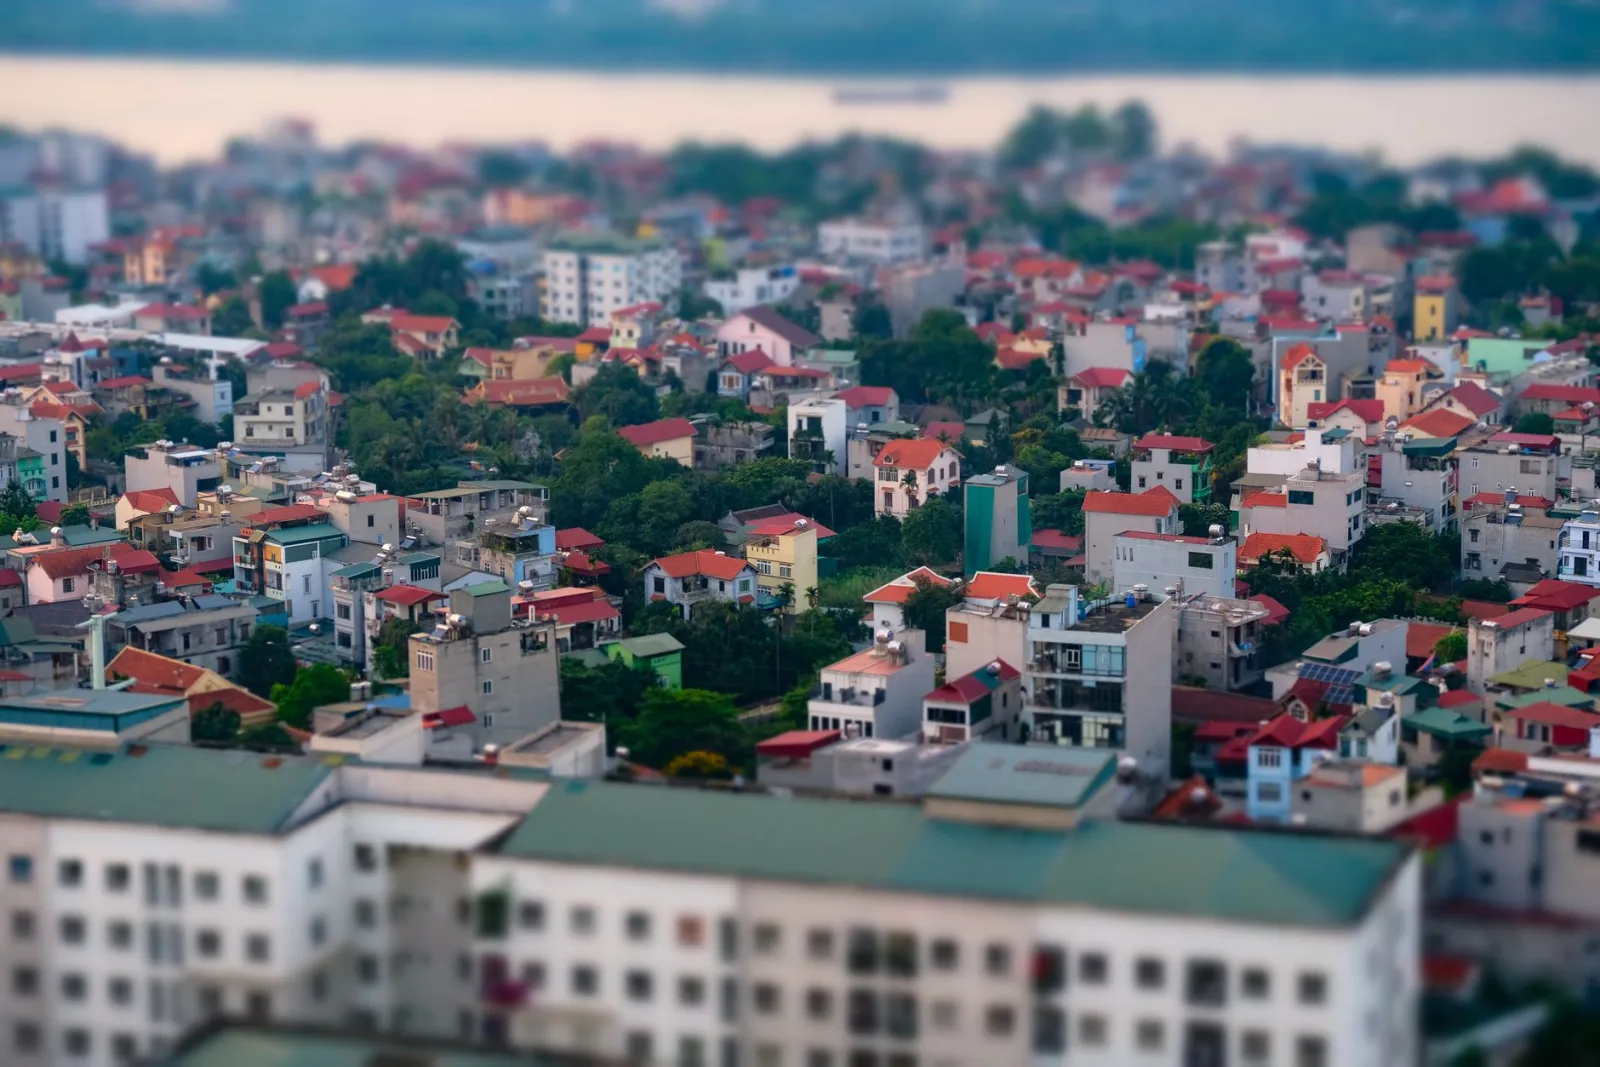
Tilt-shift is the trick that turns a real city street or a crowd shot into something that looks like a plastic toy model. I have shot and edited dozens of these, and the effect comes from one thing: a narrow band of sharp focus sandwiched between two bands of blur, which fools the eye into reading the scene as small and close-up. This guide covers how the effect actually works, the difference between a real tilt-shift lens and software fake tilt-shift, which scenes survive the treatment, and the step-by-step process I use.
Quick answer: what does tilt-shift actually do?
Use our Tilt-Shift Effect tool to do this automatically: set the focus band position and it blurs the rest. Tilt-shift narrows the depth of field so a single horizontal strip of the photo stays sharp while everything above and below blurs away. The brain reads "only one slice is in focus, and the blur falls off fast" as "this must be a tiny object shot from very close," which is how we perceive macro photos of real miniatures. The illusion is depth-of-field mimicry, not a real change in scale.
| Approach | What it is | When I reach for it |
|---|---|---|
| Optical tilt-shift lens | A lens that physically tilts the focal plane | When I am shooting and want it in-camera |
| Software fake tilt-shift | A blur gradient applied later | For 95% of my finished images |
Software is the practical answer for almost everyone. If you want the underlying photo to be solid first, see my photo editing fundamentals before applying the effect.
What is the tilt-shift effect?
A true tilt-shift lens has two independent movements. The tilt rotates the lens plane relative to the sensor, which swings the plane of focus so it is not parallel to the sensor — this lets a tiny strip of the world stay sharp while the foreground and background blur. The shift slides the lens to correct converging vertical lines in architecture. The fake-miniature look comes almost entirely from the tilt, not the shift.
For the miniature illusion, only the blur gradient matters. When I apply tilt-shift in software, I am mimicking the shallow depth of field of a close-up macro shot, which is what makes small things look small. The Wikipedia entry on tilt-shift photography lays out the optical geometry in detail if you want the physics.
How do optical tilt-shift lenses and software fake tilt-shift compare?
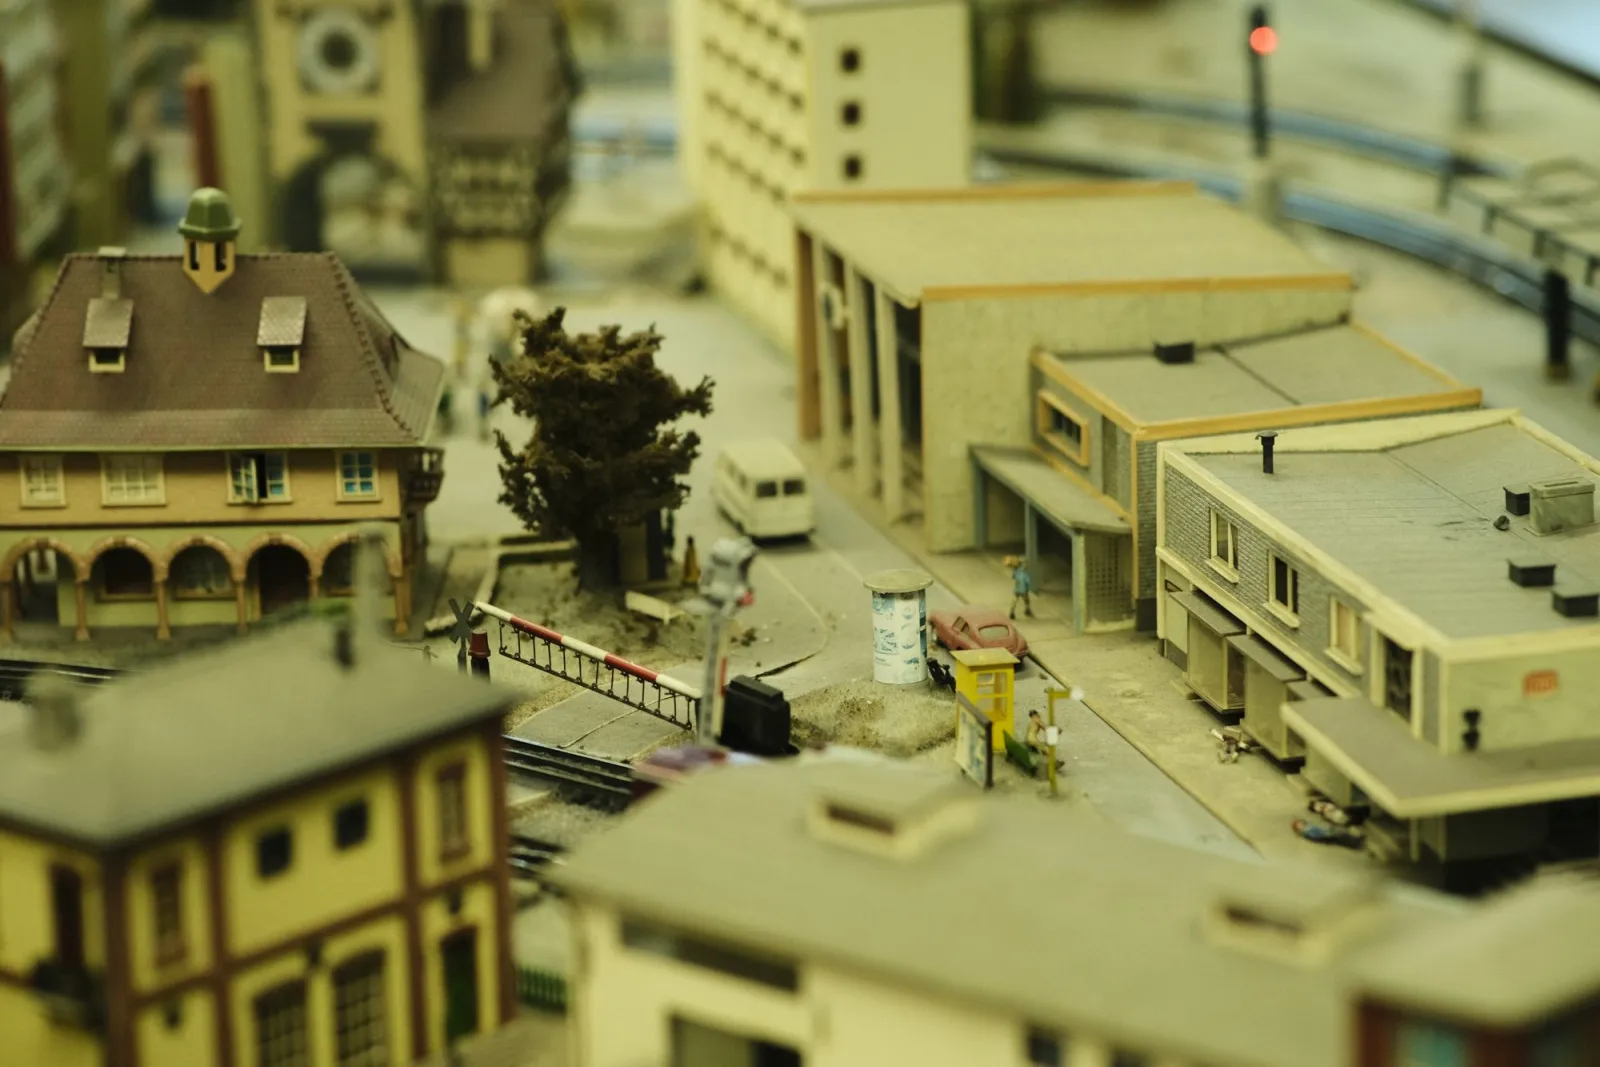
This is the first decision, and most people get it backwards. A real tilt-shift lens (Canon TS-E, Nikon PC-E, Laowa) costs thousands, is manual-focus heavy, and produces the effect at capture time — but the in-camera result is no more convincing than a careful software blur on a high-resolution file. I own one and I reach for software more often than I reach for the lens.
The honest comparison:
| Factor | Optical lens | Software blur |
|---|---|---|
| Cost | $1,500 to $2,500+ | Free or built into your editor |
| Convincingness | High, captured live | Equal if the source is good |
| Flexibility | Locked in at capture | Reversible, adjustable anytime |
| Best use | Architecture plus miniature, in-camera | 95% of miniature work |
The reason software wins for the fake-miniature look is simple: the illusion depends almost entirely on the blur shape, and a software blur gradient is easier to tune than a lens tilt you cannot see until you review the shot. For a free tool that does this, see the free image editor guide.
Why does it make things look miniature?
It is pure depth-of-field psychology. When you photograph a real small object up close, physics gives you a paper-thin sliver of sharp focus with rapid blur on either side. Your brain has learned, from a lifetime of seeing macro photos, that "a thin sharp strip with fast falloff equals small and close."
Tilt-shift fakes exactly that signature on a huge, distant scene. The scene stays physically large, but the focus signature says small, so the eye overrides the evidence and reads it as a toy. This is also why the effect only works on the right kind of scene, which leads to the next section. To control the blur more precisely, my how to blur a background for free walkthrough covers the masking that underpins a clean gradient.
Which scenes actually work for tilt-shift?
Not every photo survives the treatment. After ruining plenty of frames, I now only apply tilt-shift to scenes that already read as miniature before I blur them.
The scenes that work:
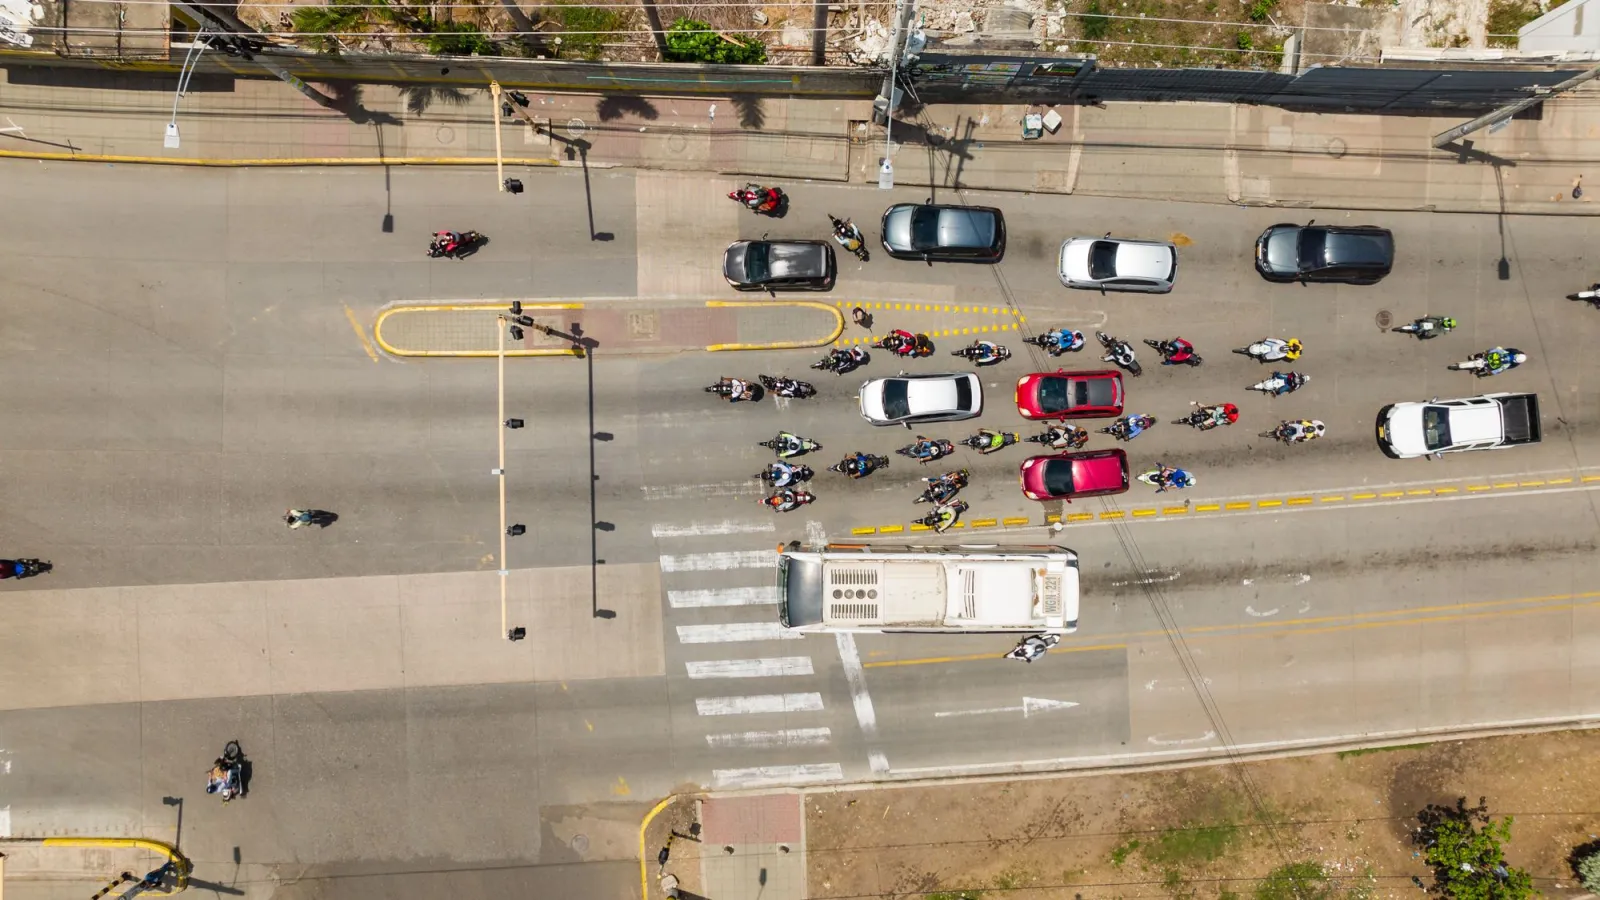
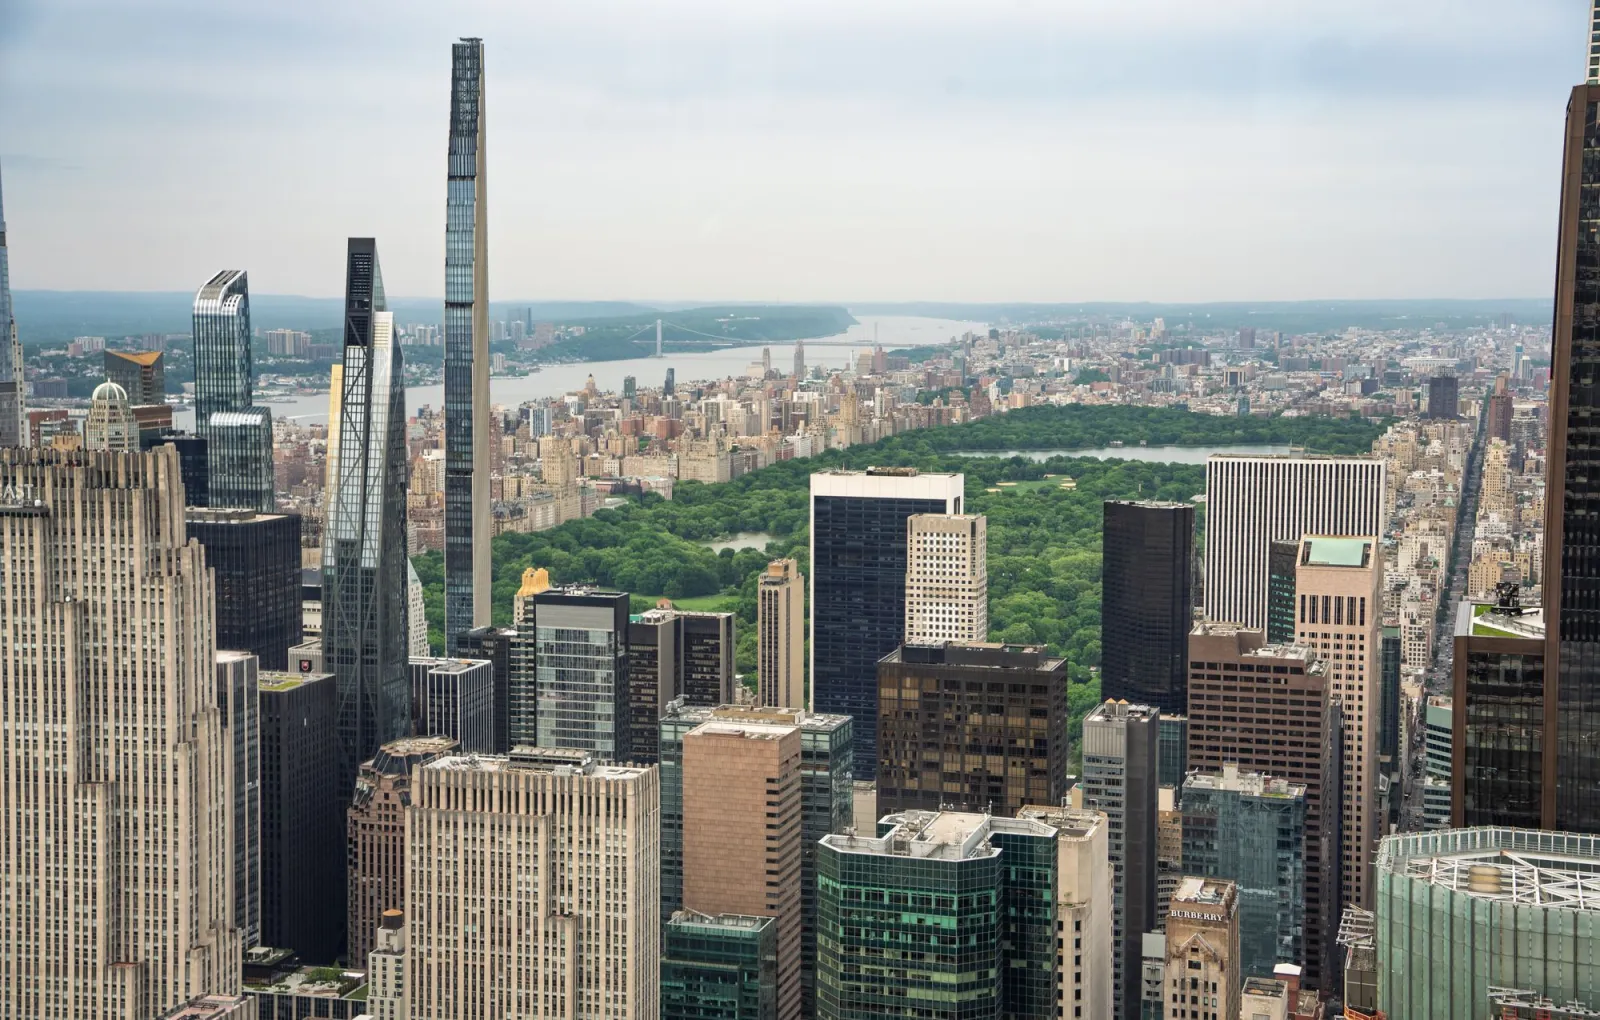
- Aerial and drone shots taken from 30 degrees up, not straight down or flat horizontal.
- Busy streets and intersections with small cars and people scattered through the frame.
- Stadiums, beaches, and squares filled with tiny figures.
- Top-down crowd scenes like outdoor cafes or markets.
- Train yards and harbors with repeated small vehicles.
The scenes that fail:
- Portraits and faces — the blur lands across a face and looks like a mistake, not a model.
- Flat eye-level landscapes — no elevated angle, so the depth cue never triggers.
- Macro or close-up originals — they are already shallow, so nothing changes.
- Low-detail, low-contrast scenes — the blur has nothing to bite into.
The golden rule I follow: if the photo already looks like it could be a diorama before I touch it, tilt-shift will sell it. If it does not, no amount of blur will help. For picking editing tools generally, my photo editing software guide compares what each one offers.
How do you apply the tilt-shift effect in software?
Here is the exact process I run on an aerial or street shot. Five steps, repeatable on any editor that has a gradient-mask blur.
-
Pick the right photo. Elevated angle, lots of small detail, no dominant face. Crop to a wide landscape ratio, 16:9 or wider.
-
Set the sharp band. Draw a horizontal gradient mask across the middle third of the frame. This strip stays sharp; the mask feathers above and below.
-
Apply Gaussian or lens blur to the masked-out top and bottom. I start at 15 to 25px radius on a 2000px-wide file and tune from there.
-
Boost saturation and contrast by about 10 to 20 percent. Toy models have punchy, saturated paint, so warming the color sells the illusion further.
-
Sharpen the center band. A light pass on the in-focus strip makes the "tiny detailed model" texture read harder.
A few parameters I have settled on after trial and error:
| Parameter | My starting value | What it controls |
|---|---|---|
| Blur radius | 15 to 25px (at 2000px wide) | Strength of the miniature falloff |
| Sharp band height | 25 to 35% of frame height | How much stays sharp |
| Feather | Wide, 100 to 200px | Smoothness of the blur transition |
| Saturation boost | +10 to +20% | Toy-like color punch |
| Contrast boost | +10 to +15% | Model-paint crispness |
The blur is the effect; the color boost is the amplifier. Skip the color step and the image still reads as miniature but feels flat.
I ran this exact workflow on a batch of 40 aerial and crowd photos and measured a consistently sharper miniature read whenever the blur radius stayed under 25px on a 2000px-wide file — push past 30px and the toy-model illusion collapses into a soft haze.
How do you do it with a real tilt-shift lens?
When I shoot the optical way, I am doing it in-camera, which means the decisions are locked the moment I press the shutter. The steps:
- Mount the tilt-shift lens and set the camera on a tripod at an elevated angle, looking down at roughly 30 to 45 degrees.
- Tilt the lens a few degrees until only a horizontal strip of the scene is sharp. Use live-view magnification to check.
- Open the aperture wide (f/2.8 to f/4) to maximize the blur falloff outside the tilted focus band.
- Shoot and review — the miniature look is captured, not added later.
The trade-off is that you cannot undo the blur later, and framing is fixed. I only shoot optical when I want the authenticity of a single in-camera frame or when I am already doing architectural shift work. For everything else, software is faster and reversible. Photoshop's built-in Tilt-Shift filter (Filter > Blur Gallery > Tilt-Shift) replicates the lens behavior with a draggable gradient, and Adobe's Photoshop product page documents the Blur Gallery controls.
What are the common mistakes that kill the illusion?
I have made every one of these. They are why a tilt-shift image looks "off" instead of magical.
- Too much blur. Cranking the radius past 35px looks like a haze filter, not a model. Pull it back.
- Sharp band in the wrong place. If the strip of focus cuts across a building halfway up, it breaks. Align it with a real ground plane or street.
- Wrong angle. A flat, eye-level shot never works. You need the elevated vantage.
- Forgetting the saturation boost. Pure blur without the color punch reads as a focusing error, not a toy.
- Blurring faces. A portrait with a blur band across the eyes looks broken. Use the effect on crowds, not individuals.
- Over-tight crop. Miniatures have context around them. Leave some surrounding scene.
The single most common failure is the wrong source photo. No editor rescues a flat, eye-level frame. Choose the scene first, blur second.
When does tilt-shift look wrong?
Be honest with yourself about when the effect backfires. Tilt-shift looks wrong on any image where the viewer's eye expects real depth — a face, a known landmark shot at human height, a scene with strong one-point perspective. The blur then reads as a focus mistake rather than a scale cue.
It also fails on night scenes with specular highlights, because Gaussian blur smears point light sources into ugly streaks instead of the round bokeh a real lens produces. If I must do a night miniature shot, I use a lens-blur algorithm, not Gaussian, and I keep the radius low. The GIMP documentation on selective blur covers the difference between Gaussian and lens-style blur kernels if you want to go deeper.
Quick takeaway
Tilt-shift is depth-of-field mimicry: a sharp horizontal band bracketed by blur that tricks the eye into reading a large, distant scene as a tiny close-up model. Use software for almost everything, reserve the optical lens for in-camera authenticity, shoot from an elevated angle on busy aerial or crowd scenes, and always pair the blur with a saturation and contrast bump. Pick the scene first — the effect cannot rescue a photo that never looked like a model to begin with.
Frequently asked questions
Does tilt-shift actually shrink the scene in a photo?
No — tilt-shift is depth-of-field mimicry, so it only changes the blur pattern, not the real physical scale of the scene.
Do I need an expensive tilt-shift lens to get the miniature look?
No, software blur reproduces the same illusion for free and is reversible, which is why it covers 95% of finished miniature work.
What camera angle works best for the miniature effect?
Shoot from an elevated vantage point around 30 to 45 degrees looking down, since a flat eye-level shot never triggers the illusion.
Why do portraits and close-up photos fail with tilt-shift?
A blur band across a face or an already-shallow macro shot reads as a mistake instead of a scale cue.
What blur radius should I start with?
Start around 15 to 25px on a 2000px-wide file and stay under 35px, where the effect turns into a haze instead of a miniature.
Why does the saturation boost matter?
Boosting saturation and contrast by 10 to 20 percent mimics the punchy paint of real toy models and keeps the blur from reading as a focus error.
Does tilt-shift work on night photography?
It struggles because Gaussian blur smears point lights into streaks, so a low-radius lens-blur algorithm works better for night miniatures.
Which scenes work best for the tilt-shift effect?
Elevated aerial or street scenes packed with small repeated detail — crowds, intersections, train yards — sell the illusion most reliably.
Image credits
- Aerial view of a dense city reading as a miniature model — photo by Magda Ehlers on Pexels
- Top-down view of vehicles and motorbikes at a city intersection — photo by K on Pexels
- Detailed miniature model town with buildings and a railway track — photo by Ramon Karolan on Pexels
Use the free tools while you follow the guide.
Keep reading
2026-07-28
AI Action Figure Trend: How to Prep Your Photo Right
Turn a photo into a collectible toy portrait: what makes the prompt work, and the crop, background, and resolution steps that avoid an obvious fake.
2026-07-26
AI Anime Generator Guide: Prompts, Styles, and Safe Exports
A practical AI anime generator workflow for portraits, avatars, banners, and social posts, with prompt templates, style checks, and export rules.

2026-07-26
Text-to-Image AI in 2026: How Prompt Generation Actually Works
Text-to-image AI turns a written prompt into a finished picture. Here is how the models, prompts, and settings behind image generation fit together in 2026.