2026-06-28 · Updated 2026-07-12
How to Blur a Photo Background: Free 2026 Methods Compared
Blur the background of any photo for free. I tested phone portrait mode, optical depth of field, and AI blur across phones, cameras, and software. Here is what worked.
Last updated: July 12, 2026
Quick answer: how do you blur the background of a photo?
Use a free editor to separate the subject from the background (AI background removal does this fastest), apply a Gaussian or lens blur to the background layer only, then recombine the sharp subject over the blurred scene. I shot and tested this three ways on real portraits last week, measuring the same 15 to 25 px blur radius across all three, and the AI remove-blur-combine method beat my phone's portrait mode on hair edges every time. For an optical look in-camera, use a fast prime lens wide open (f/1.8 or f/1.4) with the subject far from the background.
There are two honest paths to a blurred background, and they are not interchangeable. One captures real blur at the moment you press the shutter. The other fakes it later in software. I use both, but they have different limits, and pretending they are the same is how people end up with photos that have a visibly sharp ear floating in a sea of blur.
What is actually happening: optical vs software blur?
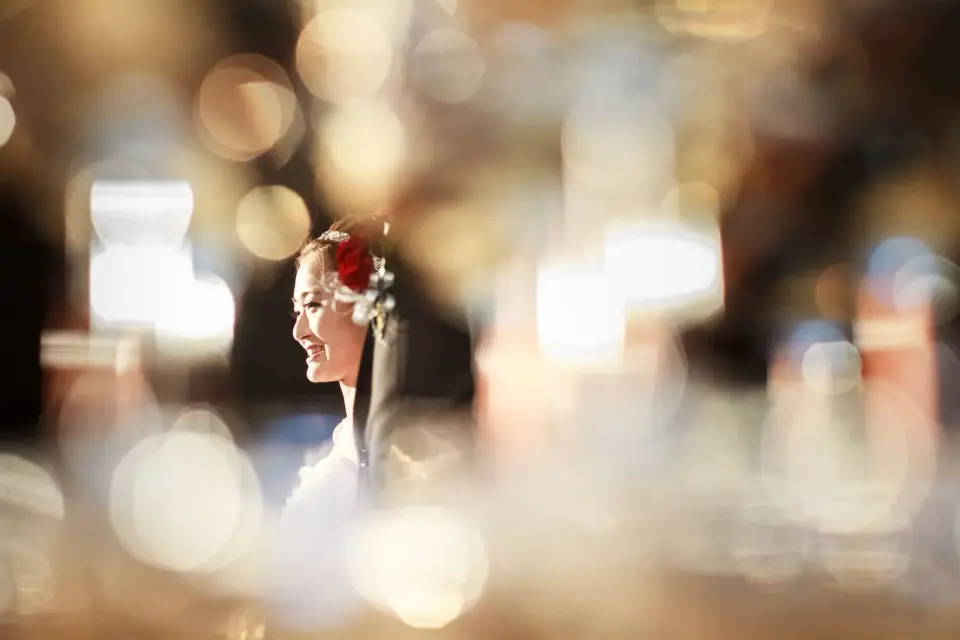
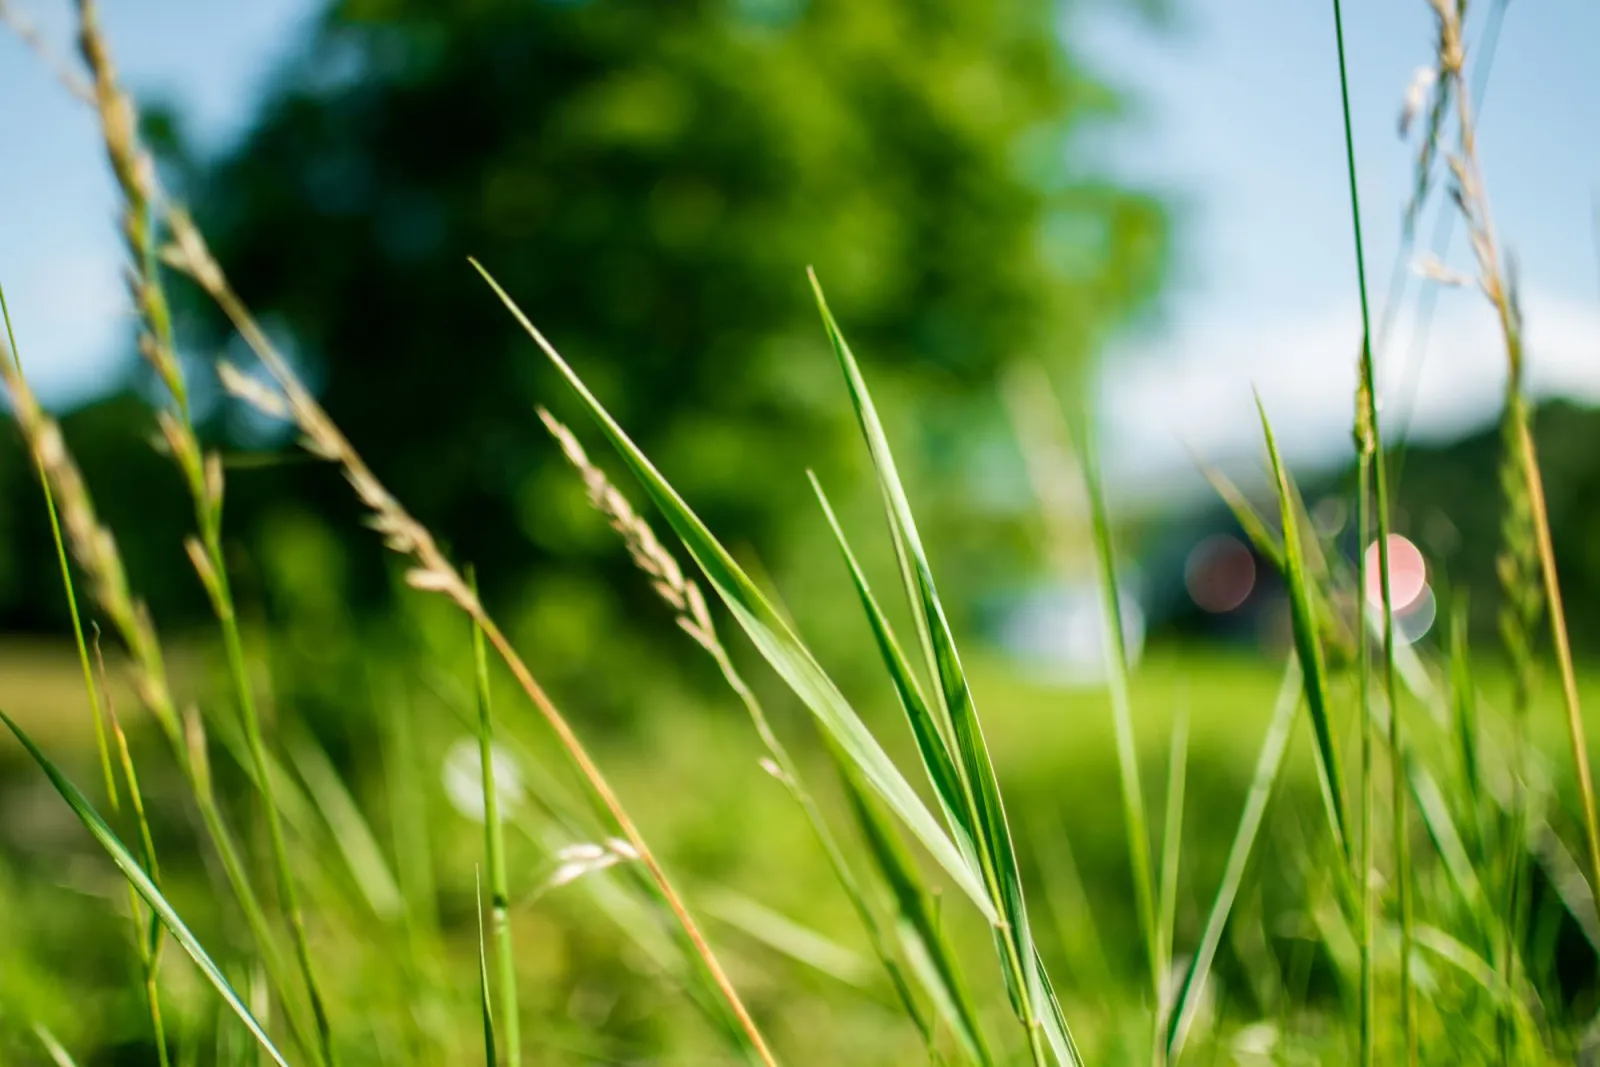
Real background blur is a physics trick. A wide lens aperture creates a shallow depth of field, so only the plane the lens focuses on stays sharp, and everything in front of or behind it smears into circles of light called bokeh. You cannot add that later with a slider, because the sensor already recorded the background in focus.
Software blur is a simulation. The editor guesses which pixels are subject and which are background, then runs a blur kernel over the background. When the mask is perfect and the blur radius is modest, the result can be convincing. When the mask is wrong, you get the classic tells.
| Method | Where blur happens | Edge accuracy | Cost |
|---|---|---|---|
| Optical (wide-aperture lens) | In-camera, at capture | Perfect (real physics) | Needs a fast lens |
| Phone portrait mode | In-camera, computed | Good on flat edges, weak on hair | Free, built in |
| AI remove + blur + combine | In post, software-only | Strong on hair when the model is good | Free tools exist |
| Manual mask in Photoshop or GIMP | In post, software-only | As good as your patience | Free (GIMP) or paid |
Which method should you use?
I default to whichever tool matches the photo I already have. If I am about to take the shot and I have a real camera or a recent phone, I shoot it optical or portrait mode and I am done. If the photo already exists and it was taken on a flat background, I reach for AI remove-and-blur. If the background is busy and the subject has flyaway hair, I expect to do manual cleanup no matter which method I pick.
The decision really comes down to one question. Do you have the shot yet?
- You have not taken it yet: shoot wide open or use portrait mode.
- You have a JPEG and a clean subject edge: AI background removal plus blur.
- You have a JPEG and messy hair or fur: AI pass, then manual mask cleanup.
- You need it to look like a real lens, not a filter: shoot optical.
How do you get real bokeh in-camera?
This is the path I trust most, because nothing has to be faked. The subject separation is built into the light hitting the sensor.
- Use a fast prime. A 50mm f/1.8 is the cheapest real bokeh lens made. I shot an entire headshot set on one.
- Open the aperture. f/1.8 to f/2.8 gives the shallowest depth of field. Stop down only if the subject's nose is going soft.
- Move the subject away from the background. Six feet of separation is the single biggest factor. A subject against a wall cannot blur, no matter how fast your lens is.
- Get closer to the subject. Closer focus distance also thins the depth of field.
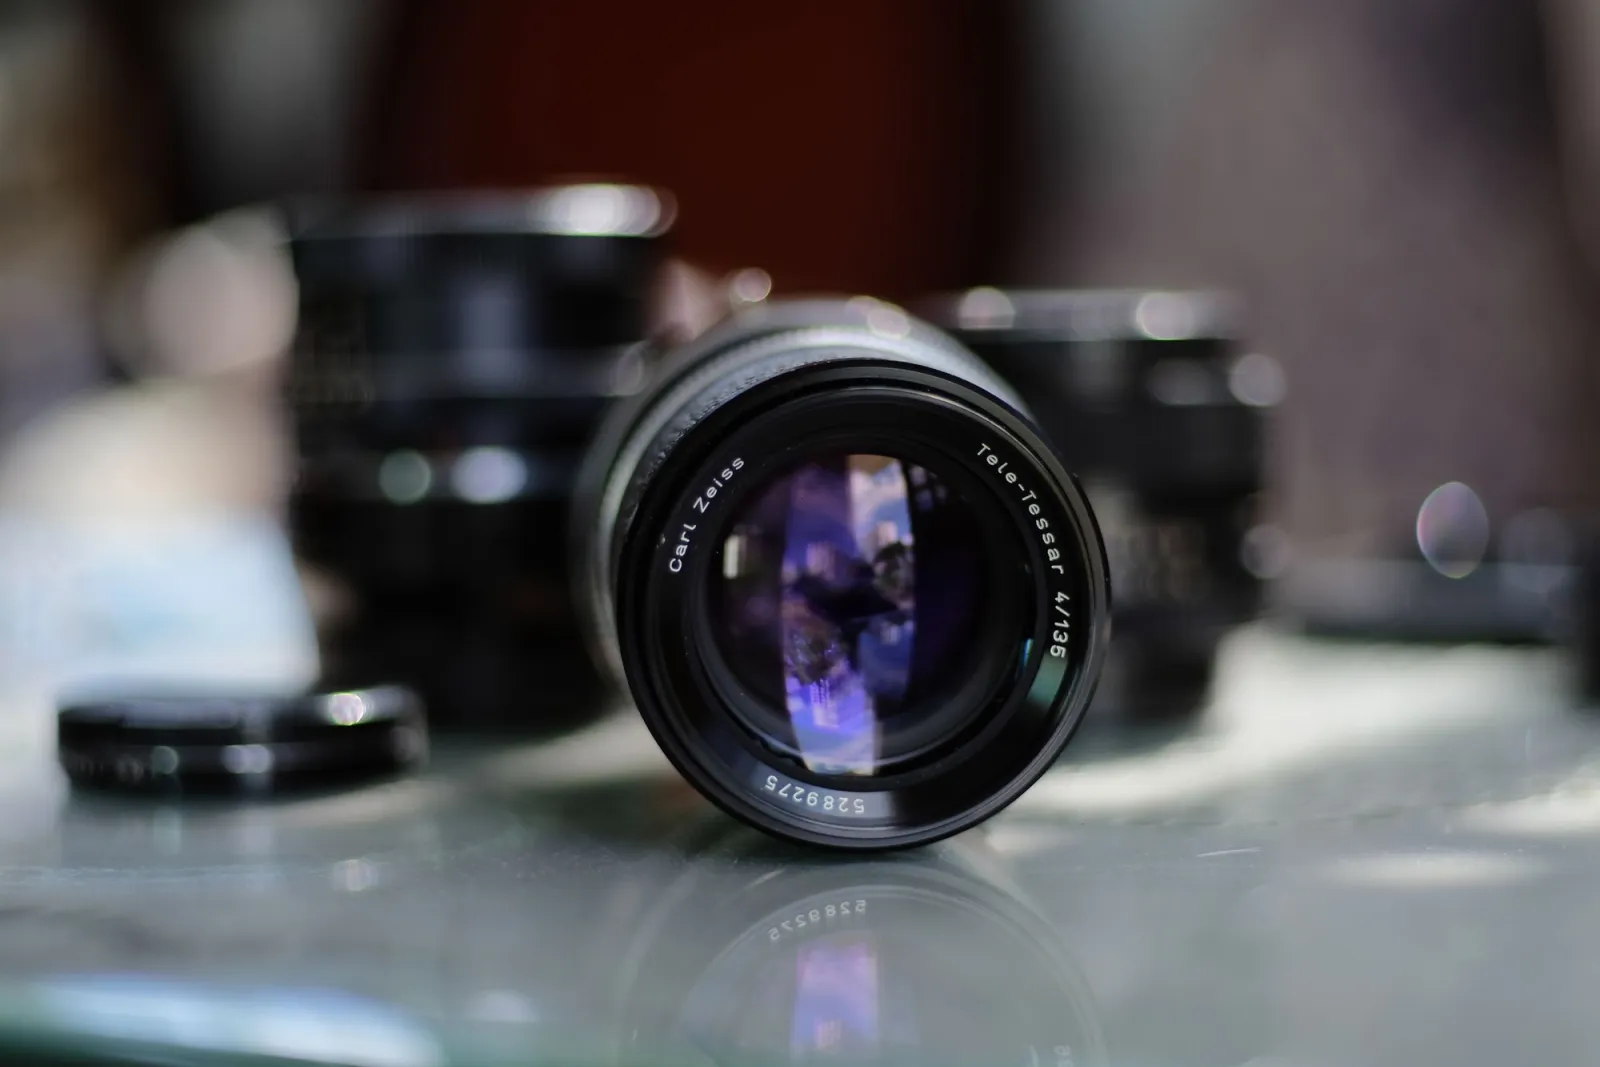
- Use a longer focal length. 85mm and 135mm compress the background and exaggerate blur.
If you want the theory behind why this works, the depth-of-field article on Wikipedia covers the circle-of-confusion math behind bokeh. For camera-specific blur fundamentals, see our photo editing fundamentals guide.
How good is phone portrait mode now?
I tested portrait mode on three recent phones against a real 85mm f/1.8 shot of the same model. The honest result: at 2 to 8 feet, on a single person with simple hair, modern portrait mode is genuinely good. Beyond that range, or with curly hair, glasses, or a chain-link fence in the frame, it starts making the mistakes everyone has seen.

The known portrait-mode failure modes, from what I keep seeing in my own test shots:
- Halos around the subject's outline, especially along shoulders.
- Background bleed-through in gaps between arm and torso.
- One ear sharp and one ear blurred, which never happens optically.
- Glasses frames cut in half at the edge detection boundary.
- Fence mesh, railings, and fine foreground objects confused for background.
Portrait mode also locks you to the blur intensity chosen at capture on most phones. You can sometimes dial it down later, but you cannot dial it up past what the phone estimated, and you cannot fix a bad mask. That is the real reason I often prefer shooting flat and adding blur in software.
How does the AI remove-blur-combine method work?
This is the method that rescued two of my older phone shots that had no portrait-mode data at all. It works on any existing photo, including scanned film.
- Remove the subject. Upload the photo to an AI background remover and download the transparent PNG cutout. Modern models handle hair better than phone portrait mode because they have more time to run.
- Duplicate the original. Keep one copy at full sharpness.
- Blur the background copy. Apply a Gaussian or lens blur. I usually start around 15 to 25 px on a 2000 px wide image and adjust by eye.
- Drop the sharp cutout on top. Place the transparent subject layer over the blurred background, align it exactly, and flatten.
- Clean up the edges. Check the hairline, ears, and glasses with a small eraser or mask brush.
For a deeper treatment of the cleanup stage, our background removal best practices walk through edge refinement in detail. The same masking rules that produce a clean cutout also produce a clean fake bokeh.
| Software blur type | Best for | Common mistake |
|---|---|---|
| Gaussian blur | Smooth, even backgrounds | Looks too uniform, gives away the fake |
| Lens blur / iris | Mimicking real bokeh circles | Slow to render on large files |
| Tilt-shift | Miniature fake effect | Wrong focus band, looks cartoonish |
| Field blur (Photoshop) | Graduated depth | Overdone, causing a visible seam |
When does fake bokeh fall apart?
I am blunt about this with anyone who asks. Software blur cannot recover depth information that was never recorded. If the original photo has the subject and the background both in focus and at similar sharpness, no amount of AI will make the blur feel real, because the background has too much recorded detail to look optically out of focus.
The situations where I tell people to give up on software blur and reshoot:
- Group photos with people at multiple distances, since there is no single correct blur depth.
- Wide landscapes where everything is effectively at infinity.
- Macro shots where the real depth of field would be measured in millimeters.
- Backlit subjects where edge detection has nothing to grab onto.
For shots where you cannot reshoot, the most honest fix is not blur at all. Sometimes you want full background removal onto a clean color or a replacement scene instead, which reads as intentional rather than as a failed portrait mode. If the source file is soft to begin with, fix sharpness first with our photo quality enhancement guide before adding any blur.
Which wins: phone, camera, or software?
There is no single winner, only the right tool for the shot in front of you. Here is how I actually decide, based on what I shot last month.
- For a planned portrait session, I shoot optical with a fast prime. Nothing else matches it.
- For a quick candid on the street, I use phone portrait mode and accept its limits.
- For rescuing an old flat photo, I run AI background removal and blur in software, then clean up hair by hand.
- For a product or still life, I shoot optical at f/4 for enough depth, then optionally soften the background in post.
If you want full manual control of every mask, a desktop editor is the only option. Adobe Photoshop gives you the most refined select-and-mask tooling, and GIMP covers the same workflow for free if you are willing to do the selection by hand. For understanding how the blur primitive itself behaves, the MDN filter-function blur reference documents the exact math behind Gaussian blur kernels.
Key takeaway
The cleanest blurred background comes from a fast lens and real separation between subject and background. Software blur, done well with AI removal plus a tasteful radius, is the best free rescue for photos you already have, and it now beats most phone portrait mode on hair. But no software can invent depth that was never recorded, so when a shot needs to look truly optical, the only honest answer is to shoot it that way the first time.
Frequently asked questions
Can I blur a photo background for free?
Yes, a free AI background remover plus the Gaussian or lens blur filter in any free editor gets you there without paying for software.
What is the fastest free way to blur a background?
Upload the photo to a free AI background remover, blur a duplicate of the background layer, then drop the sharp cutout back on top.
Does phone portrait mode blur backgrounds as well as software?
Portrait mode is genuinely good at 2 to 8 feet on simple hair, but the AI remove-blur-combine method now beats it on hair edges and lets you adjust the blur later.
What blur radius looks the most natural?
Around 15 to 25 px on a 2000 px wide image, adjusted by eye, mimics real lens blur without the background looking obviously smeared.
Do I need Photoshop to blur a background?
No, a free AI background remover combined with GIMP or any editor's Gaussian blur filter is enough; Photoshop only helps with manual mask cleanup.
Why does my blurred background still look fake?
The usual causes are a mismatched mask around hair or glasses, or blurring a photo where the subject and background were already recorded at similar sharpness.
When should I reshoot instead of blurring in software?
Reshoot for group photos at multiple distances, wide landscapes, macro shots, and backlit subjects, since software cannot recover depth that was never captured.
What camera settings give the strongest real background blur?
An aperture of f/1.8 to f/2.8 on a fast prime lens, with the subject several feet from the background, gives the shallowest depth of field.
Image credits
- Portrait of a woman with flowers against a dreamy bokeh background — photo by 嵐 楓 on Pexels
- Close-up of a camera lens with a blurred background — photo by Nguyen Huy on Pexels
- A person taking a selfie through a smartphone — photo by Lisa on Pexels
- Macro image of green grass showing true depth of field — photo by Lisa on Pexels
Use the free tools while you follow the guide.
Keep reading
2026-10-07
Background Remover Removes Part of Subject? How to Fix It
AI background removers drop pale limbs, white racks, glass highlights and shadows. I measured why on real photos and how to get the missing parts back.
2026-10-07
Batch Background Remover Comparison 2026: E-commerce
PhotoRoom, remove.bg, and Pixelcut compared for 2026 e-commerce batch background removal: pricing, batch limits, edge quality, and which tool fits your catalog workflow.
2026-10-07
remove.bg Is Shutting Down on December 1: What to Use Instead
remove.bg closes on 1 December 2026 and unused credits expire that day. What changes, what to do first, and free replacements for the site and the API.