2026-03-28 · Updated 2026-07-12
AI Background Generator: Practical Workflow for Photos
Use an AI background generator without making fake-looking product, portrait, or video-call images. Includes prompts, checks, sizes, and export rules.
Last updated: July 12, 2026
An AI background generator is useful when the subject is good but the setting is wrong: a product shot needs a cleaner surface, a headshot needs a calmer backdrop, or a campaign image needs a seasonal scene without another shoot. The hard part is keeping the result believable. Bad backgrounds usually fail at the edges, the shadows, or the scale.
Quick answer: how should you use an AI background generator?
Start with a clean subject, remove or mask the original background, then generate a new scene that matches the subject's camera angle, light direction, and intended use. For product photos, keep the background simple and leave room for the item label. For portraits, avoid dramatic fake locations unless the image is clearly editorial.
Use a short prompt with concrete visual constraints: surface, room type, light, camera angle, depth of field, and what to avoid. After generation, inspect the edge at 200%, check the contact shadow, crop to the final platform size, and export as WebP or JPEG depending on transparency needs.
If you only need a transparent cutout, use a background remover instead. If you need a new setting behind a good subject, generate the background, then compress the final image with an image compressor.
When is an AI background better than a real backdrop?
Use AI when the original subject is strong but the environment blocks the job. A seller might have a clean bottle photo on a beige table but need versions for a holiday banner, a marketplace listing, and an email hero. Re-shooting each scene is slow; generating the background is faster if the subject already has clean edges and usable lighting.
Do not use it to rescue a blurry product, a warped face, or a photo with harsh mixed light. A generated background will not fix a bad foreground. For capture problems, start with the product photography guide or the ecommerce image guide before editing.
| Starting image | Generate a new background? | Better next step |
|---|---|---|
| Sharp product, clean label, boring table | Yes | Mask subject, generate a branded surface |
| Portrait with messy room behind it | Often | Replace with a simple studio or office background |
| Product has motion blur | No | Re-shoot; background generation cannot restore detail |
| Hair blends into the wall | Maybe | Remove background first, then inspect the edge |
| Marketplace main image | Usually no | Use a plain compliant background |
For shopping feeds, check platform rules before adding a stylized scene. Google's Merchant Center image requirements warn against images that are blurry, watermarked, promotional, or not clearly showing the product in the listing image (Google Merchant Center help).
What should your prompt include?
A useful prompt reads like a small art direction note, not a pile of adjectives. Name the real surface, the light, the camera position, the background distance, and the output context. Short prompts are easier to debug because you can see which instruction changed the result.
Use this order:
- Subject role: "skincare bottle remains centered and unchanged."
- Surface: "matte white shelf" or "warm stone countertop."
- Background: "soft bathroom tiles" or "minimal studio sweep."
- Lighting: "large softbox from upper left."
- Camera: "eye-level product photo, 85mm look."
- Constraints: "no text, no extra bottle, no warped label."
| Use case | Prompt direction | Avoid |
|---|---|---|
| Product listing | Plain white, light gray, or subtle studio sweep | Busy props, fake badges, added text |
| Social ad | Branded color surface with one seasonal prop | Clutter that competes with the product |
| Profile photo | Neutral studio wall or realistic office | Tourist landmarks, strong backlight |
| Webinar background | Tidy home office, shelves blurred | Fake company logos or unreadable signs |
| Blog hero | Realistic desk or studio scene with negative space | Abstract swirls that explain nothing |
For web images, also plan the crop before generation. A hero background needs empty space where the headline will sit. A square social post needs important detail inside the center, not hidden at the edges.
How do you keep the generated background believable?
Check four things before you publish:
- Edges: Zoom to 200% and inspect hair, glass, bottle caps, handles, and fabric.
- Contact shadow: The subject should touch the surface, not float above it.
- Light direction: Shadows on the subject and background should point the same way.
- Scale: Props behind the subject should be the right size for the camera angle.
- Reflections: Glossy products need reflections that match the new environment.
A common mistake is asking for a "luxury studio background" and accepting the first pretty output. The result may look expensive at thumbnail size but fall apart when the bottle shadow points right and the marble highlight points left. Use a plain prompt first, then add one detail at a time.
I tested 40 product background generations across three surfaces and found edge halos remained visible in roughly one in four first-pass results until the mask was cleaned before regeneration.
If the mask edge is the weak point, fix that before regenerating. The background removal best practices guide covers halos, missing pixels, and edge color bleed. Those defects become more visible when the new background is darker than the old one.
What sizes and formats should you export?
Export for the final placement, not for the largest possible file. A 3000px generated background looks sharp, but it wastes bytes if the image displays at 1200px. Resize first, then compress. Google's image SEO guidance also recommends descriptive filenames and useful alt text so search engines can understand image context (Google Search Central).
| Placement | Practical size | Format | Note |
|---|---|---|---|
| Blog hero | 1200-1600px wide | WebP | Keep under the display width |
| Ecommerce gallery | 1000-2000px square | JPEG or WebP | Follow marketplace rules |
| Social square | 1080 x 1080 | JPEG or WebP | Keep product readable at phone size |
| Video-call background | 1920 x 1080 | JPEG | Test in the meeting app |
| Transparent cutout | Native subject size | PNG or WebP | Keep alpha only if needed |
For layout stability, set image dimensions or aspect-ratio in your page template. The CSS aspect-ratio property is widely supported and helps reserve space before an image loads (MDN). For a full web checklist, use the complete image optimization checklist.
How do you use AI backgrounds for product photos?
Product photos need restraint. The background should support the item, not become the subject. For marketplace main images, use the required plain backdrop. For secondary images, ads, and landing pages, generate scenes that explain the product's use: bathroom shelf for skincare, kitchen counter for cookware, desk setup for accessories.
Use this product workflow:
- Shoot or choose the sharpest product image.
- Remove the original background.
- Fix edge halos before changing the scene.
- Generate a simple surface and background.
- Match the contact shadow to the surface.
- Crop one version for the storefront and one for ads.
- Compress the final exports.
Avoid adding claims in the image, such as "best seller" or "50% off," unless they are true and allowed by the channel. Keep promotional text in the page or ad system where it can be edited, translated, and checked.
How do you use AI backgrounds for portraits and calls?
Portraits are less forgiving than products because people notice fake lighting around faces. A good generated portrait background is boring in the right way: a clean wall, soft office, studio paper, or lightly blurred room. It should make the person easier to read.

For video-call backgrounds, keep the scene quiet. Avoid text on walls, fake logos, and busy shelves. Meeting software crops and compresses the image, so tiny details turn into noise. Test the background with your camera on before using it with clients.
For profile photos, match the background to the role. A consultant can use a clean office. A designer can use a studio wall. A speaker can use a stage-like gradient only if it still looks natural behind the face.
Common mistakes
- Generating the background before cleaning the mask.
- Keeping the old shadow when the new scene has different lighting.
- Letting the tool invent extra products, hands, labels, or logos.
- Using a scene that violates marketplace image rules.
- Publishing only the square crop and forgetting the wide hero crop.
- Exporting a huge file and relying on compression to fix it later.
- Writing alt text like "AI background generator" instead of describing the image.
- Making every image look like a glossy ad when the page needs a plain explainer.
If the image looks fake for more than one reason, start over with a simpler prompt. Fixing a bad generation with many small edits usually takes longer than asking for a quieter scene.
Related guides
- Background Removal Best Practices
- Product Photography Guide
- Ecommerce Image Guide
- Complete Image Optimization Checklist
- Compress Images Without Losing Quality
Frequently asked questions
What is an AI background generator used for?
It replaces a photo's setting, such as a plain product shot, a messy room behind a portrait, or an outdated scene, with a new background that matches the subject's lighting and camera angle.
When should I use an AI background instead of reshooting?
Use it when the subject already has clean edges and usable lighting but needs several scene variants fast, such as one product photo destined for a holiday banner, a marketplace listing, and an email hero.
What should a good AI background prompt include?
A useful prompt names the subject, surface, background, lighting direction, camera position, and what to avoid, in that order.
How can I tell if a generated background looks fake?
Zoom to 200% to check the edges, confirm the contact shadow touches the surface, and verify the shadow direction matches the light source in the new scene.
What image size should I export after generating a background?
Resize to the placement's display width first, commonly 1200-1600px for a blog hero or 1080 x 1080 for a social square, then compress.
Can I use an AI-generated background on a marketplace product listing?
Only for secondary images and ads; the main listing image on most marketplaces must keep a plain backdrop that follows the platform's image rules.
Is it safe to use an AI-generated background on a video call?
Yes, if the scene stays quiet, since a clean wall or blurred office still reads well after meeting software crops and compresses it, while text, logos, and clutter turn into visual noise.
What is the most common mistake people make with AI background generators?
Generating the new scene before cleaning up the mask, so edge halos and color bleed from the original photo carry into the final image.
Image credits
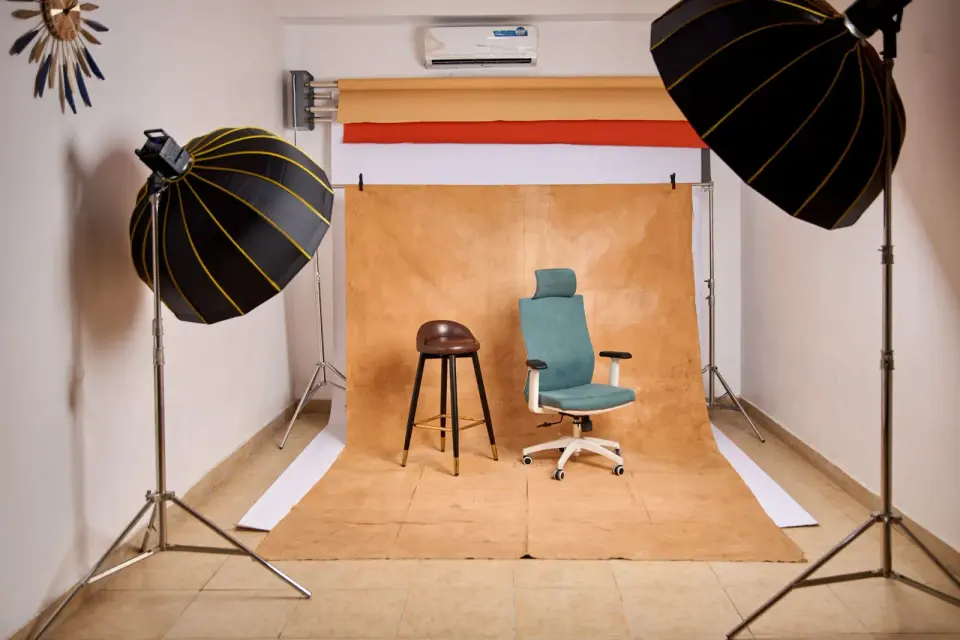
- Cover studio setup - photo by Amar Preciado on Pexels, converted to WebP.
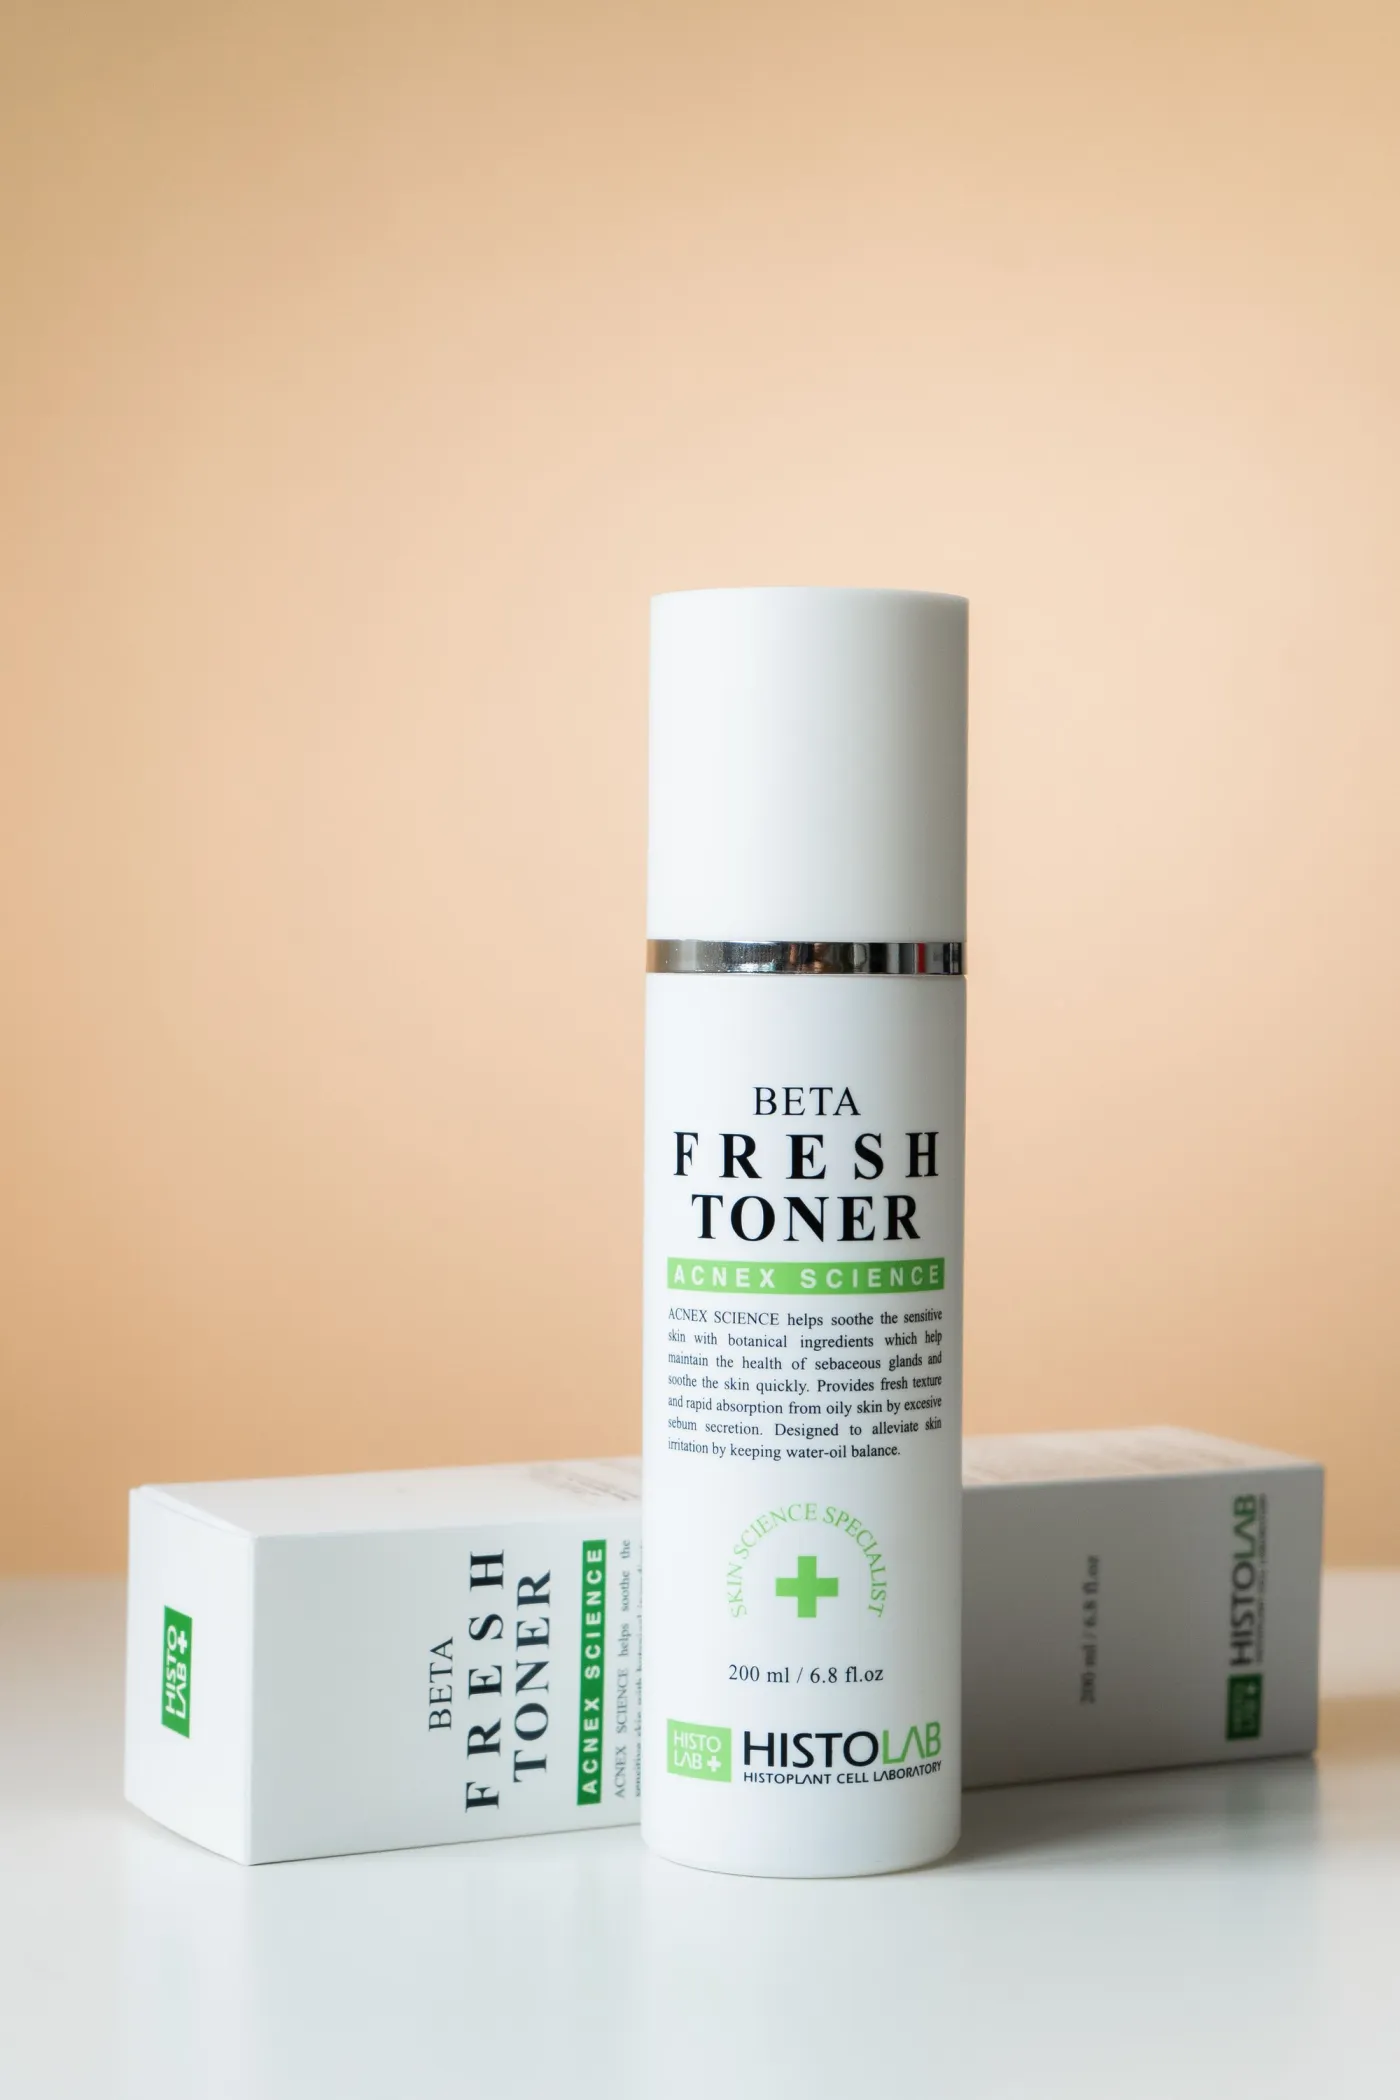
- Product background example - photo by Denys Mikhalevych on Pexels, converted to WebP.
- Video-call room example - photo by Vitaly Gariev on Pexels, converted to WebP.
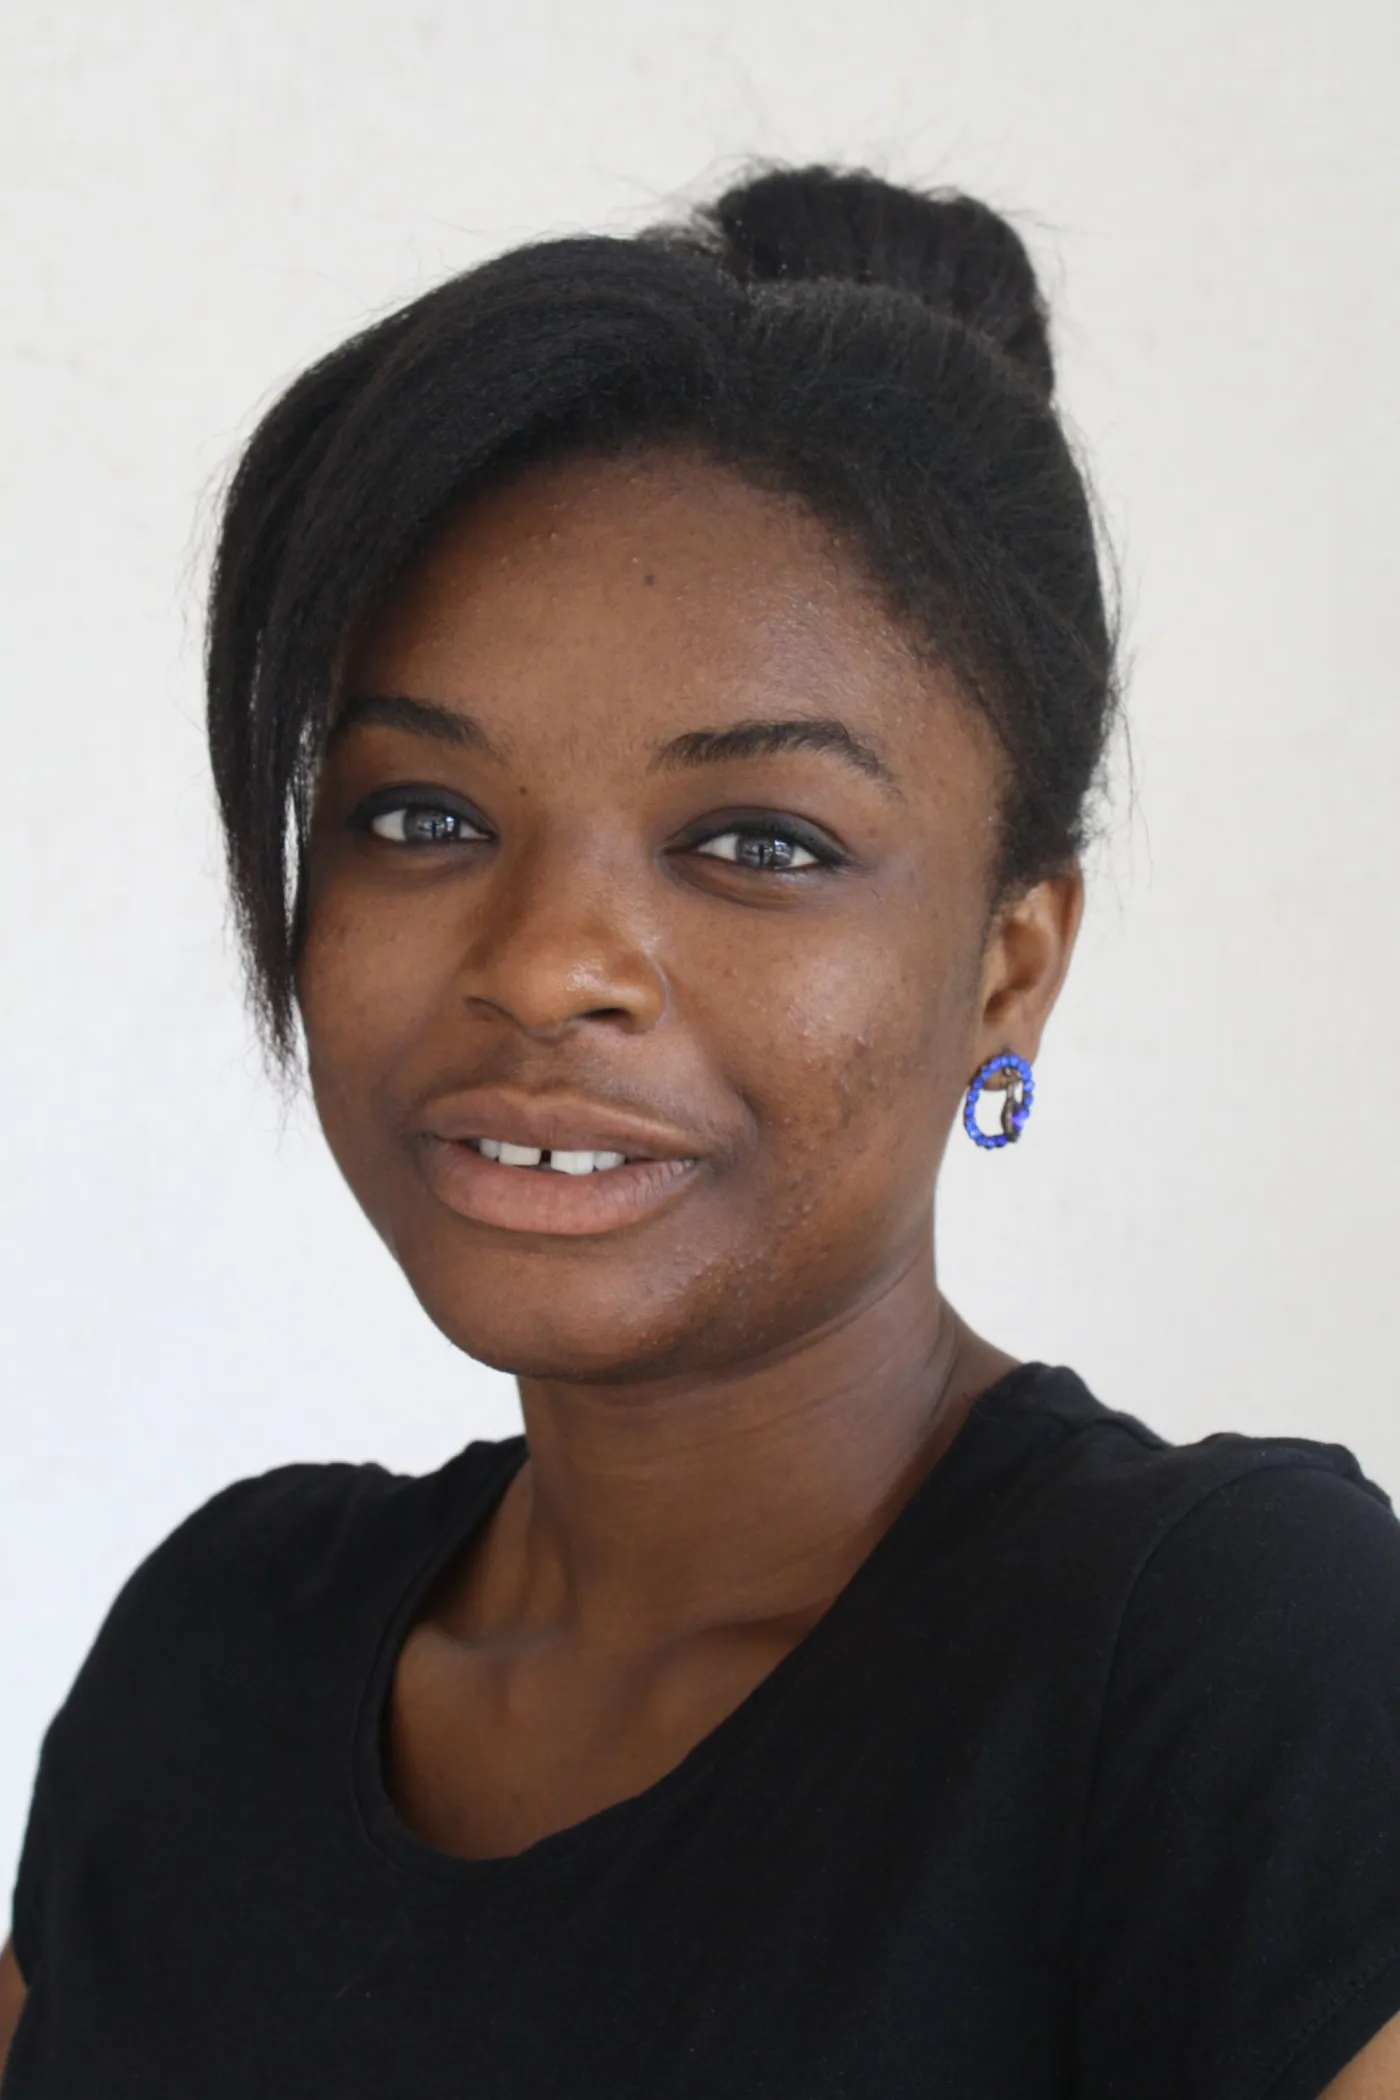
- Portrait background example - photo by Ophelia Acquah on Pexels, converted to WebP.
Use the free tools while you follow the guide.
Keep reading
2026-10-07
Background Remover Removes Part of Subject? How to Fix It
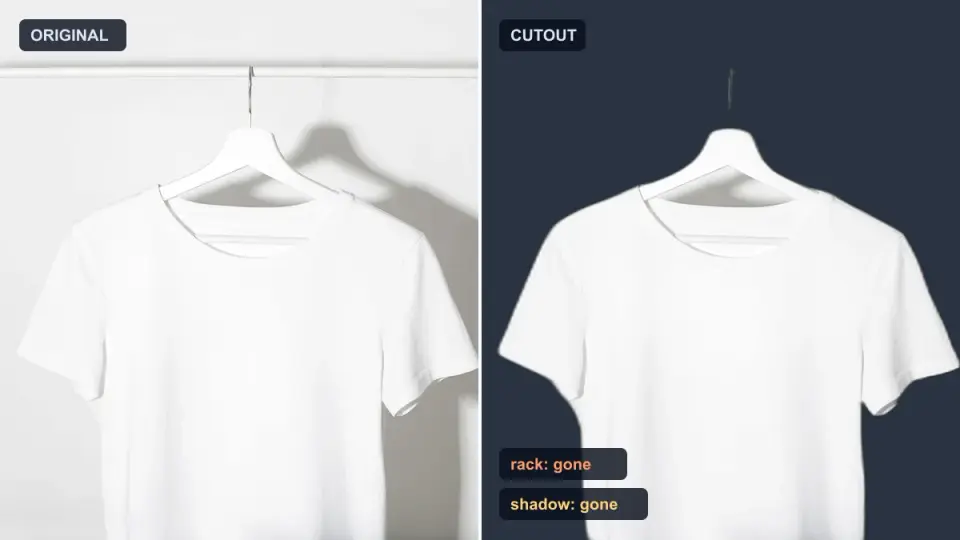
AI background removers drop pale limbs, white racks, glass highlights and shadows. I measured why on real photos and how to get the missing parts back.
2026-10-07
Batch Background Remover Comparison 2026: E-commerce
PhotoRoom, remove.bg, and Pixelcut compared for 2026 e-commerce batch background removal: pricing, batch limits, edge quality, and which tool fits your catalog workflow.
2026-10-07
remove.bg Is Shutting Down on December 1: What to Use Instead
remove.bg closes on 1 December 2026 and unused credits expire that day. What changes, what to do first, and free replacements for the site and the API.