2026-06-28 · Updated 2026-06-30
How to Make the Image Spiral Effect in 2026
The image spiral (or swirl) effect warps a photo into a vortex. I show how I create it in Photoshop and GIMP, when it reads as art versus kitsch, and the settings I use.
Last updated: June 30, 2026
The image spiral effect bends a photo around a center point so pixels rotate further the closer they sit to that point. The result looks like a pinwheel, a drain, or a hypnotic tunnel depending on angle and strength. I have applied this warp to album covers, band posters, and a few portraits I regret.
Quick answer: how do you make the spiral effect?
In Photoshop open the image, choose Filter > Distort > Twirl, set the angle between 200 and 600 degrees, and click OK. For more control, scale the effect through a polar-to-rectangular coordinate swap. GIMP does the same under Filters > Distorts > Whirl and Pinch. Skip it on faces and text.
What does the image spiral effect actually do?
Underneath the slider, a spiral is a rotation whose angle depends on radius. A pixel at the center stays put, while pixels farther out rotate more. Crank the angle high and the image folds into concentric rings. Keep it low and you get a gentle curl at the edges.
I created my first swirl in 2014 by accident, over-cooking the Twirl filter on a landscape, and learned that the math rewards a clear focal point placed dead center. A centered subject keeps the spiral readable instead of chaotic. Our photo editing fundamentals guide covers the non-destructive layer habits that make experiments like this reversible.
When does the spiral effect work?
It works when the composition can survive being scrambled. My shortlist of subjects that take a spiral well:
- Abstract backgrounds and wallpapers.
- Album art, gig posters, and merchandise mockups.
- Long-exposure light trails you want to push further.
- Cosmic, psychedelic, or sci-fi mood boards.
- End cards for short videos that need energy.
It fails on anything the viewer needs to read or recognize quickly, which is most of everyday photography.
When should you avoid it?
Faces, hands, signage, and product shots are the usual casualties. A spiral smears eyes into crescents and turns text into a barcode nobody can parse. I once ruined a client headshot trying to be clever, and the rescue was a full re-edit from the original. If a detail carries meaning, keep it outside the warp radius or skip the effect.
How do you create the spiral effect in Photoshop?
Photoshop ships a built-in Twirl filter that handles 80 percent of cases. The other 20 percent need a manual coordinate trick for off-center spirals and variable tightness. Adobe documents this distortion in its Photoshop product guide.
Step 1: prep a duplicate layer
Press Ctrl+J to duplicate the background, then convert it to a Smart Object. Smart Filters stay editable, so you can revisit the angle without starting over. Name the layer so you remember what it holds.
Step 2: set the center point
Twirl rotates around the geometric center of your selection, not the image. Make a square marquee around the area you want as the eye of the spiral before opening the filter.
Step 3: run Twirl
Go to Filter > Distort > Twirl. Drag the angle slider and watch the live preview. Negative angles spin counterclockwise, positive go clockwise, and the difference matters when you stack two layers.
Step 4: build a tighter spiral manually
For a denser vortex, duplicate the layer, rotate it 90 degrees, and set the blend mode to Lighten. Stack three or four rotated copies to multiply the arms of the spiral.
How do you create the spiral effect in GIMP?
GIMP is free and its Whirl and Pinch dialog gives you two extra dials that Photoshop hides. The GIMP documentation describes whirl as an angular distortion measured in degrees, with pinch pulling pixels toward or away from the center.
Open Filters > Distorts > Whirl and Pinch. Set Whirl to roughly 270 degrees for a single-turn spiral, and add 10 to 20 percent Pinch to tighten the center. GIMP renders fast, so sweep the sliders until the preview feels right.
What spiral settings do I actually use?
I keep a small table of starting points taped to my monitor. Treat these as defaults, not laws.
| Source image | Whirl angle | Pinch | Notes |
|---|---|---|---|
| Abstract texture | 540 deg | 0.10 | Push hard, little downside |
| Light-trail photo | 360 deg | 0.05 | Keep trails legible |
| Portrait (eyes only) | 90 deg | 0.00 | Barely a spiral, more a curl |
| Landscape sky | 270 deg | 0.15 | Center on the sun or moon |
The portrait row is where restraint matters most. A 90-degree curl reads as motion; a 360-degree whirl reads as a glitch. When in doubt, dial back the angle before adding more.
How do you blend the spiral into a real photo?
A full-frame spiral gets tiring, so I usually mask the warp to a region rather than the whole frame.
Anchor it to a focal point
Center the effect on a light source, a flower, or a subject's eye. The surrounding unwarped pixels frame the spiral instead of fighting it.
Fade the edges
Add a layer mask and paint black at 50 percent opacity around the boundary. A soft transition hides the hard ring the filter leaves behind.
Reintroduce contrast
Spirals flatten midtones. A Curves adjustment clawing back contrast stops the result looking muddy after the warp scrambles your tonal range.
What are the common mistakes that make spirals look cheap?
I have made all of these at least once.
- Spinning a low-resolution JPEG until it bands into stair-steps.
- Forgetting to center the selection, producing a lopsided swirl.
- Using the default maximum angle on a portrait.
- Stacking spirals on spirals until the image is mush.
- Exporting as JPEG repeatedly, which deepens the artifacts each pass.
Work from a high-resolution original, keep a PSD or XCF master, and export once at the end.
How do you export spiral artwork for web and print?
Pick a format that matches the destination. Spirals compress poorly because of their fine rings, so mind your quality settings.
| Destination | Format | Quality | Why |
|---|---|---|---|
| Social media | WebP | 85 | Small file, sharp rings |
| Website hero | AVIF or WebP | 80 | Modern browsers win here |
| PNG or TIFF | Lossless | No banding on press | |
| Archive | PSD or XCF | n/a | Keep the editable layers |
If you want a deeper comparison of modern formats, the rest of our editing toolset notes pair well with this; see the photo editing software guide.
A few honest caveats
The swirl is a 1990s filter-shop staple, and viewers clock it instantly. Used full-frame on a face it reads as dated, even kitschy. I reach for it on maybe one in twenty projects, and only when the brief asks for energy or abstraction.
A tasteful spiral is a seasoning, not the meal. When in doubt, halve the angle and mask the effect to a corner. The free image editor in our toolkit is enough to try all of this before you commit to a paid app, and the same warp logic shows up in the color pop effect walkthrough if you want to layer two distortions.
Frequently asked questions
What kind of photo works best for a spiral effect?
Images with a clear central subject and strong lines or colors — flowers, architecture, abstract patterns. Busy, low-contrast photos turn to noise when rotated and mirrored, because the spiral needs recognizable shapes to repeat.
How many spiral segments should I use?
Six to twelve is the readable range. Fewer segments (4–6) read as bold symmetry; more (12+) turn into dense radial patterns that lose the original subject. Start at eight and adjust until the center still reads.
Is the spiral effect the same as a kaleidoscope?
Related — both use rotation and mirroring — but a kaleidoscope uses straight mirrored slices while a spiral warps along a curve. The kaleidoscope guide covers the straight-slice version; the spiral adds a rotational twist.
Does the spiral effect reduce quality?
The transforms can soften detail where they overlap, so keep the source sharp and export at the final size. The effect is creative, not a quality loss per se — but heavy rotation can blur edges. Check the result at 100 percent.
Image credits
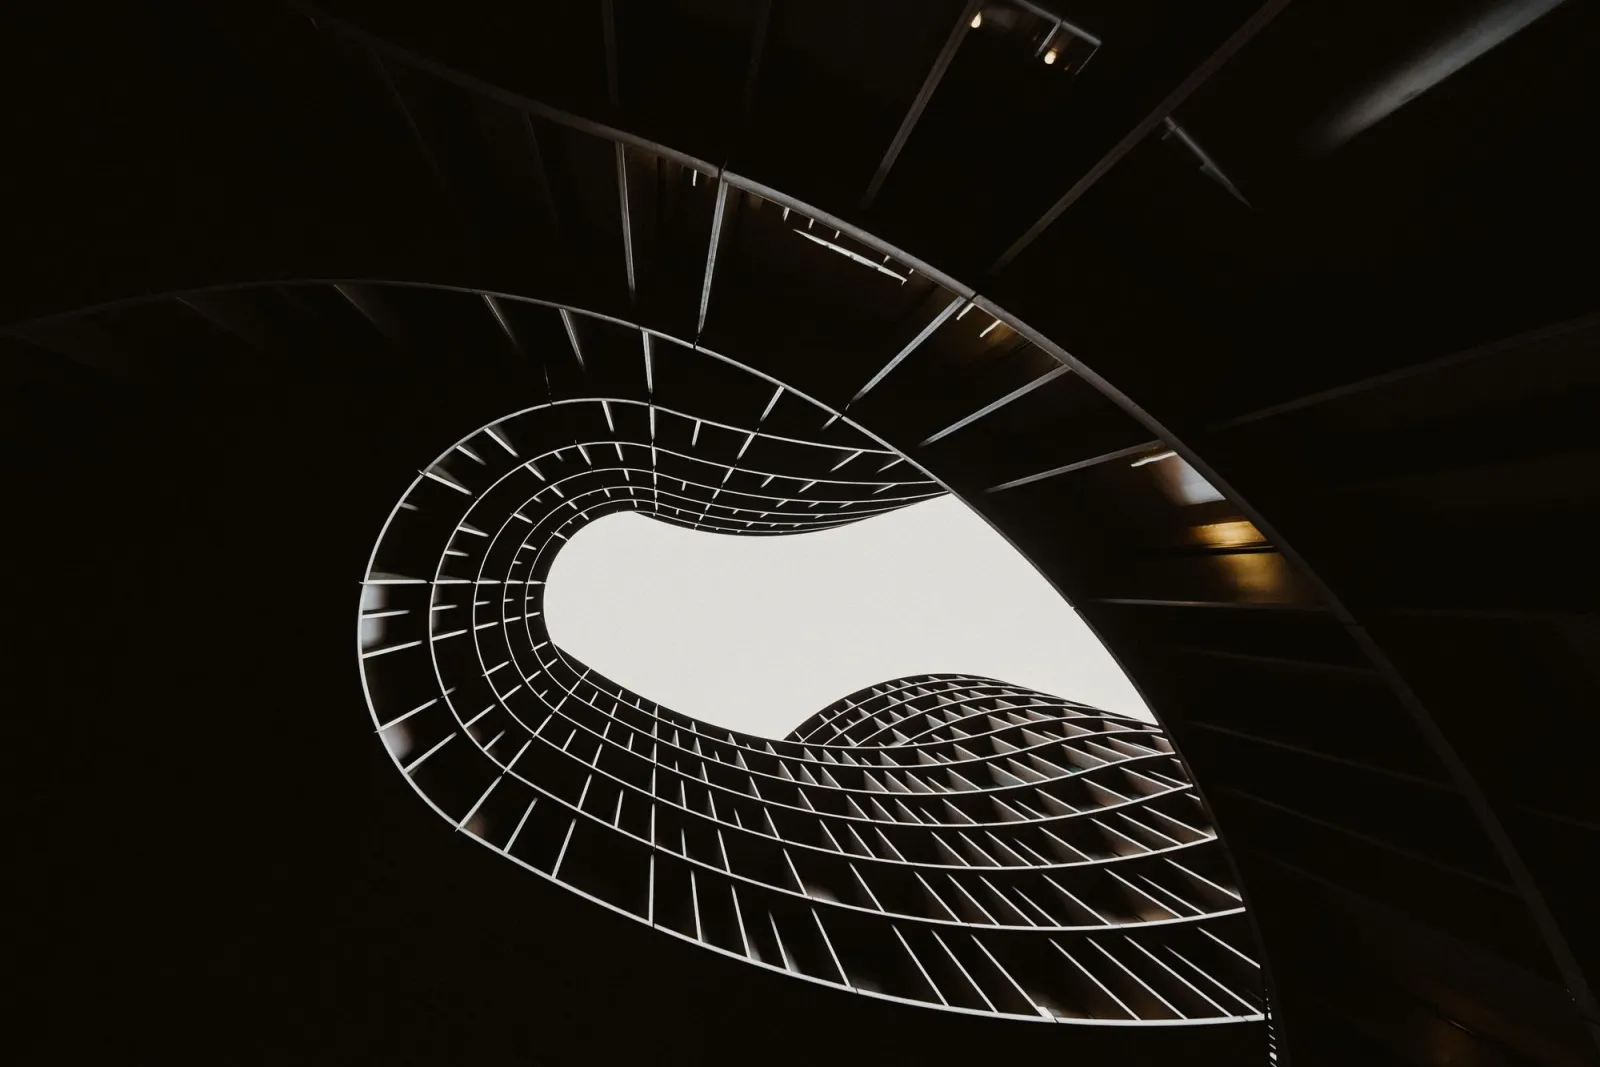
- Abstract spiral staircase shot from above forming a tight rotating vortex — photo by Eberhard Grossgasteiger on Pexels
- Swirling abstract texture in orange and red — photo by Tobias Bjørkli on Pexels
- Long-exposure circular light trails spinning at night — photo by Daniel Jensen on Pexels
- Colorful rainbow swirl pattern as a vivid abstract background — photo by Slow Walker on Pexels
Use the free tools while you follow the guide.
Keep reading
2026-07-28
AI Action Figure Trend: How to Prep Your Photo Right
Turn a photo into a collectible toy portrait: what makes the prompt work, and the crop, background, and resolution steps that avoid an obvious fake.
2026-07-26
AI Anime Generator Guide: Prompts, Styles, and Safe Exports
A practical AI anime generator workflow for portraits, avatars, banners, and social posts, with prompt templates, style checks, and export rules.
2026-07-26
Text-to-Image AI in 2026: How Prompt Generation Actually Works
Text-to-image AI turns a written prompt into a finished picture. Here is how the models, prompts, and settings behind image generation fit together in 2026.