2026-06-28 · Updated 2026-06-30
Resize an Image to 2x2 Inches: Pixels, DPI, and Passport Specs
Resize any photo to exactly 2x2 inches for US passports, visas, and ID cards. Get pixel dimensions by DPI, crop to a square, and hit the 600x600 spec agencies expect.
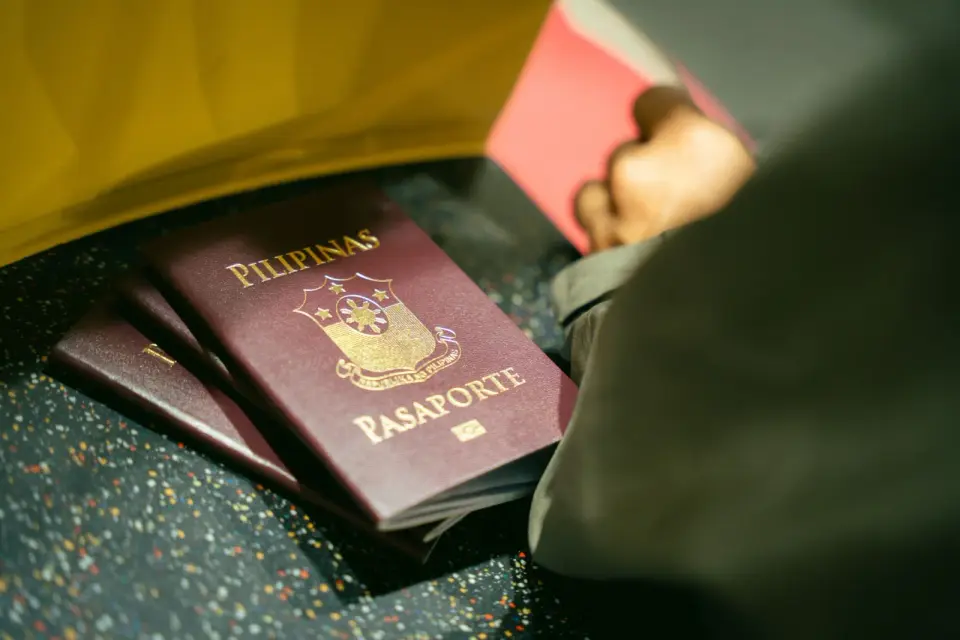
Last updated: June 30, 2026
A 2x2 inch photo (51x51mm) is the standard for US passport, visa, and many ID applications. But editors work in pixels, not inches, so the real job is hitting the right pixel count at the right DPI. I resized my own passport renewal photo last month, and the fix came down to one number: 600x600 pixels at 300 DPI.
Quick answer: what size is a 2x2 inch photo?
For a 2x2 inch print at the standard 300 DPI, resize your image to 600 x 600 pixels and export as a JPEG. Crop to a square first, then resize — never force a non-square photo into 600x600, or it stretches. That single spec covers US passports, US visas, and Indian passports.
What size is 2x2 inches in pixels?
Pixels depend on DPI. Multiply inches by the DPI to get pixels: 2 inches times 300 DPI = 600 pixels on each side. Here is the table I keep next to my desk.
| DPI | Pixel dimensions | Typical use |
|---|---|---|
| 72 | 144 x 144 | Screen preview only |
| 150 | 300 x 300 | Low-quality print |
| 300 | 600 x 600 | Standard print, agencies (recommended) |
| 600 | 1200 x 1200 | High-quality print |
For any government submission, stay at 300 DPI and 600x600 pixels. Lower than 300 DPI and the print looks soft; agencies can reject it. The math behind choosing a DPI target is covered in image resolution.
Why does DPI matter for a 2x2 photo?
DPI means dots per inch — how many pixels fit into one printed inch. The same 600x600 file prints at different physical sizes depending on the DPI baked into it.
- Printed at 300 DPI: 2 x 2 inches (correct for passports).
- Printed at 72 DPI: 8.3 x 8.3 inches (way too large).
- Printed at 600 DPI: 1 x 1 inch (too small).
For digital uploads, the pixel count is what matters most, but many systems still read the embedded DPI. Set it to 300 and you will not get caught out. This pairs with holding detail through downscale, explained in keep quality while resizing.
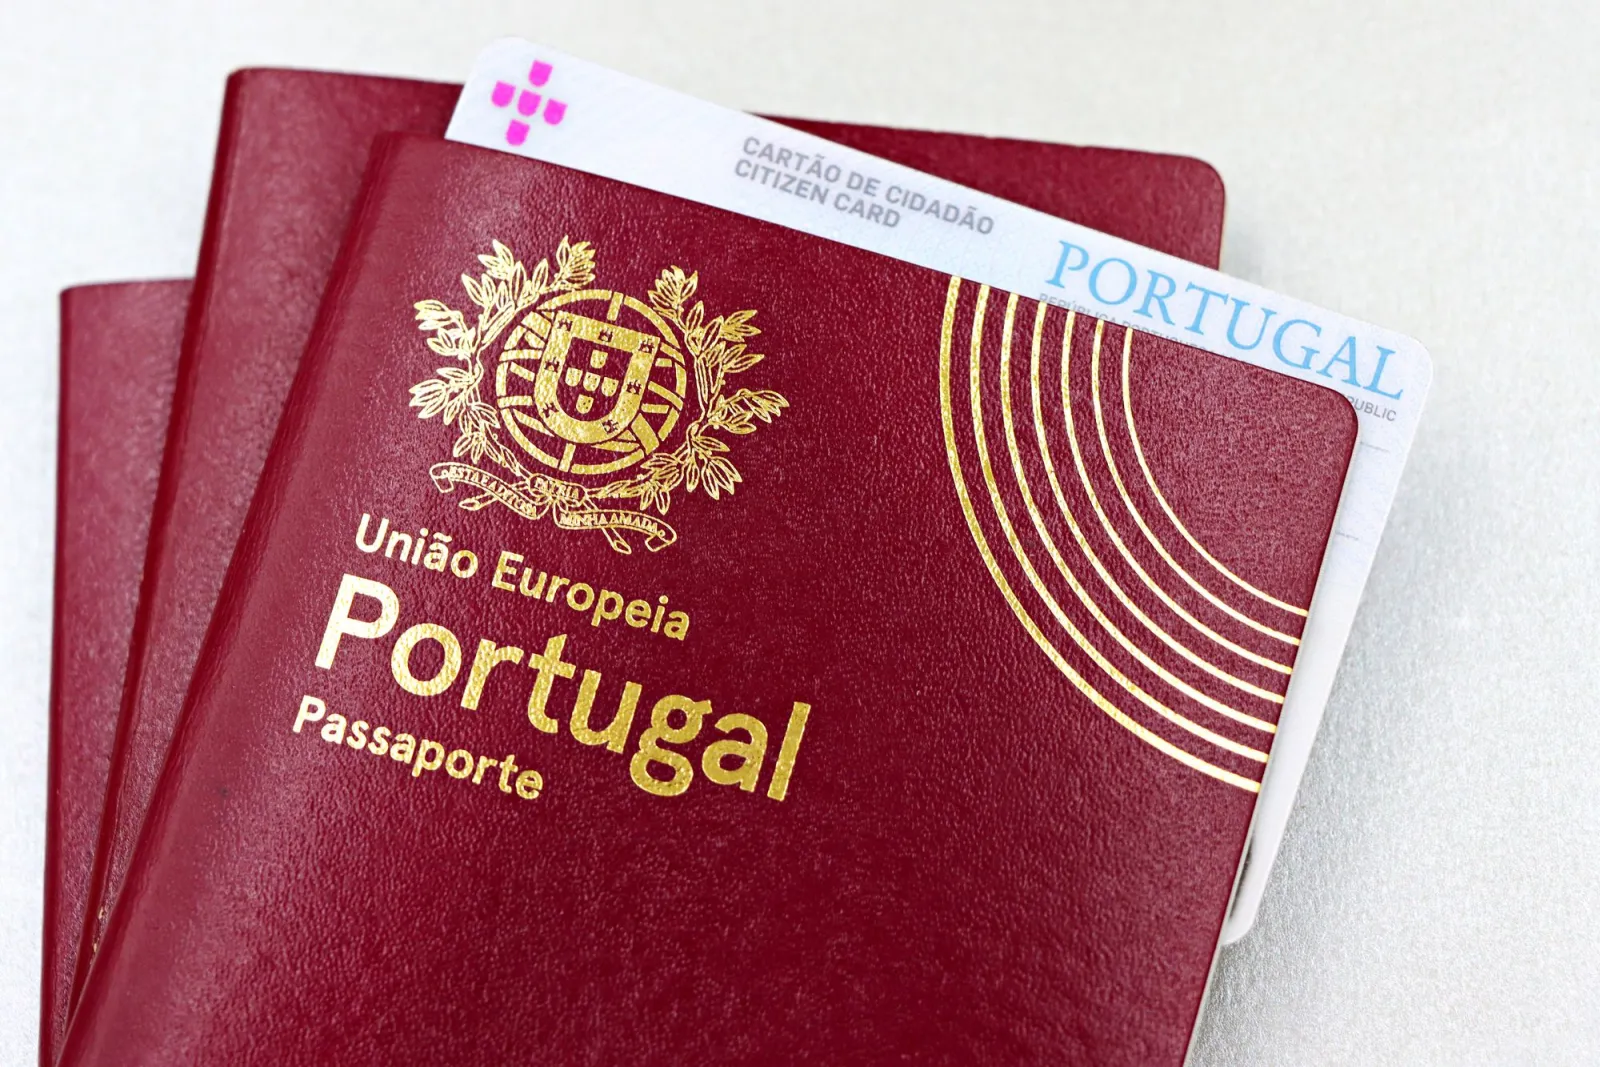
How do you resize a photo to exactly 2x2 inches?
I tested this on a 4000x3000 phone photo and the result cleared the State Department's online checker. Follow the steps in order.
-
Crop to a square. Use a square aspect ratio tool and center your face so the head is roughly 50 to 69 percent of the frame height. The method for a clean square crop is in crop images online.
-
Resize to 600 x 600. Set width 600 and height 600 with a high-quality filter. This gives exactly 2x2 inches at 300 DPI.
-
Set DPI to 300. Most resizers bake in 300 automatically, but verify the export setting if your tool exposes it.
-
Export as JPEG at quality 90 to 95. Government systems expect JPEG; avoid PNG for the final file.
-
Check the file is between 54KB and 240KB. The US online tool rejects files outside that range, so re-compress if needed.
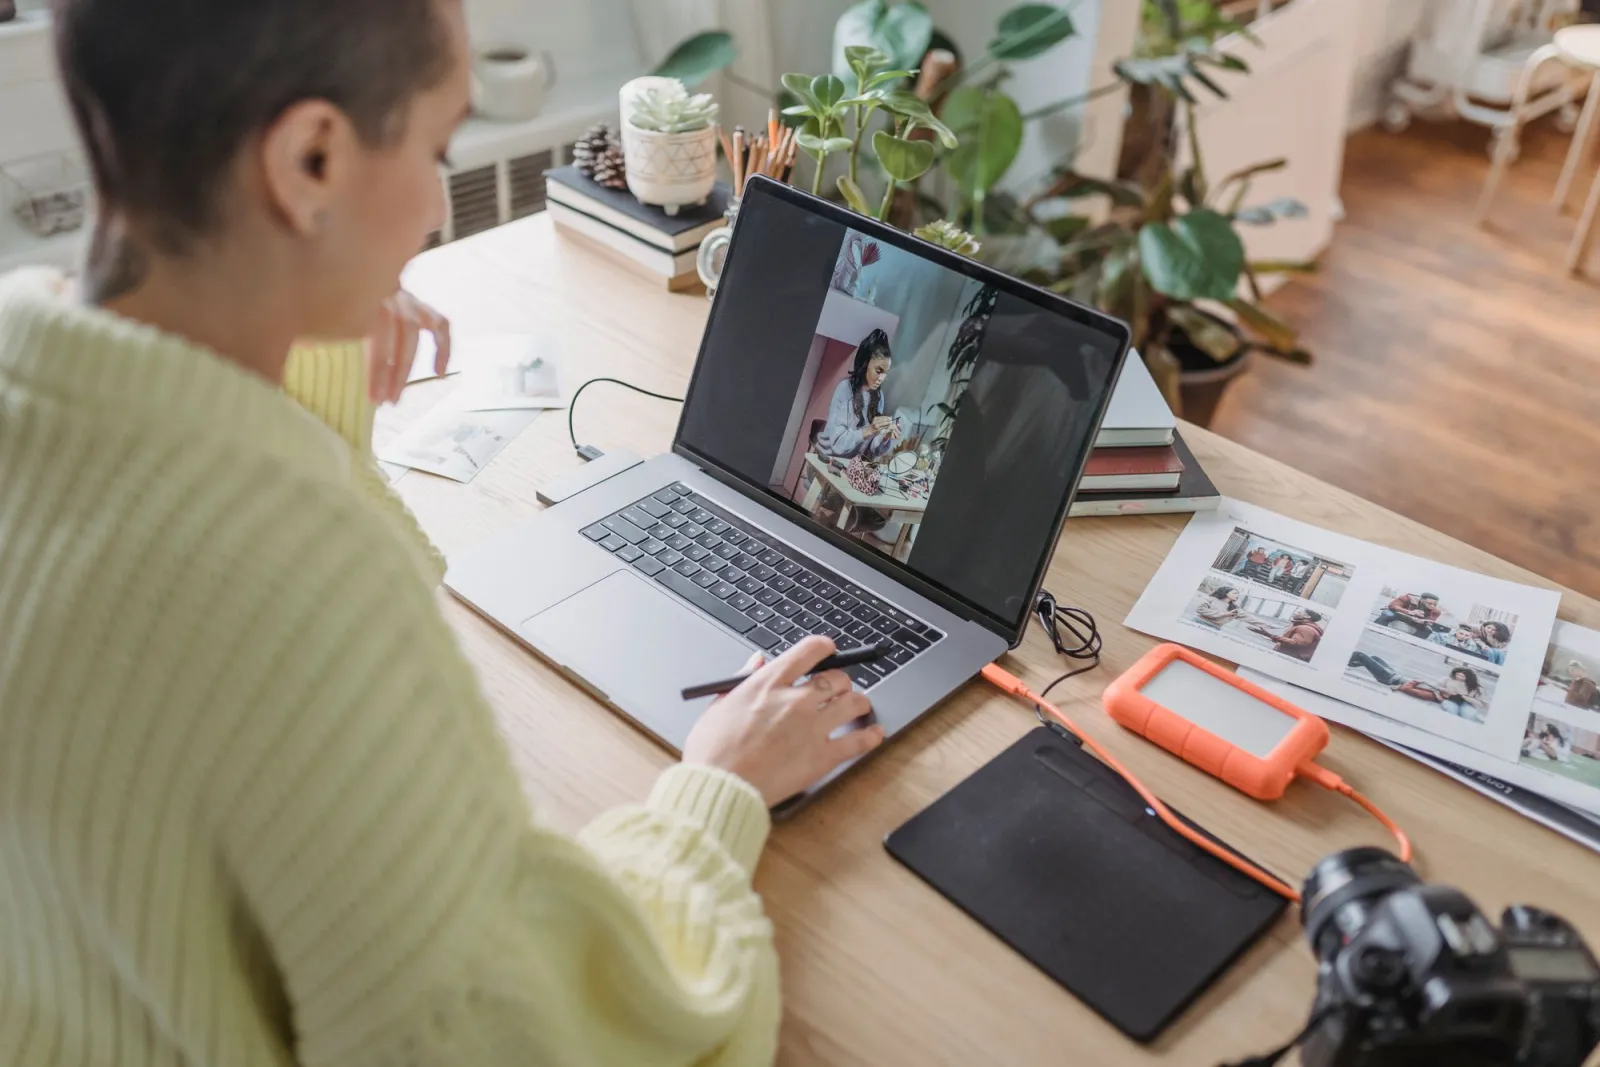
The same resize-and-compress logic applies to web images, where you trade pixel count for byte weight. See the measured approach in resize images for the web.
What is the full 2x2 passport photo workflow?
The resize is one step in a longer workflow. Here is the full sequence I run for an official photo, and where each step most often goes wrong.
-
Take the photo: face the camera directly, neutral expression, eyes open, even lighting on the face, plain white or off-white background. Avoid shadows across the face or on the wall behind you.
-
Remove the background if it is not already plain white. A plain background is a hard requirement for US passport photos, so swap or clean it before you crop.
-
Crop to a square with the head centered. The head (chin to crown) should measure 1 to 1 3/8 inches, which is roughly 50 to 69 percent of the 2-inch frame height.
-
Resize to 600 x 600 at 300 DPI. This is the step that turns your crop into a print-ready official size.
-
Export as JPEG at quality 90 to 95, sRGB color.
-
Compress until the file is under 240KB if the agency's online checker enforces a size cap.
The lighting and background steps catch most people. A window-light selfie on a gray wall looks acceptable on a phone but fails the checker because the background is not white enough and a shadow falls across one cheek. Shoot facing a window for even light, and use a white poster board behind you if you do not have a white wall.
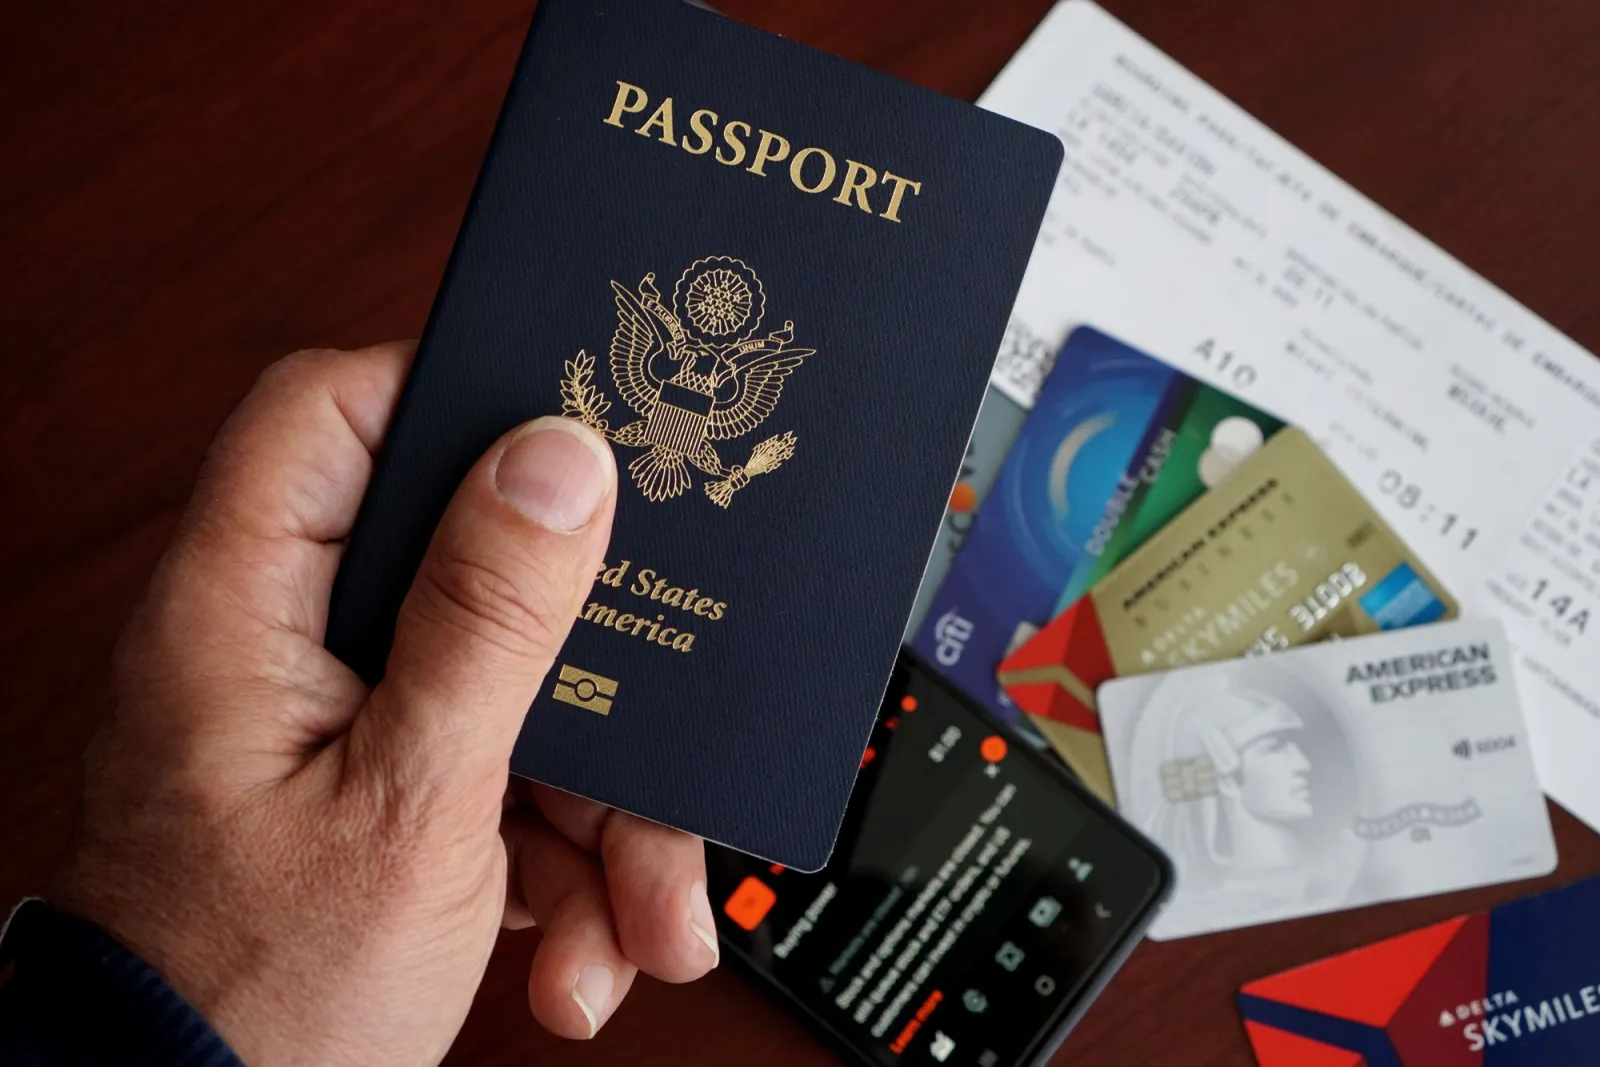
What are other common ID photo sizes?
Not every document is 2x2 inches. If your application lists a different size, match the table below before you resize.
| Document | Size (inches) | Size (mm) | Pixels at 300 DPI |
|---|---|---|---|
| US Passport | 2 x 2 | 51 x 51 | 600 x 600 |
| US Visa | 2 x 2 | 51 x 51 | 600 x 600 |
| Indian Passport | 2 x 2 | 51 x 51 | 600 x 600 |
| UK Passport | 1.38 x 1.77 | 35 x 45 | 413 x 531 |
| Schengen Visa | 1.38 x 1.77 | 35 x 45 | 413 x 531 |
| Canadian Passport | 1.97 x 2.76 | 50 x 70 | 591 x 827 |
| Chinese Visa | 1.3 x 1.89 | 33 x 48 | 390 x 567 |
US passports and US visas share the same 2x2 inch (600x600 pixel) spec. UK and Schengen documents use a smaller, non-square 35x45mm format — do not reuse a 2x2 file for those, because the aspect ratio is different and your crop will not fit.
What are the common mistakes when resizing to 2x2?
These are the errors that get a photo rejected. I have watched friends hit all of them.
-
Stretching a non-square photo. Resizing a 4000x3000 image straight to 600x600 distorts the face. Crop to square first.
-
Too much compression. Dropping below quality 85 introduces artifacts the checker flags.
-
Wrong head size. The head (chin to crown) should be 1 to 1 3/8 inches — about 50 to 69 percent of the 2-inch height.
-
Low-resolution source. Upscaling a blurry photo makes it worse; start from the sharpest original you have.
-
Wrong format. Submitting a PNG or HEIC when the agency wants JPEG.
-
Non-white background. A gray or textured background gets the photo bounced, even if the face is perfect.
-
Glasses glare or shadows. Reflections in glasses and shadows across the face are both common rejection reasons; remove glare by tilting the head slightly down toward the light.
Where do you use a 2x2 inch photo?
The 2x2 inch spec shows up across US immigration and ID documents.
- US passport book and passport card applications.
- US nonimmigrant and immigrant visa applications (DS-160).
- Green card and work permit renewals.
- Some state-issued ID and professional license forms that adopt the passport standard.
Frequently asked questions
Can I take a passport photo with my phone?
Yes, if the resolution and lighting hold up. Shoot against a plain white or off-white wall, in even daylight with no harsh shadows, then crop to a square with the head between 1 inch and 1-3/8 inches from chin to crown. Resize to 600×600 at 300 DPI and the photo meets the 2x2 spec. The risk is shadow and glare, not the camera.
Why was my 2x2 photo rejected?
The four most common reasons are a non-white background, the head the wrong size, glasses glare, and a file outside the 54 KB–240 KB size band. Rejections are almost always about the spec, not the likeness. The US State Department photo page lists every rule a checker applies.
Is 2x2 inches the same in every country?
No. The US uses 2x2 inches; many other countries use 35×45 mm. Do not assume one size satisfies another country's form. The 2x2 spec here is the US passport and visa standard.
Summary
For a 2x2 inch photo, crop to a square, resize to 600 x 600 pixels at 300 DPI, and export as a JPEG at quality 90 to 95. That single setting satisfies US passport, visa, and most ID requirements. Verify the file lands between 54KB and 240KB, and you are ready to submit.
One real caveat: official requirements change and differ by country and agency. The US State Department publishes the current photo rules, and the USPS lists its in-person photo service. Always confirm against the official source for your specific application before you submit, because a checker's rules are the ones that count, not a guide's.
Image credits
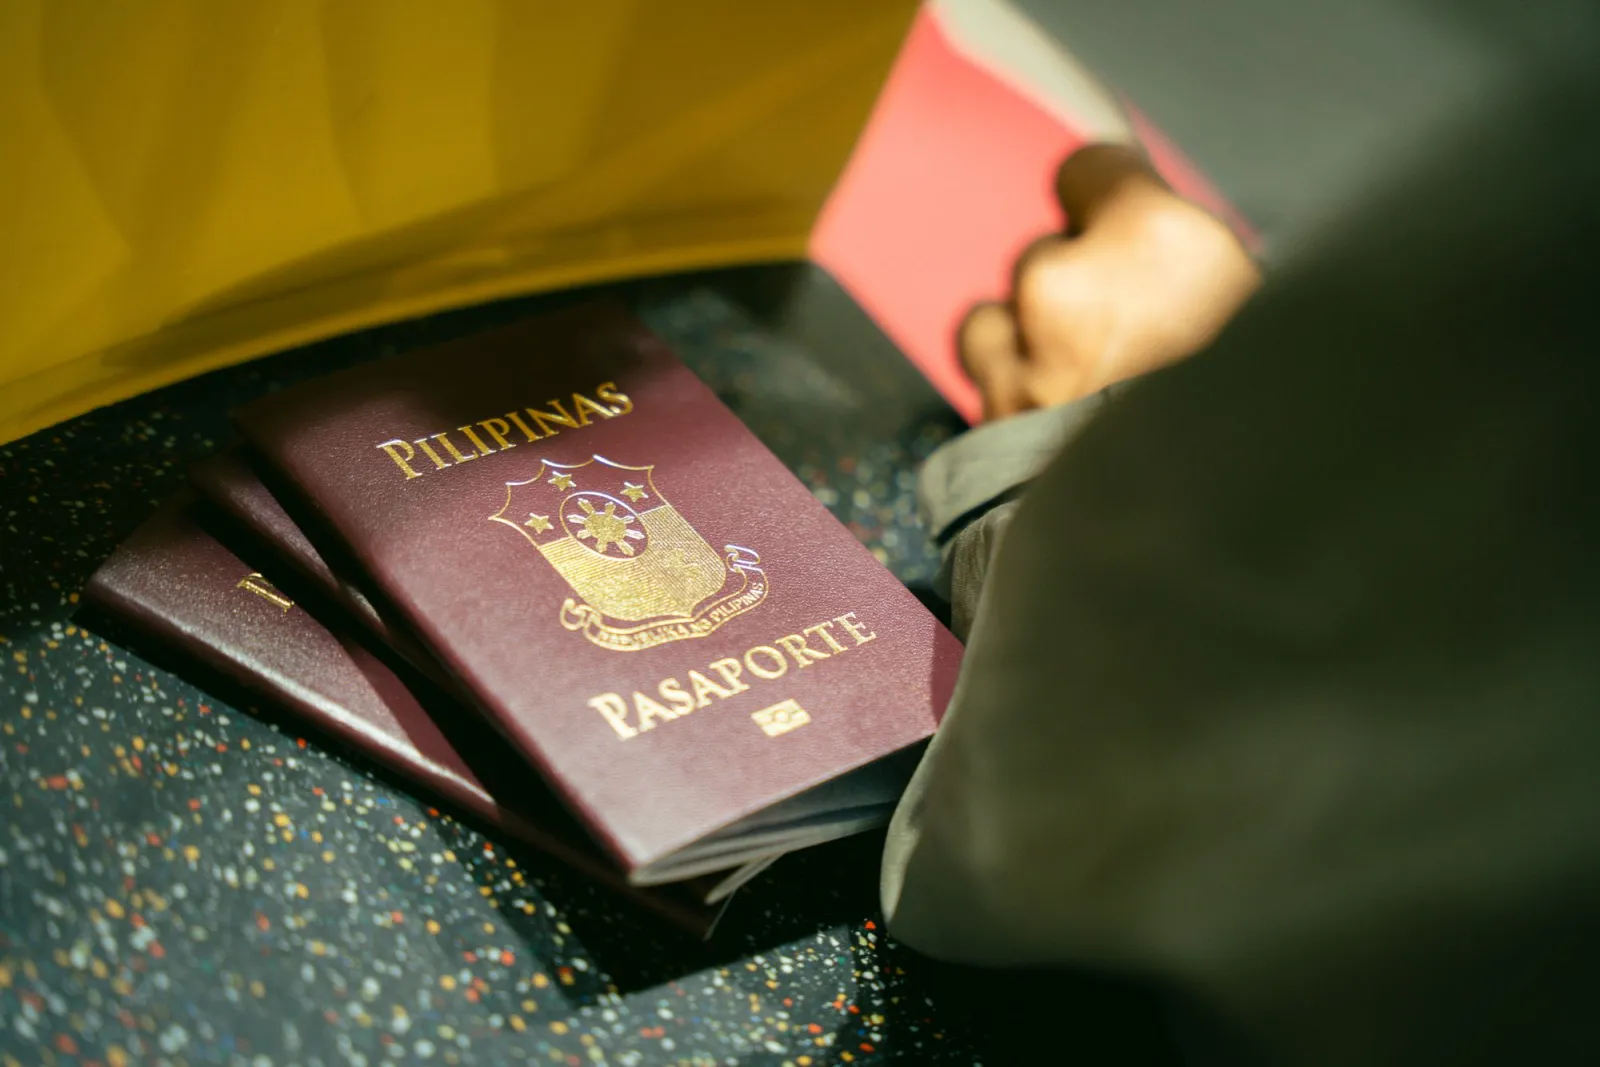
- Close-up of passports stacked on an airport counter — photo by Kenneth Surillo on Pexels
- Close-up of a passport book and ID citizen card on a surface — photo by Marta Branco on Pexels
- A US passport with credit cards, tickets, and a phone on a table — photo by DΛVΞ GΛRCIΛ on Pexels
- A person editing photos on a laptop with a graphics tablet — photo by George Milton on Pexels
Use the free tools while you follow the guide.
Keep reading
2026-07-26
How to Batch Resize Images: Free Tools and Scripts Compared
Resize hundreds of images at once with free online tools, ImageMagick, XnConvert, and Python scripts. Copy-paste commands, preset sizes, and a practical workflow.
2026-07-26
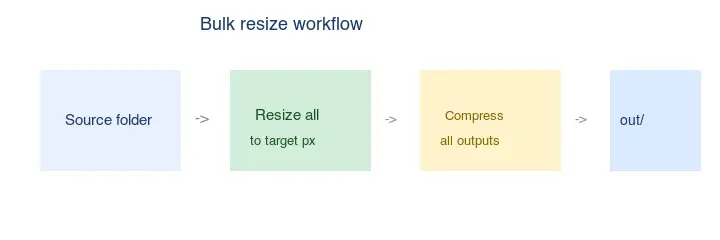
Bulk Image Resizer: Resize Hundreds of Images at Once (Free)
Resize hundreds of images in bulk for free with a browser tool, ImageMagick, XnConvert, or a Python script, with real byte savings and the safe batch workflow.
2026-07-26
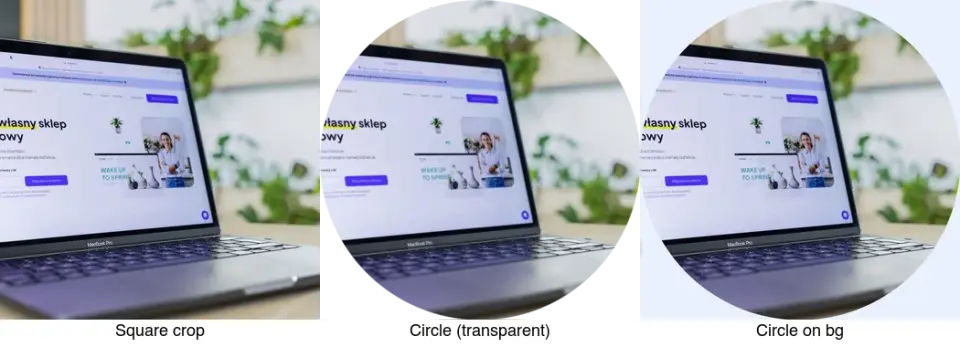
How to Crop an Image to a Circle (Profile Photos and Avatars)
Crop an image to a circle for avatars and profile photos: the square-first rule, making a transparent circle PNG or a circle on a background, and where circles are used.