2026-06-28 · Updated 2026-06-30
About Our Free Image Tools: What Each One Does and Why
An honest overview of our free image tools: compressor, converter, resizer, cropper, upscaler, and background remover. What each is for, how it works, and the limits.

Last updated: June 30, 2026. New tools are added over time as common image tasks warrant them; this page always reflects the current available set.
This page explains what our free image tools actually do, how each one works, and where it has limits. The goal is to help you pick the right tool for the job rather than guessing — most image tasks map to one specific tool, and using the right one saves time and produces better results. Everything here runs in a browser with no signup required for the core operations, and the overall design prioritizes speed and clarity over feature breadth.
Quick answer: which tool should I use?
For shrinking files, use the image compressor. For changing format, the image converter. For changing dimensions, the image resizer. For cutting to a frame, the image cropper. For enlarging without blur, the image upscaler. For cutting out a subject, the background remover. For processing many files at once, the batch tool. Match the task to the tool and the result is straightforward.
Why build free image tools?
Image editing should not require a subscription for the tasks most people do. Cropping, resizing, compressing, and converting are common, simple operations that paid software overcharges for. Free browser tools make these tasks instant and accessible from any device. The trade-off is depth — these tools handle the common cases well and leave complex compositing to desktop editors.
| Tool category | Our tools cover | Paid tools still win |
|---|---|---|
| Basic edits | Crop, resize, compress, convert | — |
| AI operations | Upscale, background removal | — |
| Batch work | Apply one operation to many | — |
| Layer compositing | — | GIMP, Photoshop |
| RAW processing | — | RawTherapee, Darktable |
For the free image editing software depth, pair these browser tools with a desktop editor. The combination covers almost every workflow.
The image compressor
The compressor reduces file size by applying lossy or lossless compression. It takes a heavy image and produces a lighter one with minimal visible quality loss.

- Best for web images that need to load fast.
- Choose quality 80 for photos, lossless for graphics with text.
- The compression guide covers the techniques.
- Always compress from the original, not a previously compressed copy.
The image converter
The converter changes an image from one format to another — PNG to WebP, HEIC to JPG, SVG to PNG. Format choice sets the floor for file size and capability, and converting to the right format is often the single biggest optimization. A photo stored as PNG can shrink by 80 percent when converted to WebP with no visible loss, and an iPhone HEIC that nothing else can open becomes a universally compatible JPG in seconds.
- Convert photos to WebP for the web.
- Keep PNG for transparency and lossless quality.
- Convert HEIC (from iPhones) to JPG or WebP for compatibility.
- The format comparison explains the trade-offs.
The image resizer and cropper
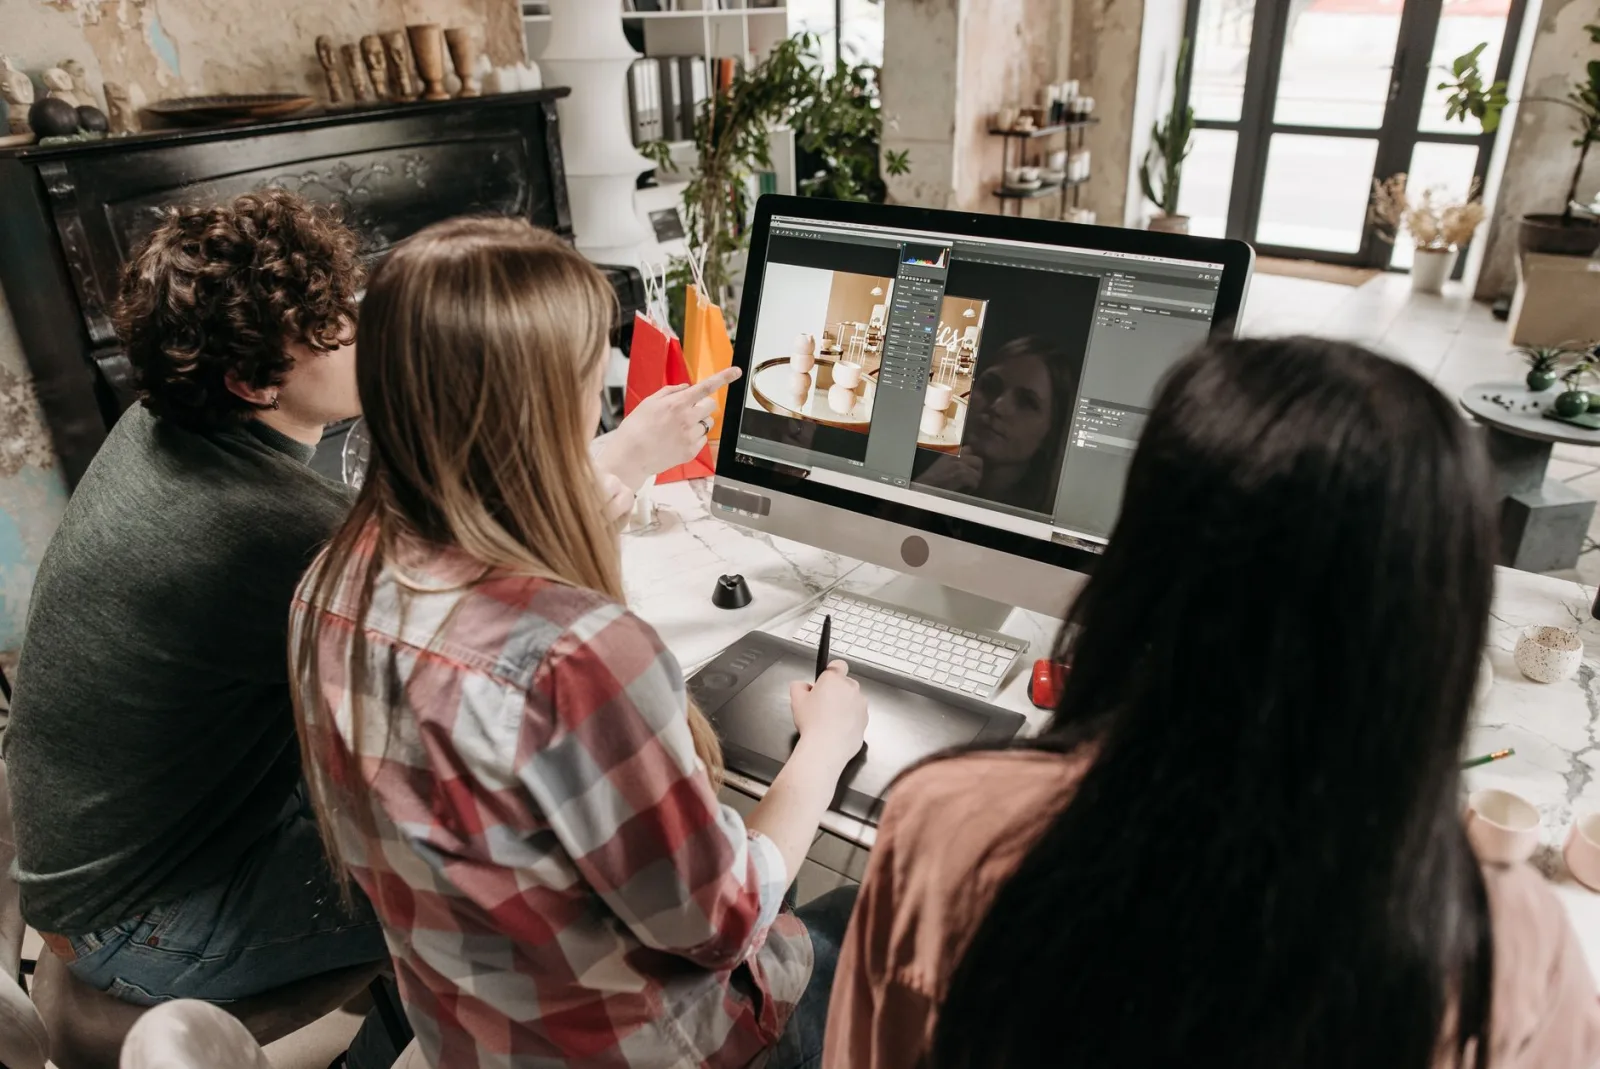
The resizer changes pixel dimensions; the cropper changes the frame. They are related but distinct — resize keeps the whole image at a different scale, crop removes part of it. Resizing is almost always the first optimization step for web images, because serving more pixels than the display needs is the most common cause of slow image loads. A 4000-pixel photo displayed at 600 pixels wastes bandwidth for no visual benefit, and resizing it down removes that waste before any other optimization.
- Resize to display dimensions before compressing.
- Crop for composition and aspect ratio — the crop guide covers technique.
- The resize guide covers resizing without quality loss.
- Both feed into web optimization — see the optimization checklist.
The image upscaler
The upscaler enlarges an image using AI to rebuild detail that simple resampling would blur. It is the tool for making a small image usable at a larger size, though it cannot truly invent detail that was never there. The model guesses at the missing detail based on patterns learned from millions of image pairs, and the guess is usually plausible enough to look natural at typical viewing distances. For prints or close inspection, the limits of those guesses become more visible, so upscaling is best treated as a rescue tool for images that are slightly too small rather than a way to turn a thumbnail into a wall print.
- Use when the source is too small for the destination.
- AI upscaling guesses detail based on learned patterns.
- It works best on photos, less well on text and sharp graphics.
- The upscaling guide covers the limits.
The background remover
The background remover uses the U2-Net model to detect the subject and cut it out automatically. It produces a transparent PNG in seconds, with manual refinement for difficult edges.

- Works best on clear subjects against plain backgrounds.
- Struggles on hair, fur, and translucent objects.
- The background removal technology guide explains how it works.
- The background removal guide covers the workflow.
Choosing the right tool for the job
Most image tasks map cleanly to one tool, and a quick reference helps you avoid using the wrong one. The table below matches common tasks to the right tool so you do not, for example, crop when you should resize, or compress when you should convert.
| You want to... | Use this tool |
|---|---|
| Shrink the file size | Compressor |
| Change the format | Converter |
| Change pixel dimensions | Resizer |
| Cut to a frame or ratio | Cropper |
| Enlarge without blur | Upscaler |
| Cut out a subject | Background remover |
| Process many files | Batch tool |
When a task needs two tools — say, resize then compress — do them in sequence rather than expecting one tool to do both. The order usually matters: resize first to remove unneeded pixels, then compress to reduce the bytes.
How these tools handle your images
Privacy matters with browser tools, so the handling is worth stating plainly. Images are uploaded for processing and not stored permanently — the tool processes the image and returns the result, then the upload is discarded. No account is required for the core operations, and nothing is kept beyond the processing session.
The FAQ covers this and other common questions, and for the broader context of how modern image tools work, the Mozilla guide to web image processing documents the browser capabilities these tools rely on, and the web.dev image guide covers the performance goals the tools help you reach. The aim is simple: free, fast, private image tools that handle the common jobs so you do not need a subscription for them.
Frequently asked questions
Which tool should I use first?
Start with the Image Compressor if your goal is a faster site, because file size is the single biggest speed lever. Move to the Background Remover when you need product cutouts, the Image Resizer when dimensions are wrong, and the Image Upscaler only when a photo is too low-resolution to use as-is. The compressor covers the most common case.
Are these tools free to use?
Yes, the core operations are free with no signup, run in the browser, and do not upload images to a server you cannot see. There are no watermarks on output and no per-image limit on the free operations. This is the difference from tools that gate the useful step behind a paid tier.
Do the tools keep my images private?
Processing happens locally in the browser for the tools that can, so the image does not leave your machine. Where a model runs on a server (upscaling, background removal), the image is processed and discarded, not stored. If privacy is critical, check each tool's behavior before uploading sensitive files.
Can I use these tools on my phone?
Yes — the tools are web-based and responsive, so they work in a mobile browser. Large batches and very high-resolution files are easier on a desktop, but a single photo compresses or resizes fine on a phone.
How fast are these tools?
The browser-based tools process a single image in under a second on a normal machine. The server-based AI tools (upscaling, background removal) take a few seconds because the model runs a full inference pass. Either way, a single image is done before you could open a desktop editor.
Are these tools safe for client work?
Yes, with the usual caveat to check each tool's privacy behavior first. The browser-based tools that process locally never send the image anywhere, which makes them safe for sensitive client files. The server-based AI tools process and discard the image rather than storing it, but if a client's contract forbids any third-party processing, run only the local tools. The practical rule: read what each tool does with the upload, and match the tool to the client's privacy requirement. For most commercial work the tools are fine; for regulated or NDA-bound work, default to the local-processing ones.
Use the free tools while you follow the guide.
Keep reading
2026-09-13
How to Blur Faces and License Plates Before You Post
Blur or pixelate faces and license plates so they stay unreadable. Which method actually anonymizes, what fails, and how to avoid leaking EXIF location data.
2026-08-27
Invisible Watermarks: What Image Files Now Carry in 2026
Paint embeds a server-issued GUID in AI images, platforms strip C2PA manifests, and a plain WebP export drops all of it. What your files really carry, and how to check.

2026-07-28
Batch Image Processing: Pipeline Order, Settings, and Tools
Batch image processing runs resize, compress, and convert jobs across whole folders. The pipeline order, measured quality settings, tool choice, and automation.