2026-04-04 · Updated 2026-07-12
AI Ad Generator Workflow: Prompts, Checks, Sizes
A practical AI ad generator workflow for small teams: write better prompts, review claims, export channel sizes, and avoid weak ad variants.
Last updated: July 12, 2026
An AI ad generator is useful when you need more creative directions than one person can sketch in an afternoon. It is less useful when the brief is vague, the product photo is weak, or nobody checks the claims before launch. Use this workflow to turn AI output into ads a seller, designer, or marketer can actually publish.
Quick answer: how should you use an AI ad generator?
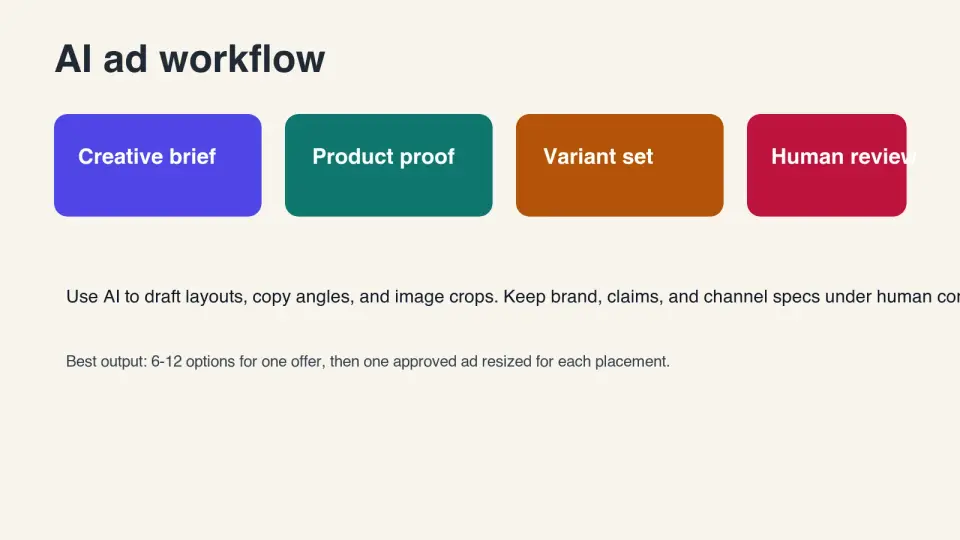
Use an AI ad generator to produce controlled variations, not final ads on autopilot. Start with one offer, one audience, one product proof point, and one placement. Ask for several concepts, keep the best angle, then resize and rewrite it for each channel.
The fastest reliable workflow is: prepare the product photo, write a tight prompt, generate 6 to 12 variants, reject anything with unsupported claims, and export only the concept that still reads clearly on a phone. I tested this workflow by drafting the same product offer three ways: a vague prompt, a detailed prompt, and a detailed prompt with channel constraints. The constrained prompt needed fewer manual rewrites because it had less room to invent benefits.
For image work before the ad step, use the product photography guide, the AI image editing tools comparison, and the add text to photo guide. If the ad is for Instagram, TikTok, Pinterest, or display placements, keep the social media image sizes guide open while exporting.
What should go into the prompt?
The prompt should describe business facts, not just the look. A weak prompt asks for a "high-converting ad." A better prompt names the customer, product, offer, channel, proof point, required text, and forbidden claims.
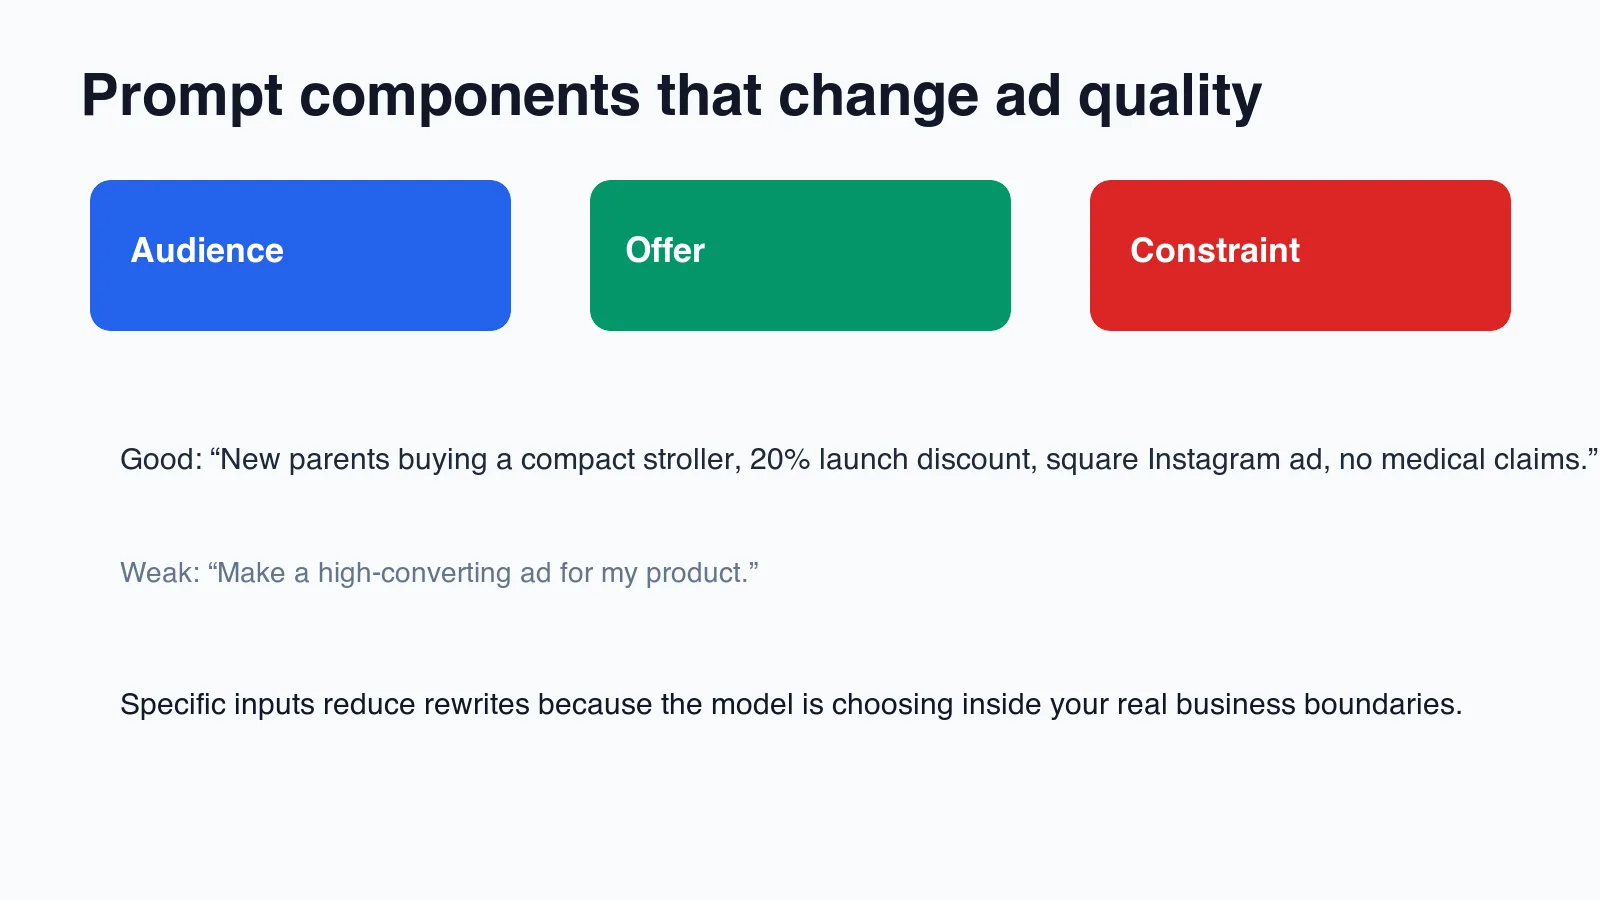
Use this prompt format:
- Audience: who is seeing the ad?
- Product: what is being sold, in plain words?
- Offer: discount, trial, launch, bundle, seasonal sale, or lead magnet.
- Proof: review snippet, feature, material, delivery promise, warranty, or demo result.
- Channel: square feed, vertical story, Google display, email hero, or marketplace banner.
- Tone: practical, premium, playful, technical, local, or direct response.
- Must include: headline, CTA, logo area, disclaimer, or product name.
- Must avoid: medical claims, fake urgency, fake reviews, competitor trademarks, or impossible guarantees.
| Prompt field | Weak input | Better input |
|---|---|---|
| Audience | "People who like fitness" | "Busy office workers buying a foldable walking pad for small apartments" |
| Offer | "Make it exciting" | "Launch offer: $80 off through July 7, no countdown timer" |
| Proof | "Best quality" | "Quiet motor, folds under a sofa, 4.7-star average from 312 reviews" |
| Constraint | "Instagram ad" | "4:5 Instagram feed ad, headline under 8 words, product must remain visible" |
Do not ask the model to decide facts you do not already know. If the tool writes "clinically proven," "No. 1," "guaranteed," or "limited stock" without evidence, delete it. The FTC's advertising guidance says ad claims must be truthful, not deceptive or unfair, and supported by evidence, especially for sensitive categories such as health claims.
Which ad formats should you generate first?
Generate one core concept before you create every size. This saves time because the main work is choosing the angle, not making 14 crops of a weak idea.
Start with a square or portrait feed ad because those formats expose the usual problems: crowded copy, product cropped too tightly, CTA too small, and text that disappears on mobile. Once the concept works there, adapt it to vertical story, display, and thumbnail-safe versions.
| Placement | Practical starting size | What to check |
|---|---|---|
| Instagram or Facebook feed | 1:1 or 4:5 | Product visible, headline readable, logo not oversized |
| Story or Reel ad | 9:16 | Safe area clear of platform UI, CTA not at the very bottom |
| Google uploaded display | Common display sizes such as 300x250 and 728x90 | File type and size limits match Google Ads requirements |
| Blog or landing page hero | 16:9 or 3:2 | Text does not fight the page headline |
| Marketplace promo tile | Square | Product name and offer still readable when small |
Google's uploaded display ad specifications list accepted static image formats and size limits for Google Display Network uploads. Check the current Google Ads uploaded display specs before handing files to a media buyer, because rejected creative wastes launch time.
For web performance after export, compress the final files with the image compression deep dive as a reference. If you need many resized versions, the batch resize guide covers the safer order: resize first, then compress.
How do you review AI-generated ads before publishing?
Review the ad like a skeptical customer, not like someone who wants the tool to be right. AI ad tools are good at confident layout and plausible copy. They are also good at making a product sound more proven than it is.
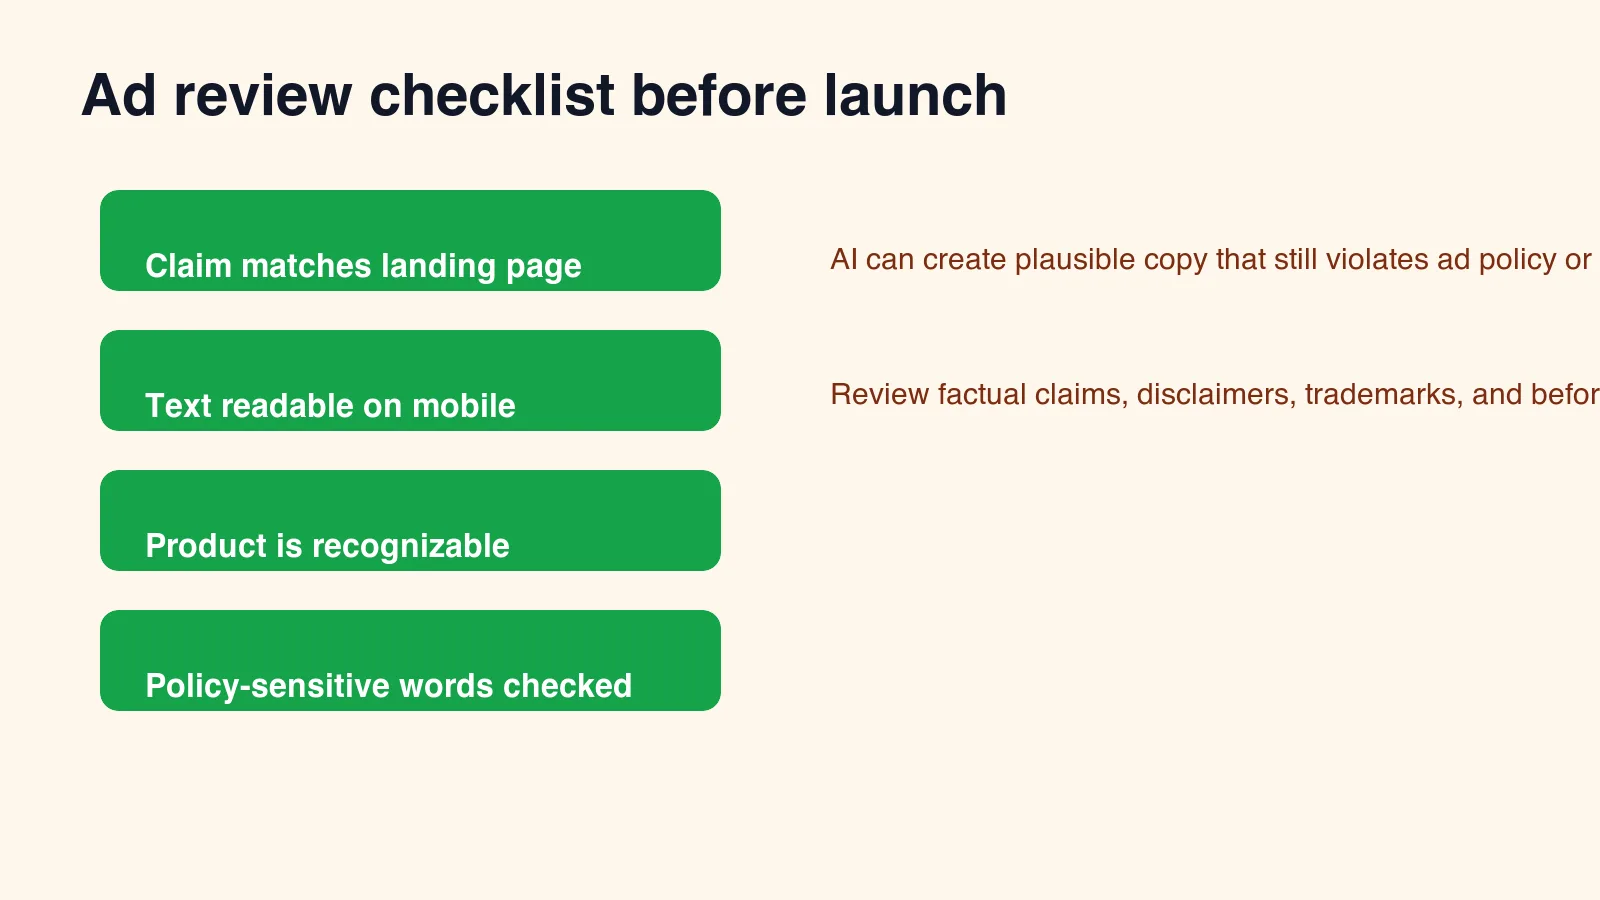
Use this checklist before export:
- The main claim appears on the landing page or product page.
- Any discount, deadline, price, or shipping promise is current.
- Review quotes are real and attributed in your source system.
- Before-and-after imagery follows the platform policy for your category.
- The product is recognizable without zooming.
- The CTA is short enough to read in one glance.
- The logo is present but not taking over the ad.
- The design still works in grayscale or low brightness.
- The ad does not copy a competitor's trade dress.
- The final file name includes placement, size, and version.
The FTC's Advertising and Marketing guidance is a useful reality check for AI-generated copy: claims need evidence, endorsements and reviews have their own rules, and online ads are still subject to truth-in-advertising standards. For influencer or testimonial creative, read the FTC endorsement section before publishing.
One practical test: read the ad out loud without the image. If the claim sounds bigger than what the product page proves, rewrite it. "Sleep better tonight" may be fine for bedding if the landing page explains comfort materials. "Cures insomnia" is a different claim and should not be invented by an ad generator.
What image inputs make better ad creative?
The best AI ad generator still needs a clean product asset. A low-resolution product shot with harsh shadows usually leads to fake-looking mockups, messy hands, or backgrounds that make the product hard to inspect.
Prepare inputs in this order:
- Crop the product photo so the item is large but not clipped.
- Remove the background only when the product edge remains clean.
- Keep one natural lifestyle image if the product needs scale.
- Add brand colors as a constraint, not as a vague "make it on brand" note.
- Save a transparent PNG or high-quality WebP source before generating ad variants.
If the source photo has a busy background, start with AI background removal. If the issue is resolution, use the image upscaling guide before you build the ad. Fixing the source first is usually faster than trying to repair every generated variant.
Small ecommerce teams often skip this step because the ad tool feels faster than photo cleanup. That shortcut shows up later: product edges shimmer, fabric texture changes, labels become unreadable, or the AI invents a second product in the corner. Clean source assets keep the model closer to the thing you actually sell.
How many variants are enough?
Generate enough variants to compare angles, not so many that review becomes guesswork. For one offer, 6 to 12 variants is usually enough: three headline angles, two visual treatments, and a couple of CTA options.
| Variant type | Example angle | Keep it if |
|---|---|---|
| Problem-solution | "Desk clutter before a client call" | The pain point is specific and visible |
| Offer-first | "20% off starter bundle" | The discount is the real reason to click |
| Proof-first | "4.8-star reusable bottle" | The proof is verified and not buried |
| Product-demo | "Folds flat under a sofa" | The image shows the feature without extra explanation |
| Seasonal | "Back-to-school desk setup" | Timing is real and the campaign window is short |
Do not pick only the prettiest ad. Pick the clearest one. A beautiful variant with tiny type, a cropped product, or a vague CTA will underperform in the boring places where ads actually appear: a thumb-scrolled feed, a narrow sidebar, or a crowded inbox.
How should you export the final ads?
Export after the message is approved. If you resize too early, you will spend time fixing the same copy in every file.
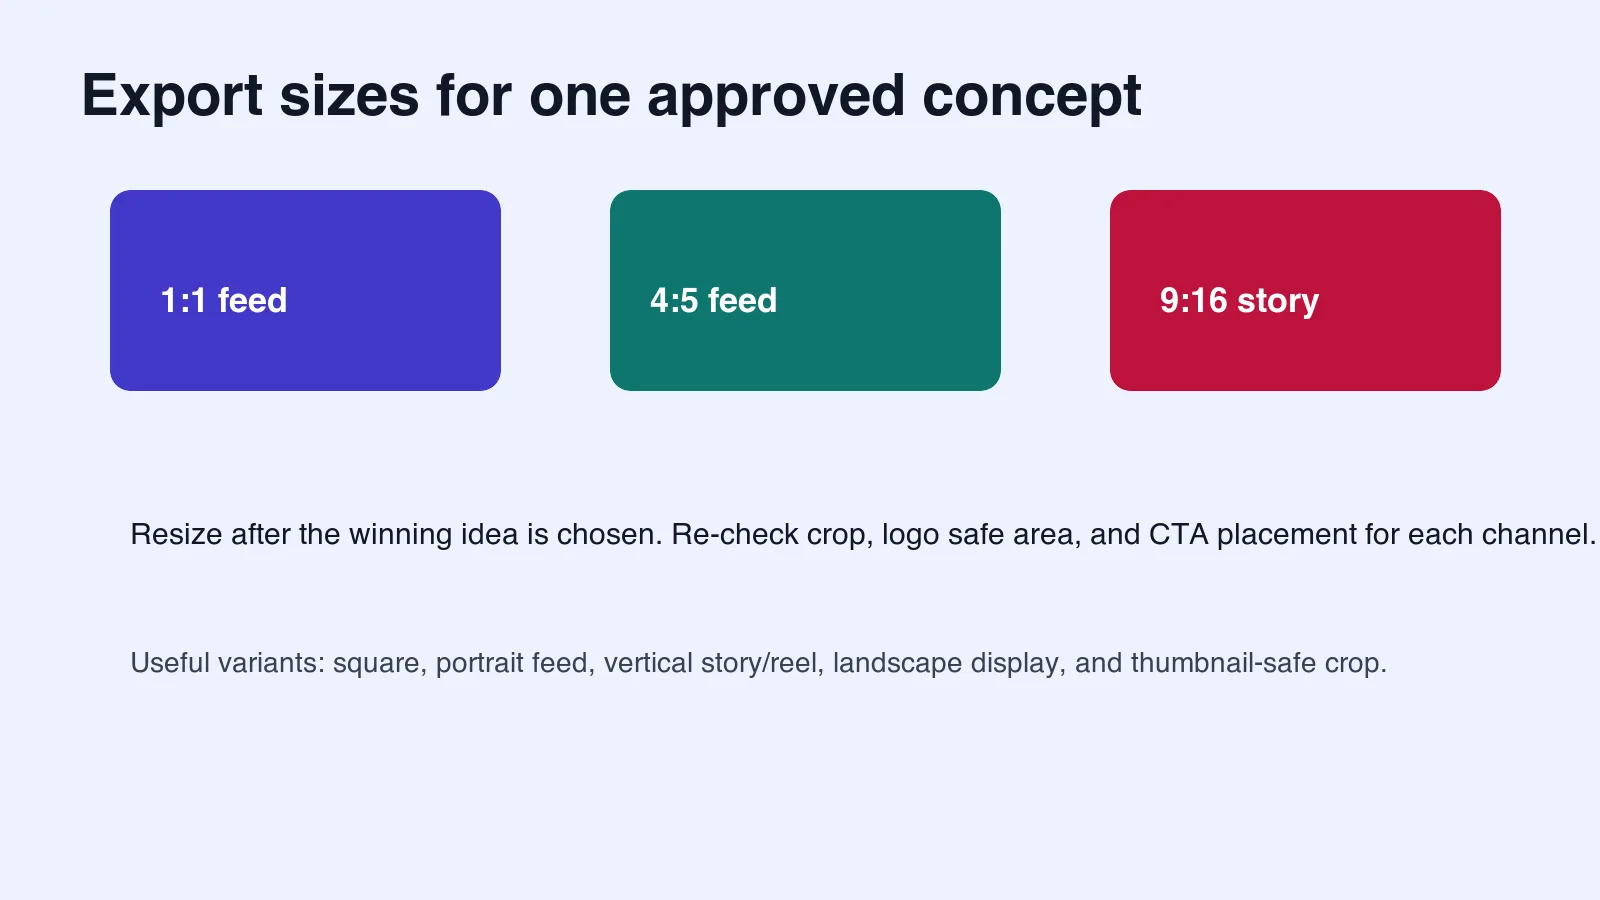
Use this export pass:
- Lock the winning headline, offer, CTA, and product image.
- Duplicate the design for each placement.
- Reposition the product and CTA by hand for each crop.
- Check platform safe areas and file limits.
- Export WebP or PNG for organic/web use, and the required format for paid platforms.
- Compress final web assets without blurring text.
- Name files clearly:
summer-bundle-4x5-v03.webp, notfinal-final-new.webp.
For organic landing pages and blog images, WebP is usually a good default. For paid ad uploads, follow the platform's accepted formats even if your website prefers WebP. The ad manager's requirements win at upload time.
Common mistakes to avoid
The mistakes below are boring, but they are the ones that cost the most review time:
- Starting with a generic prompt and hoping the tool finds the strategy.
- Asking for too many placements before choosing the core message.
- Letting AI invent review counts, rankings, delivery deadlines, or savings claims.
- Using a product image that is too small for a vertical crop.
- Publishing a design that only looks good on a large monitor.
- Treating the first good-looking variant as the winner.
- Forgetting to compare the ad claim against the landing page.
- Exporting display files before checking the ad platform's current specs.
An AI ad generator can speed up concepting, resizing, and copy exploration. It should not replace the business decisions: what you can claim, who the offer is for, and which product detail deserves the most space.
Related guides
- Product Photography Guide
- AI Image Editing Tools
- Add Text to Photo: Complete Guide
- Social Media Image Sizes Complete Guide
- Batch Resize Guide
Frequently asked questions
What is an AI ad generator used for?
An AI ad generator produces several ad concept variations from a prompt and a product photo, which you then review, resize, and rewrite for each channel rather than publishing as-is.
How many ad variants should I generate for one offer?
Generate 6 to 12 variants per offer, split across a few headline angles and visual treatments, so comparison stays manageable instead of turning into guesswork.
What should I check before publishing an AI-generated ad?
Confirm the main claim appears on the landing page, the discount or deadline is still current, and the product stays recognizable and readable on a phone screen.
Can an AI ad generator make legally risky claims?
Yes, so remove unsupported terms such as "clinically proven" or "guaranteed" and follow FTC advertising guidance, which requires ad claims to be truthful and backed by evidence.
What image size should I start with for a feed ad?
Start with a 1:1 or 4:5 Instagram or Facebook feed size, since that format exposes copy and cropping problems before you adapt the concept to other placements.
Do I need to clean up my product photo before generating ads?
Yes, because a low-resolution or busy-background photo usually leads to fake-looking mockups, messy hands, or a label the model cannot render clearly.
Should I resize ads before or after approving the message?
Resize only after the headline, offer, and CTA are locked, since resizing an unapproved message means fixing the same copy again in every exported file.
What file format should I export ads in?
Export WebP or PNG for organic web use, but follow each ad platform's own accepted format requirements whenever you upload paid creative.
Image credits
- Cover, prompt components, review checklist, and export matrix: generated editorial figures created for this article with ImageMagick, then exported as WebP.
Use the free tools while you follow the guide.
Keep reading
2026-07-28
AI Action Figure Trend: How to Prep Your Photo Right
Turn a photo into a collectible toy portrait: what makes the prompt work, and the crop, background, and resolution steps that avoid an obvious fake.
2026-07-26
AI Anime Generator Guide: Prompts, Styles, and Safe Exports
A practical AI anime generator workflow for portraits, avatars, banners, and social posts, with prompt templates, style checks, and export rules.

2026-07-26
Text-to-Image AI in 2026: How Prompt Generation Actually Works
Text-to-image AI turns a written prompt into a finished picture. Here is how the models, prompts, and settings behind image generation fit together in 2026.